|
3625| 3
|
[高级教程] 【百度物联】物接入 IoT Hub+App inventor2+掌控板 |
|
本帖最后由 云天 于 2019-10-28 19:00 编辑 物接入 IoT Hub 物接入(IoT Hub)是一个全托管的云服务,帮助建立设备与云端之间安全可靠的双向连接及设备管理,以支撑海量设备的数据收集、控制、故障预测等各种物联网场景。 一、打通百度物联与App inventor2 1、注册百度云帐号https://cloud.baidu.com/ 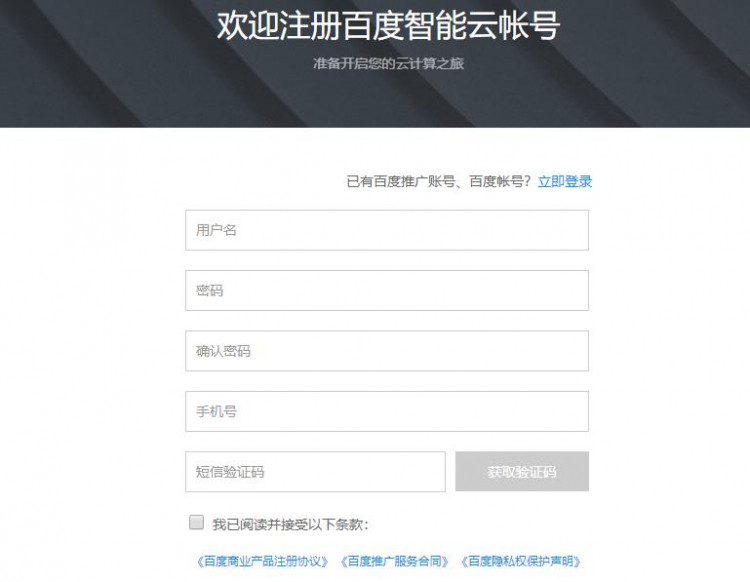 现在的验证方式真是让人感觉越来越好玩了,以后可能要先玩个游戏,过关了才能通过验证。 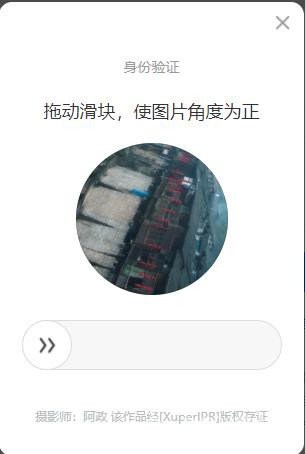 以前感觉在看不清的图里找验证码,隔着屏幕想骂人。 2、进入“物接入 IoT Hub” 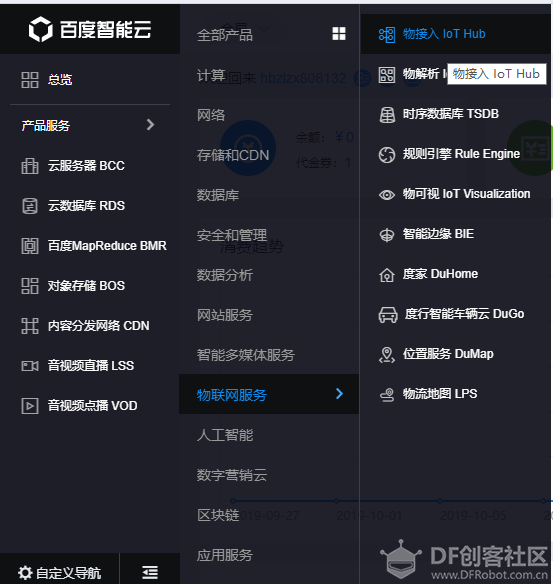 进入项目列表,创建项目 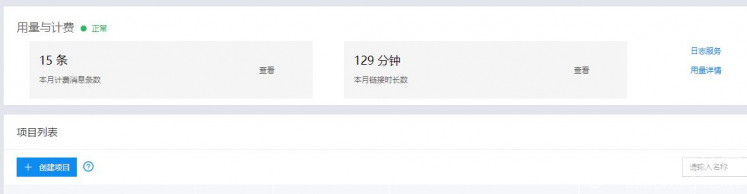 一定要选数据型 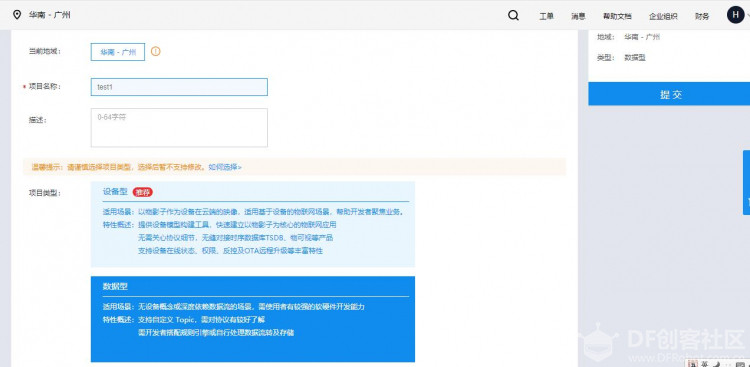 建好的项目中“地址”的第一个,我们要填到App inventor2(WxBit 汉化增强版) MQtt客户端中  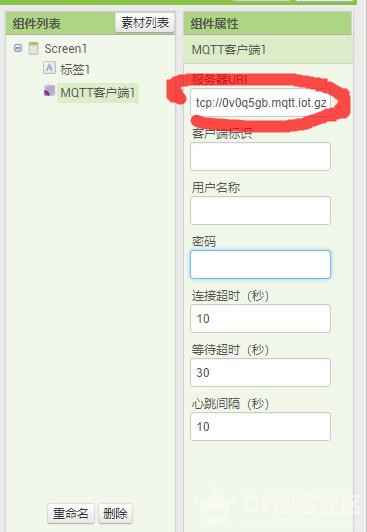 点击项目名,新建用户 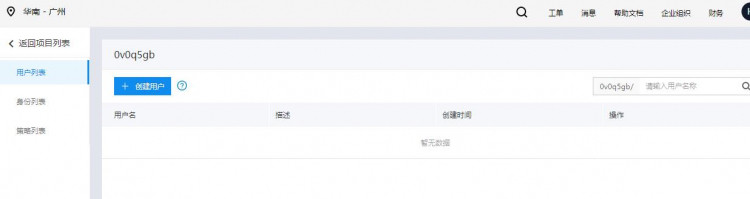 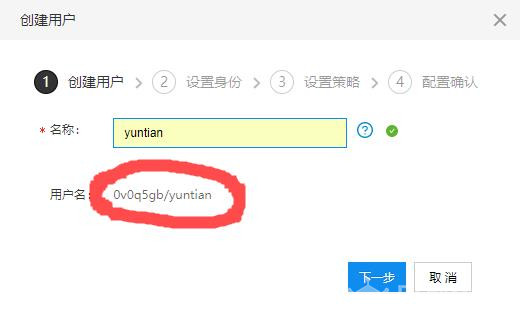 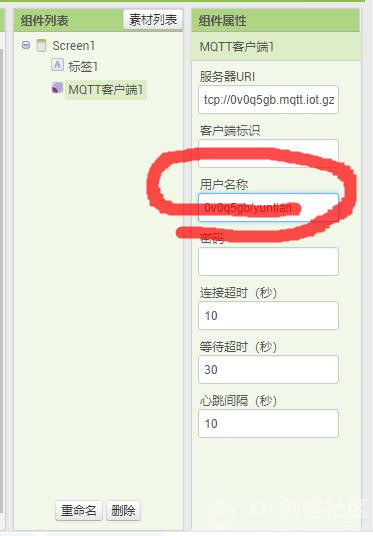  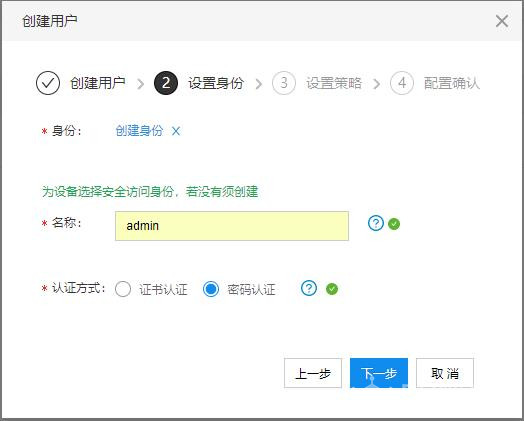 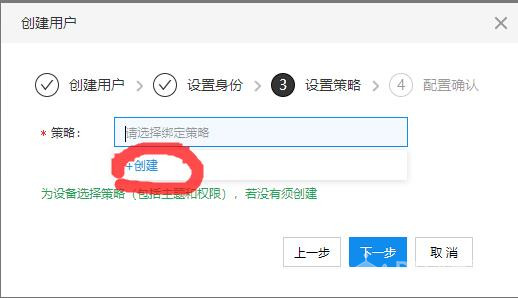 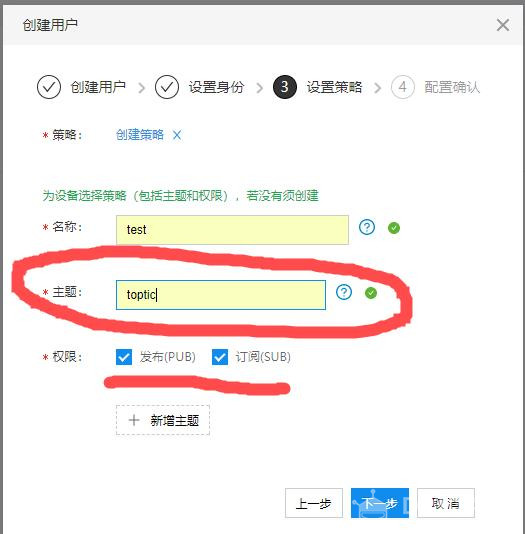 主题在订阅和发布时要用到  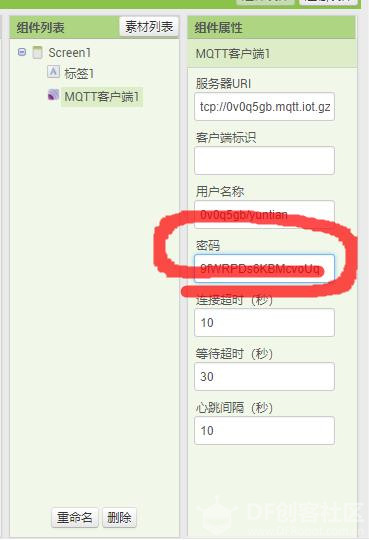 3、App inventor2逻辑设计  二、实现 掌控板与百度物联 打通 1、下载最新的Mind+  2、利用Mind+"自动生成"代码功能(物联网MQTT中没有百度,需在“手动编辑”修改) 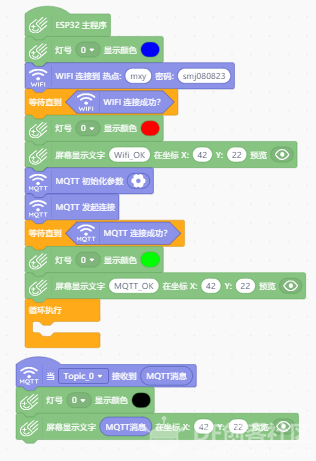 3、从“自动生成”复制代码,粘贴至“手动编辑”,手动修改两处: /*! * MindPlus * mpython * */ #include <MPython.h> #include <DFRobot_Iot.h> // 函数声明 void obloqMqttEventT0(String& message); // 静态常量 const String topics[5] = {"toptic","","","",""};//按实际主题填写 const MsgHandleCb msgHandles[5] = {obloqMqttEventT0,NULL,NULL,NULL,NULL}; // 创建对象 DFRobot_Iot myIot; // 主程序开始 void setup() { mPython.begin(); myIot.setMqttCallback(msgHandles); rgb.write(0, 0x0000FF); myIot.wifiConnect("mxy", "smj080823"); while (!myIot.wifiStatus()) {yield();} rgb.write(0, 0xFF0000); display.setCursorXY(42, 22); display.print("Wifi_OK"); myIot.init("******.mqtt.iot.gz.baidubce.com","用户名","","密码",topics,1883);//按实际填写 myIot.connect(); while (!myIot.connected()) {yield();} rgb.write(0, 0x00FF00); display.setCursorXY(42, 22); display.print("MQTT_OK"); } void loop() { } // 事件回调函数 void obloqMqttEventT0(String& message) { rgb.write(0, 0x000000); display.setCursorXY(42, 22); display.print(message); } 4、下载到掌控板中 5、修改APP inventor2,向百度物联发信息,掌控板接收后回显 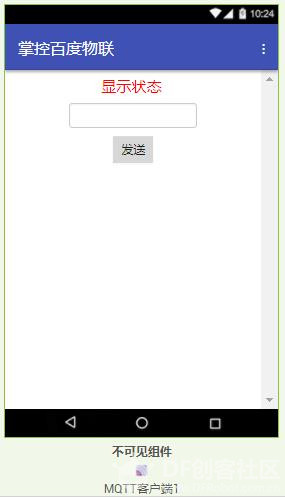 界面设计 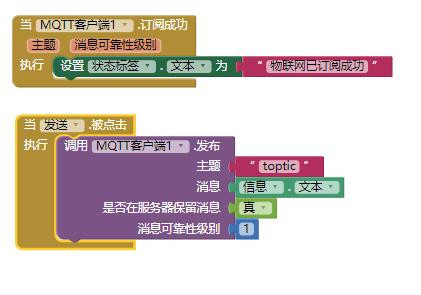 逻辑设计修改部分 三、成功截图 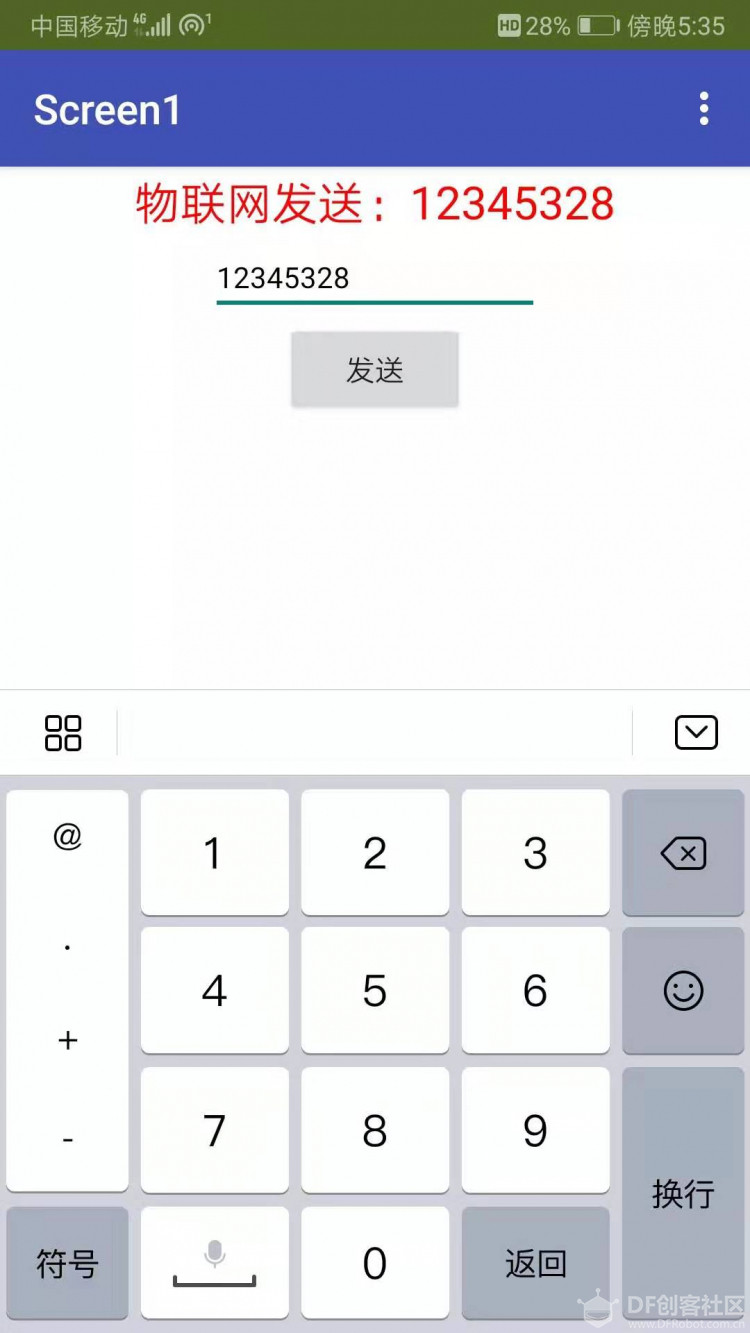 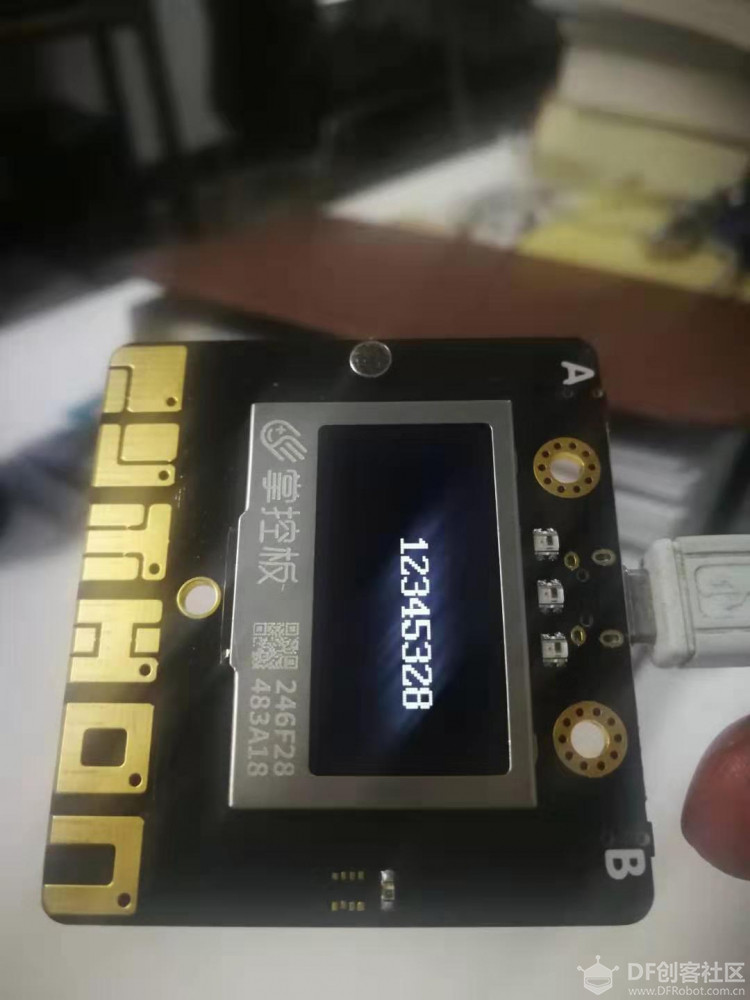 |


© 2013-2024 Comsenz Inc. Powered by Discuz! X3.4 Licensed

 置顶卡
置顶卡 变色卡
变色卡 千斤顶
千斤顶

 活跃会员
活跃会员
 宣传大使
宣传大使
 创客造
创客造
 编辑选择奖
编辑选择奖
 志“童”道合
 编辑选择奖
编辑选择奖
 编辑选择奖
编辑选择奖


