Weather Widget -- Micro:bit 桌面天气预报站
Microbit Weather Widget桌面天气预报站项目部署及代码获取说明环境搭建
Python (≥3.0)Python 3.8.5 Windows 64-bitPython 3.8.5 Windows 64-bit
Git (推荐使用GitHub Desktop)GitHub Desktop Download
Microsoft Makecode editorhttps://makecode.microbit.org
Micro:bit端 - 显示器代码部署流程
[*]浏览器打开Makecode https://makecode.microbit.org
[*]点击右侧 "Import" 按钮, 如图
[*]选择 "Import URL..."
[*]输入URL: https://github.com/microboym/weather-microbit
[*]点击 "Go ahead!" , 即可完成导入
[*]将程序下载至 micro:bit 即可
电脑端 - 串口数据服务器代码部署流程方法一安装 GitHub Desktop 后, 直接打开链接克隆即可x-github-client://openRepo/https://github.com/microboym/weather-server方法二
[*]浏览器打开 GitHub 链接 https://github.com/microboym/weather-server
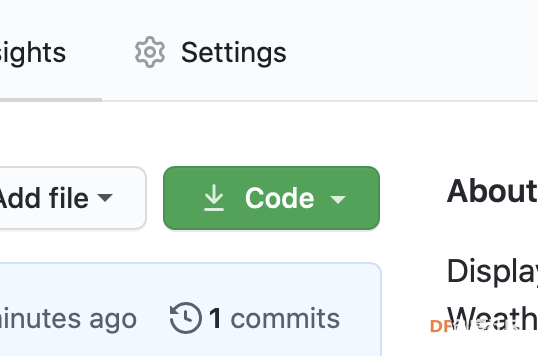
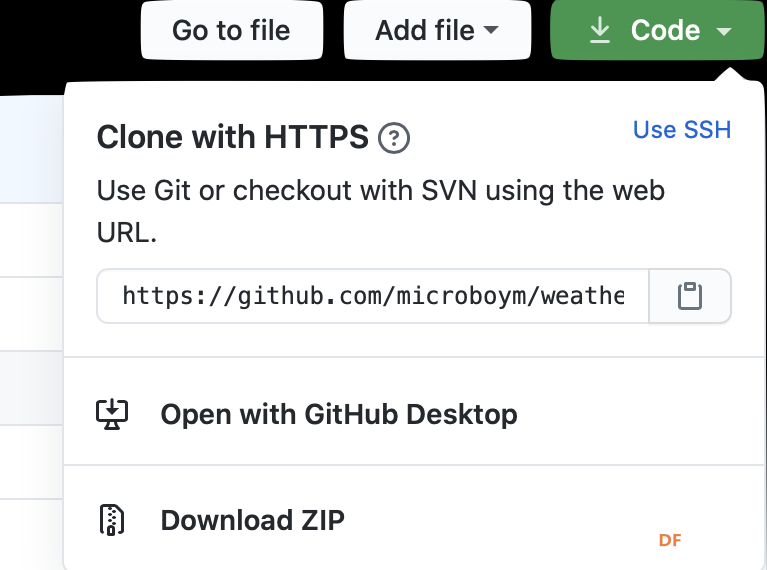
[*]点击绿色 “Code" 按钮
[*]点击 "Open with GitHub Desktop", 克隆到自己喜欢的位置
正式部署 Weather Widget Micro:bit 桌面天气预报站电脑端: 串口数据服务器
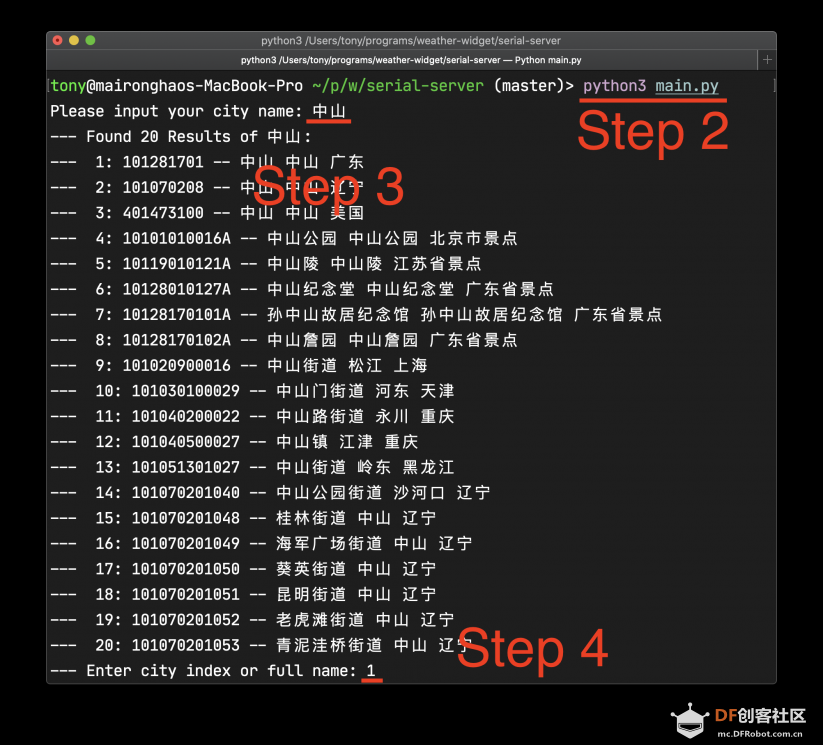
[*]命令行进入刚才克隆代码的文件夹里面
[*]输入命令 python main.py
[*]输入您的城市名(用中文)
[*]搜索结果可能有多个, 请输入城市的对应编号
[*]输入后程序会自动配对 micro:bit, 日志文件保存在 weather.log
[*]此后所有操作自动执行, 按 Control + C 停止
其他命令
[*]指定城市: python main.py -c <city name> 或 python main.py --city=<city name>
[*]调试模式: python main.py -d 或 python main.py --debug
Micro:bit 端: 天气预报显示器
[*]将程序下载至 micro:bit
[*]拔出 micro:bit 连接
[*]启动电脑端串口数据服务器
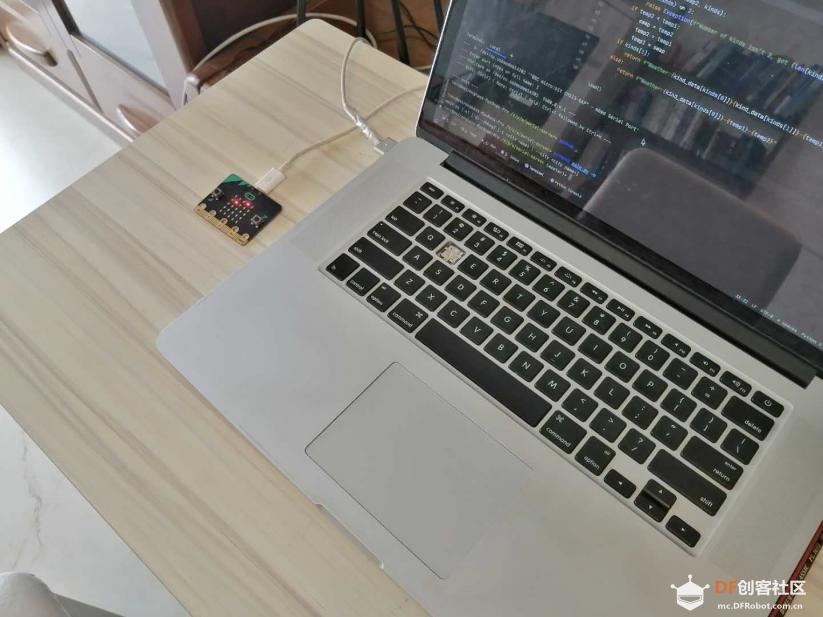
[*]插入 micro:bit
[*]服务器自动连接后, micro:bit 的加载动画会变为对勾✅
[*]按下 micro:bit A 按钮, micro:bit 会自动发出请求
[*]电脑收到请求后, 自动从中国天气网获取数据, 传回 micro:bit
[*]Micro:bit 收到数据, 在 5x5 Led 点阵显示
Micro:bit 与电脑的通信过程可在调试模式下在电脑终端中查看
---END ---如果喜欢的话, 请在 GitHub 上 Star 一下哦.micro:bit 端代码: https://github.com/microboym/weather-microbit电脑端代码: https://github.com/microboym/weather-server 厉害厉害
页:
[1]