本帖最后由 kylinpoet 于 2021-4-19 16:25 编辑
在上文中 Gravity:WIFI IoT模块测评1——开箱,上手,物联一条龙,我们介绍了 WIFI IoT模块的基本情况及使用方法,本文我们再来试试用这个模块进行一个真实情境的物联设置。
一、 物联网平台:
物联网的关键当然是物联环境,这次我们还是使用 DF自己的 物联网平台:easyIoT,这个是我见过简单,却非常实用,易操作的平台。
在这里我们可以方便地创建新设备,用于连接。因为具体操作和其它MQTT平台类似,这里就不展开讲了,
这里说一个大家有可能没怎么用过,但在应用场景中,有意想不到效果的功能:
也就是 基于HTTP GET 的直接设置功能:
当我们直接用浏览器访问这个地址的时候:
- https://iot_s1.dfrobot.com.cn/apiv2/publish?topic=【你的设备topic】&msg=【你的消息内容】&token=【服务器生成唯一】&iname=【你的Iot_id】&ipwd=【你的Iot_pwd】&timemark=【时间戳,服务器生成,无需更改】
可以直接实现发送mqtt消息的功能。
这个链接的好处就是有时候提交消息的时候可以直接使用HTTP协议,而无需MQTT协议。
二、人工智能交互接口:
为了更方便地使用万物互联,人工智能少不了,因为笔者使用的是华为手机,想直接用它的语音助手进行控制,它的自定义功能比较弱,
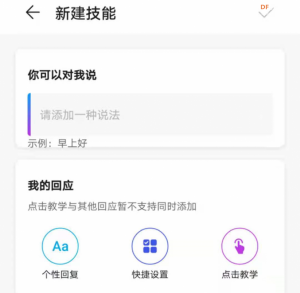 、 、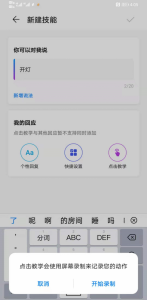
个性回复是文字,快捷设置 主要是打开应用,或者它支持的应用的一些基本功能。只有点击教学,可以录制一定的宏命令使用。【不像IOS的捷径那么方便,还是笔者的资源搜索能力太弱了找不到其它功能?望网友赐教。】
大概的操作是:手机唤醒——》语音技能(开灯)——》打开浏览器——》访问HTTP链接发送相应MQTT指令
具体操作请稍安勿躁,继续往下看。。。
三、物联设备:
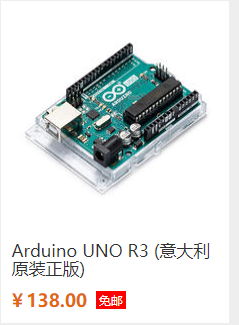
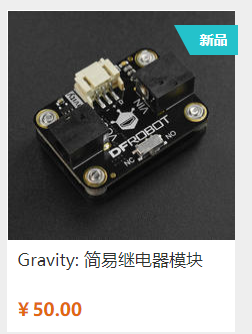
手工改造一盏小台灯,加上一个小型继电器,进行连接,因为本文主要是介绍 WIFI IoT模块,其它功能就不展开讲了,主要使用设备有:
 、 、 、 、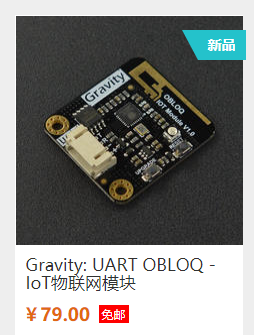 、 、
按如下连接:
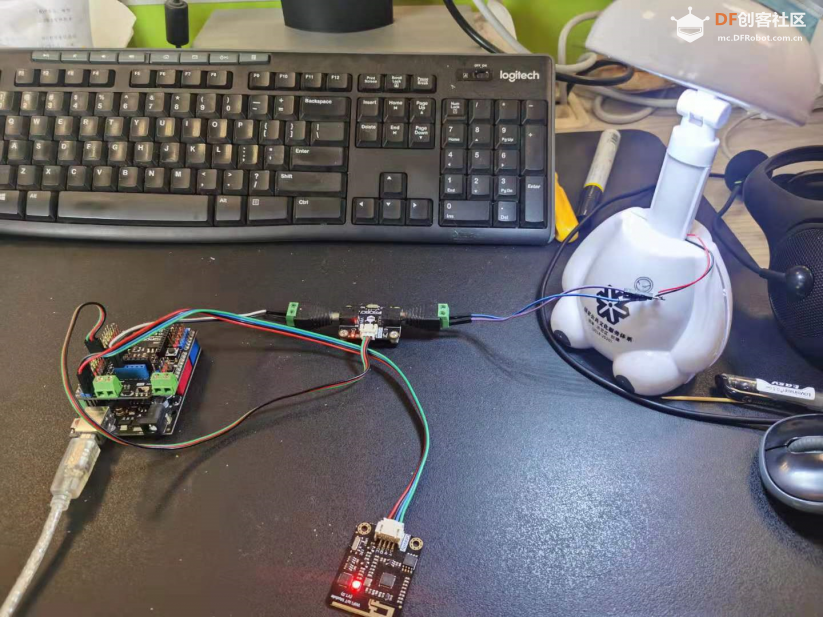
我们在Arduino内刷入如下代码:
- /*!
- * @file Easy_IoT.ino
- * @brief In this example, we will use UART or I2C, and MQTT protocol to send "HI DFROBOT 2020" to Easy IoT website
- * @n Experimental Phenomenon: easy_IoT website receives message every 1 second.
- *
- * @copyright Copyright (c) 2010 DFRobot Co.Ltd (http://www.dfrobot.com)
- * @licence The MIT License (MIT)
- * @author [Tang](jie.tang@dfrobot.com)
- * @version V1.0
- * @date 2020-07-13
- * @get from https://www.dfrobot.com
- * @url https://github.com/DFRobot/DFRobot_WiFi_IOT_Module
- */
- #include "DFRobot_WiFi_IoT_Module.h"
- // #include <SoftwareSerial.h>
- #define PINX 8 //继电器1
- //I2C mode
- DFRobot_WiFi_IoT_Module_I2C IOT;
- //UART mode
- //Use software serial port RX:10,TX:11
- //SoftwareSerial mySerial(10, 11);
- //DFRobot_WiFi_IoT_Module_UART IOT(&mySerial);
-
- //Configure WiFi name and password
- const char *WIFI_SSID = "kylin-";
- const char *WIFI_PASSWORD = "";
- //Easy IOT EN configuration
- const char *EASY_IOT_SERVER = "iot.dfrobot.com.cn";
- //Easy IOT EN configuration
- //const char *EASY_IOT_SERVER = "iot.dfrobot.com";
- const char *EASY_IOT_PORT = "1883";
- const char *EASY_IOT_ID = "";
- const char *EASY_IOT_PWD = "";
- const char *SUBSCRIBE_TOPIC = "Q-";
- const char *PUBLISH_TOPIC = "Q-";
- const char *EASY_IOT_SEND_MESSAGE = "Send_Message";
-
-
-
-
- //Set callback function
- void callback(const char*topic,const char*message){
- Serial.println("Receive [ " + (String)topic + "]," + "Message : " + (String)message);
- if ((String)message=="1"){
- digitalWrite(PINX, HIGH);
- };
- if ((String)message=="0"){
- digitalWrite(PINX, LOW);
- };
- }
-
- void setup(void){
- //Use softwareserial myserial as communication serial port
- //mySerial.begin(9600);
- //Use serial as print serial port
- pinMode(PINX, OUTPUT);
- Serial.begin(115200);
- //Init communication port
- while(IOT.begin() != 0){
- Serial.println("init ERROR!!!!");
- delay(100);
- }
- Serial.println("init Success");
- //Connect WiFi
- while(IOT.connectWifi(WIFI_SSID, WIFI_PASSWORD) != 0){
- Serial.print(".");
- delay(100);
- }
- Serial.println("Wifi Connect Success");
- //Initialize MQTT and connect to platform
- while(IOT.MQTTBegin(EASY_IOT_SERVER, EASY_IOT_PORT, EASY_IOT_ID, EASY_IOT_PWD) != 0){
- Serial.print(".");
- delay(100);
- }
- Serial.println("MQTT Connect Success");
- //Set callback function
- IOT.setCallBack(callback);
- //Subscribe to topics
- while(IOT.subscribe(SUBSCRIBE_TOPIC) != 0){
- Serial.print(".");
- delay(100);
- }
- Serial.println("Subscribe Topic Success");
- }
-
- void loop(void){
- //Send data to the subscribed topic.
- IOT.loop();
- // if(IOT.publish(PUBLISH_TOPIC,EASY_IOT_SEND_MESSAGE) == 0){
- // IOT.loop();
- // }else{
- // Serial.println("Data sending timeout");
- // }
- delay(500);
- }
当我们用 WIFI IoT模块连上网后,其它的操作就非常简单了,主要功能在这个回调函数:

分别用字符1和0控制继电器的开和关。
演示视频:
|
|
|
|
|
|
|
|
|
|

 、
、
 、
、 、
、 、
、


 沪公网安备31011502402448