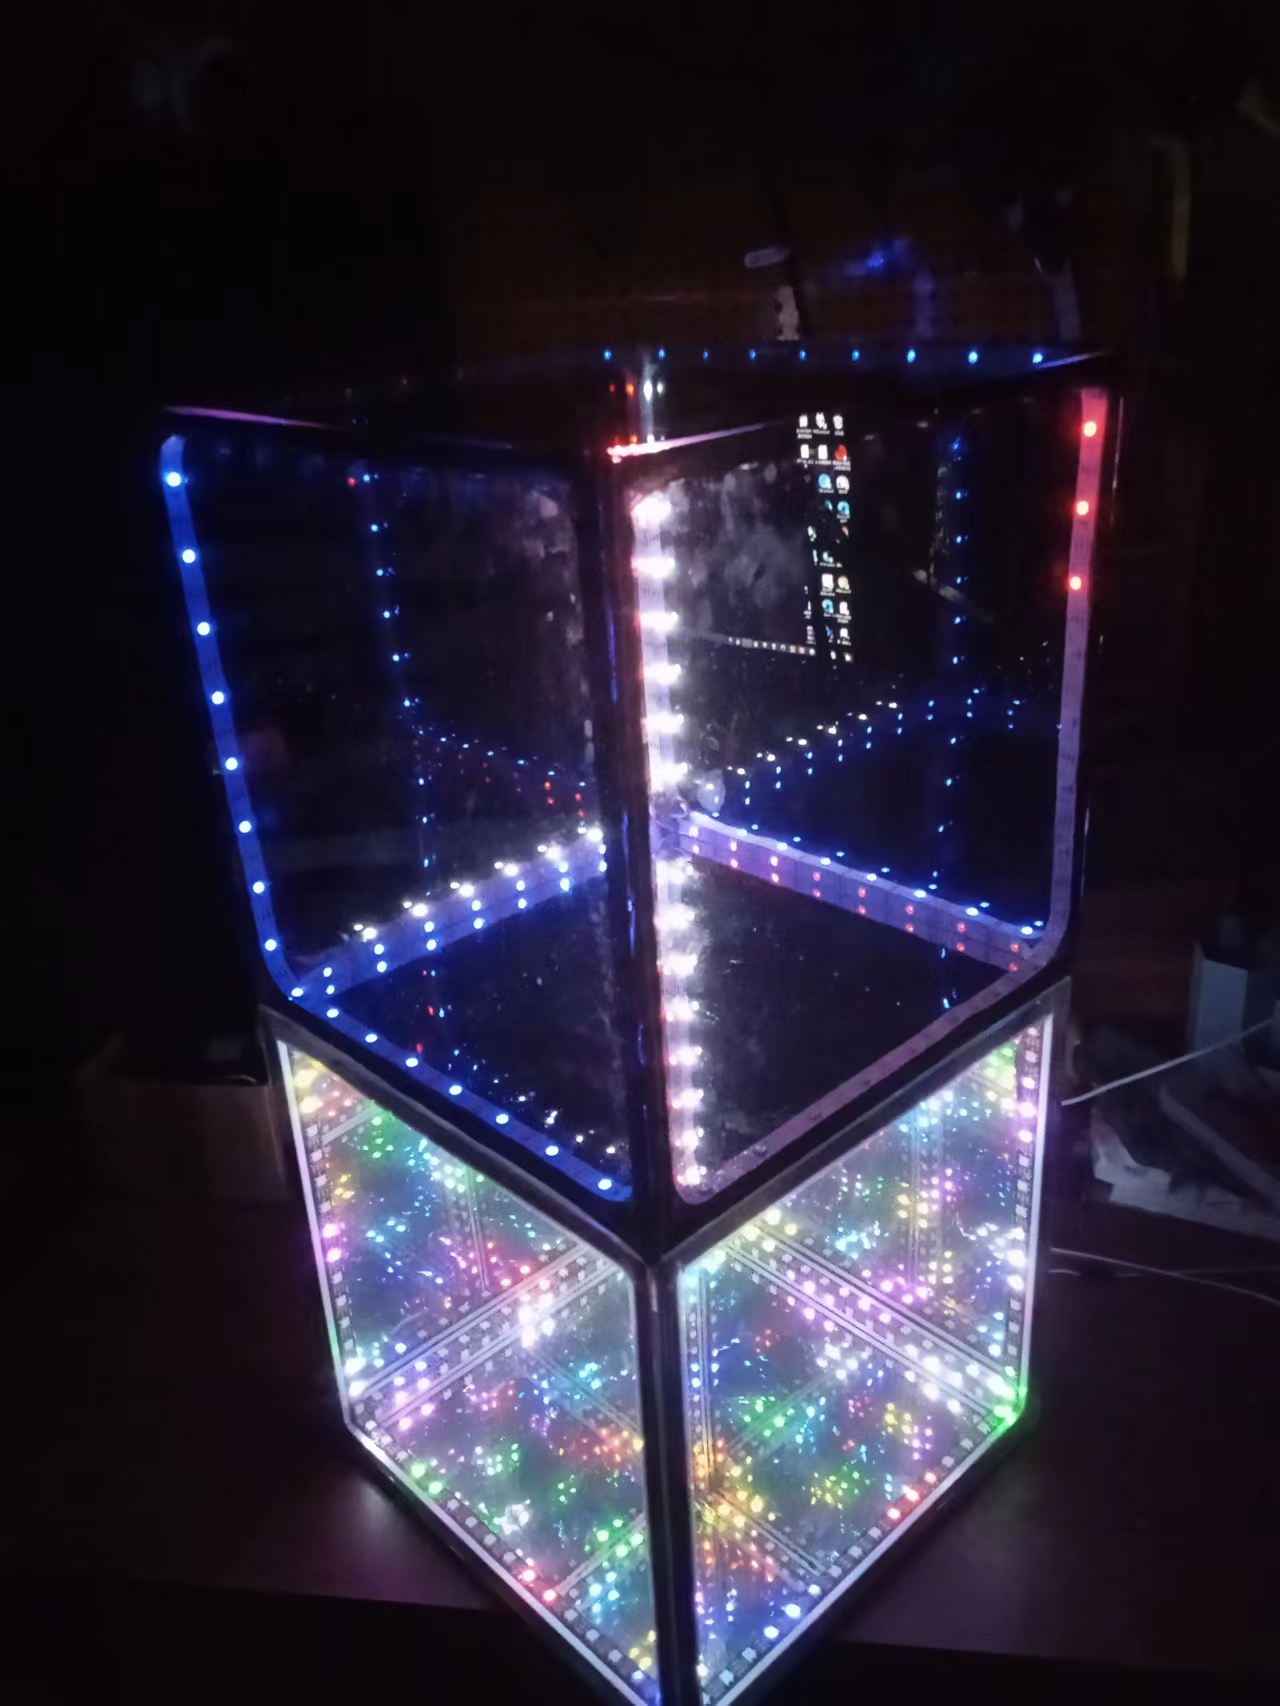
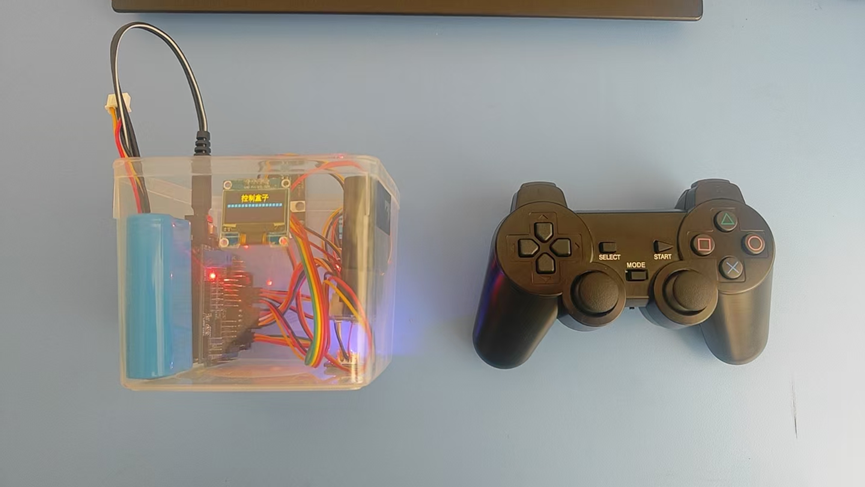
【花雕动手做】有趣好玩的音乐可视化系列小项目(26)--LED 超立方体
偶然心血来潮,想要做一个声音可视化的系列专题。这个专题的难度有点高,涉及面也比较广泛,相关的FFT和FHT等算法也相当复杂,不过还是打算从最简单的开始,实际动手做做试验,耐心尝试一下各种方案,逐步积累些有用的音乐频谱可视化的资料,也会争取成型一些实用好玩的音乐可视器项目。8
超级立方体,还有一种称呼叫做LED无限魔方的英文是LED Infinity Cube,大概说的都是一种三维或多维镜像LED灯。在前期音乐可视化系列22之中,尝试做过一只10X10X10厘米小规格的,这次准备升级,做个大号的看看效果。
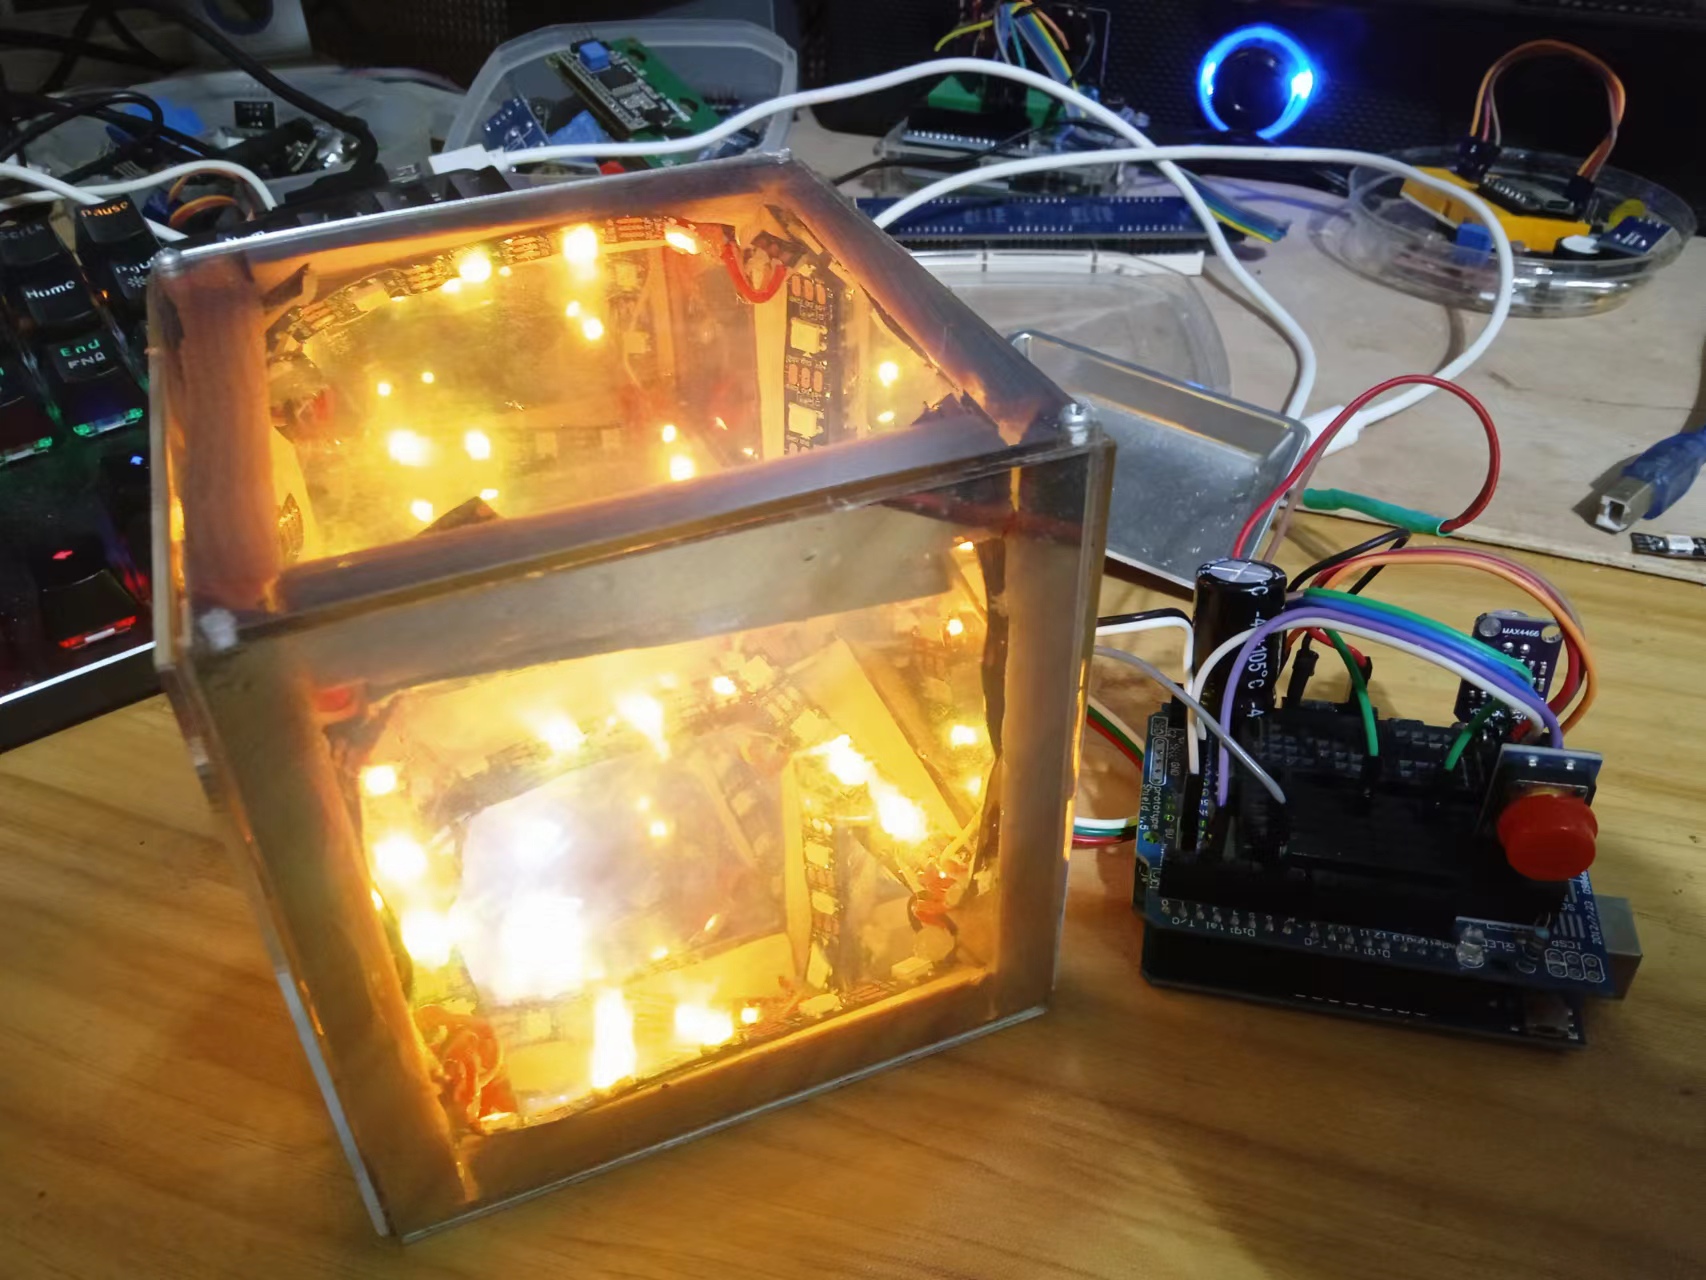
快递有点慢,框架材料刚收到。这是方木条。
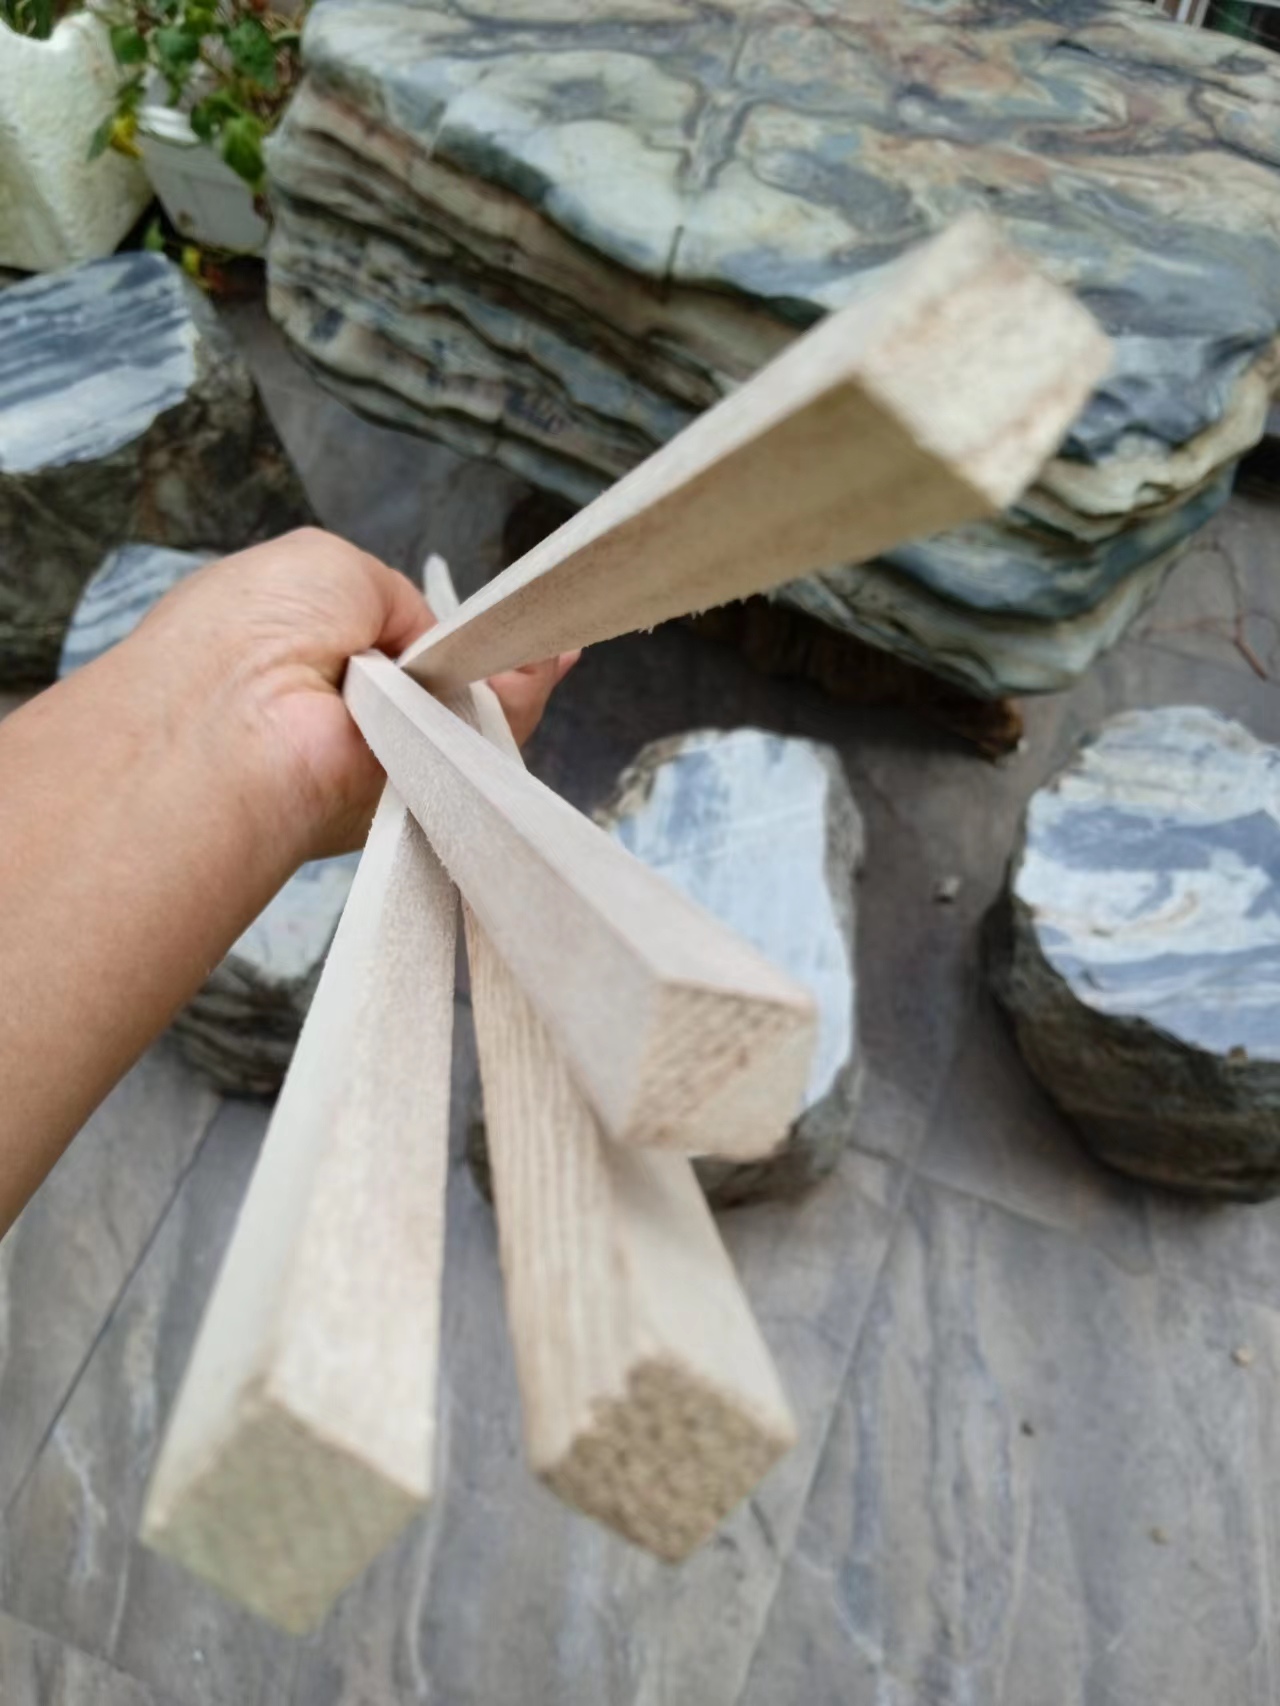
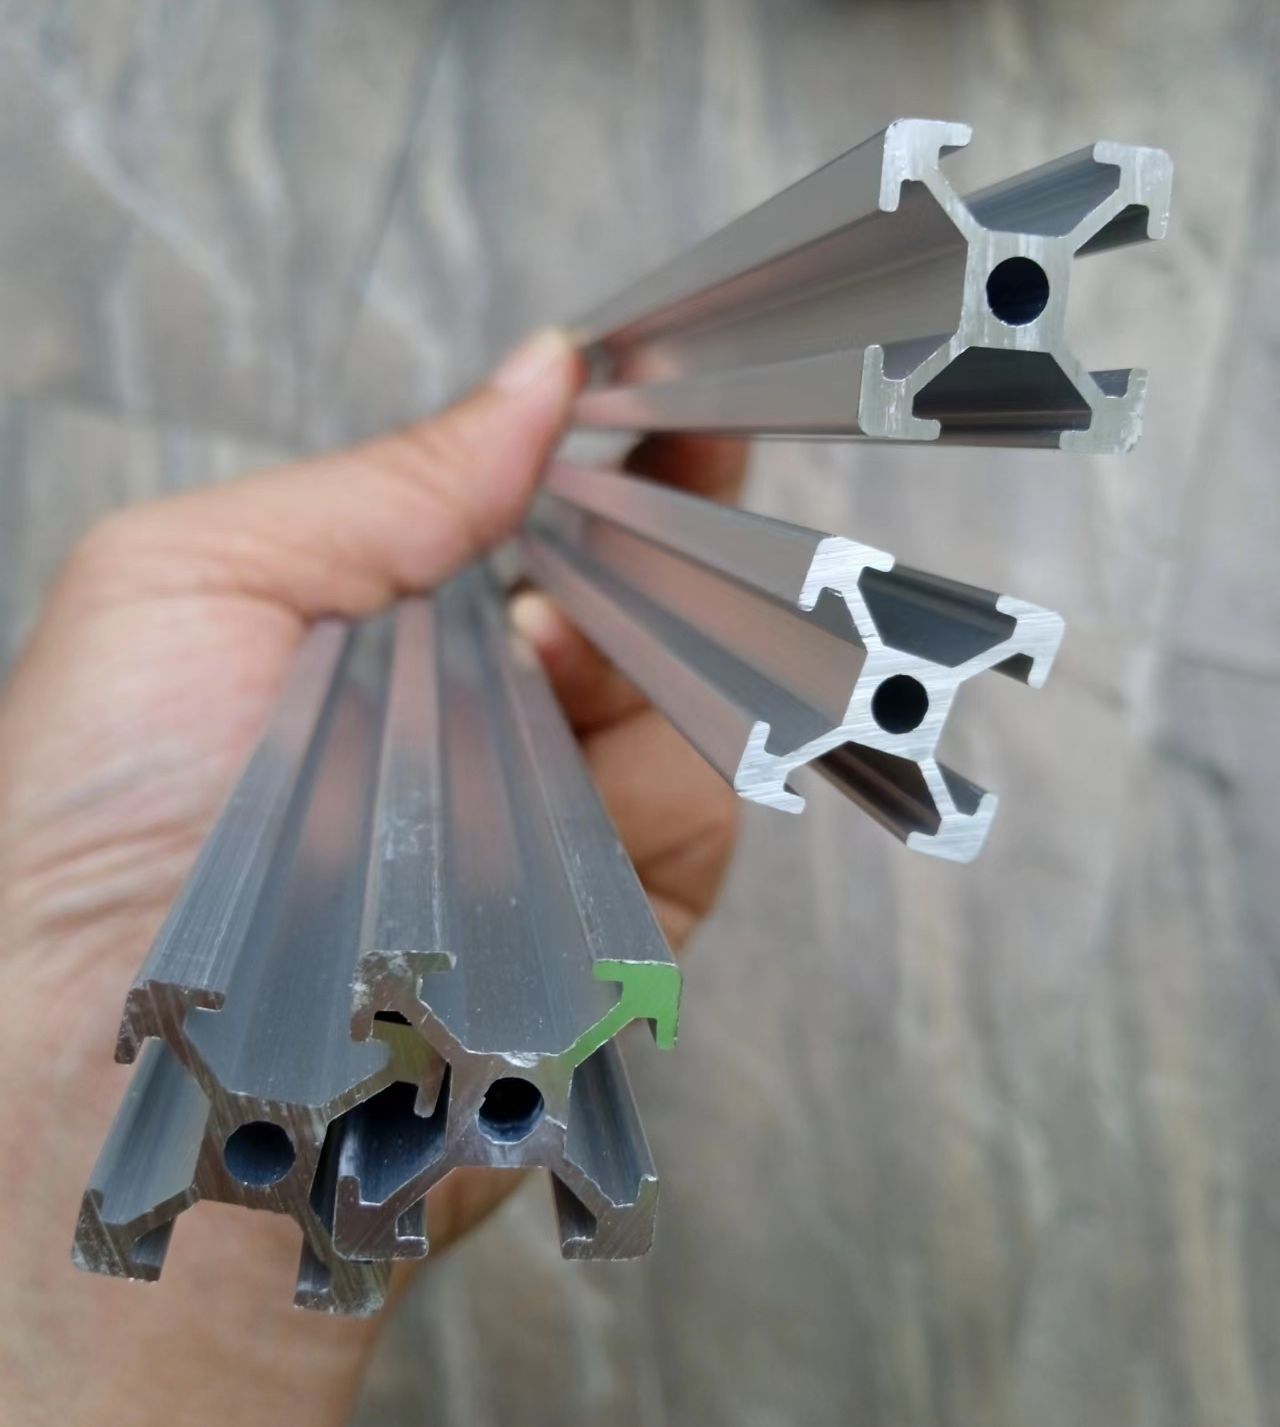
这种铝型材整了十米。
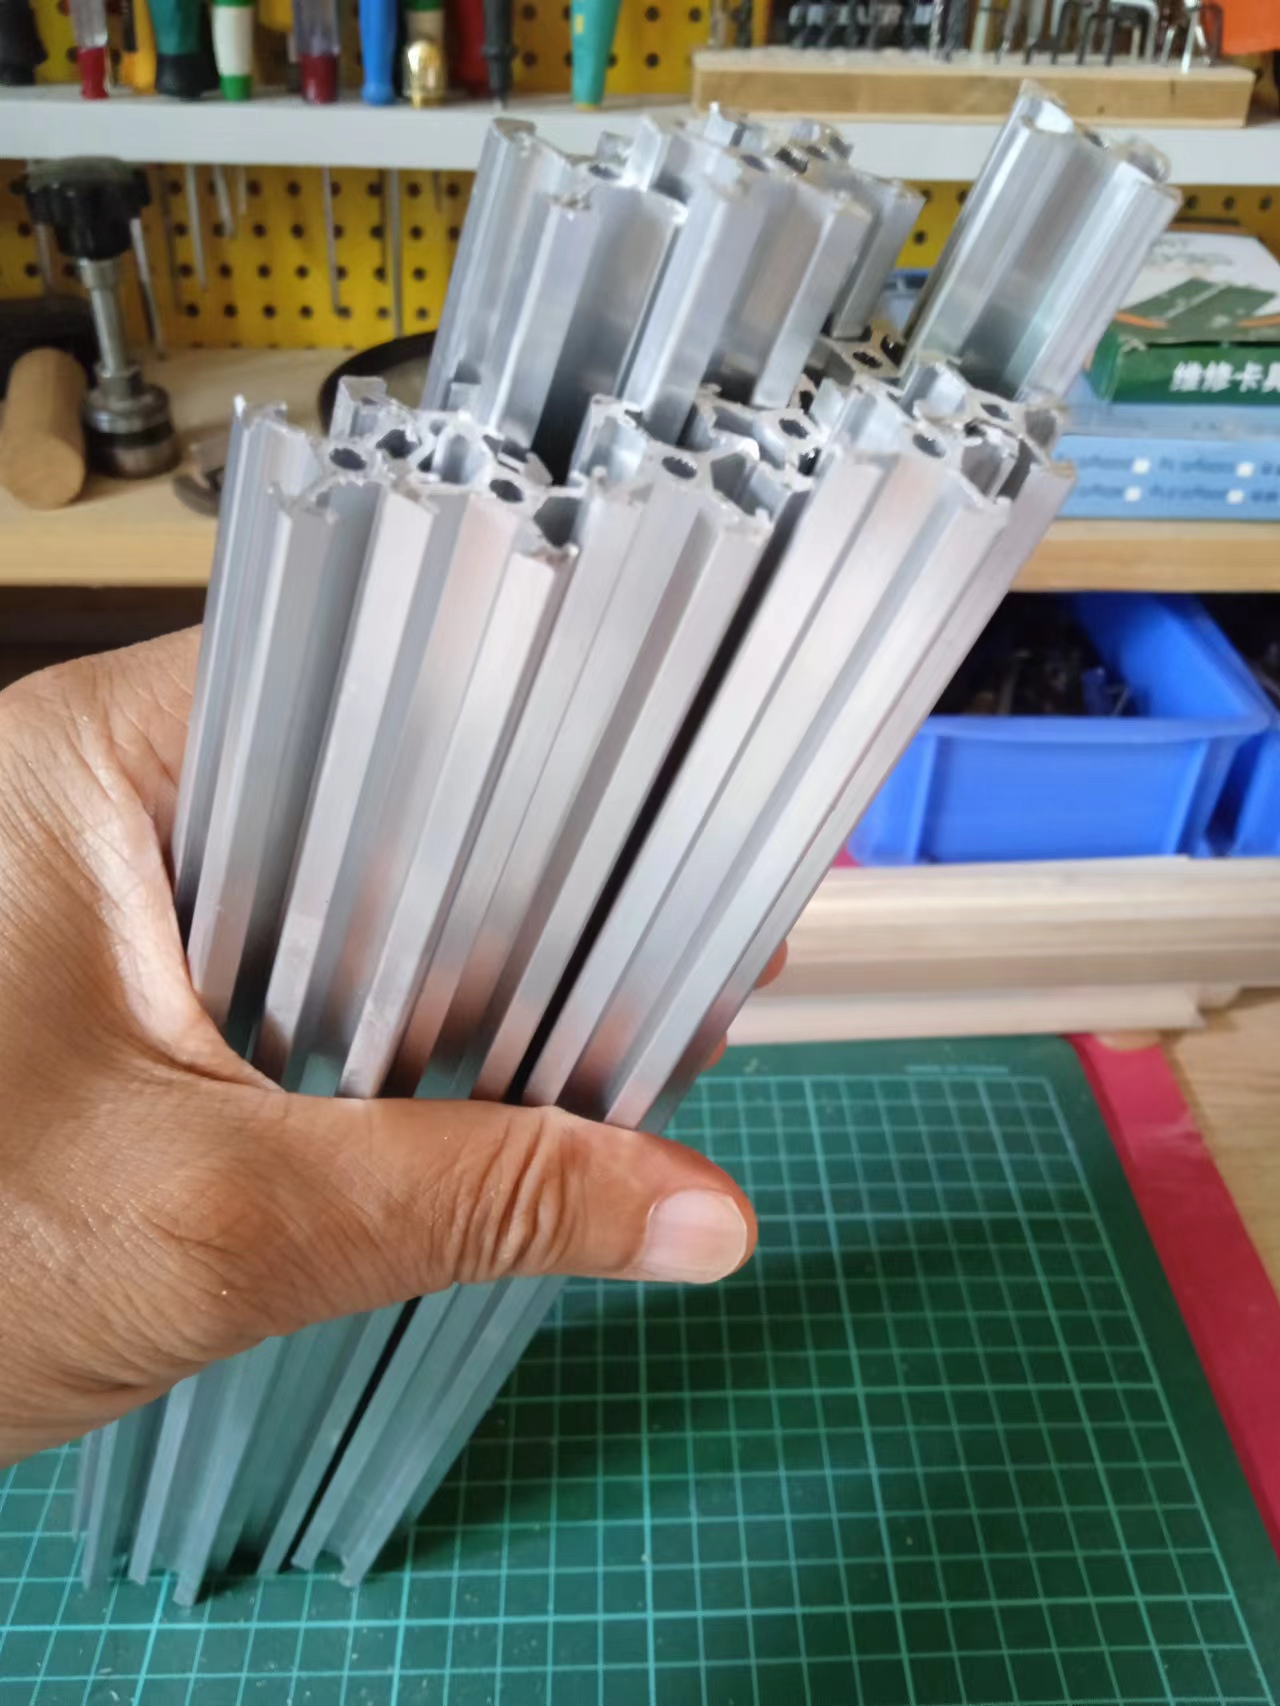
一个结构需要12段
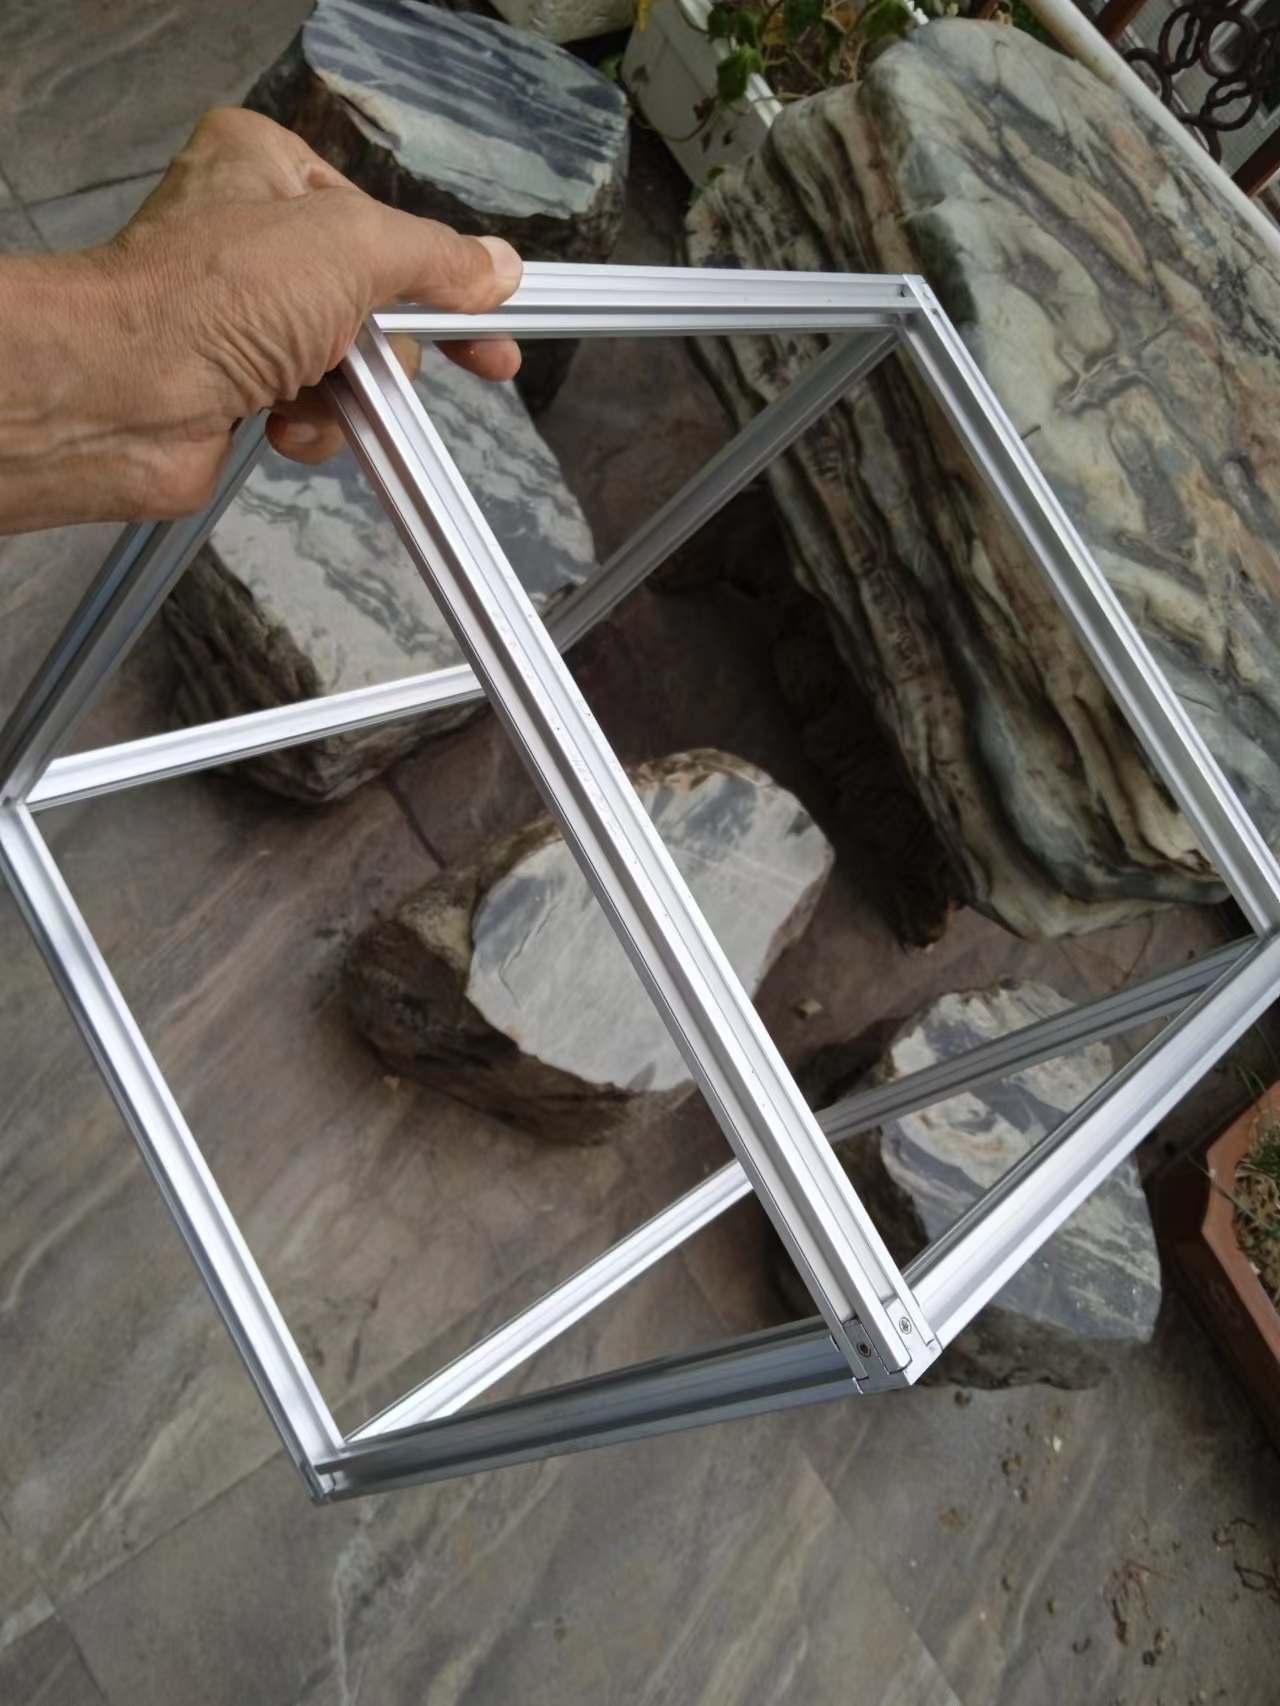
安装好的铝材结构框架
采用每米60灯黑底裸板
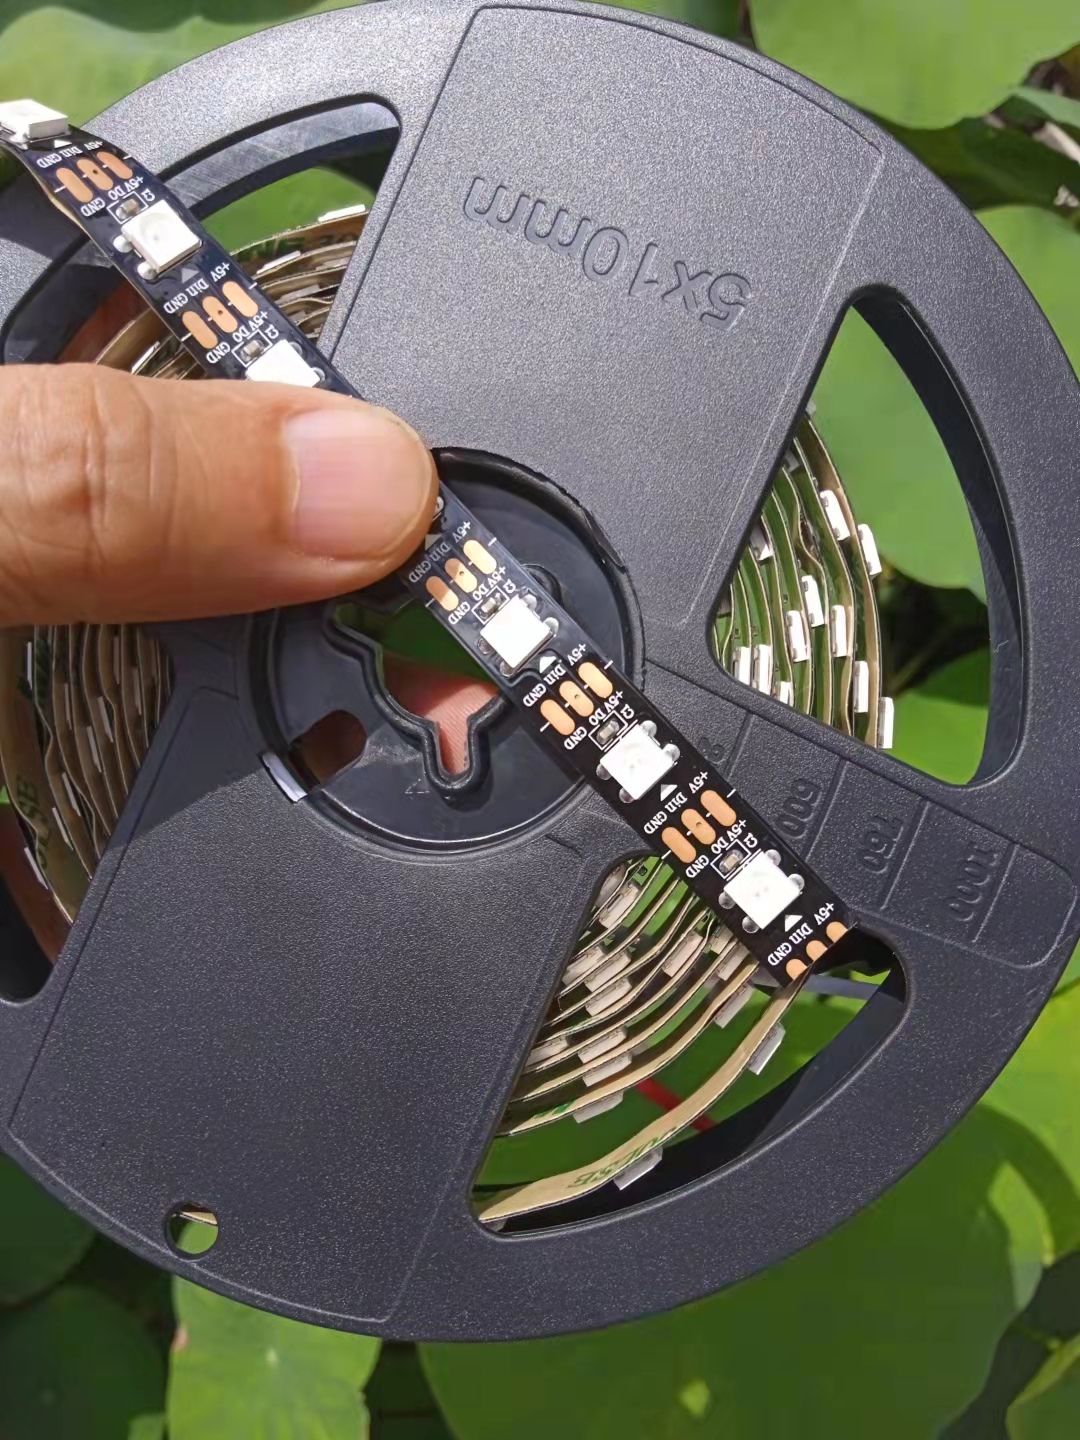
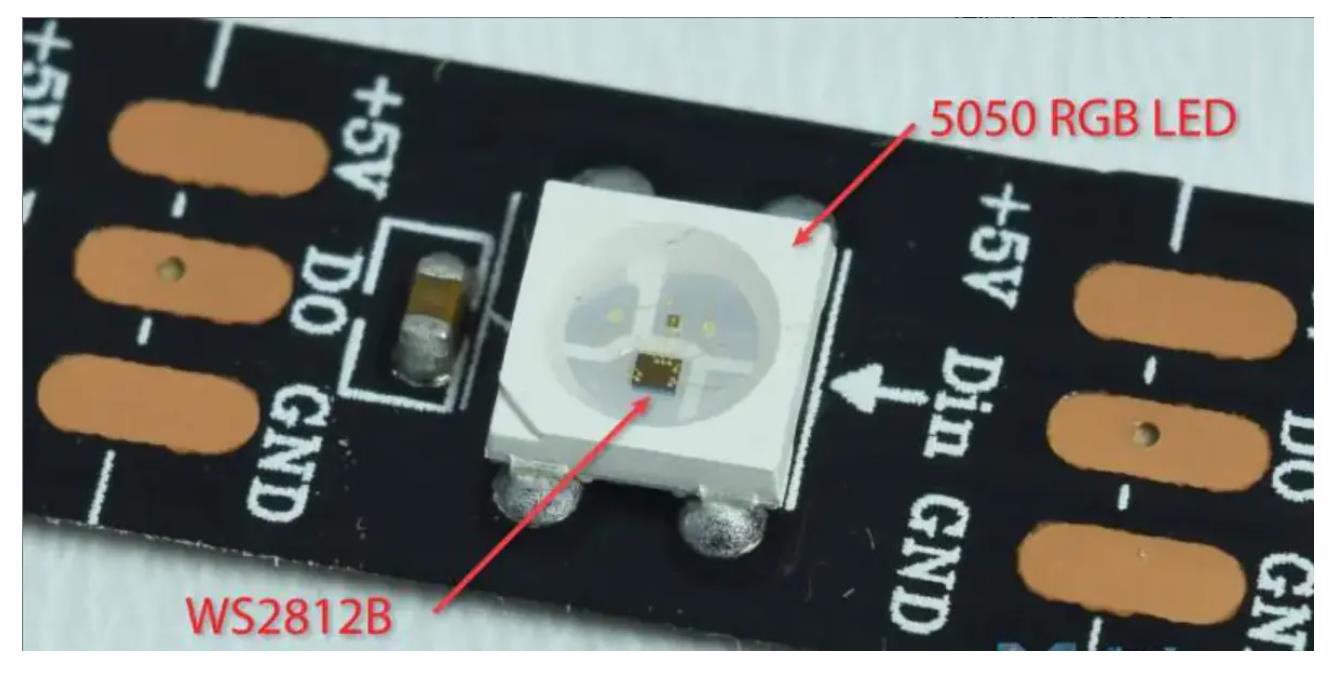
WS2812B
是一个集控制电路与发光电路于一体的智能外控LED光源。其外型与一个5050LED灯珠相同,每个元件即为一个像素点。像素点内部包含了智能数字接口数据锁存信号整形放大驱动电路,还包含有高精度的内部振荡器和12V高压可编程定电流控制部分,有效保证了像素点光的颜色高度一致。数据协议采用单线归零码的通讯方式,像素点在上电复位以后,DIN端接受从控制器传输过来的数据,首先送过来的24bit数据被第一个像素点提取后,送到像素点内部的数据锁存器,剩余的数据经过内部整形处理电路整形放大后通过DO端口开始转发输出给下一个级联的像素点,每经过一个像素点的传输,信号减少24bit。像素点采用自动整形转发技术,使得该像素点的级联个数不受信号传送的限制,仅仅受限信号传输速度要求。

主要特点
1、智能反接保护,电源反接不会损坏IC。
2、IC控制电路与LED点光源公用一个电源。
3、控制电路与RGB芯片集成在一个5050封装的元器件中,构成一个完整的外控像素点。
4、内置信号整形电路,任何一个像素点收到信号后经过波形整形再输出,保证线路波形畸变不会累加。
5、内置上电复位和掉电复位电路。
6、每个像素点的三基色颜色可实现256级亮度显示,完成16777216种颜色的全真色彩显示,扫描频率不低于400Hz/s。
7、串行级联接口,能通过一根信号线完成数据的接收与解码。
8、任意两点传传输距离在不超过5米时无需增加任何电路。
9、当刷新速率30帧/秒时,级联数不小于1024点。
10、数据发送速度可达800Kbps。
11、光的颜色高度一致,性价比高。
应用领域
具有低电压驱动,环保节能,亮度高,散射角度大,一致性好,超低功率,超长寿命等优点。将控制电路集成于LED上面,电路变得更加简单,体积小,安装更加简便。主要应用领域,LED全彩发光字灯串,LED全彩模组, LED全彩软灯条硬灯条,LED护栏管。LED点光源,LED像素屏,LED异形屏,各种电子产品,电器设备跑马灯等。
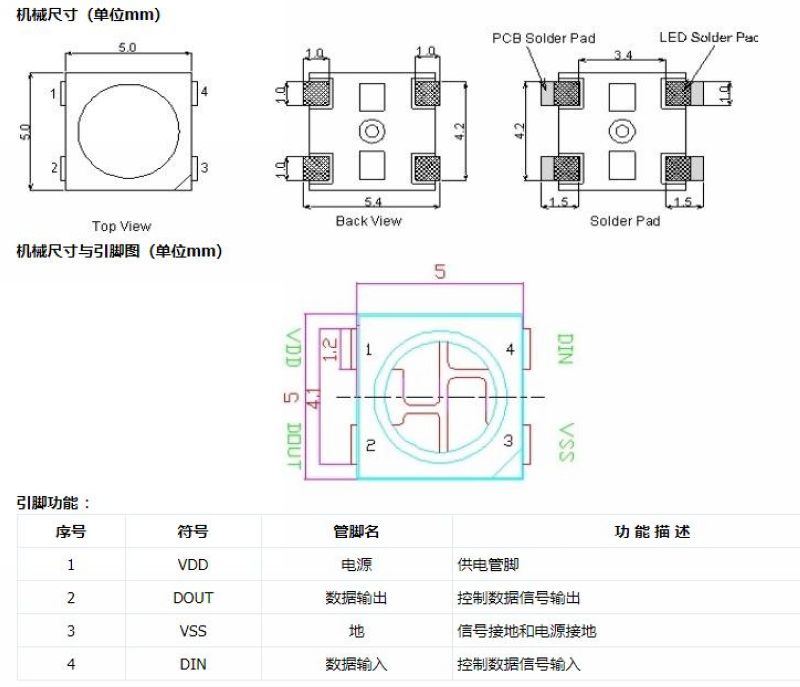
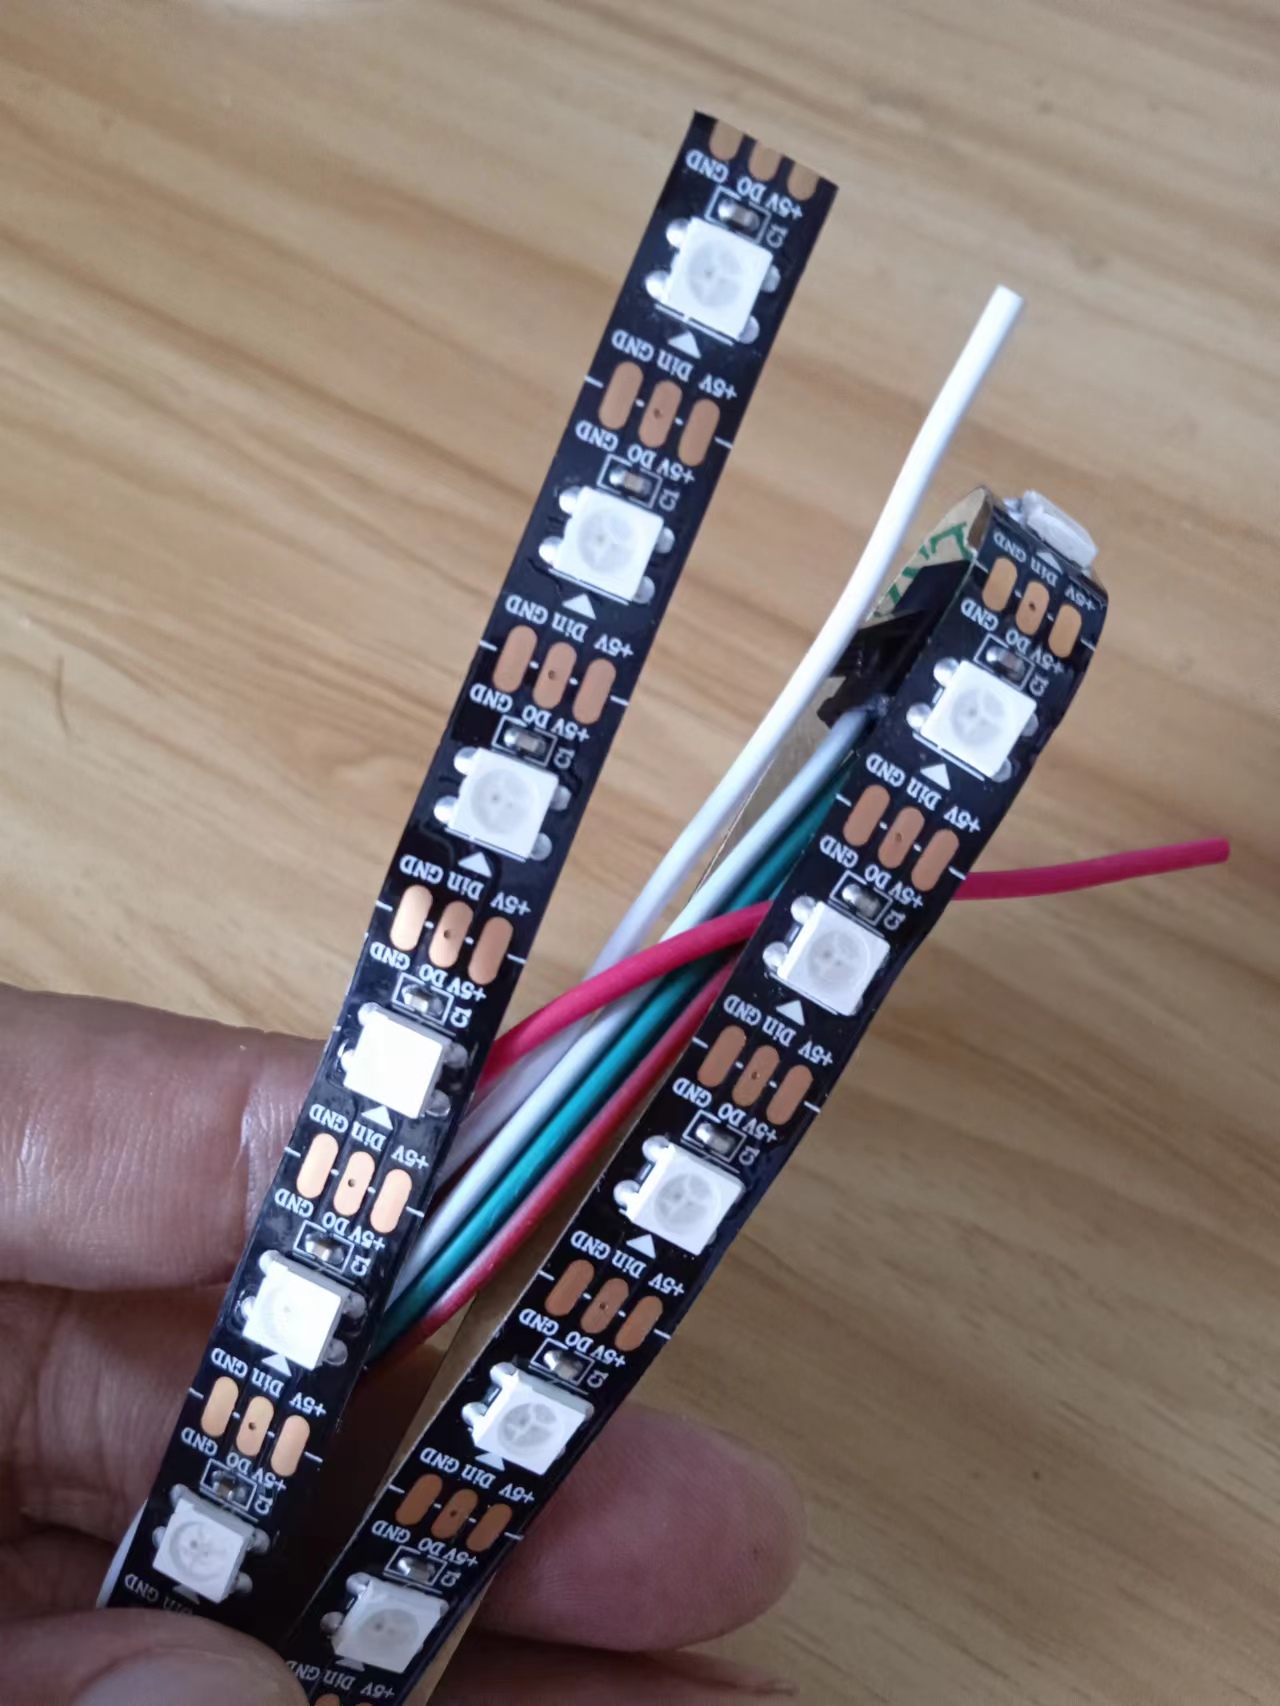
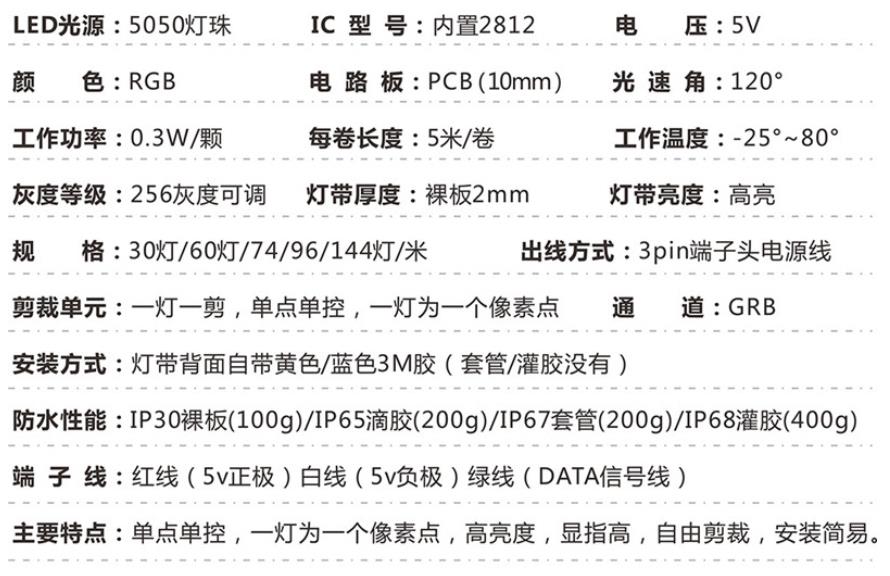
WS2812B灯带电原理图
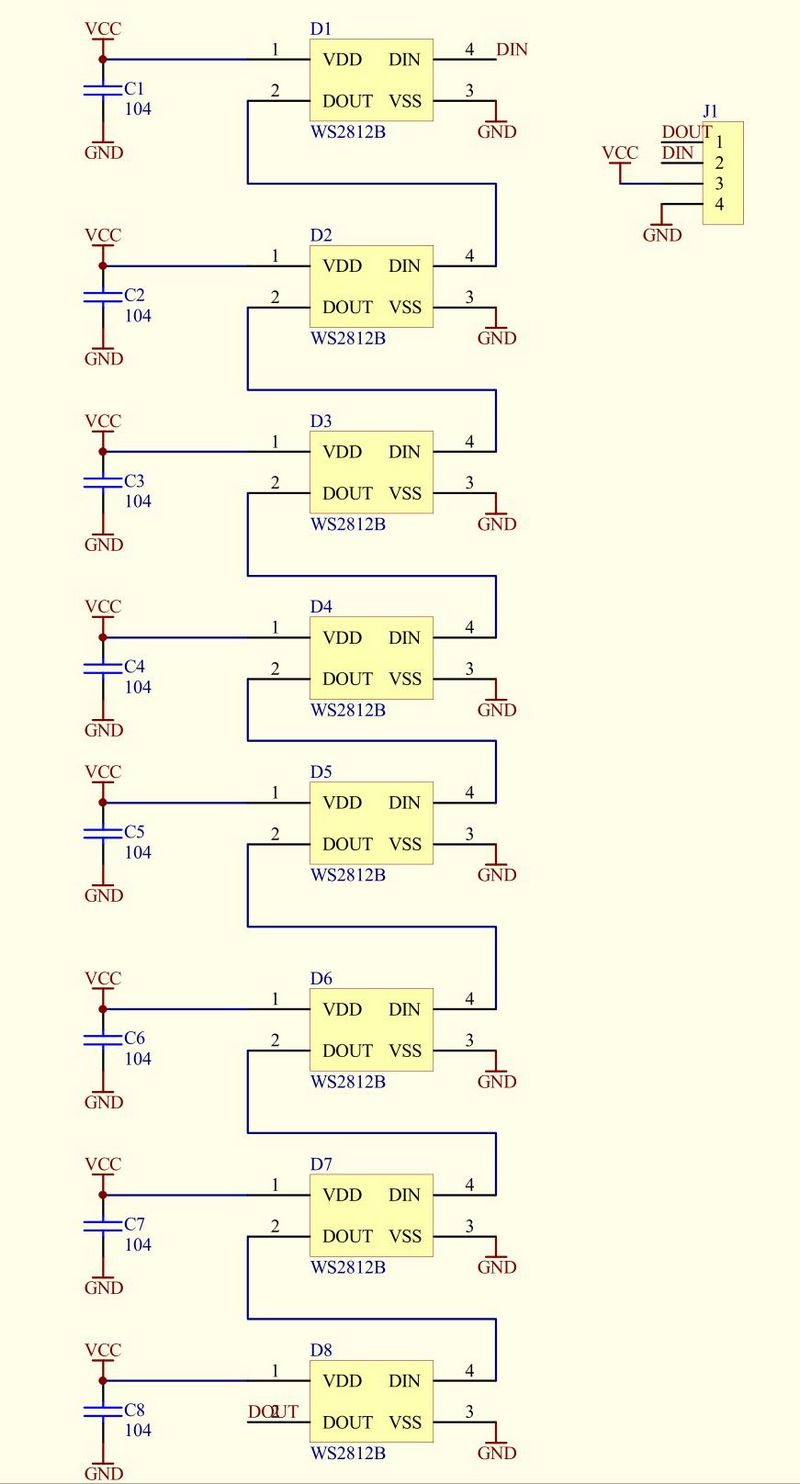
WS2812B是集控制电路和发光电路于一体的LED光源元件,其控制IC为WS2812B,发光元件是5050RGBLED,电压为5V,每个单位的峰值电流为60ma,灯带为三线制,VCC GND DIN分别为电源+、电源-、信号,当使用外部电源时,外部电源-需要与单片机的GND相连。

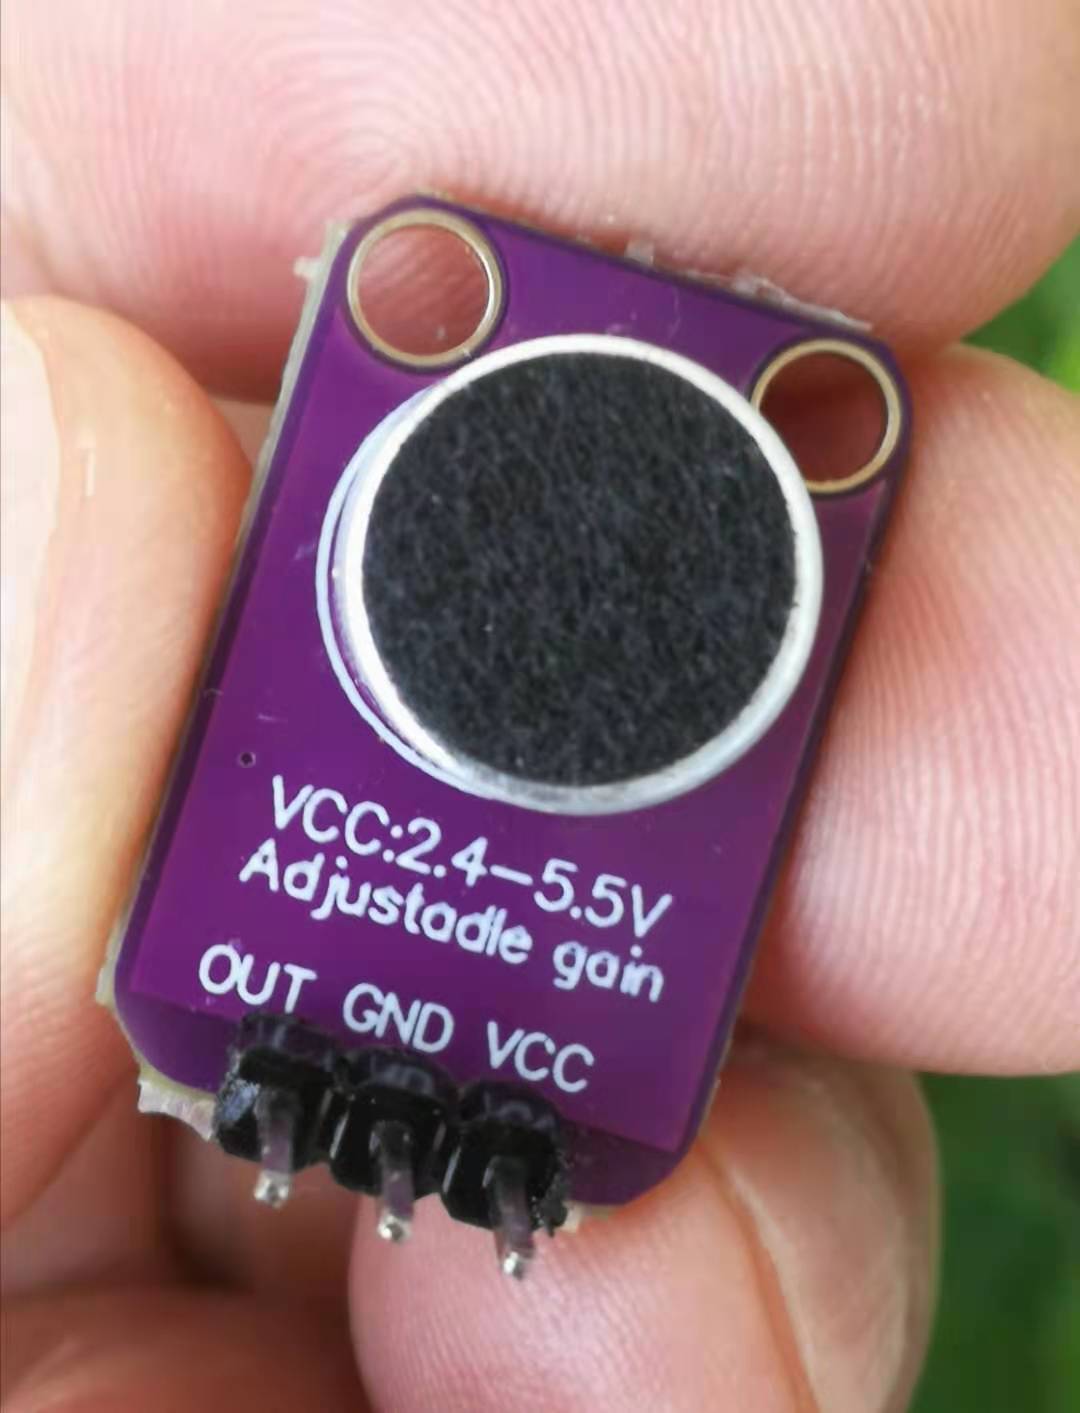
声音模块,使用性价比更高的MAX4466声音传感器。
MAX4466模块特点
电源电压:+2.4V至+5.5V(可直接接STM/ARDUNIO/树莓派等开发板)
电源抑制比:112dB
共模抑制比:126dB
AVOL:125dB(RL = 100kΩ) 轨到轨输出
静态电源电流:24μA
增益带宽:600kHz
尺寸:20.8mm x 13.8mm x 7.5mm/0.8 x 0.5 x 0.3inch
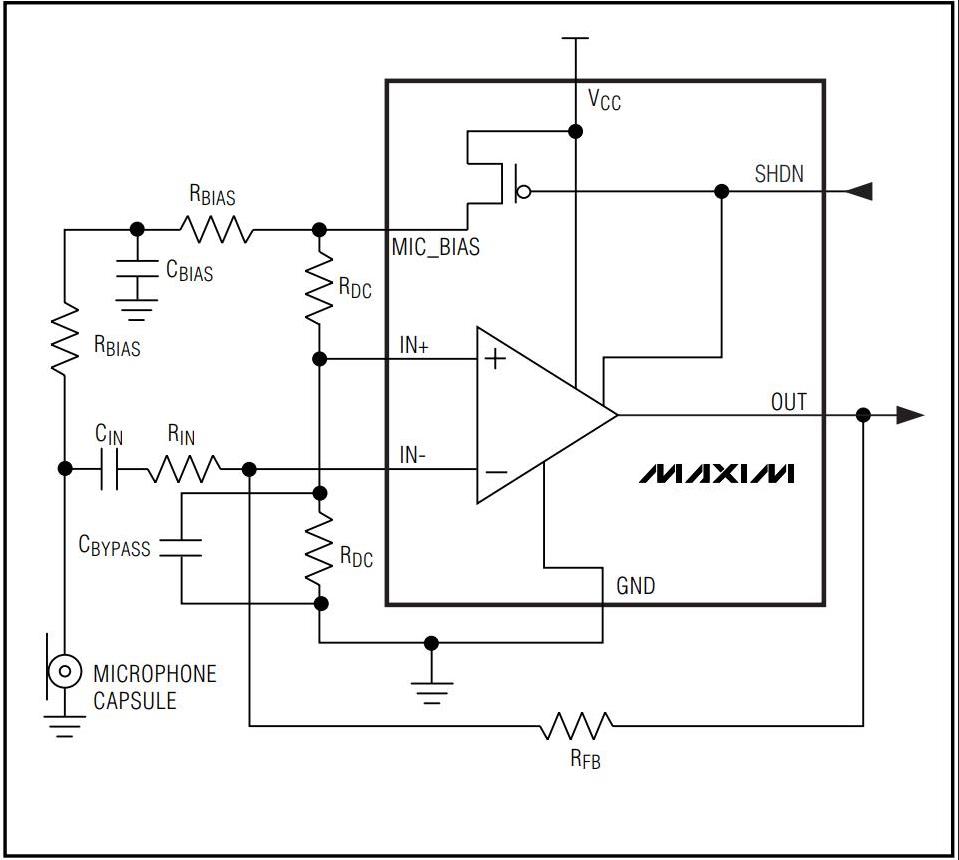
MAX4466
是微功率运算放大器,经过优化,可用作麦克风前置放大器。它们提供了优化的增益带宽产品与电源电流的理想组合,以及超小型封装中实现低电压工件环境。 MAX4466具有增益稳定特性,仅需24μA的电源电流即可提供200kHz的增益带宽。经过解压缩,可实现+5V/V的最小稳定增益,并提供600KHZ增益带宽。此外这些放大器具有轨到轨输出,高 AVOL ,以及出色的电源抑制和共模抑制比,适合在嘈杂环境中工作。广泛应用于蜂窝电话、数字复读装置、耳机、助听器、麦克风前置放大器、便携计算机和语音识别系统中。
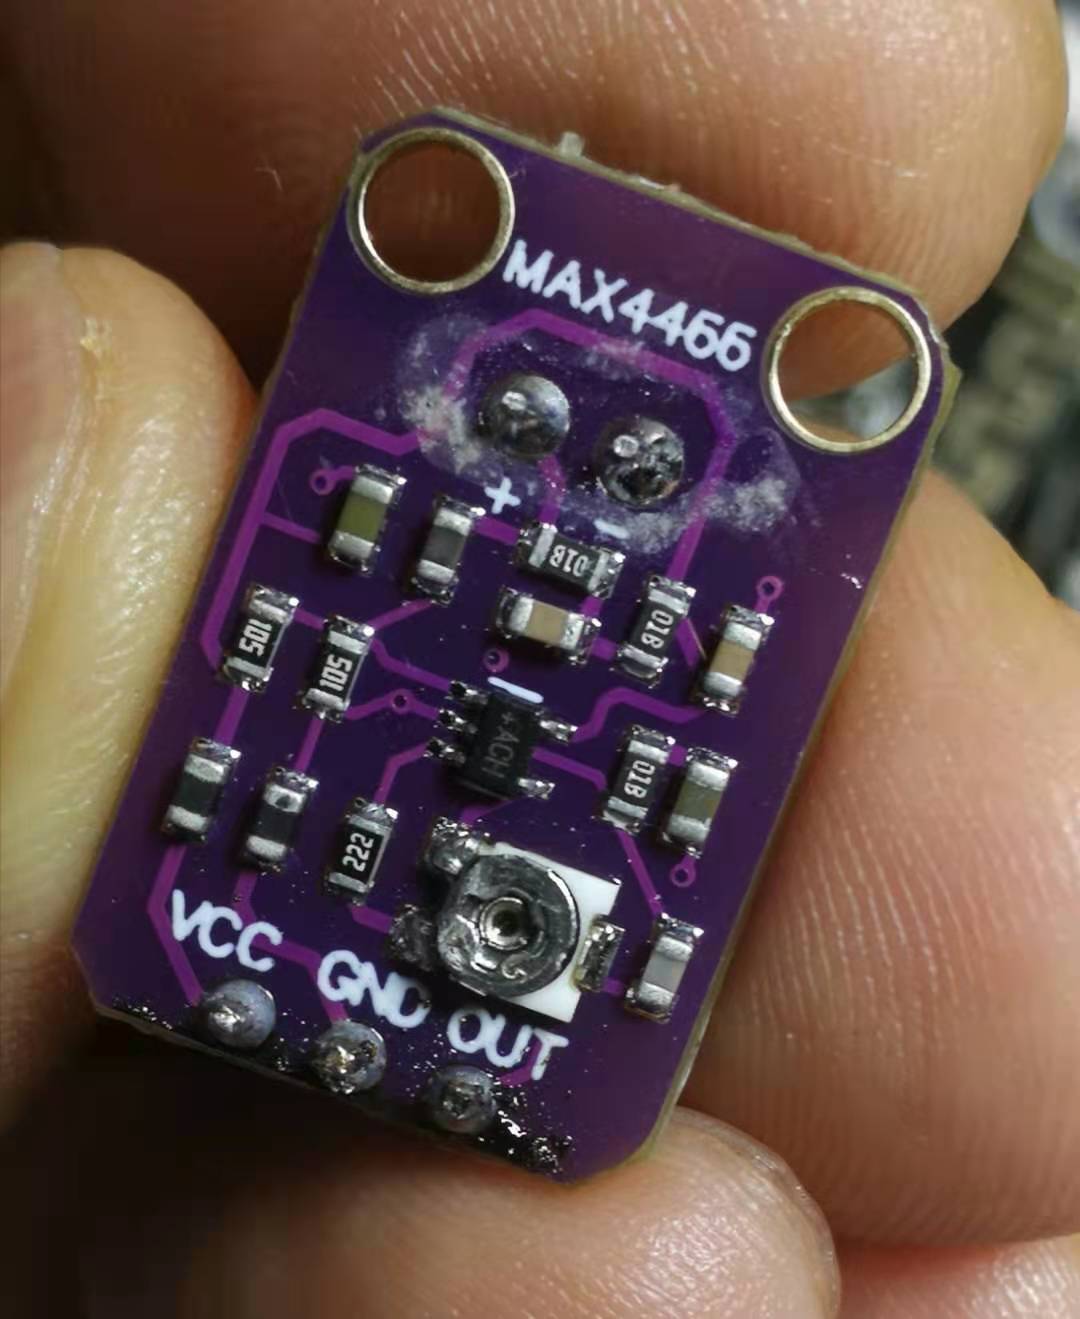
该模块在 Vcc 和接地引线上都包含铁氧体,以最大限度地减少电源噪声。如果与 MCU 一起使用,最好使用 2.4V – 5.5V 范围内可用的最安静的电源。在 Arduino 上,这通常是 3.3V 电源。
输出是直流耦合的。当输出信号处于静止状态时,它将位于 Vcc/2。如果 Vcc 为 5V,则输出将为 2.5V。如果输出需要交流耦合,可以在输出引脚和它驱动的电路的输入之间增加一个100uF的电容。
背面的小型单圈电位器可让您将增益从 25x 调整到 125x。逆时针旋转电位器会增加增益,而逆时针旋转会降低增益。
安装好二根灯带
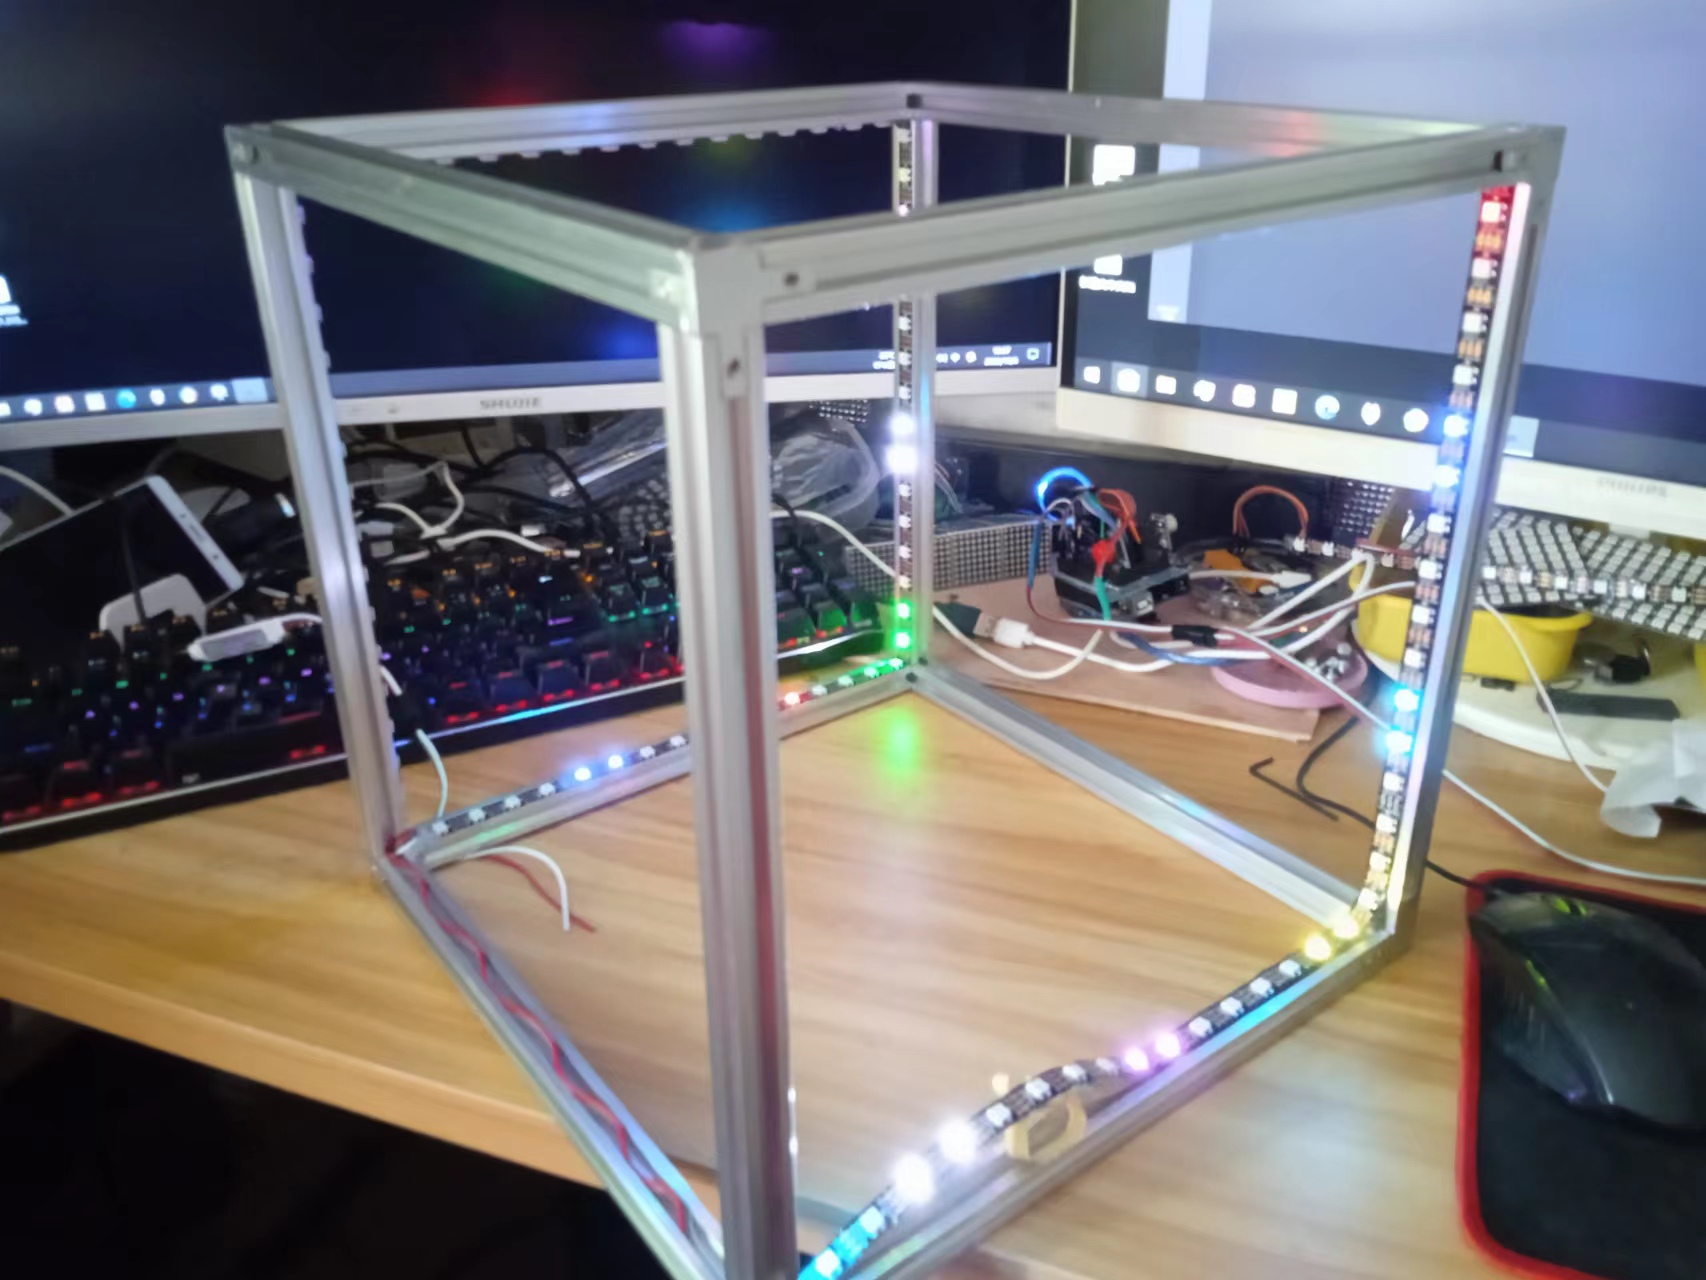
使用了近七米的2812灯带

【花雕动手做】有趣好玩的音乐可视化系列小项目(26)--LED 超立方体
项目程序之一:绿色单灯循环测试
模块接线:WS2812B接D6
MAX4466 UNO
VCC 5V
GND GND
OUT D6
/*
 【花雕动手做】有趣好玩的音乐可视化系列小项目(26)--LED 超立方体
  项目程序之一:绿色单灯循环测试
  模块接线:WS2812B接D6
  MAX4466      UNO
  VCC          5V
  GND         GND
  OUT          D6
*/

#include <Adafruit_NeoPixel.h>

#define PIN 6
#define MAX_LED 255

#define ADD true
#define SUB false

int val = 0;
boolean stat = ADD;

Adafruit_NeoPixel strip = Adafruit_NeoPixel(MAX_LED, PIN, NEO_RGB + NEO_KHZ800);

void setup() {
  strip.begin();
  strip.show();
}

void loop() {
  uint8_t i, a = 0;
  uint32_t color = strip.Color(255, 0, 0);
  while (a < 256) {
    for (i = 0; i < 255; i++) {
      if (i == a) strip.setPixelColor(i, color);
      else strip.setPixelColor(i, 0);
    }
    strip.show();
    delay(2);
    a++;
  }
}
实验场景图(说明:Arduino uno开发板,在这个程序里,最多支持255颗ws2812灯珠)
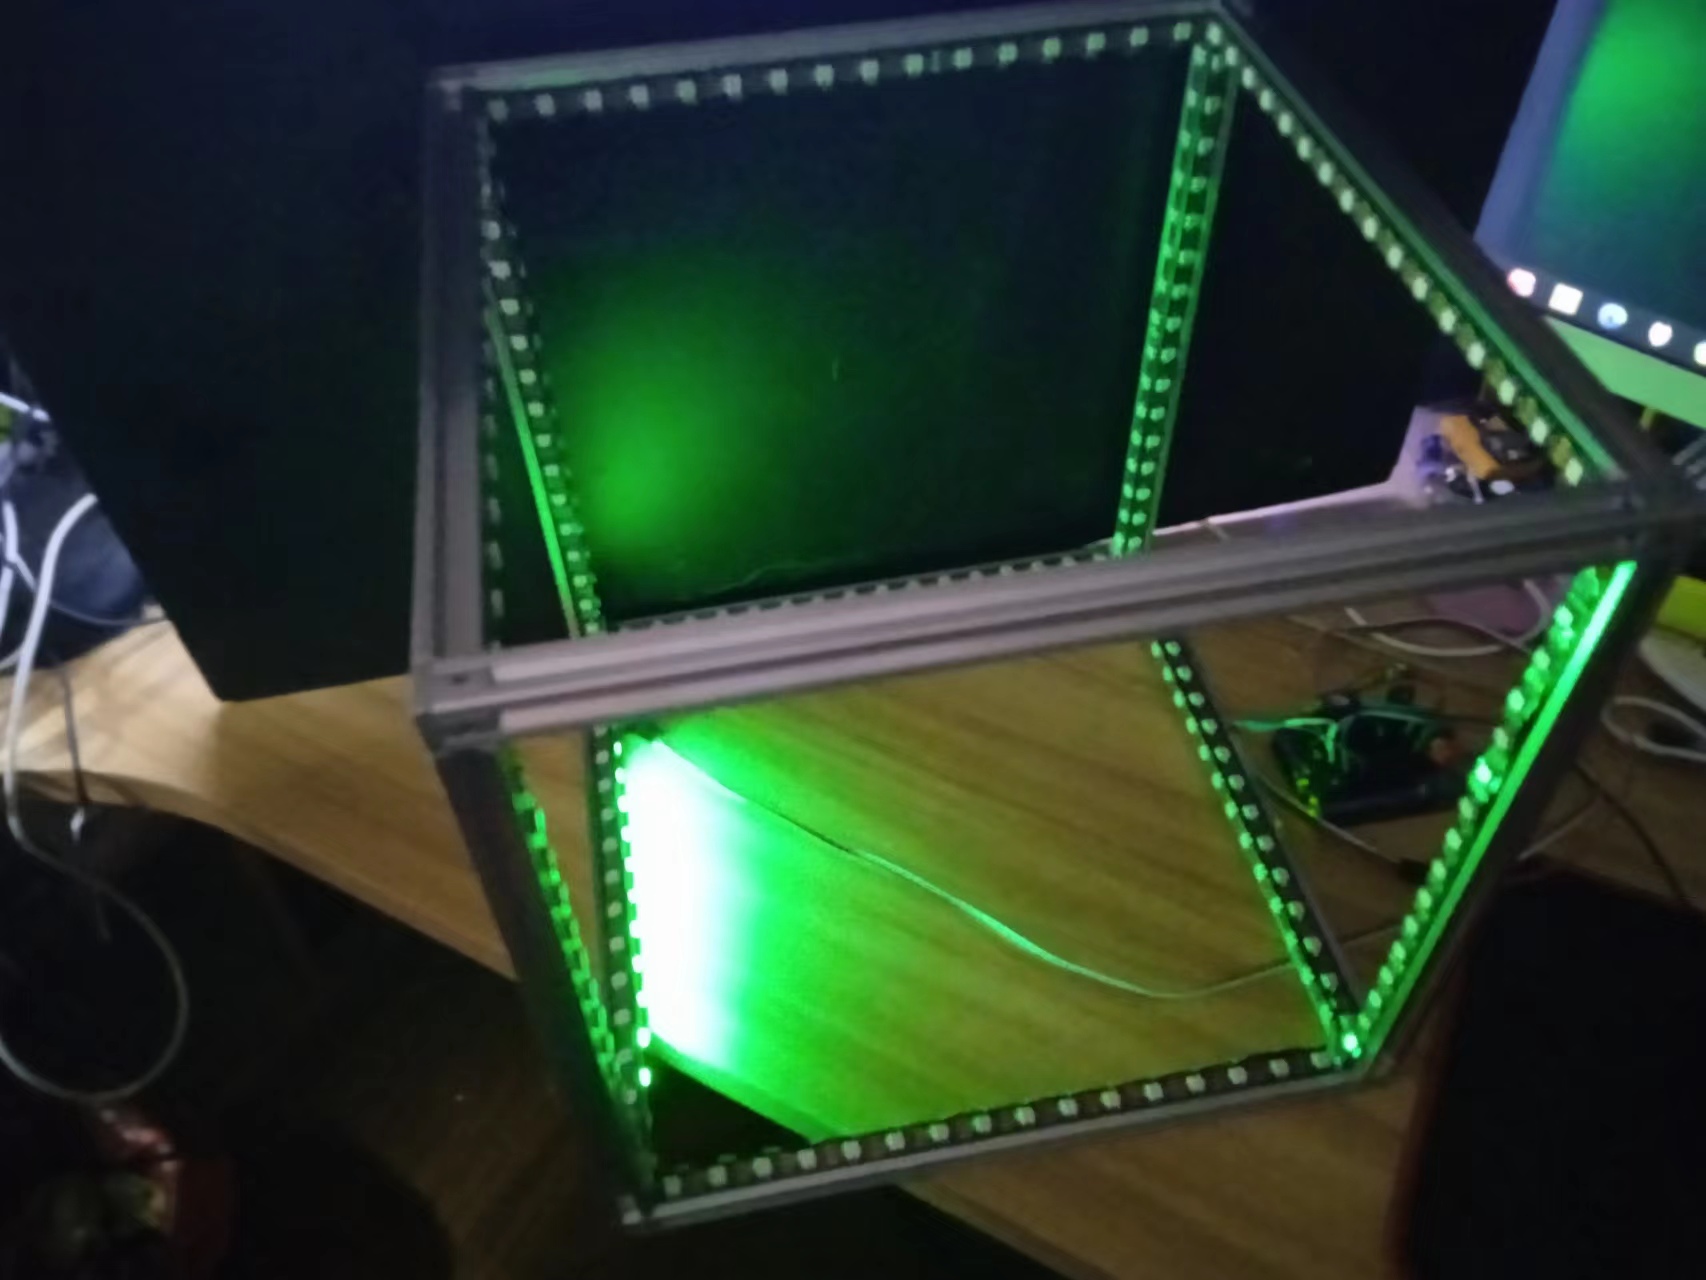
【花雕动手做】有趣好玩的音乐可视化系列小项目(26)--LED 超立方体
项目程序之二:NeoPixel 环形灯带测试程序
模块接线:WS2812B接D6
MAX4466 UNO
VCC 5V
GND GND
OUT D6
/*
 【花雕动手做】有趣好玩的音乐可视化系列小项目(26)--LED 超立方体
  项目程序之二:NeoPixel 环形灯带测试程序
  模块接线:WS2812B接D6
  MAX4466      UNO
  VCC          5V
  GND         GND
  OUT          D6
*/

#include <Adafruit_NeoPixel.h>
#ifdef __AVR__
#include <avr/power.h>  // Required for 16 MHz Adafruit Trinket
#endif

// Which pin on the Arduino is connected to the NeoPixels?
// On a Trinket or Gemma we suggest changing this to 1:
#define LED_PIN 6

// How many NeoPixels are attached to the Arduino?
#define LED_COUNT 384

// Declare our NeoPixel strip object:
Adafruit_NeoPixel strip(LED_COUNT, LED_PIN, NEO_GRB + NEO_KHZ800);
// Argument 1 = Number of pixels in NeoPixel strip
// Argument 2 = Arduino pin number (most are valid)
// Argument 3 = Pixel type flags, add together as needed:
//   NEO_KHZ800  800 KHz bitstream (most NeoPixel products w/WS2812 LEDs)
//   NEO_KHZ400  400 KHz (classic 'v1' (not v2) FLORA pixels, WS2811 drivers)
//   NEO_GRB     Pixels are wired for GRB bitstream (most NeoPixel products)
//   NEO_RGB     Pixels are wired for RGB bitstream (v1 FLORA pixels, not v2)
//   NEO_RGBW    Pixels are wired for RGBW bitstream (NeoPixel RGBW products)


// setup() function -- runs once at startup --------------------------------

void setup() {
  // These lines are specifically to support the Adafruit Trinket 5V 16 MHz.
  // Any other board, you can remove this part (but no harm leaving it):
#if defined(__AVR_ATtiny85__) && (F_CPU == 16000000)
  clock_prescale_set(clock_div_1);
#endif
  // END of Trinket-specific code.

  strip.begin();            // INITIALIZE NeoPixel strip object (REQUIRED)
  strip.show();             // Turn OFF all pixels ASAP
  strip.setBrightness(40);  // Set BRIGHTNESS to about 1/5 (max = 255)
}


// loop() function -- runs repeatedly as long as board is on ---------------

void loop() {
  // Fill along the length of the strip in various colors...
  colorWipe(strip.Color(255, 0, 0), 250);  // Red
  colorWipe(strip.Color(0, 255, 0), 250);  // Green
  colorWipe(strip.Color(0, 0, 255), 250);  // Blue

  // Do a theater marquee effect in various colors...
  theaterChase(strip.Color(127, 127, 127), 250);  // White, half brightness
  theaterChase(strip.Color(127, 0, 0), 250);      // Red, half brightness
  theaterChase(strip.Color(0, 0, 127), 250);      // Blue, half brightness

  rainbow(10);              // Flowing rainbow cycle along the whole strip
  theaterChaseRainbow(50);  // Rainbow-enhanced theaterChase variant
}


// Some functions of our own for creating animated effects -----------------

// Fill strip pixels one after another with a color. Strip is NOT cleared
// first; anything there will be covered pixel by pixel. Pass in color
// (as a single 'packed' 32-bit value, which you can get by calling
// strip.Color(red, green, blue) as shown in the loop() function above),
// and a delay time (in milliseconds) between pixels.
void colorWipe(uint32_t color, int wait) {
  for (int i = 0; i < strip.numPixels(); i++) {  // For each pixel in strip...
    strip.setPixelColor(i, color);               //  Set pixel's color (in RAM)
    strip.show();                                //  Update strip to match
    delay(30);                                   //  Pause for a moment
  }
}

// Theater-marquee-style chasing lights. Pass in a color (32-bit value,
// a la strip.Color(r,g,b) as mentioned above), and a delay time (in ms)
// between frames.
void theaterChase(uint32_t color, int wait) {
  for (int a = 0; a < 20; a++) {   // Repeat 10 times...
    for (int b = 0; b < 3; b++) {  //  'b' counts from 0 to 2...
      strip.clear();               //   Set all pixels in RAM to 0 (off)
      // 'c' counts up from 'b' to end of strip in steps of 3...
      for (int c = b; c < strip.numPixels(); c += 3) {
        strip.setPixelColor(c, color);  // Set pixel 'c' to value 'color'
      }
      strip.show();  // Update strip with new contents
      delay(30);     // Pause for a moment
    }
  }
}

// Rainbow cycle along whole strip. Pass delay time (in ms) between frames.
void rainbow(int wait) {
  // Hue of first pixel runs 5 complete loops through the color wheel.
  // Color wheel has a range of 65536 but it's OK if we roll over, so
  // just count from 0 to 5*65536. Adding 256 to firstPixelHue each time
  // means we'll make 5*65536/256 = 1280 passes through this outer loop:
  for (long firstPixelHue = 0; firstPixelHue < 2 * 65536; firstPixelHue += 256) {
    for (int i = 0; i < strip.numPixels(); i++) {  // For each pixel in strip...
      // Offset pixel hue by an amount to make one full revolution of the
      // color wheel (range of 65536) along the length of the strip
      // (strip.numPixels() steps):
      int pixelHue = firstPixelHue + (i * 65536L / strip.numPixels());
      // strip.ColorHSV() can take 1 or 3 arguments: a hue (0 to 65535) or
      // optionally add saturation and value (brightness) (each 0 to 255).
      // Here we're using just the single-argument hue variant. The result
      // is passed through strip.gamma32() to provide 'truer' colors
      // before assigning to each pixel:
      strip.setPixelColor(i, strip.gamma32(strip.ColorHSV(pixelHue)));
    }
    strip.show();  // Update strip with new contents
    delay(2);      // Pause for a moment
  }
}

// Rainbow-enhanced theater marquee. Pass delay time (in ms) between frames.
void theaterChaseRainbow(int wait) {
  int firstPixelHue = 0;           // First pixel starts at red (hue 0)
  for (int a = 0; a < 30; a++) {   // Repeat 30 times...
    for (int b = 0; b < 3; b++) {  //  'b' counts from 0 to 2...
      strip.clear();               //   Set all pixels in RAM to 0 (off)
      // 'c' counts up from 'b' to end of strip in increments of 3...
      for (int c = b; c < strip.numPixels(); c += 3) {
        // hue of pixel 'c' is offset by an amount to make one full
        // revolution of the color wheel (range 65536) along the length
        // of the strip (strip.numPixels() steps):
        int hue = firstPixelHue + c * 65536L / strip.numPixels();
        uint32_t color = strip.gamma32(strip.ColorHSV(hue));  // hue -> RGB
        strip.setPixelColor(c, color);                        // Set pixel 'c' to value 'color'
      }
      strip.show();                 // Update strip with new contents
      delay(50);                    // Pause for a moment
      firstPixelHue += 65536 / 90;  // One cycle of color wheel over 90 frames
    }
  }
}
实验场景图

实验的视频记录
优酷:https://v.youku.com/v_show/id_XNTkwODA1MTg4MA==.html?spm=a2hcb.playlsit.page.1
B站:https://www.bilibili.com/video/BV1qB4y1j7Wt/?vd_source=98c6b1fc23b2787403d97f8d3cc0b7e5
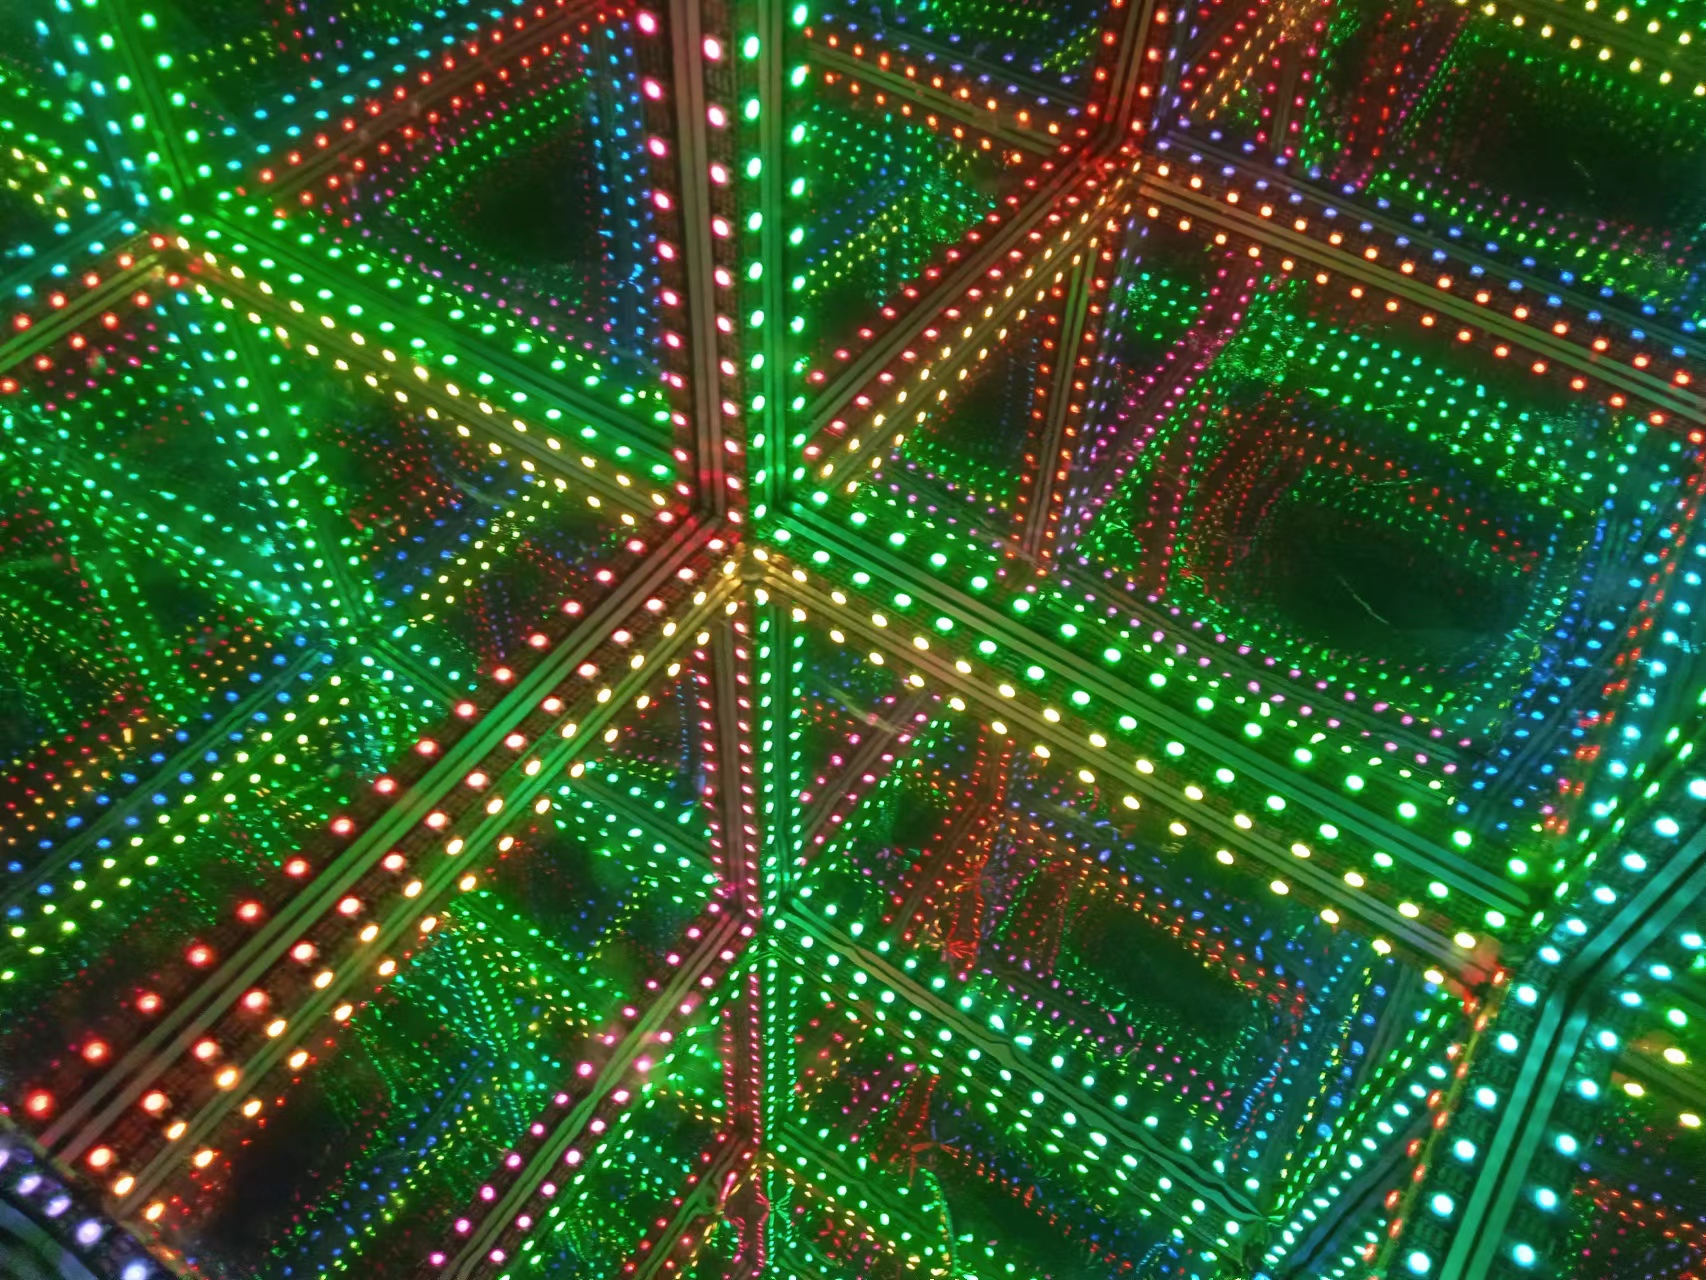
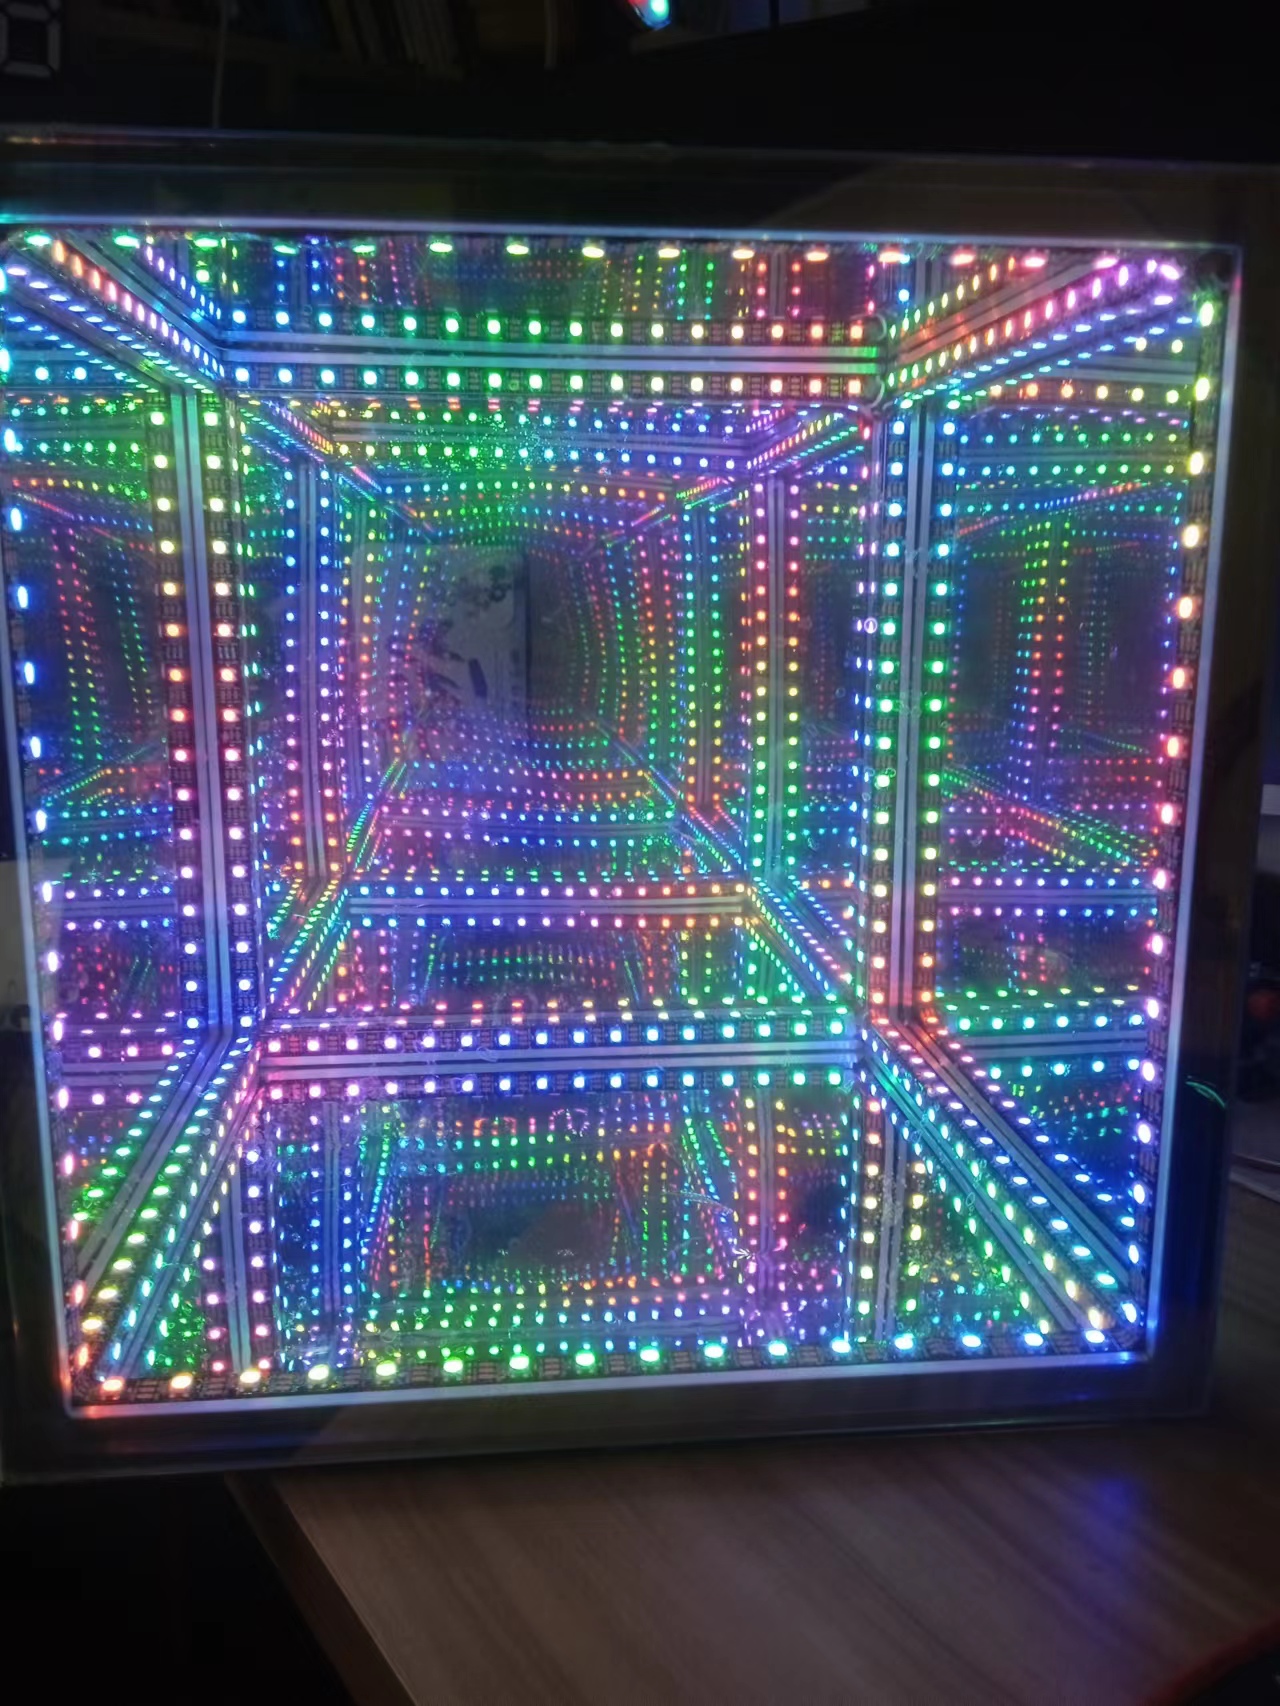
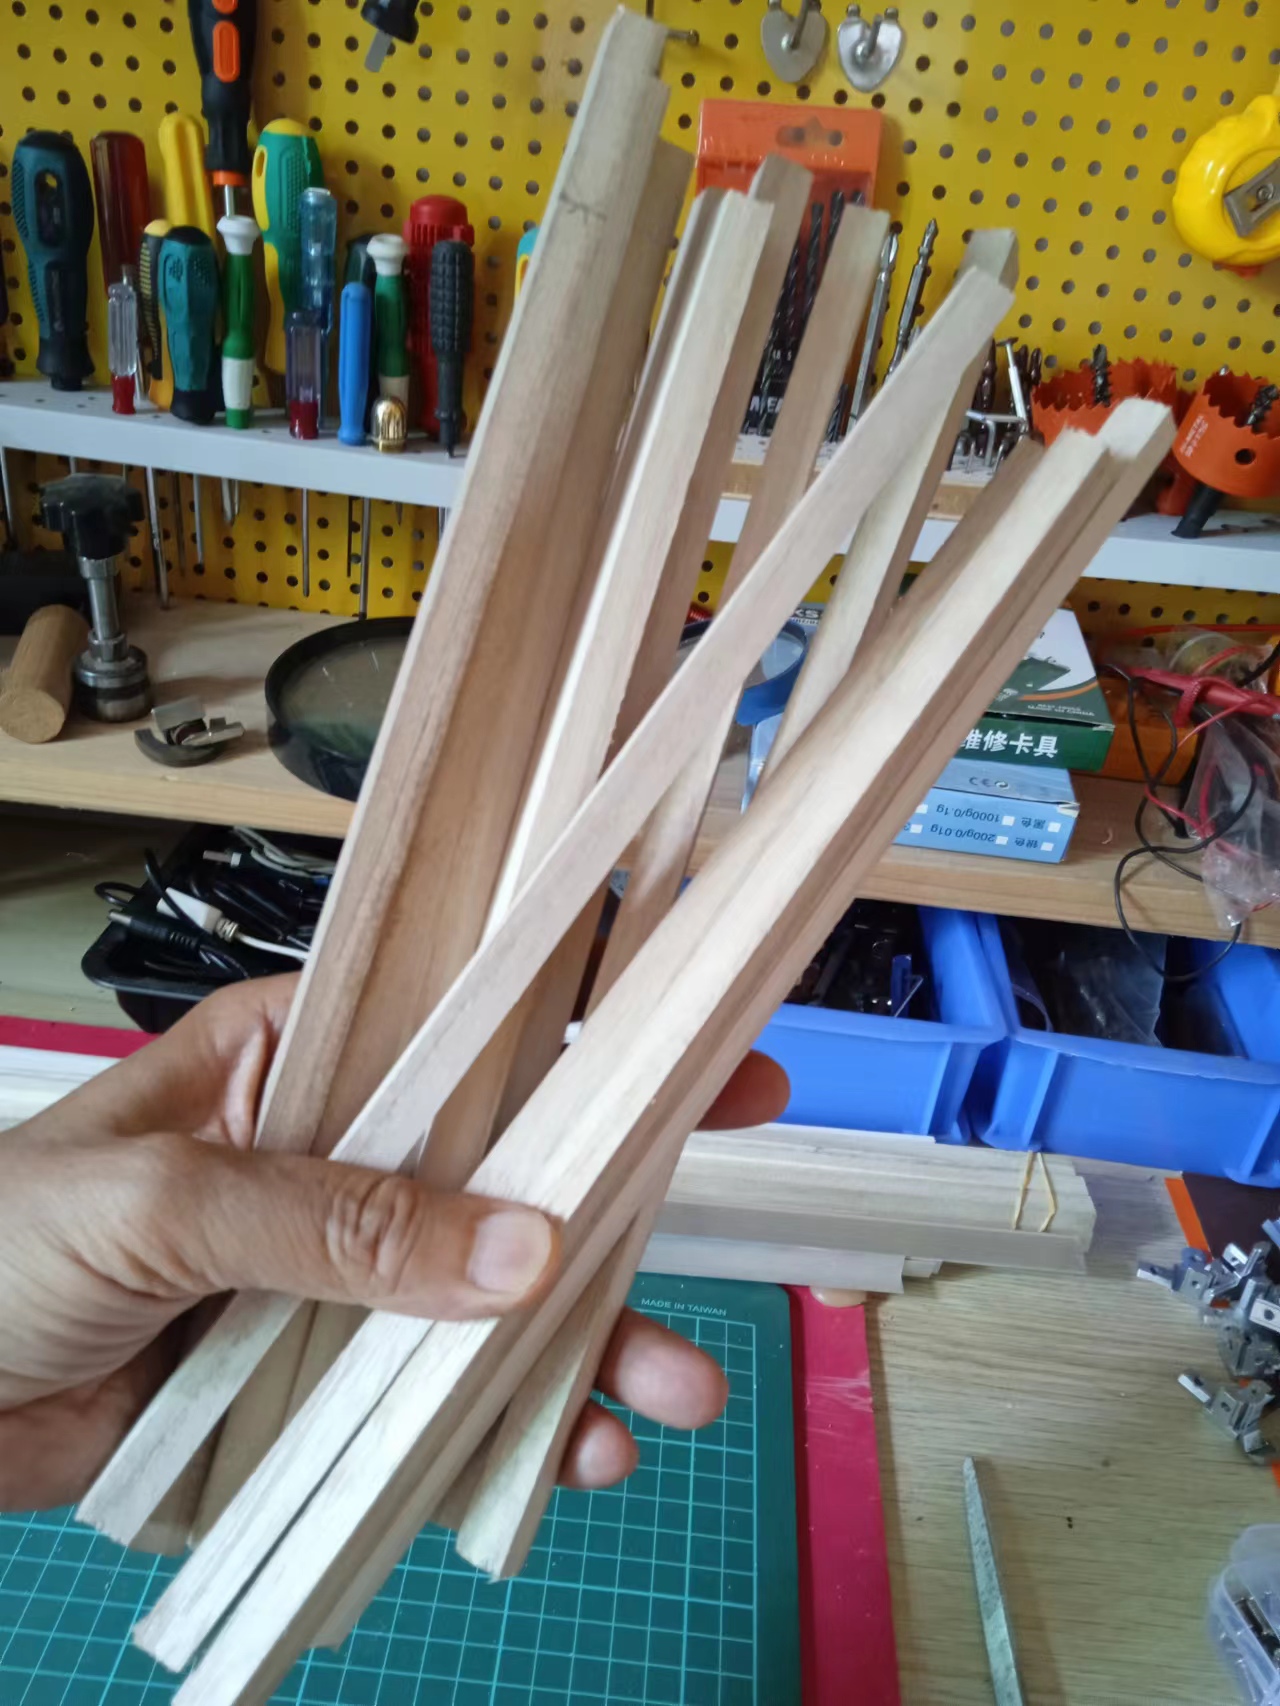
开始尝试制作木条骨架版的第二个LED魔方体,一个结构需要12段木条
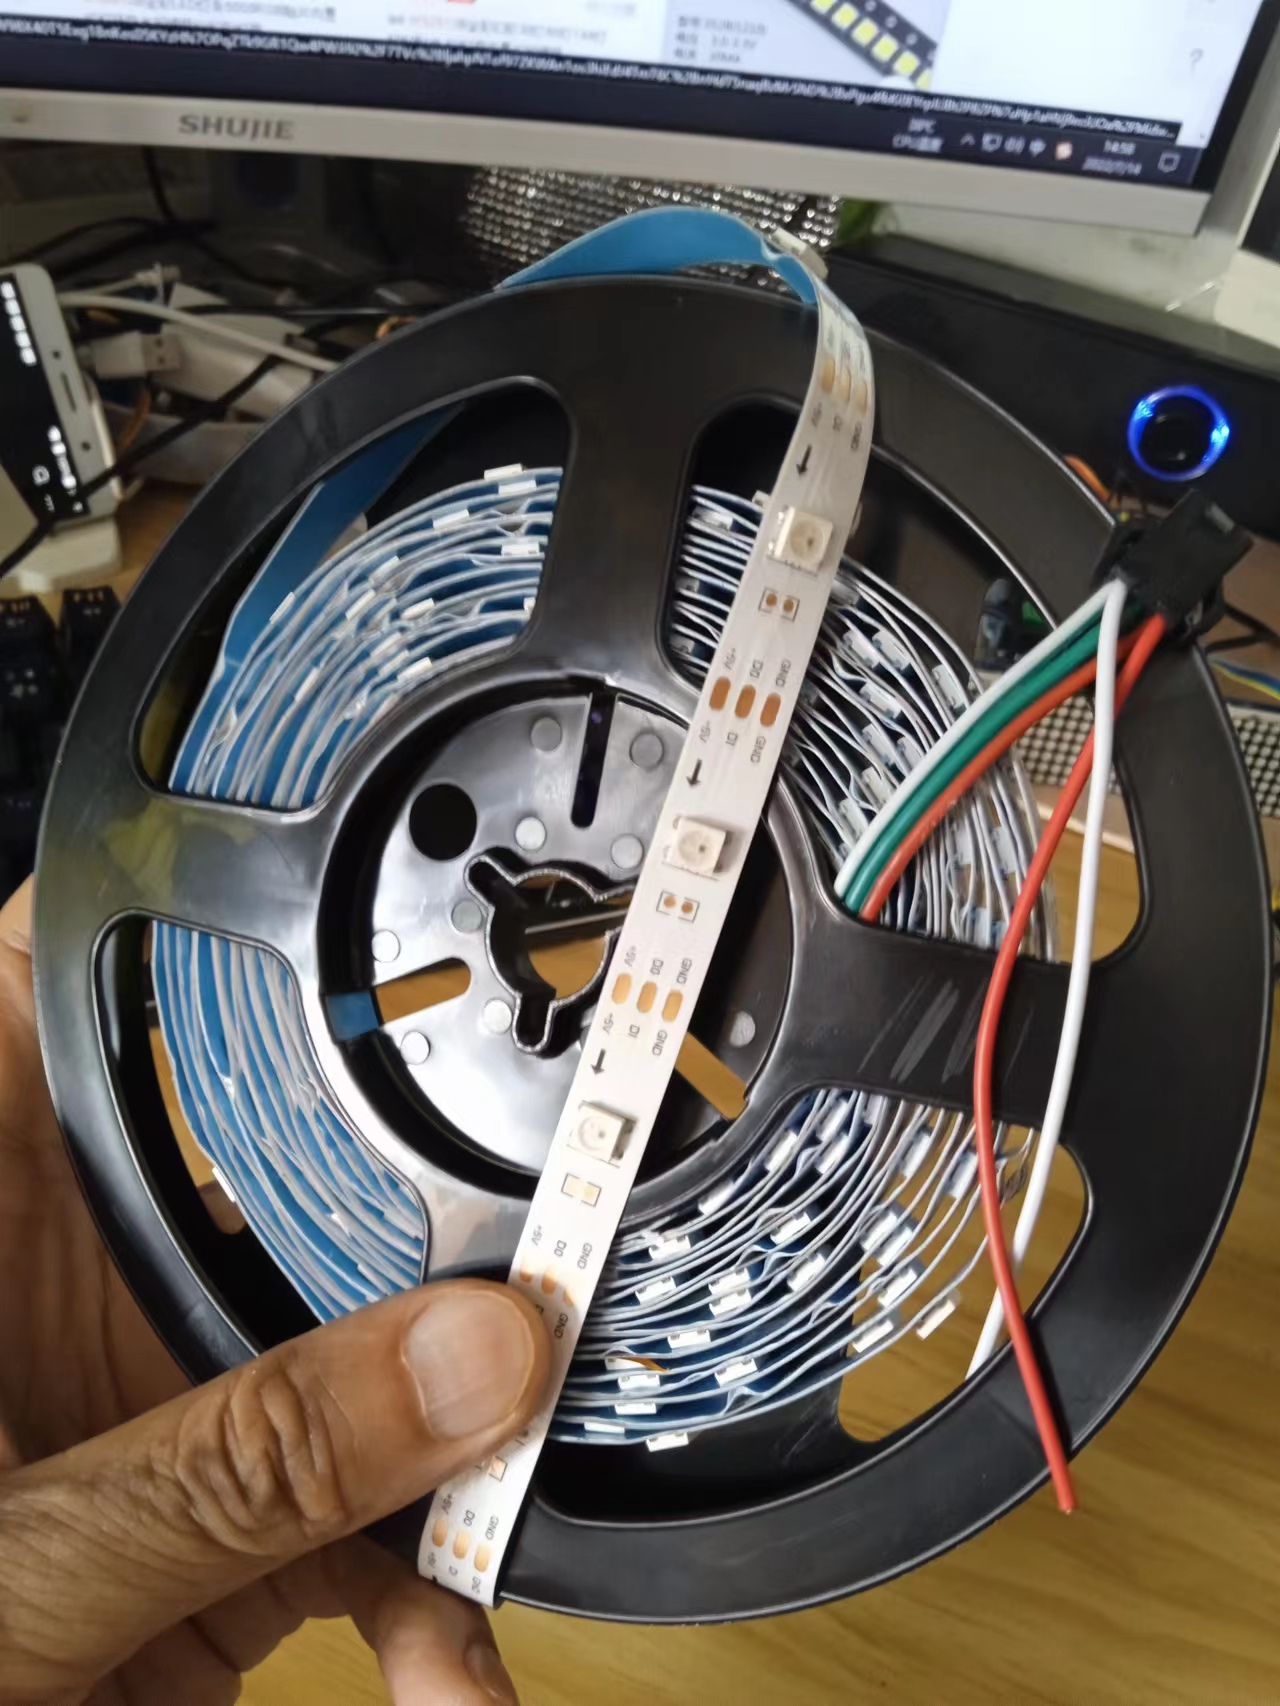
这里使用每米30灯白底裸板
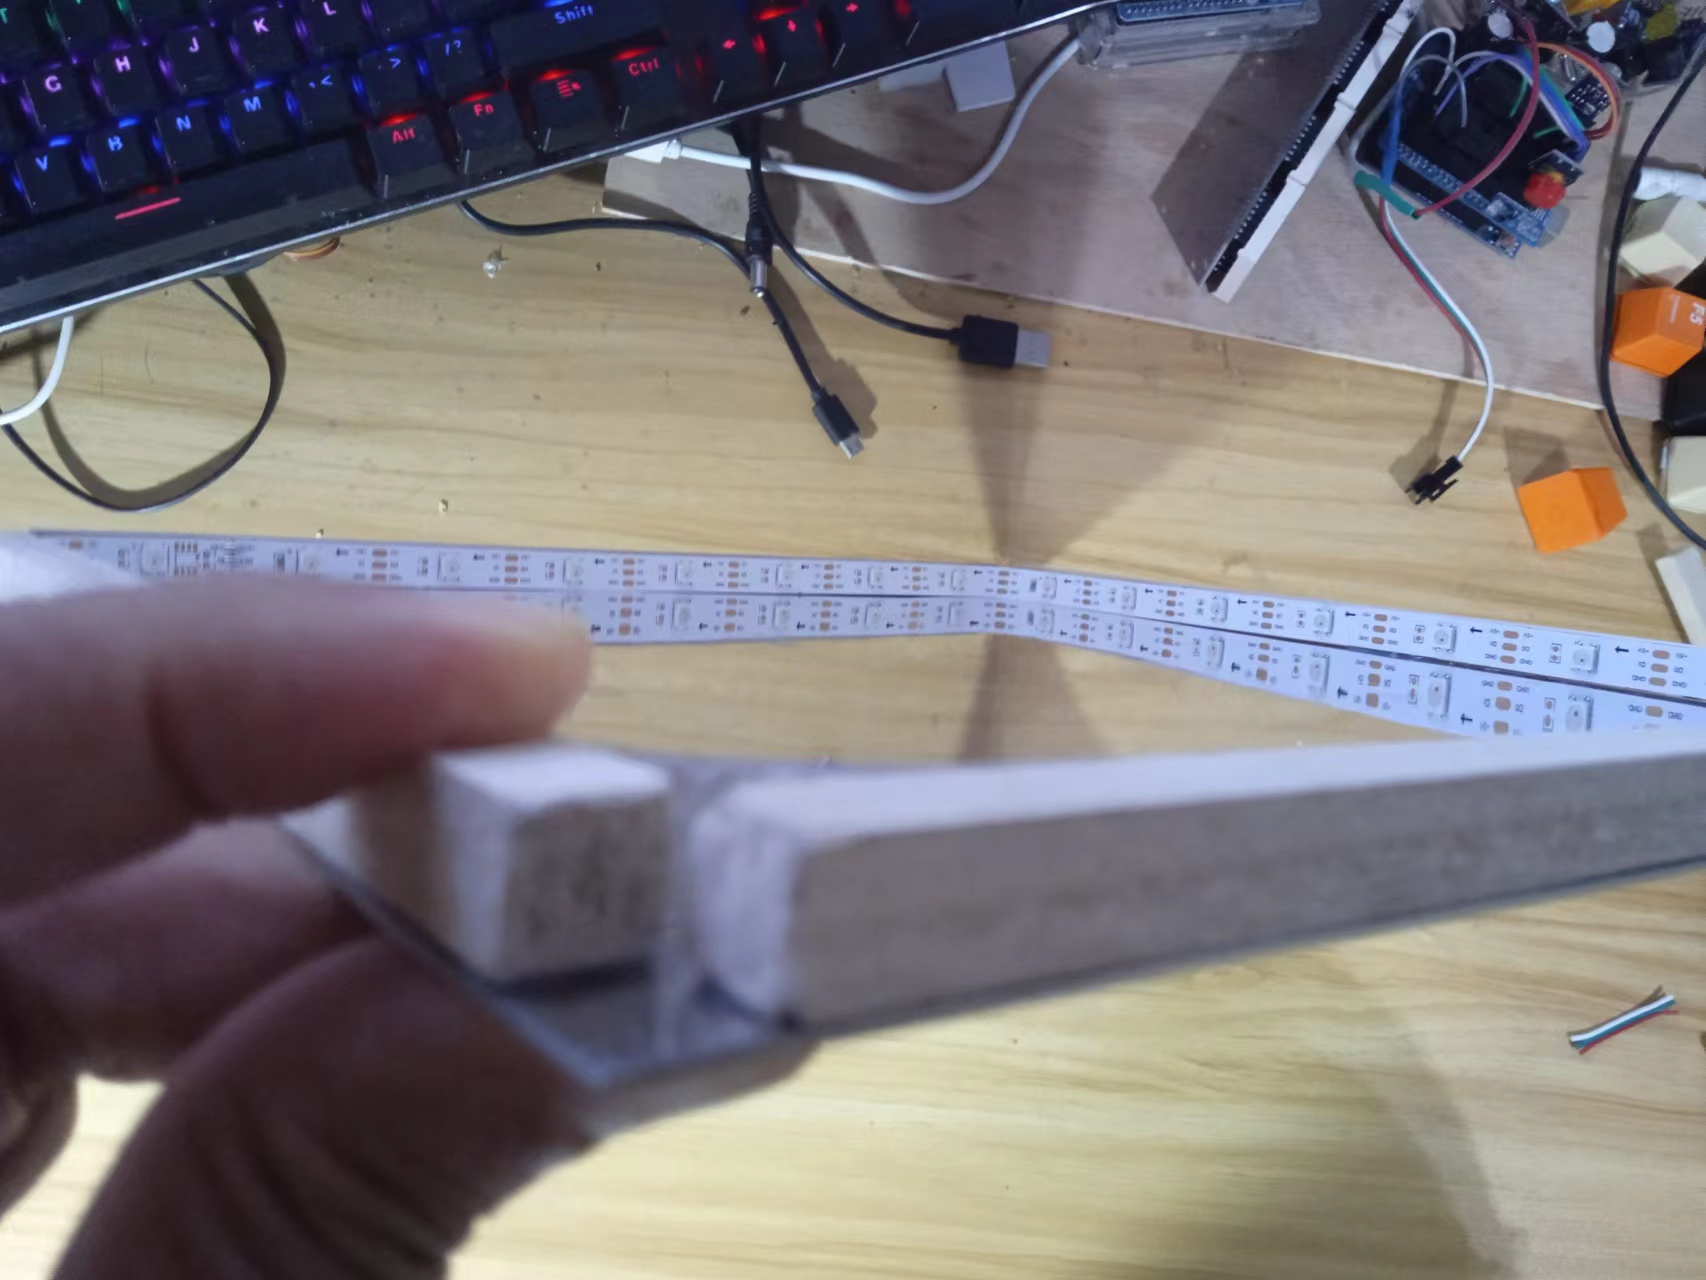
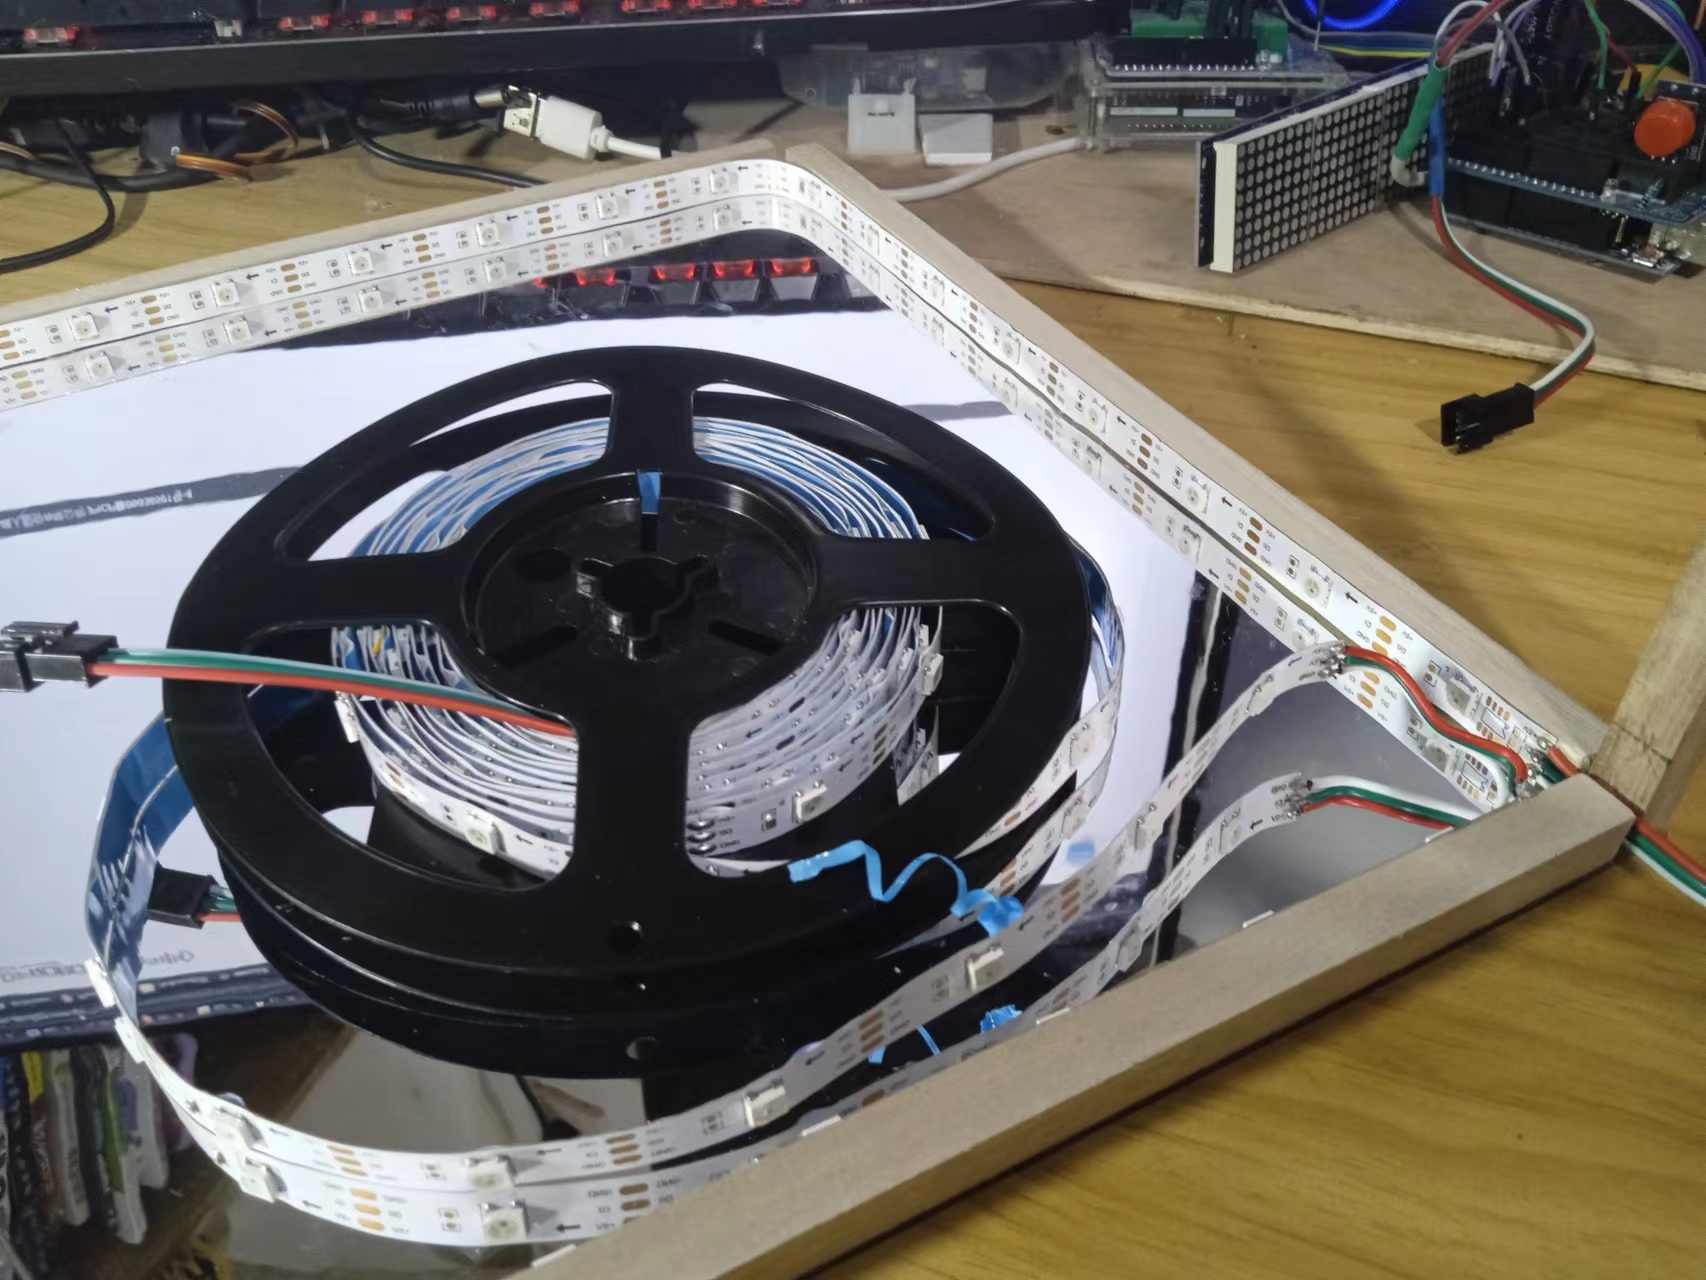
将灯带固定到底板镜面上
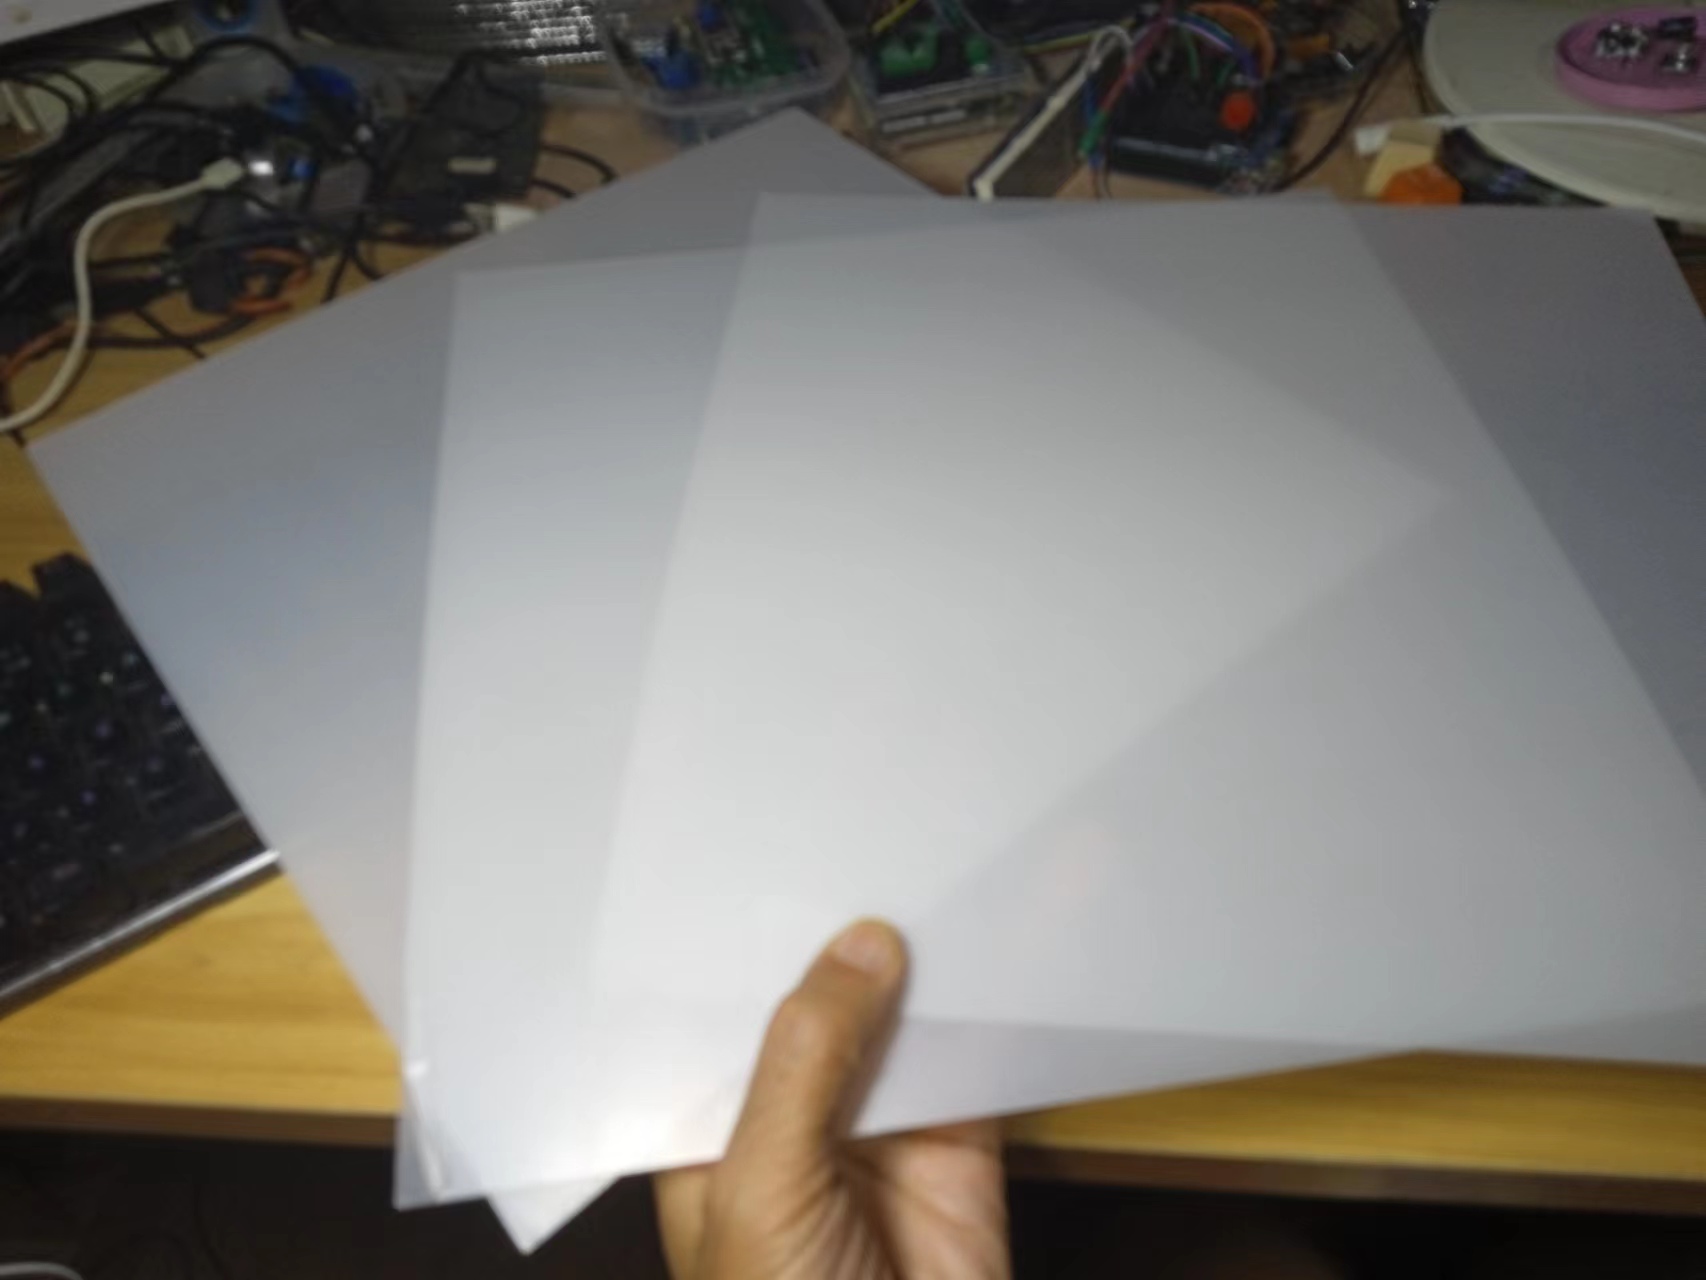
准备贴膜的亚克力板子
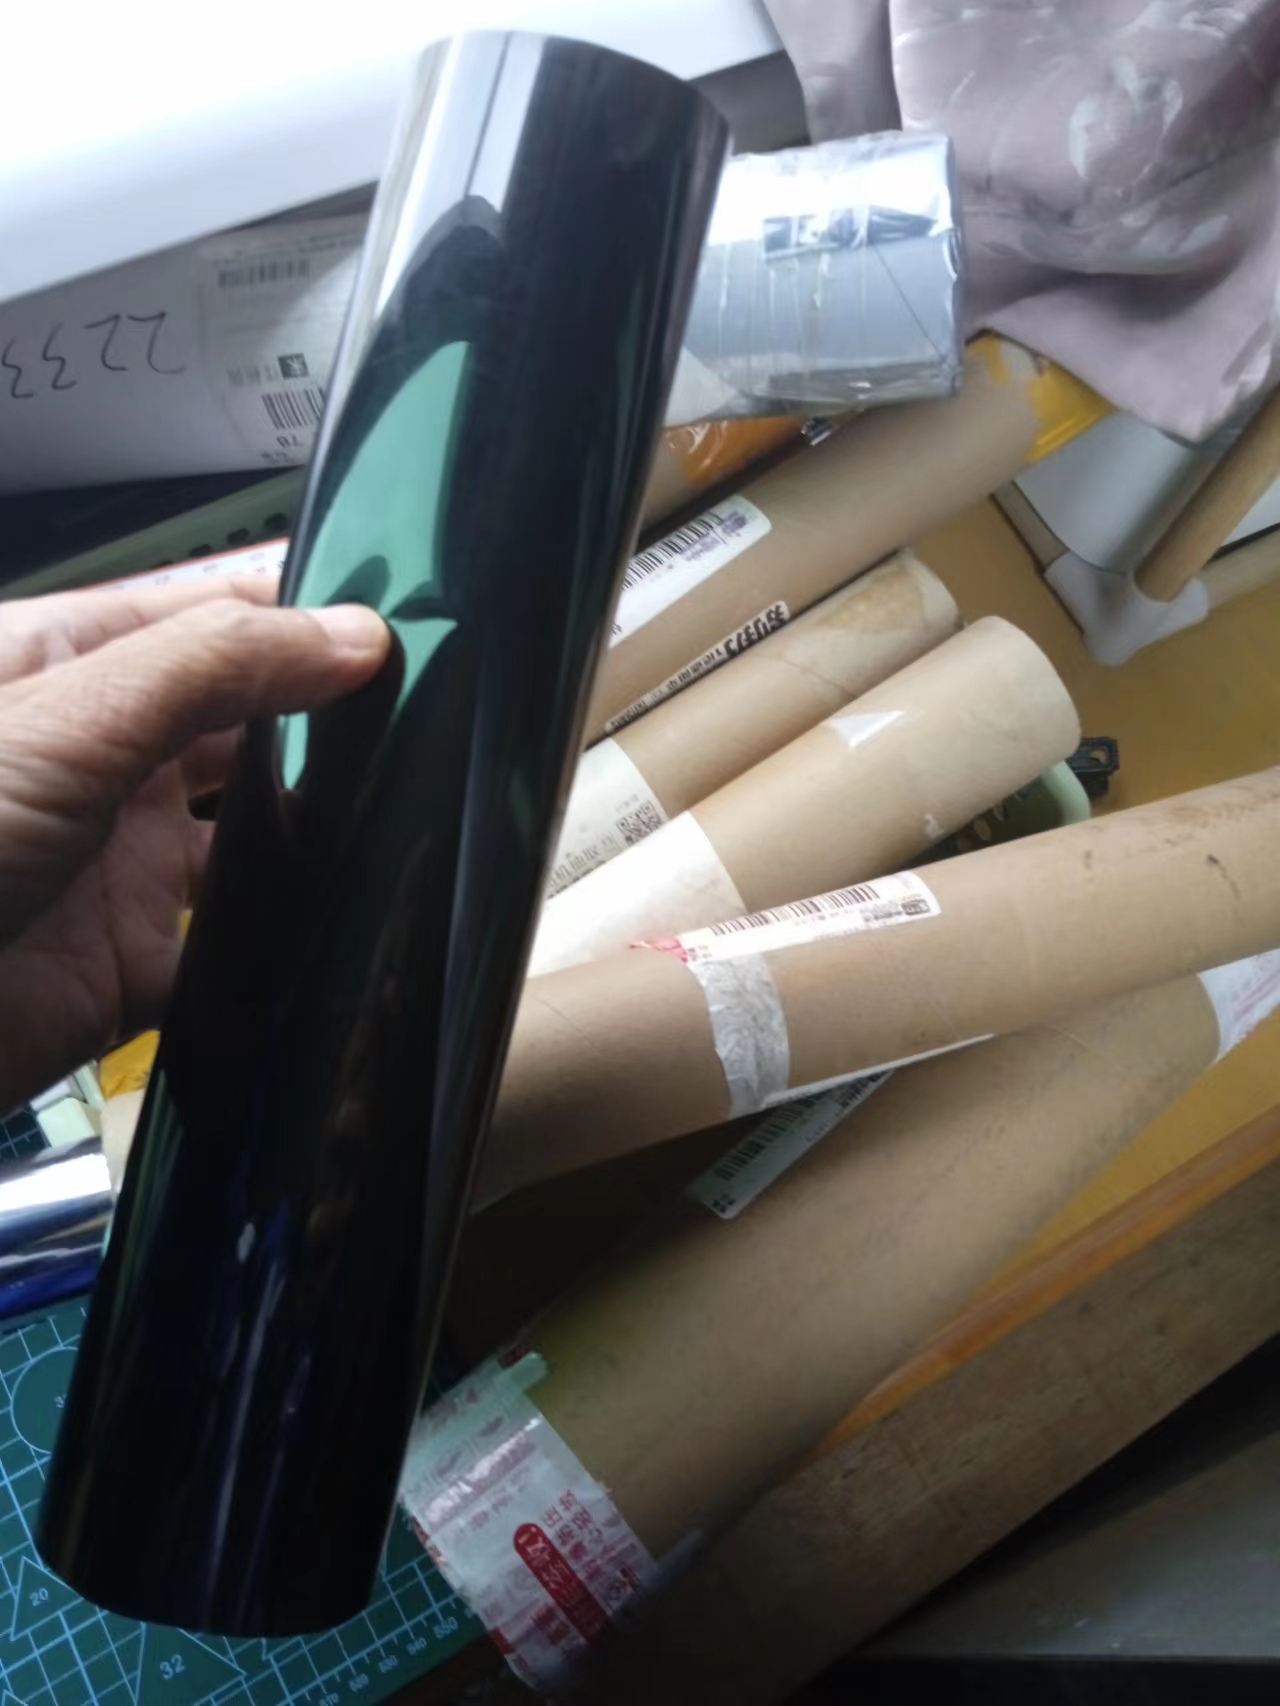
这次准备尝试使用黑色贴膜
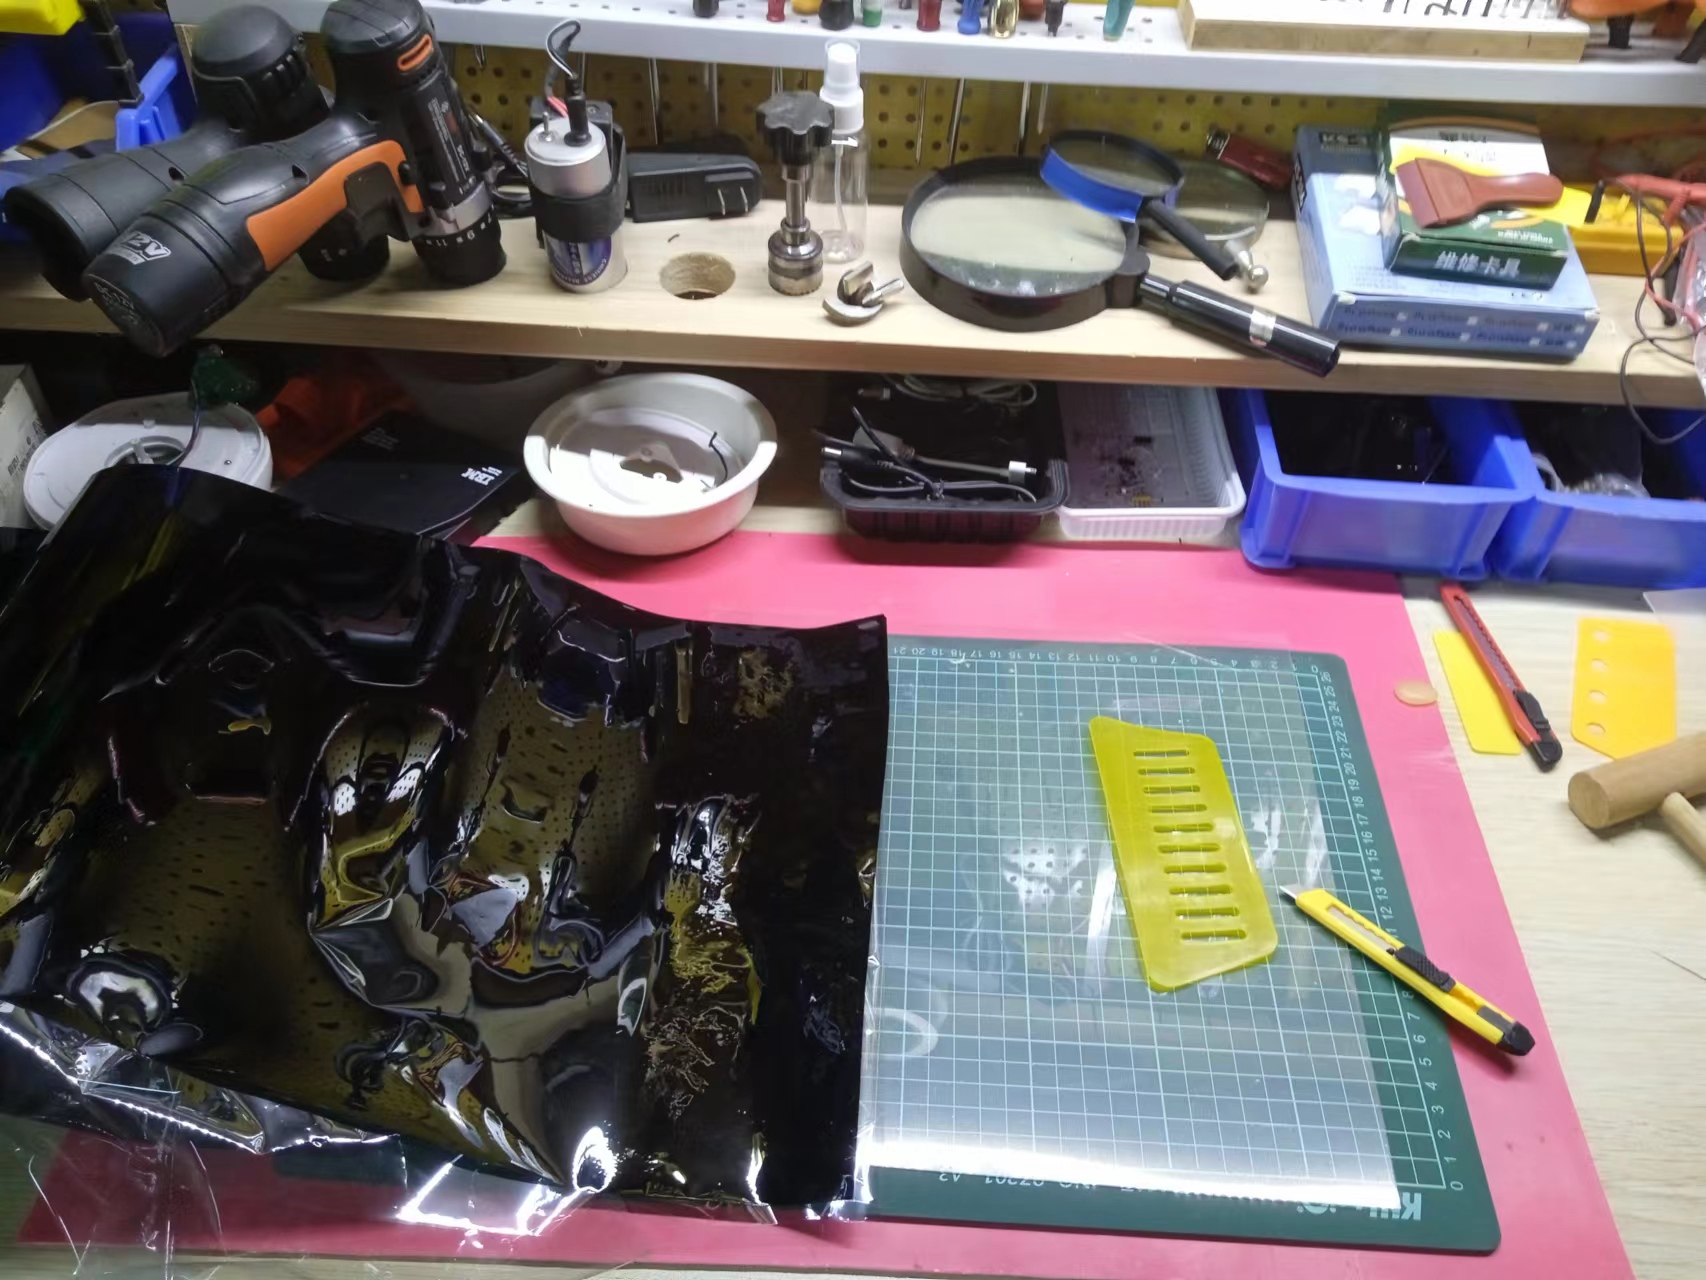
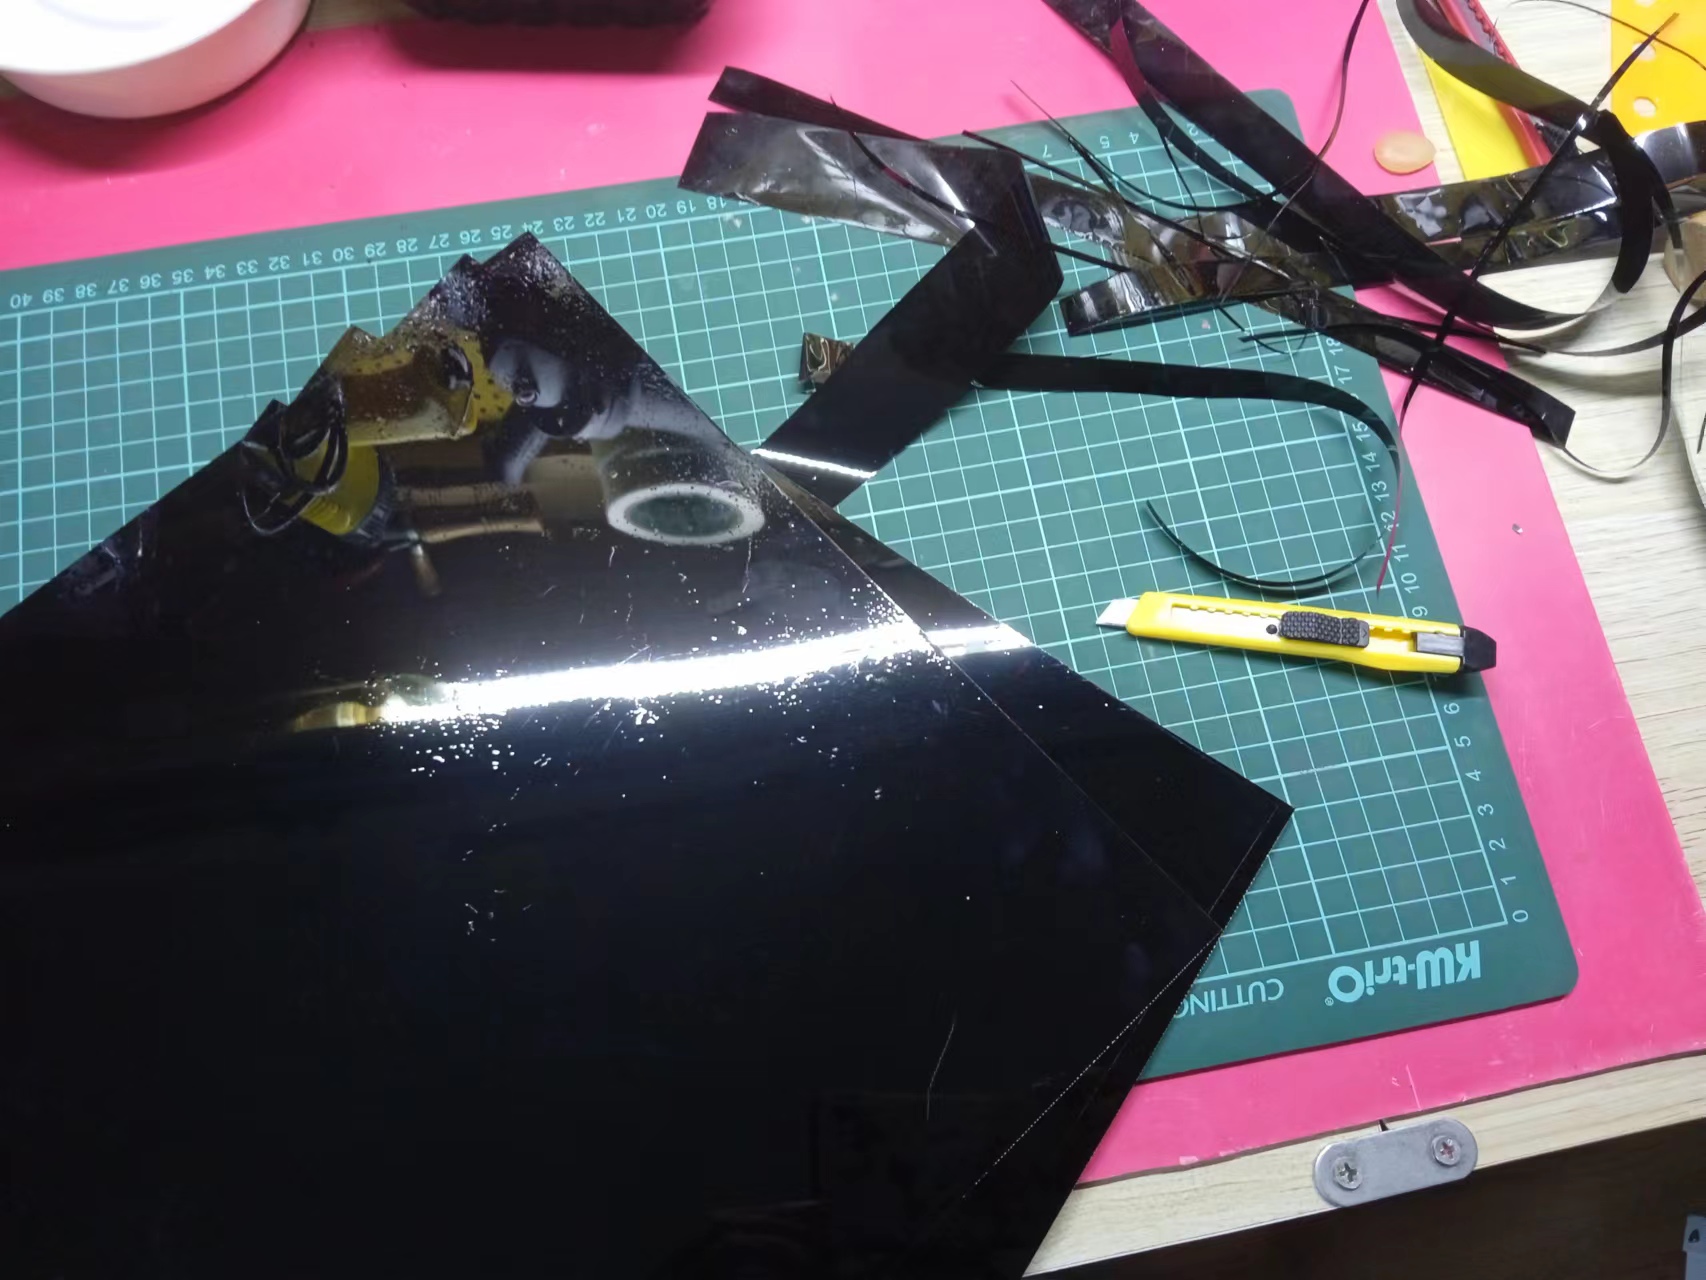
已完成三个面
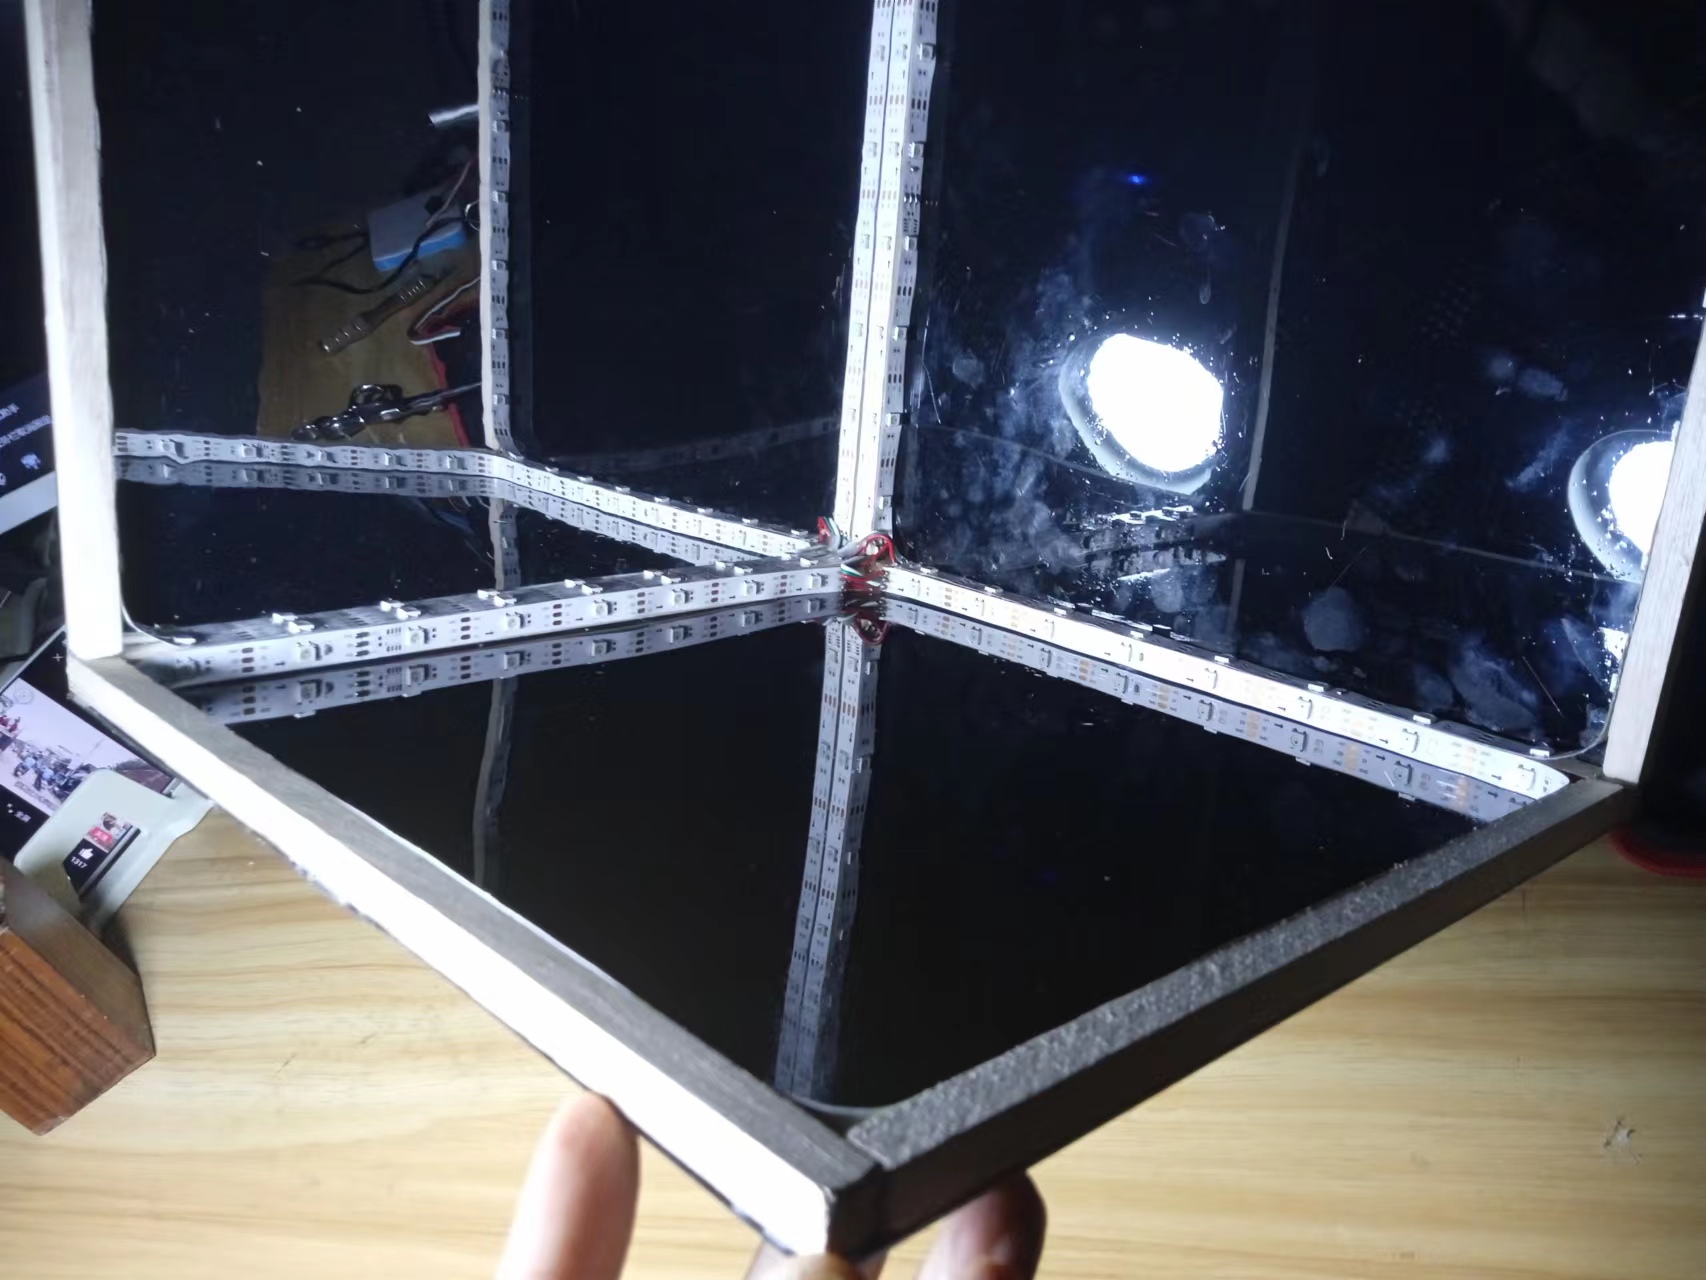
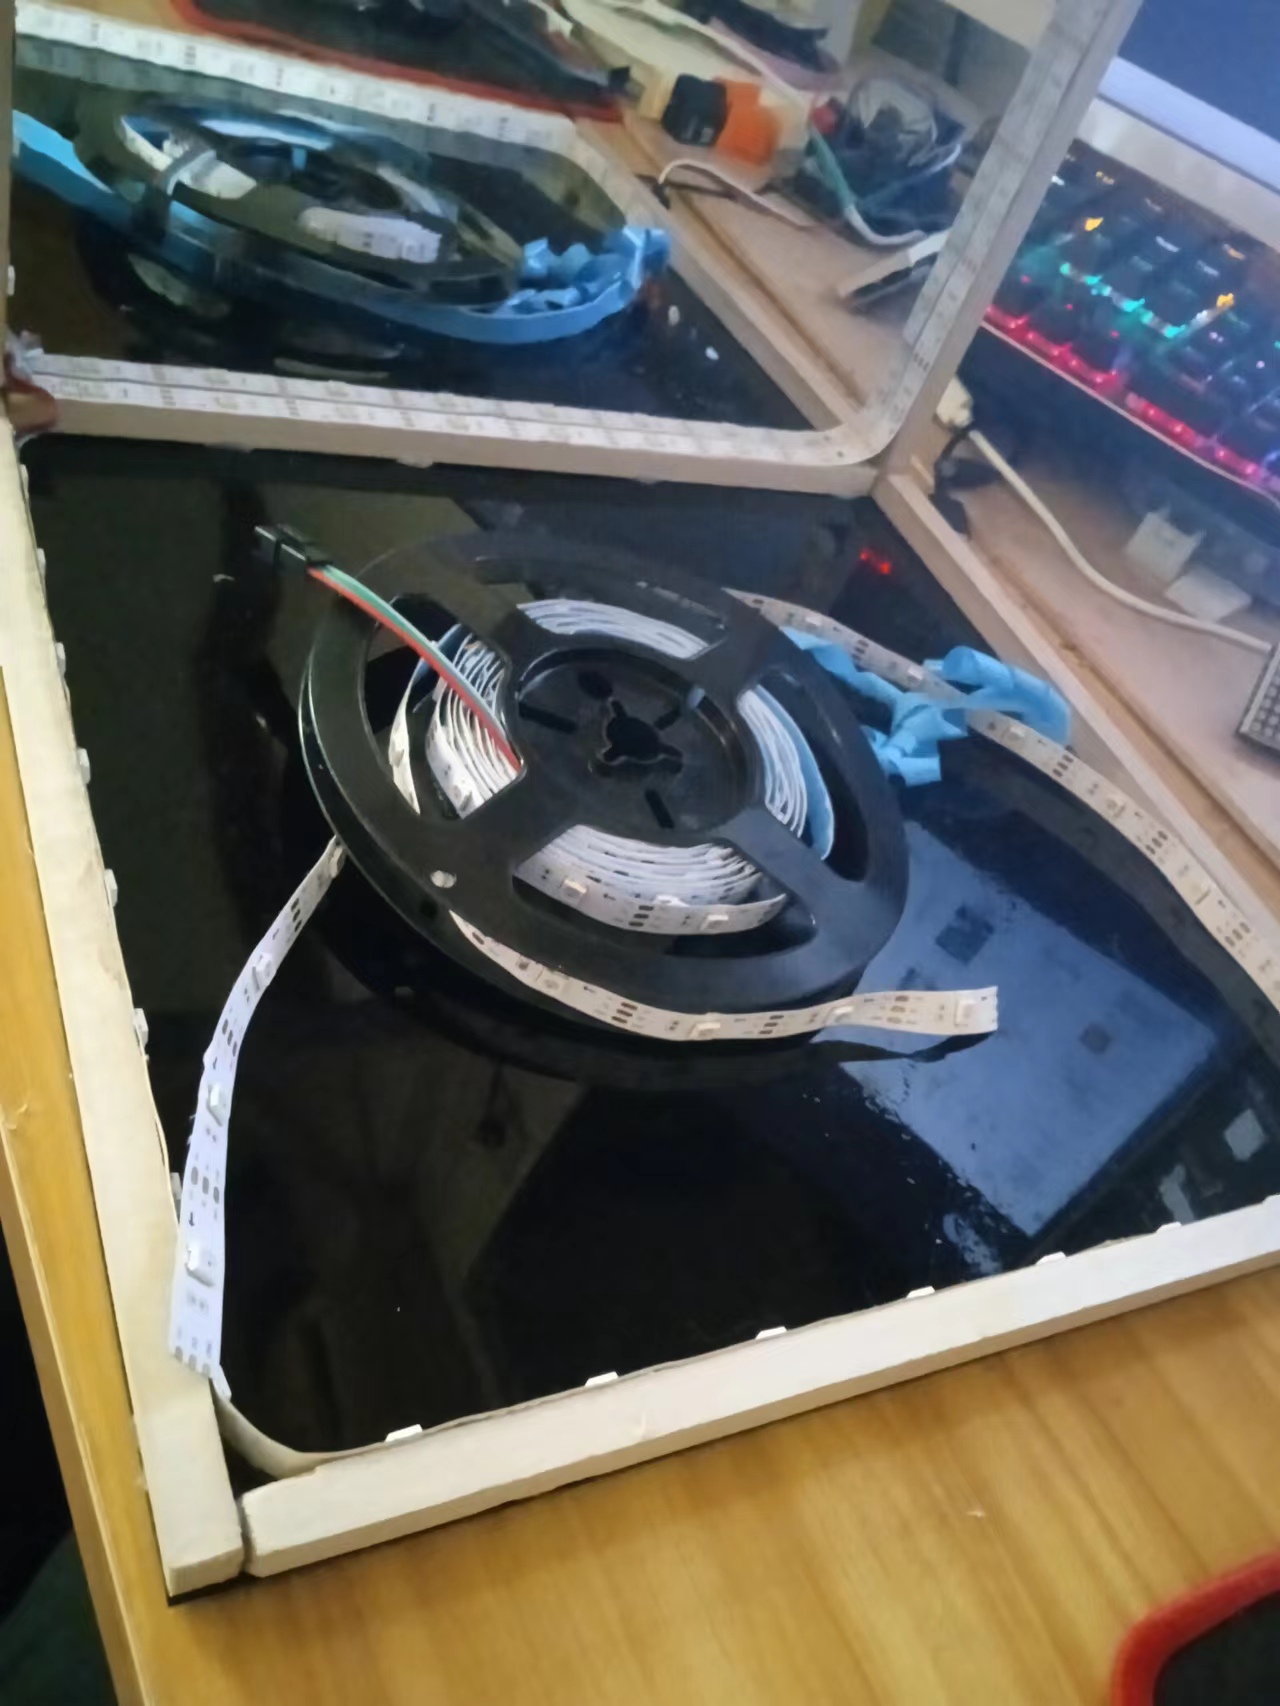
完成四个面了
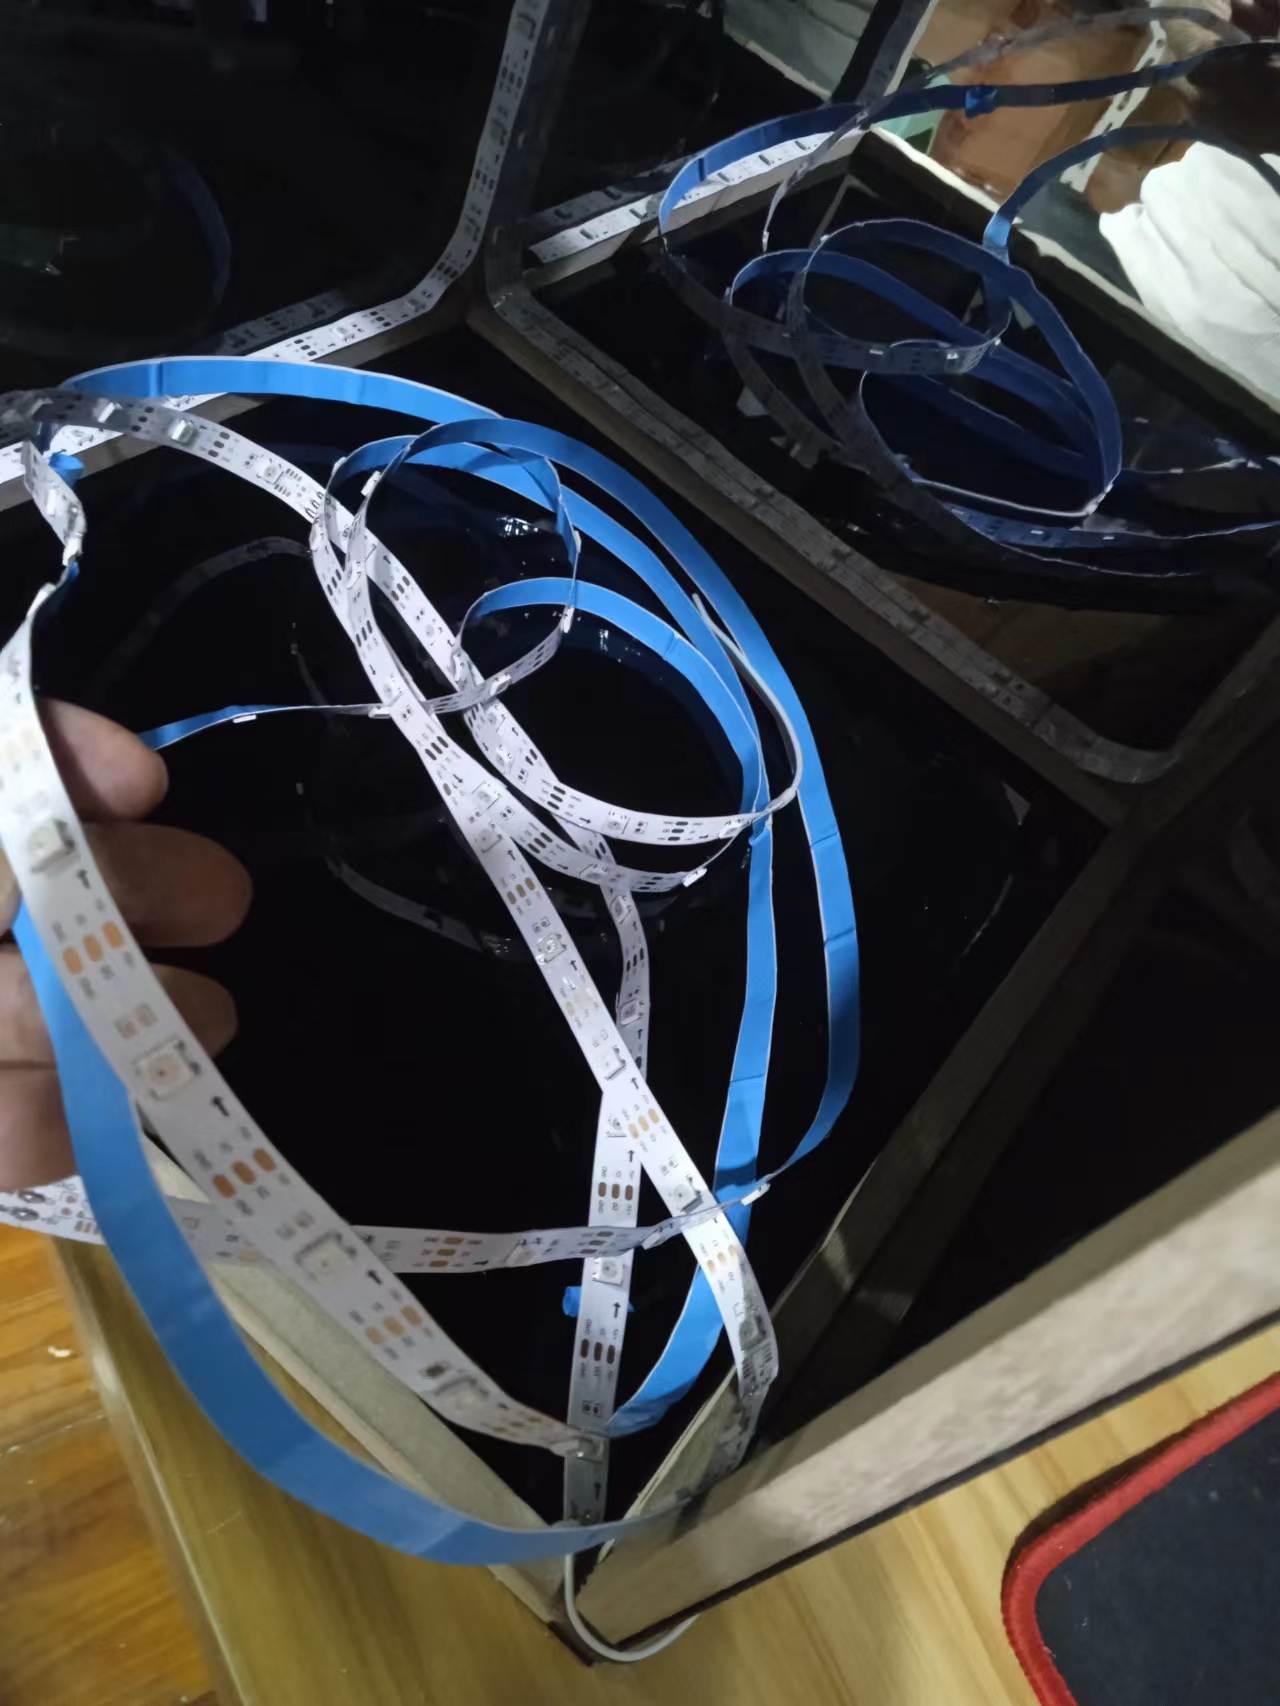
实验场景图
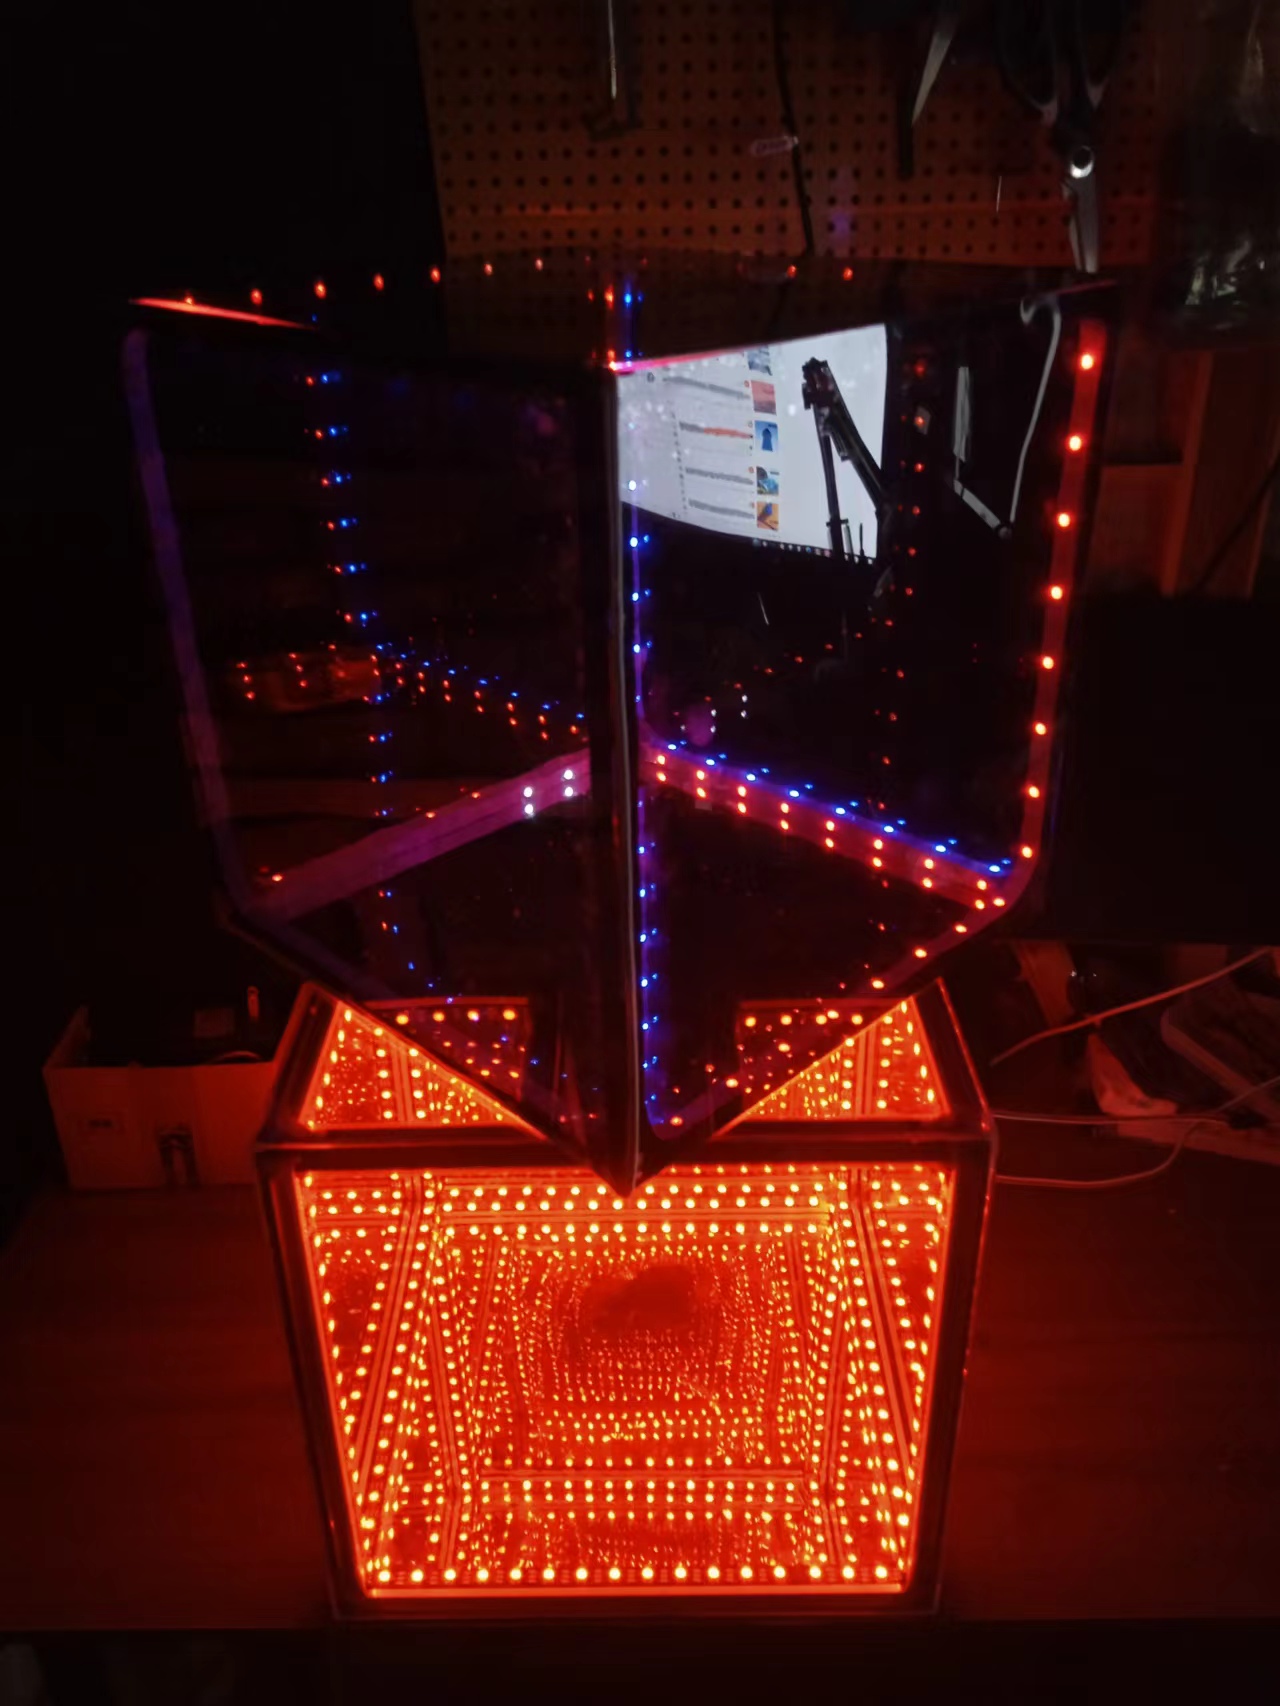
实验场景图 动态图

实验的视频记录
优酷:https://v.youku.com/v_show/id_XNTkxNjc0NTEzMg==.html?spm=a2hcb.playlsit.page.7
B站:https://www.bilibili.com/video/BV1rd4y1c7h6/?vd_source=98c6b1fc23b2787403d97f8d3cc0b7e5
实验的视频记录
优酷:https://v.youku.com/v_show/id_XNTkxNDk1ODkzNg==.html?spm=a2hcb.playlsit.page.3
B站:https://www.bilibili.com/video/BV1wt4y1M7qt/?vd_source=98c6b1fc23b2787403d97f8d3cc0b7e5
实验场景图