创客小伙伴们,快来释放你的洪荒之力吧,手势传感器制作相扑游戏玩法:让妈妈再爱我一次
  
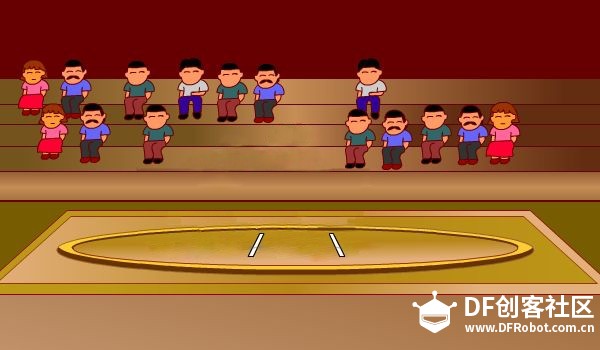
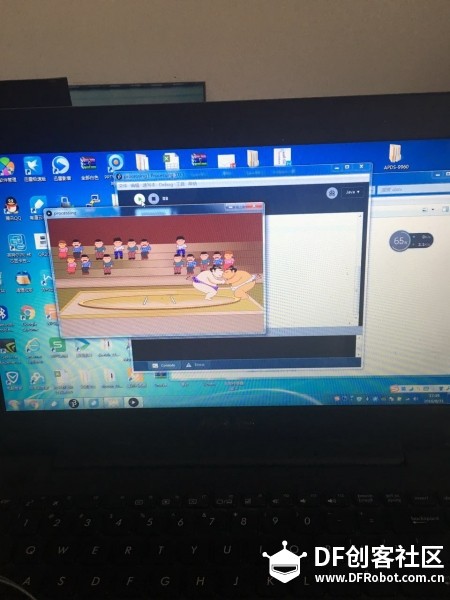
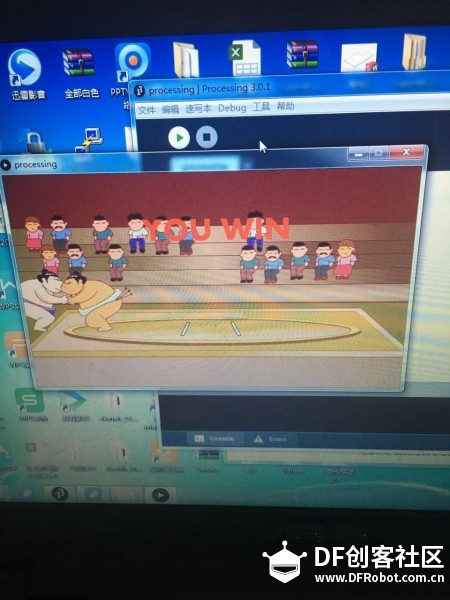
在手势传感器前,不断的挥动巴掌,打得都不认识你妈!比谁的巴掌来的更猛烈一点,然后在显示器上将对方推出擂台。
好了,来看看我们的游戏界面和传感器吧
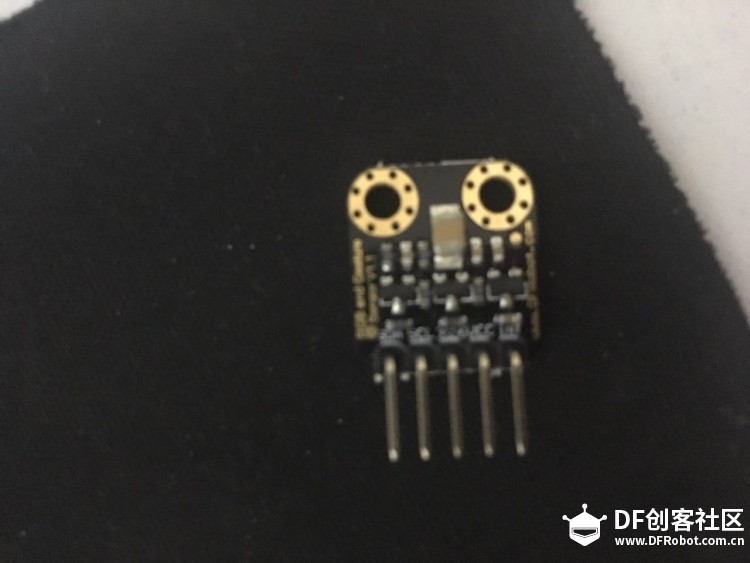 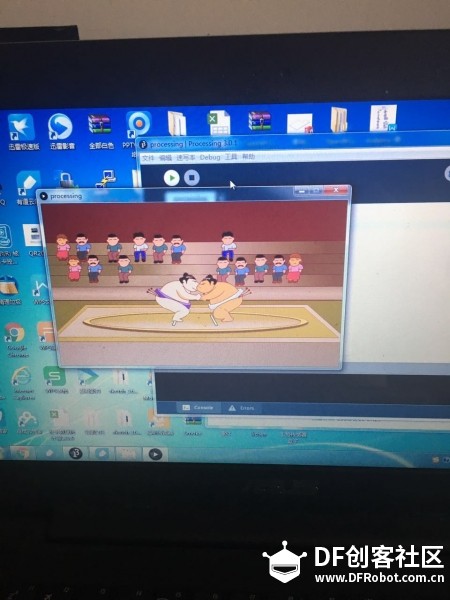
现在我们来讲一讲这个的制作教程吧
首先感谢DF的Luna赠送的一块Arduino leonardo主控板和两块手势传感器
制作材料
1、arduino leonardo主控板(DFRobot Leonardo) 两块(我这边只有一块,另一块拿arduino micro代替,两个用法基本一样)
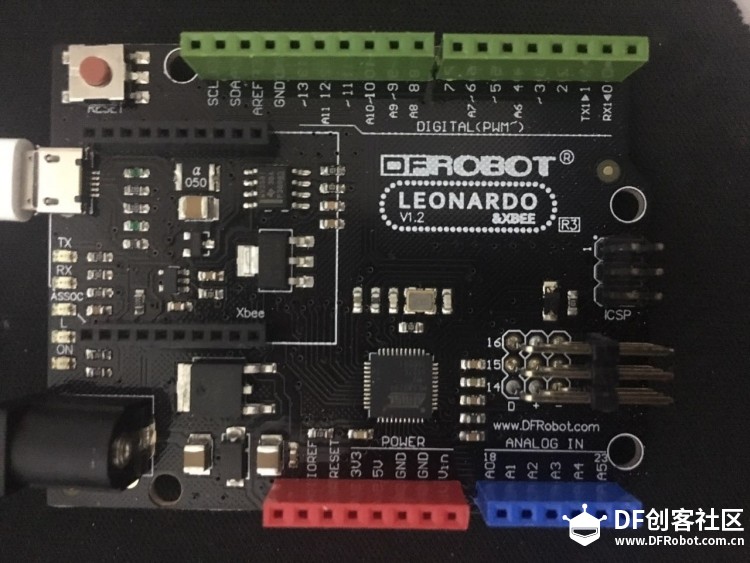 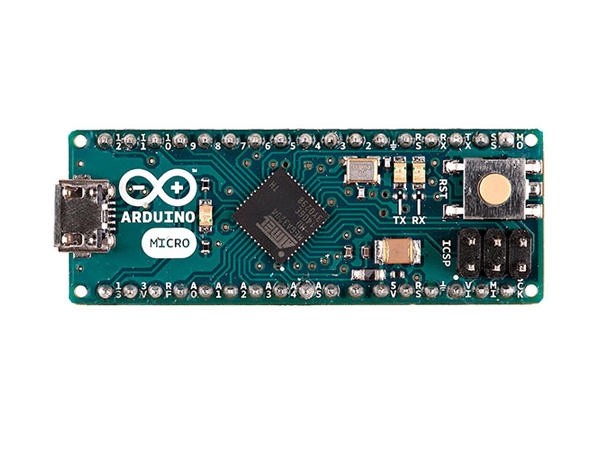
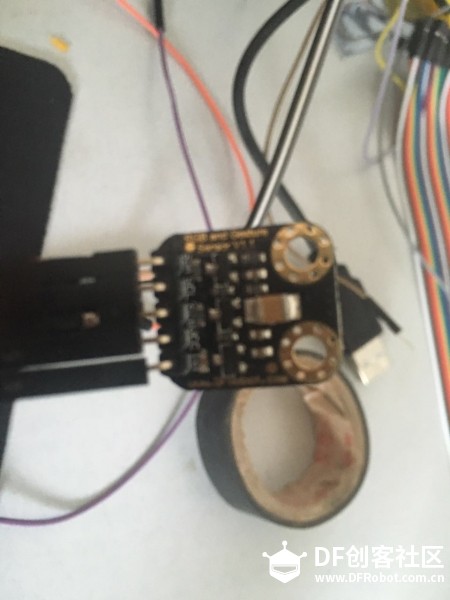
2、手势传感器(APDS-9960传感器) 两块
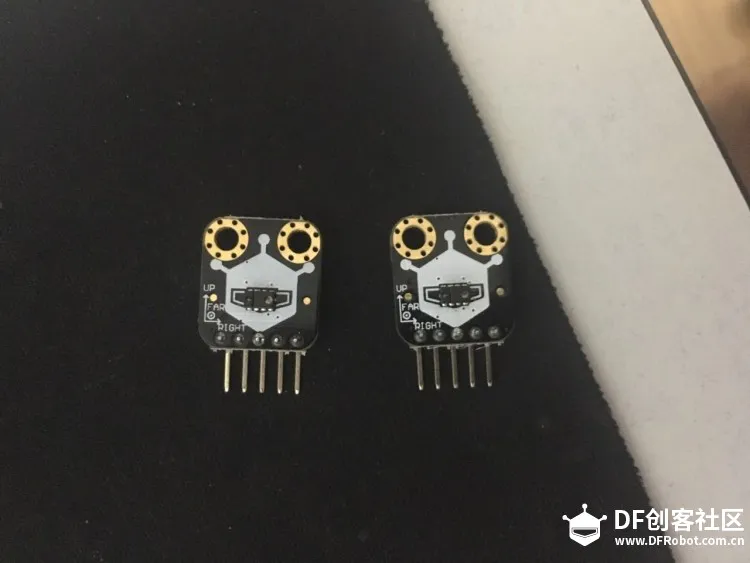
3、杜邦线若干
接线
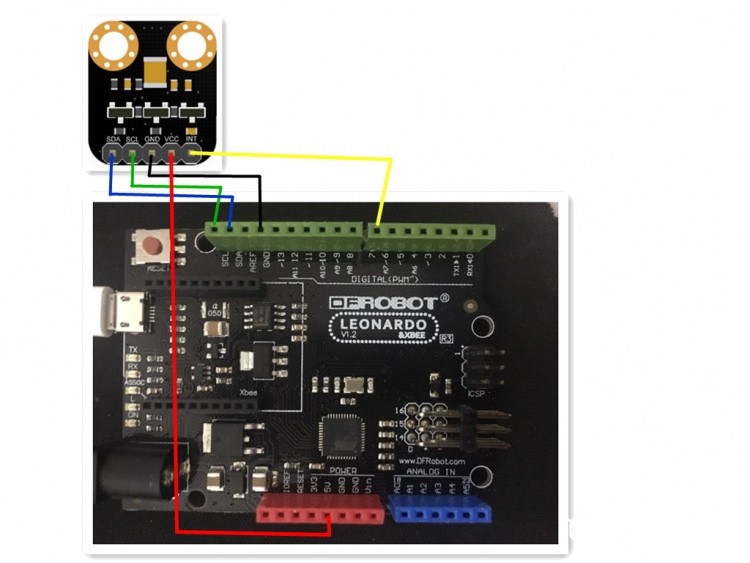
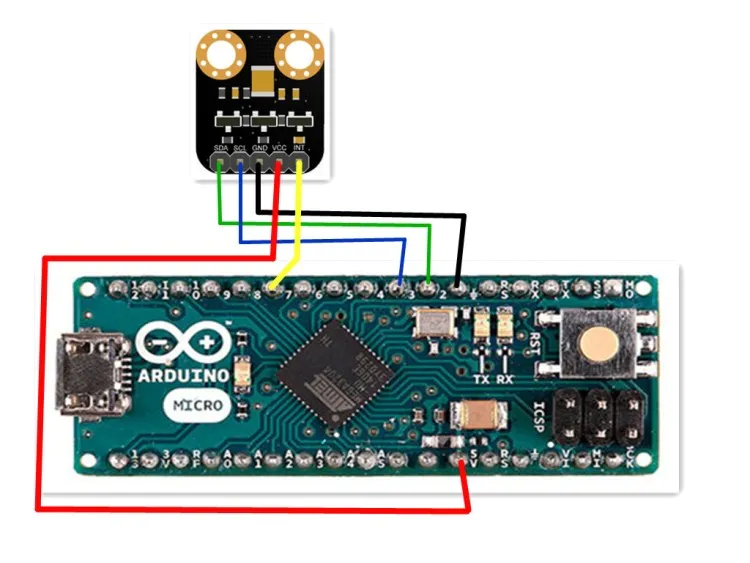
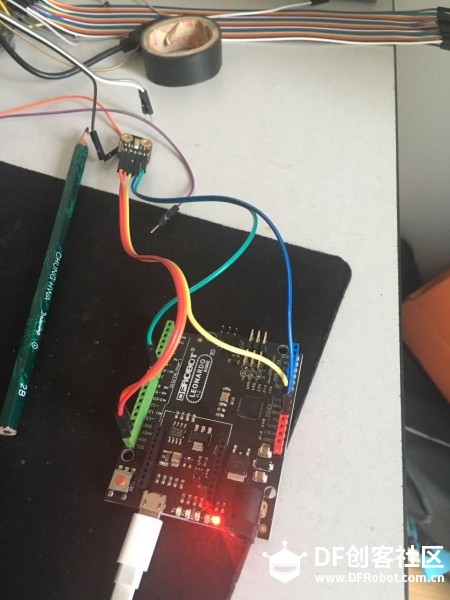
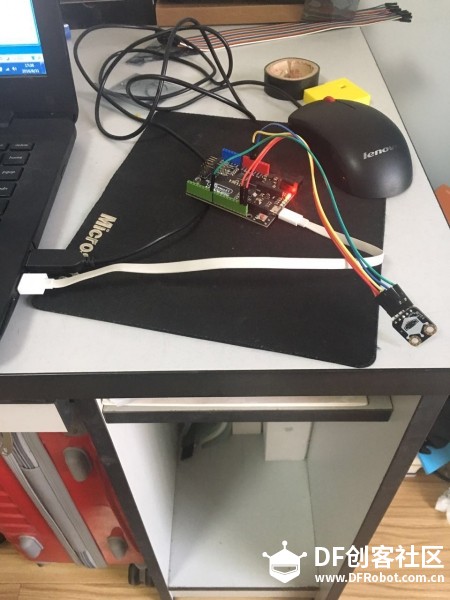
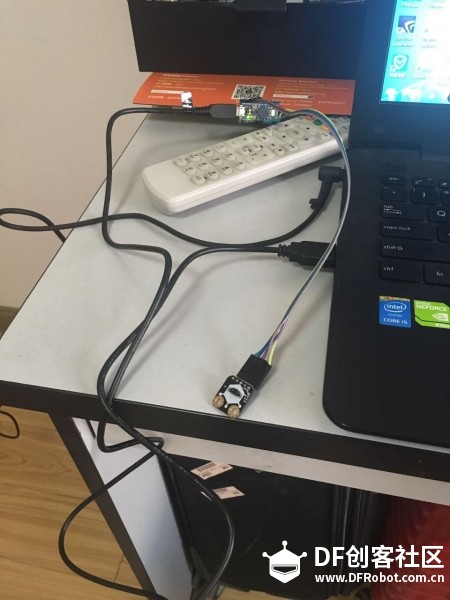
接线方式:
手势传感器使用的I2C接口
arduino leonardo和 micro的I2C接口是,对于的引脚分别是2(SDA)和3(SCL)
外部中断分别是,3(中断0)、2(中断1)、0(中断2)、1(中断3)和7(中断4)
由于2,3被I2C接口使用0,1被串口使用,所以我这里用了7(中断4)
编程
Arduino :我们在arduino leonardo主板分别烧写代码
- /****************************************************************
- GestureTest.ino
- APDS-9960 RGB and Gesture Sensor
- Shawn Hymel @ SparkFun Electronics
- May 30, 2014
- [url=https://github.com/sparkfun/APDS-9960_RGB_and_Gesture_Sensor]https://github.com/sparkfun/APDS-9960_RGB_and_Gesture_Sensor[/url]
-
- Tests the gesture sensing abilities of the APDS-9960. Configures
- APDS-9960 over I2C and waits for gesture events. Calculates the
- direction of the swipe (up, down, left, right) and displays it
- on a serial console.
-
- To perform a NEAR gesture, hold your hand
- far above the sensor and move it close to the sensor (within 2
- inches). Hold your hand there for at least 1 second and move it
- away.
-
- To perform a FAR gesture, hold your hand within 2 inches of the
- sensor for at least 1 second and then move it above (out of
- range) of the sensor.
-
- Hardware Connections:
-
- IMPORTANT: The APDS-9960 can only accept 3.3V!
-
- Arduino Pin APDS-9960 Board Function
-
- 3.3V VCC Power
- GND GND Ground
- A4 SDA I2C Data
- A5 SCL I2C Clock
- 2 INT Interrupt
-
- Resources:
- Include Wire.h and SparkFun_APDS-9960.h
-
- Development environment specifics:
- Written in Arduino 1.0.5
- Tested with SparkFun Arduino Pro Mini 3.3V
-
- This code is beerware; if you see me (or any other SparkFun
- employee) at the local, and you've found our code helpful, please
- buy us a round!
-
- Distributed as-is; no warranty is given.
-
- *******************Modify the description**********************
- 3.3V-5V VCC Power
- Void loop () to increase serial port statement causes the wave, will not stop
- Library function will be waved in recognition of the changed
- ****************************************************************/
-
- #include <Wire.h>
- #include <SparkFun_APDS9960.h>
-
- // Pins
- #define APDS9960_INT 7 // Needs to be an interrupt pin
-
- // Constants
-
- // Global Variables
- SparkFun_APDS9960 apds = SparkFun_APDS9960();
- int isr_flag = 0;
-
- void setup() {
- Keyboard.begin();
-
- // Initialize Serial port
- Serial.begin(9600);
- Serial.println();
- Serial.println(F("--------------------------------"));
- Serial.println(F("SparkFun APDS-9960 - GestureTest"));
- Serial.println(F("--------------------------------"));
-
- // Initialize interrupt service routine
- attachInterrupt(4, interruptRoutine, FALLING);
-
- // Initialize APDS-9960 (configure I2C and initial values)
- if ( apds.init() ) {
- Serial.println(F("APDS-9960 initialization complete"));
- } else {
- Serial.println(F("Something went wrong during APDS-9960 init!"));
- }
-
- // Start running the APDS-9960 gesture sensor engine
- if ( apds.enableGestureSensor(true) ) {
- Serial.println(F("Gesture sensor is now running"));
- } else {
- Serial.println(F("Something went wrong during gesture sensor init!"));
- }
- }
-
- void loop() {
- if( isr_flag == 1 ) {
- handleGesture();
- if(digitalRead(APDS9960_INT) == 0){
- apds.init();
- apds.enableGestureSensor(true);
- }
-
- isr_flag = 0;
- }
- }
-
- void interruptRoutine() {
- isr_flag = 1;
- }
-
- void handleGesture() {
- if ( apds.isGestureAvailable() ) {
- switch ( apds.readGesture() ) {
- case DIR_UP:
- Keyboard.write(65);
- break;
- case DIR_DOWN:
- Serial.println("DOWN");
- break;
- case DIR_LEFT:
- Keyboard.write(65);
- break;
- case DIR_RIGHT:
- Serial.println("RIGHT");
- break;
- case DIR_NEAR:
- Serial.println("NEAR");
- break;
- case DIR_FAR:
- Serial.println("FAR");
- break;
- default:
- Serial.println("NONE");
- }
- }
- }
- /****************************************************************
- GestureTest.ino
- APDS-9960 RGB and Gesture Sensor
- Shawn Hymel @ SparkFun Electronics
- May 30, 2014
- [url=https://github.com/sparkfun/APDS-9960_RGB_and_Gesture_Sensor]https://github.com/sparkfun/APDS-9960_RGB_and_Gesture_Sensor[/url]
-
- Tests the gesture sensing abilities of the APDS-9960. Configures
- APDS-9960 over I2C and waits for gesture events. Calculates the
- direction of the swipe (up, down, left, right) and displays it
- on a serial console.
-
- To perform a NEAR gesture, hold your hand
- far above the sensor and move it close to the sensor (within 2
- inches). Hold your hand there for at least 1 second and move it
- away.
-
- To perform a FAR gesture, hold your hand within 2 inches of the
- sensor for at least 1 second and then move it above (out of
- range) of the sensor.
-
- Hardware Connections:
-
- IMPORTANT: The APDS-9960 can only accept 3.3V!
-
- Arduino Pin APDS-9960 Board Function
-
- 3.3V VCC Power
- GND GND Ground
- A4 SDA I2C Data
- A5 SCL I2C Clock
- 2 INT Interrupt
-
- Resources:
- Include Wire.h and SparkFun_APDS-9960.h
-
- Development environment specifics:
- Written in Arduino 1.0.5
- Tested with SparkFun Arduino Pro Mini 3.3V
-
- This code is beerware; if you see me (or any other SparkFun
- employee) at the local, and you've found our code helpful, please
- buy us a round!
-
- Distributed as-is; no warranty is given.
-
- *******************Modify the description**********************
- 3.3V-5V VCC Power
- Void loop () to increase serial port statement causes the wave, will not stop
- Library function will be waved in recognition of the changed
- ****************************************************************/
-
- #include <Wire.h>
- #include <SparkFun_APDS9960.h>
-
- // Pins
- #define APDS9960_INT 7 // Needs to be an interrupt pin
-
- // Constants
-
- // Global Variables
- SparkFun_APDS9960 apds = SparkFun_APDS9960();
- int isr_flag = 0;
-
- void setup() {
- Keyboard.begin();
-
- // Initialize Serial port
- Serial.begin(9600);
- Serial.println();
- Serial.println(F("--------------------------------"));
- Serial.println(F("SparkFun APDS-9960 - GestureTest"));
- Serial.println(F("--------------------------------"));
-
- // Initialize interrupt service routine
- attachInterrupt(4, interruptRoutine, FALLING);
-
- // Initialize APDS-9960 (configure I2C and initial values)
- if ( apds.init() ) {
- Serial.println(F("APDS-9960 initialization complete"));
- } else {
- Serial.println(F("Something went wrong during APDS-9960 init!"));
- }
-
- // Start running the APDS-9960 gesture sensor engine
- if ( apds.enableGestureSensor(true) ) {
- Serial.println(F("Gesture sensor is now running"));
- } else {
- Serial.println(F("Something went wrong during gesture sensor init!"));
- }
- }
-
- void loop() {
- if( isr_flag == 1 ) {
- handleGesture();
- if(digitalRead(APDS9960_INT) == 0){
- apds.init();
- apds.enableGestureSensor(true);
- }
-
- isr_flag = 0;
- }
- }
-
- void interruptRoutine() {
- isr_flag = 1;
- }
-
- void handleGesture() {
- if ( apds.isGestureAvailable() ) {
- switch ( apds.readGesture() ) {
- case DIR_UP:
- Keyboard.write(66);
- break;
- case DIR_DOWN:
- Serial.println("DOWN");
- break;
- case DIR_LEFT:
- Keyboard.write(66);
- break;
- case DIR_RIGHT:
- Serial.println("RIGHT");
- break;
- case DIR_NEAR:
- Serial.println("NEAR");
- break;
- case DIR_FAR:
- Serial.println("FAR");
- break;
- default:
- Serial.println("NONE");
- }
- }
- }
电脑端编程采用processing编程
此处需要在processing文件中添加资源文件,图片和文字工具
然后输入代码
- int x=50;
- int y=0;
- PFont f;
- PImage ren;
- PImage background1;
- void setup() {
- size(600, 350);
- smooth();
- ren = loadImage("2.png");
- background1 = loadImage("1.jpg");
- f=loadFont("Aharoni-Bold-48.vlw");
- textFont(f,48);
- }
-
- void draw() {
- background(background1);
- image(ren,x,y);
- if(x<-150||x>250){
- textSize(48); //字体大小
- fill(255,0,0); //文本颜色
- text("YOU WIN",200,100);
-
- }
- }
-
- void keyPressed() {
- if(key == 'a' || key == 'A'){
- x += 30;
- }
- if(key == 'b' || key == 'B'){
- x -= 30;
- }
-
- redraw();
-
- }
资源文件全部署好的代码和符合格式的图片
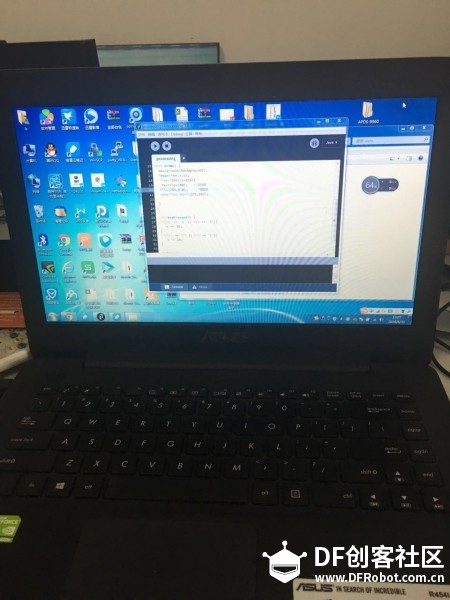
最后的成果
|





为啥会有中断4?
好吧,官网上确实有说,看来还是官方的准确。
:lol