|
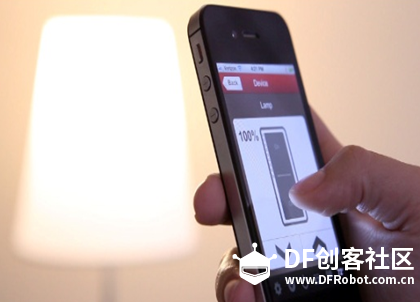
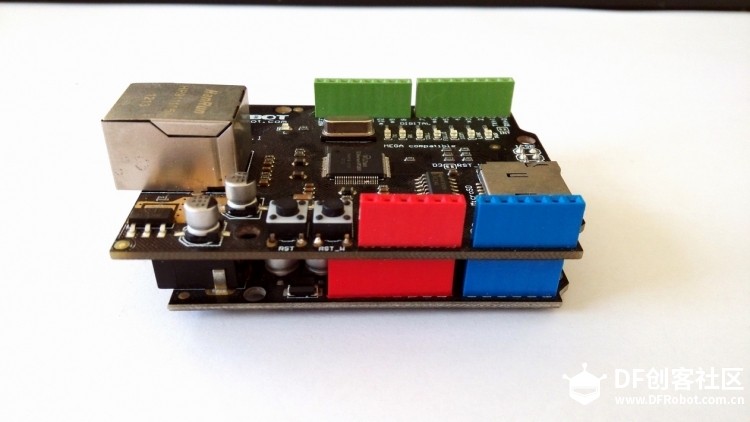
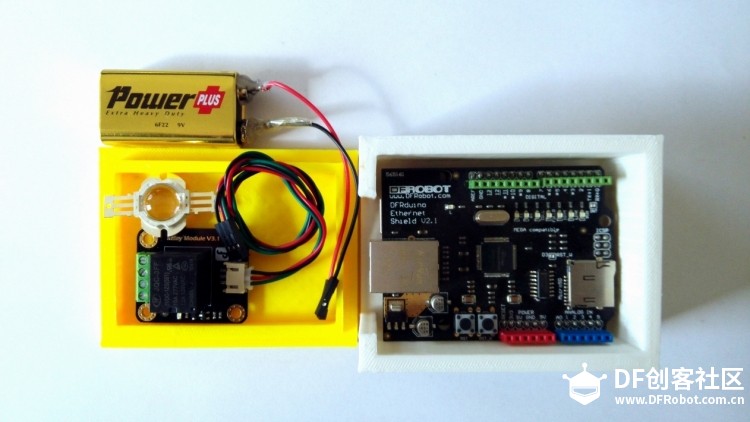
作为网络时代的居民,怎么能不了解物联网呢?物联网简单点说,就是物物相连的互联网。它是以互联网为核心延伸和扩展的网络,使得用户端延伸和扩展到了任何物品,物品之间能进行信息交换和通信。如图1所示,只要你的路由器连接了互联网,你就可以通过手机App远程控制你的灯,就像在家里控制一样,不论你身处国内还是国外。 图1 通过App控制灯 今天我们就使用Arduino+W5100网络扩展板,结合Yeelink平台,实现通过手机App和网页远程控制LED的开关。 器材 2. PLA 3D打印耗材(直径1.75mm,白色) 3. Arduino Uno 4. W5100 DFR0125 5. LED红色 6. 220Ω电阻
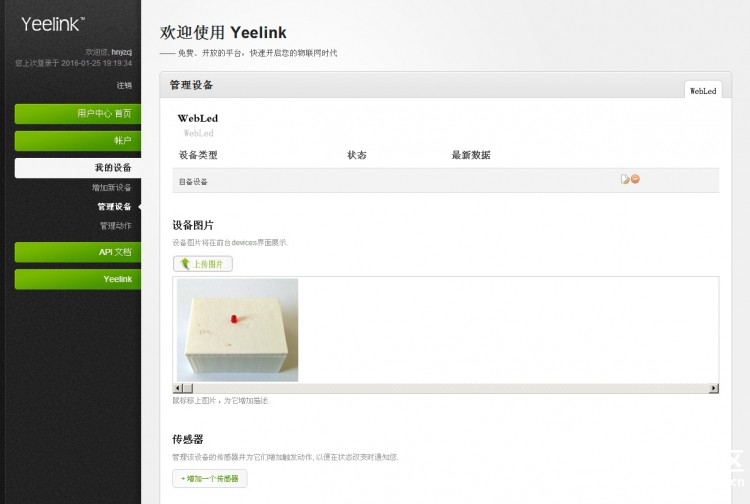
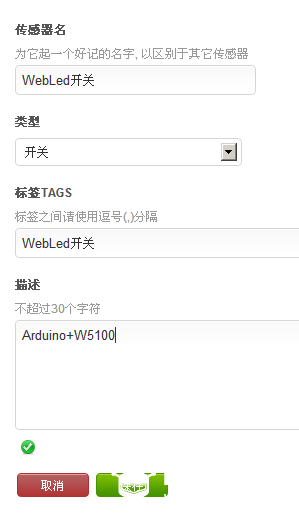
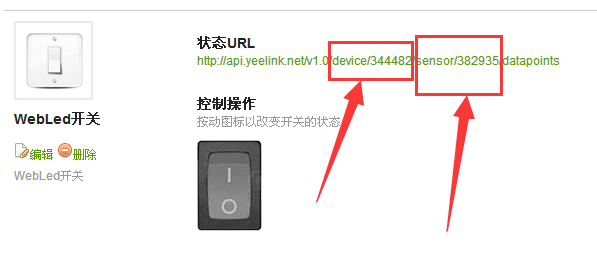
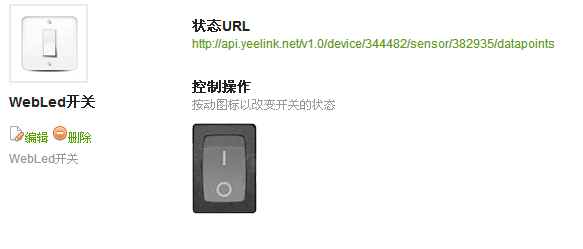
制作过程 1.用户注册 2.添加设备和传感器 登录Yeelink平台,单击用户头像进入用户中心,然后单击“我的设备”→“添加新设备”进入设置设备界面,按要求填写有关设备的情况(见图2)。 图2添加新设备 当完成新设备“WebLed”的添加后,单击“管理设备”进入“WebLed”设备管理界面(见图3),下方有“添加传感器”按钮,可为该设备添加一个传感器并设置其属性。在本例中,传感器类型请选择为“开关”,设置完成后保存即可。 图3 添加传感器 (3)线路连接 本次数据连线较为简单,将W5100网络拓展板对应叠加插在Arduino Uno上,LED(数字口5)与电阻的连接LED正极。 (4)加载库文件 安装Yeelink Sdk,进入Yeelink官网下载Yeelink Sdk,下载完成后解压,并将文件夹复制到Arduino安装目录下的Libraries目录下,例如:“D:\Arduino-1.0.5\Libraries”,复制完成之后重启Arduino软件,即可使用Yeelink的库。 注意事项: a.这里尤其请注意将文件夹名中的下划线去掉,否则会出现无法调用库的编译错误。 b解压到Arduino安装目录下的Libraries目录下必须是根目录文件夹,不能再包含文件夹。 否则一样会出现无法调用库的编译错误。 (5)烧录程序. 将以下代码复制到Arduino编译器中,注意修改用户API号,设备号和传感器号后,将程序刷入控制板。API编号在“账户”——“我的账户设置”中查看。 代码
- #include <SPI.h>
- #include <Ethernet.h>
- #include <Wire.h>
- #include <math.h>
-
- byte buff[2];// for yeelink api
- #define APIKEY "a7ddf40c770aafd53d4d5df3161f215c" // 此处替换为你自己的API Key
- #define DEVICEID 344482 // 此处替换为你的设备编号
- #define SENSORID1 382935 // 此处替换为你的传感器编号
- // assign a MAC address for the ethernet controller.
- byte mac[] = { 0x00, 0x1D, 0x72, 0x82, 0x35, 0x9D};
- // initialize the library instance:
- EthernetClient client ;
- char server[] = "api.yeelink.net"; // name address for yeelink API
- unsigned long lastConnectionTime = 0; // last time you connected to the server, in milliseconds
- boolean lastConnected = false; // state of the connection last time through the main loop
- const unsigned long postingInterval = 3*1000; // delay between 2 datapoints, 30s
- String returnValue = "";
- boolean ResponseBegin = false;
-
- void setup() {
- pinMode(5, OUTPUT);
- Wire.begin();
- // start serial port:
- Serial.begin(57600);
-
- // start the Ethernet connection with DHCP:
- if (Ethernet.begin(mac) == 0) {
- Serial.println("Failed to configure Ethernet using DHCP");
- for(;;)
- ;
- }
- else {
- Serial.println("Ethernet configuration OK");
- }
- }
-
- void loop() {
- // if there's incoming data from the net connection.
- // send it out the serial port. This is for debugging
- // purposes only:
-
- if (client.available()) {
- char c = client.read();
- // Serial.print(c);
- if (c == '{')
- ResponseBegin = true;
- else if (c == '}')
- ResponseBegin = false;
- if (ResponseBegin)
- returnValue += c;
- }
- if (returnValue.length() !=0 && (ResponseBegin == false))
- {
- Serial.println(returnValue);
-
- if (returnValue.charAt(returnValue.length() - 1) == '1') {
- Serial.println("turn on the LED");
- digitalWrite(5, HIGH);
- }
- else if(returnValue.charAt(returnValue.length() - 1) == '0') {
- Serial.println("turn off the LED");
- digitalWrite(5, LOW);
- }
- returnValue = "";
- }
- // if there's no net connection, but there was one last time
- // through the loop, then stop the client:
- if (!client.connected() && lastConnected) {
- Serial.println();
- Serial.println("disconnecting.");
- client.stop();
- }
-
- // if you're not connected, and ten seconds have passed since
- // your last connection, then connect again and send data:
- if(!client.connected() && (millis() - lastConnectionTime > postingInterval)) {
- // read sensor data, replace with your code
- //int sensorReading = readLightSensor();
- Serial.print("yeelink:");
- //get data from server
- getData();
- }
- // store the state of the connection for next time through
- // the loop:
- lastConnected = client.connected();
- }
-
- // this method makes a HTTP connection to the server and get data back
- void getData(void) {
- // if there's a successful connection:
- if (client.connect(server, 80)) {
- Serial.println("connecting...");
- // send the HTTP GET request:
-
- client.print("GET /v1.0/device/");
- client.print(DEVICEID);
- client.print("/sensor/");
- client.print(SENSORID1);
- client.print("/datapoints");
- client.println(" HTTP/1.1");
- client.println("Host: api.yeelink.net");
- client.print("Accept: *");
- client.print("/");
- client.println("*");
- client.print("U-ApiKey: ");
- client.println(APIKEY);
- client.println("Content-Length: 0");
- client.println("Connection: close");
- client.println();
- Serial.println("print get done.");
-
- }
- else {
- // if you couldn't make a connection:
- Serial.println("connection failed");
- Serial.println();
- Serial.println("disconnecting.");
- client.stop();
- }
- // note the time that the connection was made or attempted:
- lastConnectionTime = millis();
- }
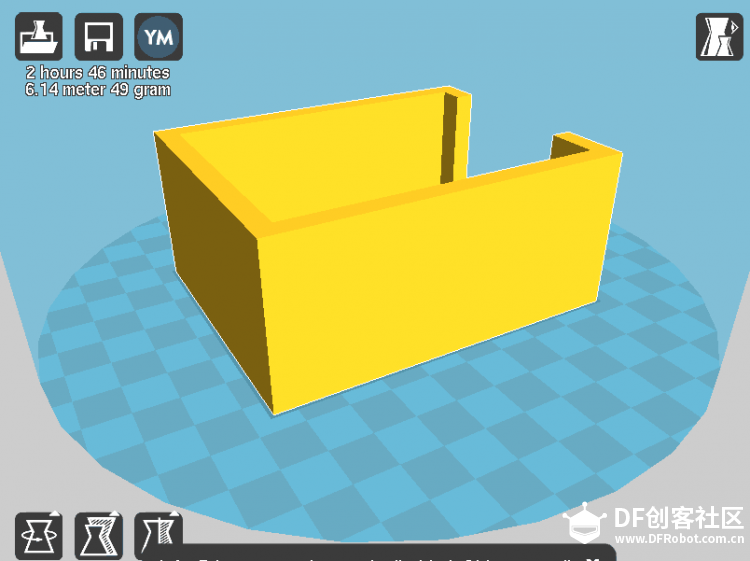
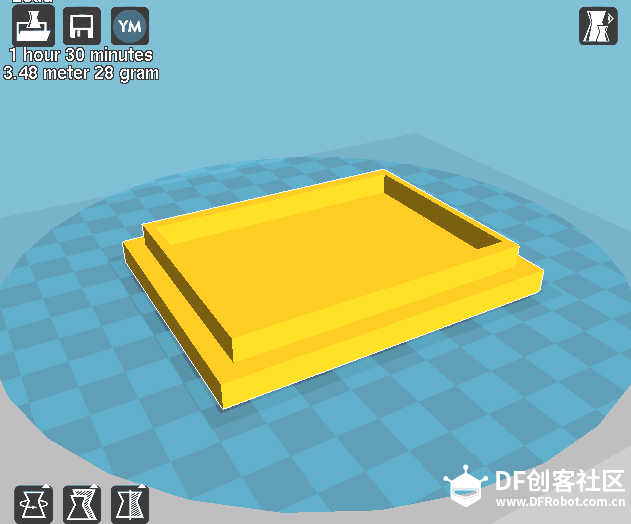
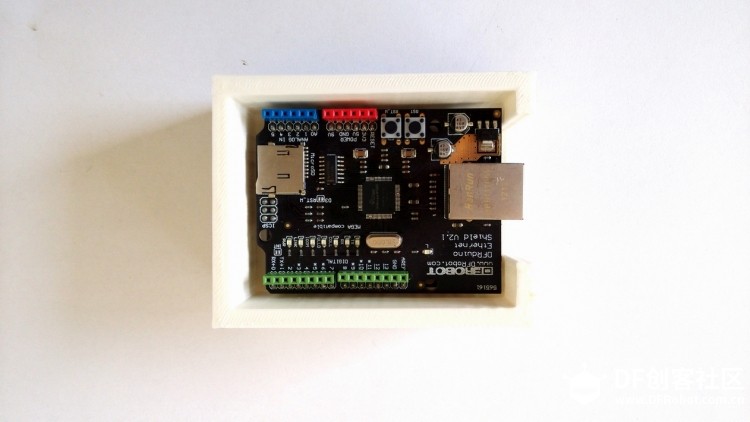
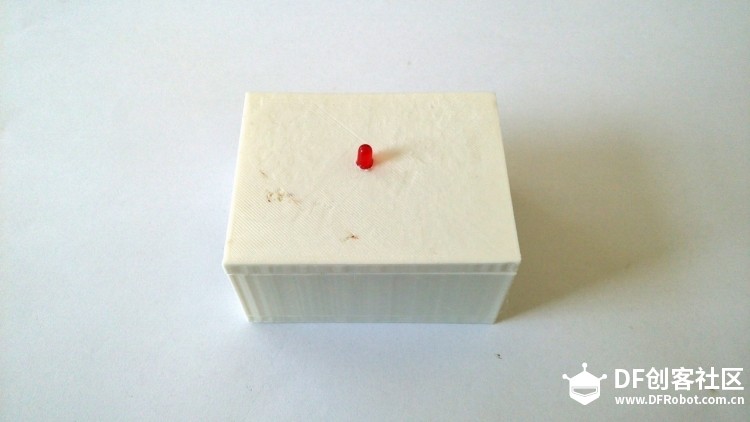
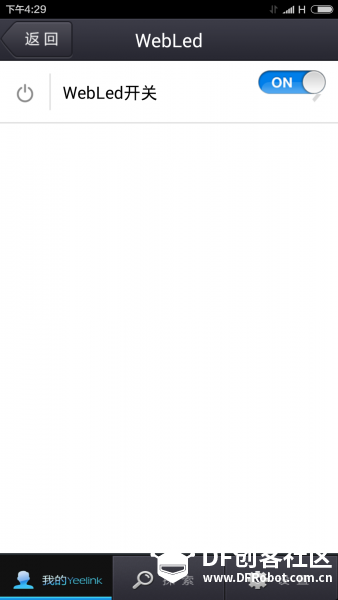
(6)制作外壳 使用Sketchup为WebLed设计制作一个外壳,具体模型文件如下。 将叠加后的板子放入打印件中,将红色LED固定在顶盖上。 (7)测试运行. 将网线插入W5100网口,给Arduino Uno上电。分别用手机客户端、网页客户端和打开和关闭LED。
(8)任务拓展. 也许你觉得这个LED不是很亮,那就弄个亮的吧,完全可以通过下面的设备来做一盏更亮的WebLed。 下图中的灯与上面的没有本质区别,都是通过网络来进行开关,只不过通过继电器外接了大电流设备。如果你胆大点完全可以弄个交流设备的灯来玩玩,接线如下,这里不再详细介绍。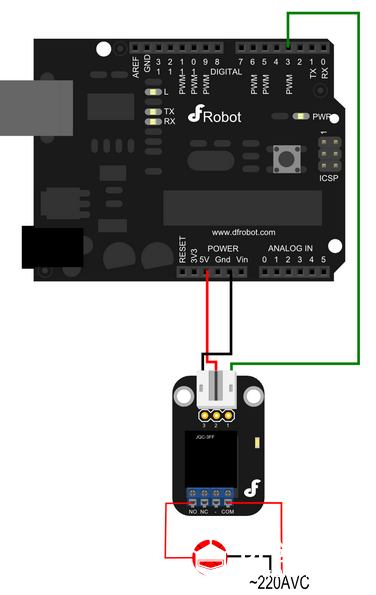
|