用python来驱动PIR人体红外释热传感
2019-05-311.2万

AI 快速预览详细
本文介绍了如何使用PyCharm和Micropython驱动ESP8266的PIR人体红外释热传感。首先,在PyCharm中安装Micropython插件,并配置串口端口。然后,编写代码实现运动检测功能。通过Pin.IRQ_RISING触发中断处理函数,实现精准的运动检测。最后,通过Putty查看端口数据,确认程序成功运行。这个项目适合初学者和STEM教育场景,让孩子在实践中学习编程。
|
PyCharm 是 JetBrains 推出的非常好用的 Python IDE。Micropython 支持ESP8266和ESP32 核心,如果能够直接使用 PyCharm 对它进行开发,会是很棒的选择。 这个项目就是用pycharm来运行python程序来驱动ESP8266。 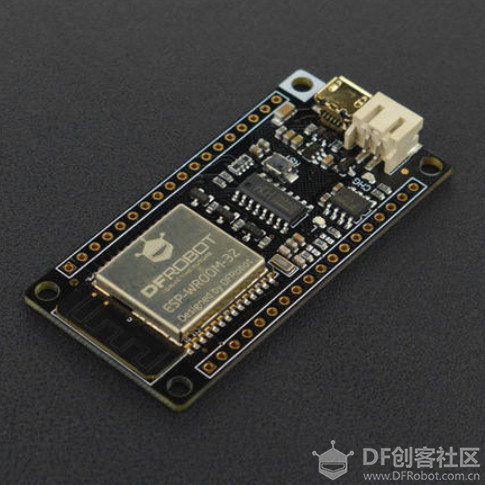 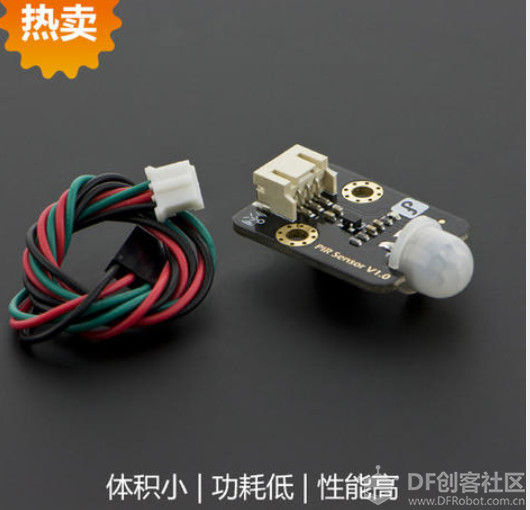 使用的主控模块 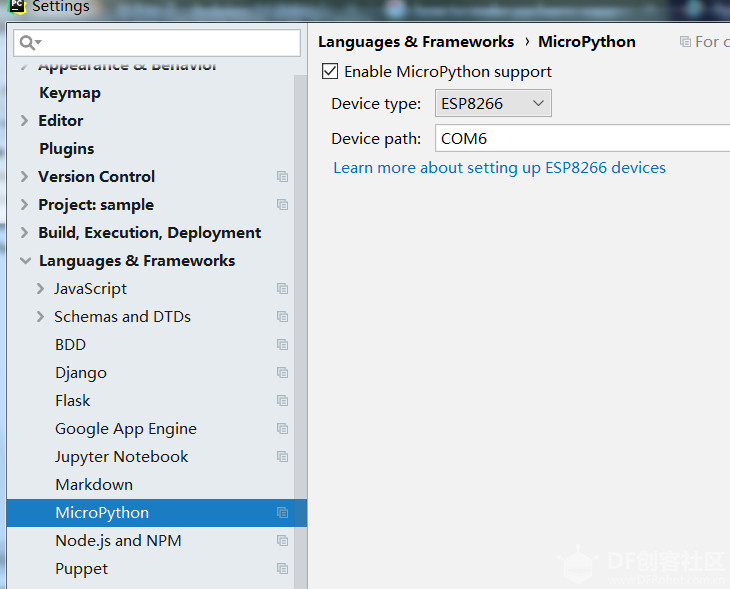 在 Pycharm 中安装 Micropython 插件 Windows 版本 PyCharm 在菜单中选择 “File”/“Setting”  选择串口端口,我的是COM6.  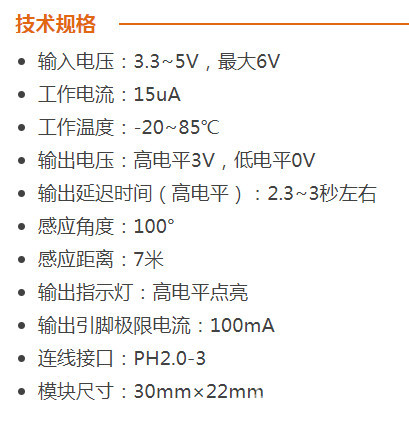  [mw_shl_code=applescript,true]from machine import Pin from time import time start_timer = False motion = False last_motion_time = 0 delay_interval = 20 def handle_interrupt(pin): global motion, last_motion_time, start_timer motion = True start_timer = True last_motion_time = time() led = Pin(12, Pin.OUT) pir = Pin(14, Pin.IN) pir.irq(trigger=Pin.IRQ_RISING, handler=handle_interrupt) while True: if motion and start_timer: print('Motion detected!') led.value(1) start_timer = False elif motion and (time() - last_motion_time)>delay_interval: print('Motion stopped!') led.value(0) motion = False[/mw_shl_code] 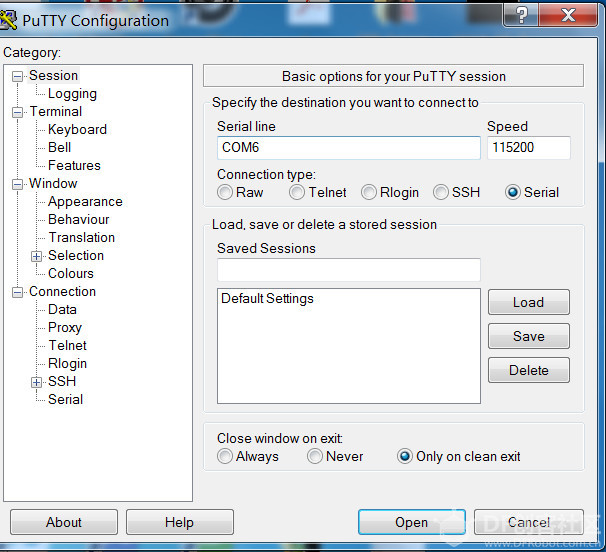 putty的端口选项 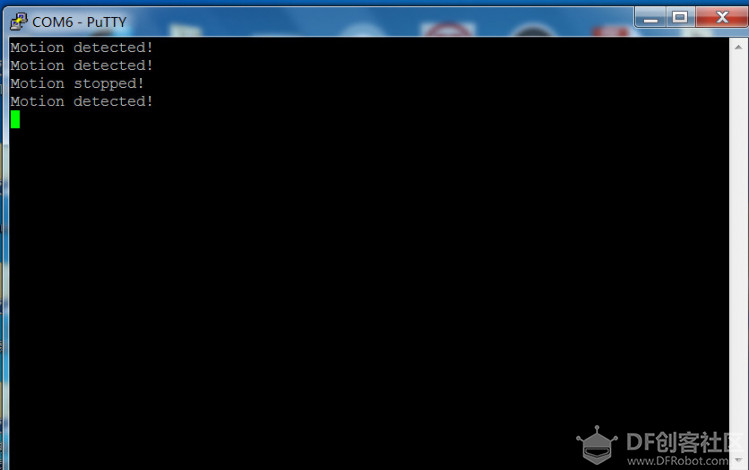  看端口数据,知道已经成功运行。 |