4x4键盘播放MP3
2019-11-221.9万

AI 快速预览详细
本项目介绍如何使用Arduino UNO和4x4键盘制作一个简单的MP3播放器。硬件清单包括Arduino UNO、4x4键盘、MP3模块和8欧姆喇叭。通过简单的按键操作,可以播放不同的曲目。项目难度适中,适合初学者和DIY爱好者。
|
4x4键盘通常被用来做门禁。看到我那个键盘放了很久吃灰,于是想给他赋予新的功能,这不它来了。播放mp3. 这里主控用的是Arduino UNO, 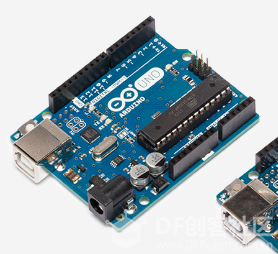 mp3模块 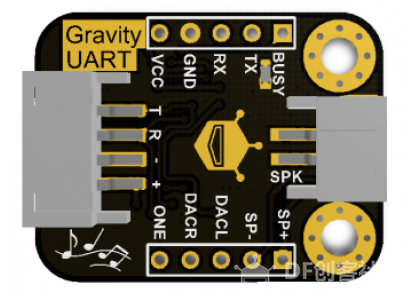 4x4键盘 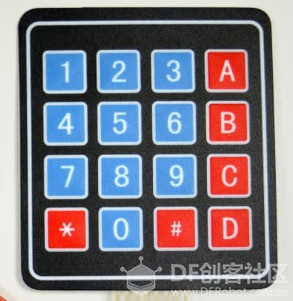 喇叭一只。8欧即可  4x4键盘内部构造  这是连线图 [mw_shl_code=applescript,true]//you are free to copy the code,but please indicate the reference source is from the maker: gada888 #include <Keypad.h> char myNum[4]; int i; unsigned char order[4] = {0xAA,0x06,0x00,0xB0}; const byte ROWS = 4; const byte COLS = 4; char keys[ROWS][COLS] = { {'1','2','3','A'}, {'4','5','6','B'}, {'7','8','9','C'}, {'*','0','#','D'} }; byte rowPins[ROWS] = {9,8,7,6}; byte colPins[COLS] = {5,4,3,2}; Keypad keypad = Keypad(makeKeymap(keys), rowPins, colPins, ROWS, COLS); void setup() { Serial.begin(9600); volume(0x1E); } void loop() { Serial.println("Enter a num -"); for ( i = 0; i < 4; ++i) { while((myNum = keypad.getKey())==NO_KEY) { delay(1); // Just wait for a key } while(keypad.getKey() != NO_KEY) { delay(1); } Serial.print(myNum); } if(myNum[3]=='A') { play(0x01); delay(500); } if(myNum[3]=='B') { play(0x02); delay(500); i=0; } if(myNum[3]=='*') { play(0x03); delay(500); i=0; } if(myNum[3]=='#') { play(0x04); delay(500); i=0; } if(myNum[3]=='D') { play(0x05); delay(500); i=0; } } void play(unsigned char Track) { unsigned char play[6] = {0xAA,0x07,0x02,0x00,Track,Track+0xB3};//0xB3=0xAA+0x07+0x02+0x00,鍗虫渶鍚庝竴浣嶄负鏍¢獙鍜? Serial.write(play,6); } void volume( unsigned char vol) { unsigned char volume[5] = {0xAA,0x13,0x01,vol,vol+0xBE};//0xBE=0xAA+0x13+0x01,鍗虫渶鍚庝竴浣嶄负鏍¢獙鍜? Serial.write(volume,5); } [/mw_shl_code]  最后,独一无二的键盘mp3完成了。按4下A,播放一首曲,按4下B播放另一首,我没有放很多曲子,因为mp3的模块仅仅8M存储。 |