使用“在线机器学习”https://machinelearningforkids.co.uk/,训练模式,通过Mind+Python模式,判断人是否闭眼。
第一步:人脸检测
检测图片中所有出现的人脸,并返回人脸的矩形坐标(矩形左上、右下顶点坐标)。使用上面提到的xml文件(haar特征),haarcascades目录下有好几个是关于人脸检测的文件,这里选择haarcascade_frontalface_default.xml,当然也可以使用其他的。另外需要注意的是,必须以灰度图作为haar分类器的输入。
-
- import cv2
- import numpy as np
- cap = cv2.VideoCapture(0)
- color = (0, 255, 0)
- while True:
- ret , img = cap.read()
- face_cascade = cv2.CascadeClassifier("haarcascade_frontalface_default.xml")
- grey = cv2.cvtColor(img, cv2.COLOR_BGR2GRAY)
- faceRects = face_cascade.detectMultiScale(grey, scaleFactor=1.2, minNeighbors=3, minSize=(32, 32))
- for (x,y,w,h) in faceRects:
- cv2.rectangle(img, (x , y - 10), (x + w + 10, y + h + 10), color, 3) # 5控制绿色框的粗细
- cv2.imshow("face",img)
- if(cv2.waitKey(47)&0xff == 27):
- break
- cap.release()
- cv2.destroyAllWindows()
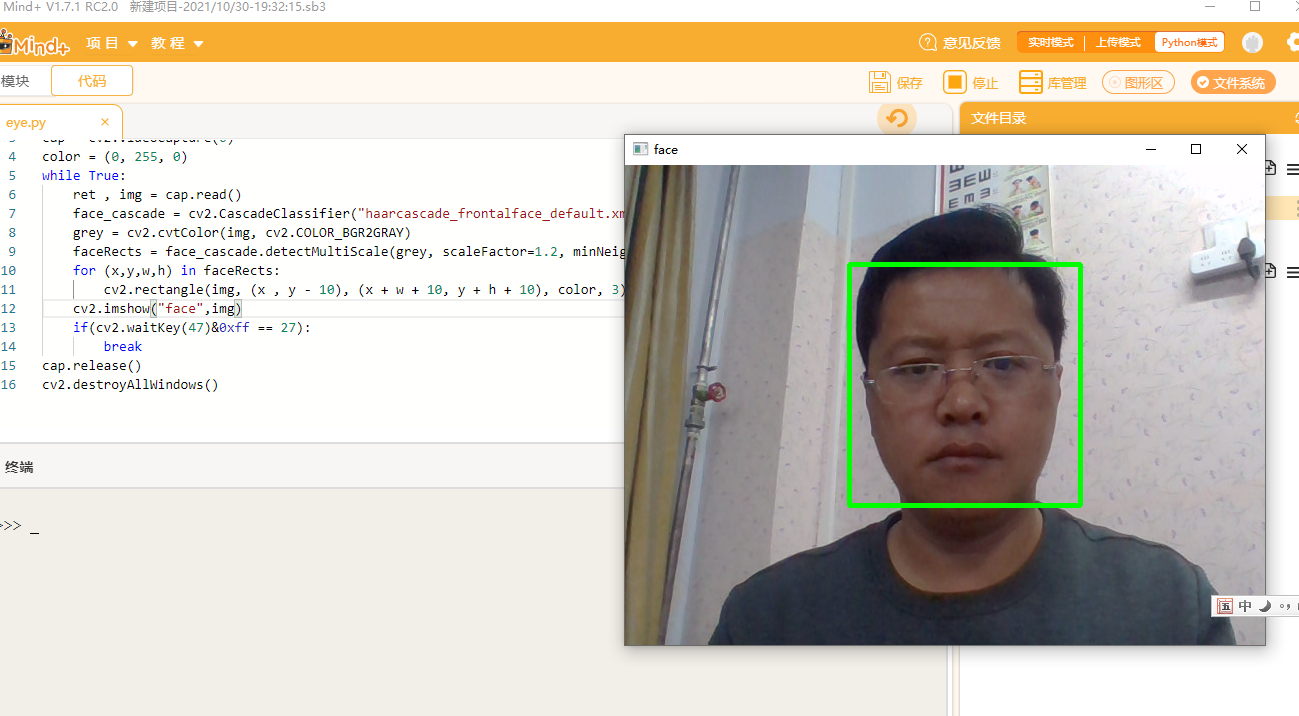
第二步:训练
https://machinelearningforkids.co.uk/收集您希望计算机识别的示例。

第三步:测试下面的机器学习模型
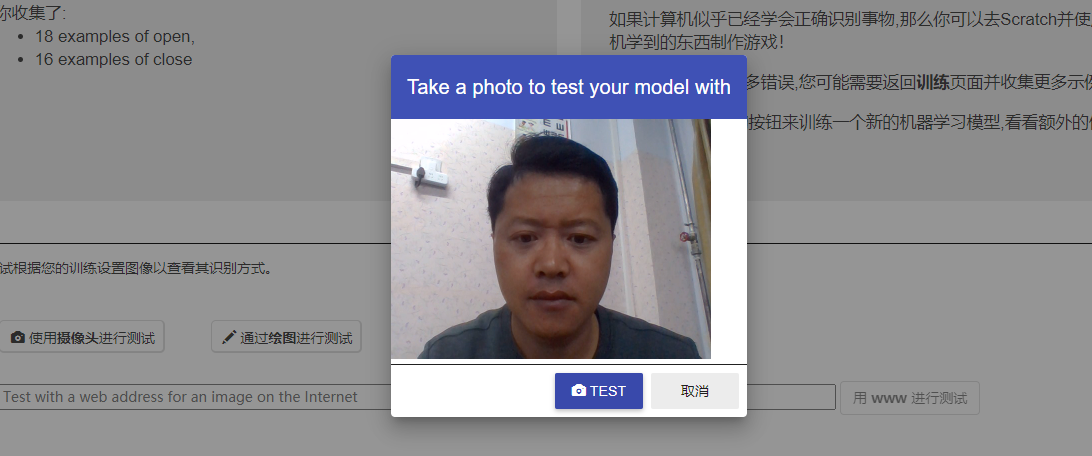
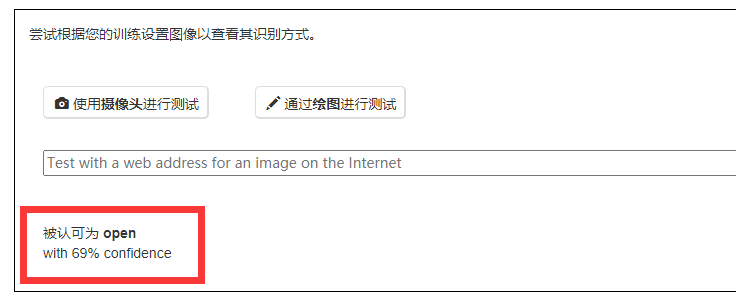
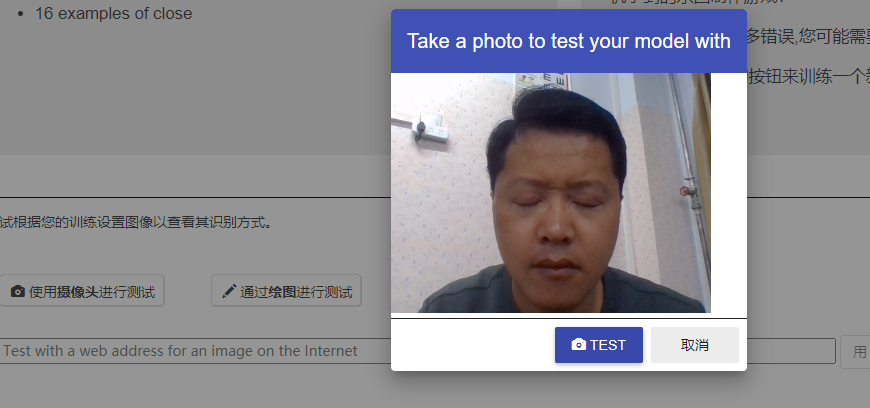
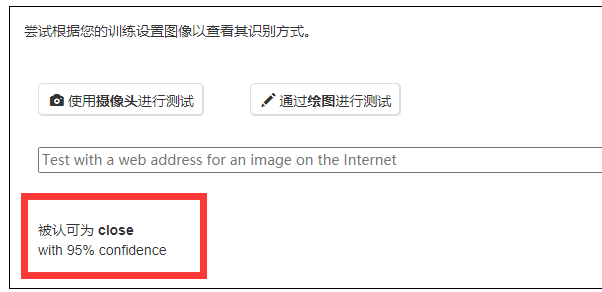
尝试测试下面的机器学习模型。在下面输入一个示例图片,您没有在用于训练它的示例中包含这些图片。它会告诉您它识别它的内容,以及它对这个图片识别的信心。
1、睁眼测试
2、闭眼测试
第四步:安装必要库
Keras-Preprocessing==1.1.2numpy==1.19.5
Pillow==8.3.2
scipy==1.6.0
tensorflow==2.5.1
tensorflow-hub==0.11.0
第五步:下载mlforkids.py
Download mlforkids.py to the folder where you will run your Python code
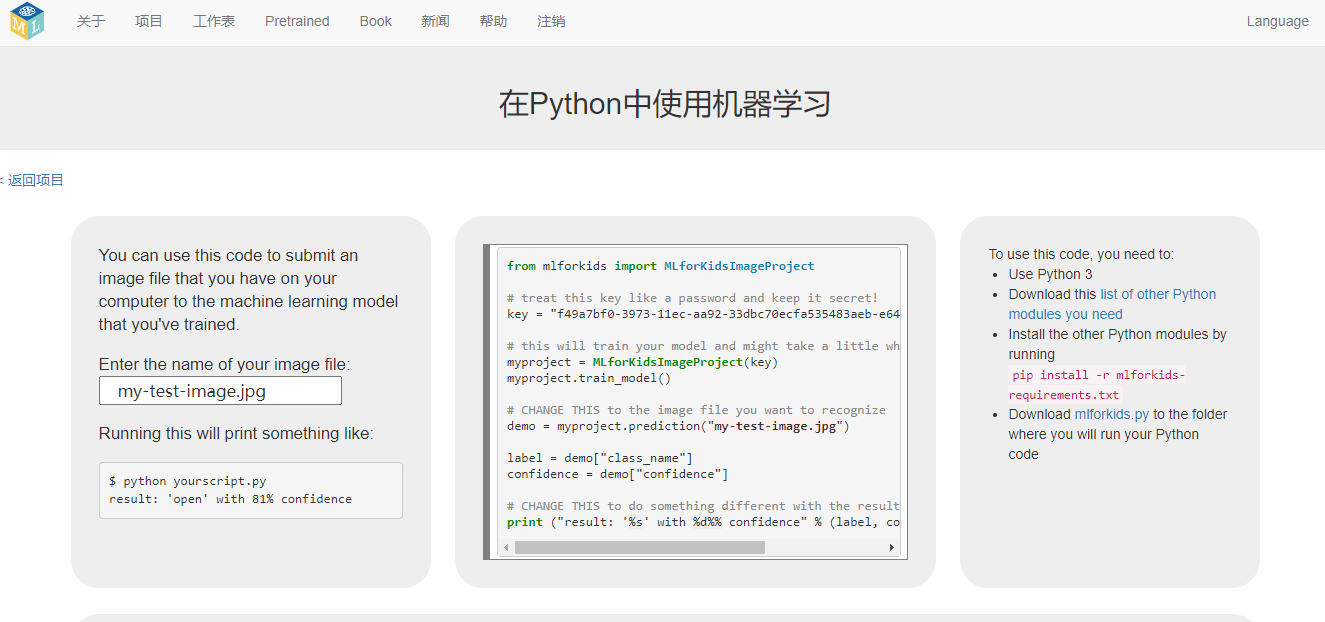
第六步:在Python中使用机器学习
-
- from mlforkids import MLforKidsImageProject
-
- # treat this key like a password and keep it secret!
- key = "f49a7bf0-3973-11ec-aa92-33dbc70ecfa535483aeb-e649-4199-9323-b2f30be8ad8a"
-
- # this will train your model and might take a little while
- myproject = MLforKidsImageProject(key)
- myproject.train_model()
-
- # CHANGE THIS to the image file you want to recognize
- demo = myproject.prediction("my-test-image.jpg")
-
- label = demo["class_name"]
- confidence = demo["confidence"]
-
- # CHANGE THIS to do something different with the result
- print ("result: '%s' with %d%% confidence" % (label, confidence))
第一次运行:
MLFORKIDS: Downloading information about your machine learning project
MLFORKIDS: Getting your training images to use to train your machine learning model
Downloading data from https://machinelearningforkids.c ... s/session-users/stu
dents/ed6d6493-16fc-4f6c-8c0c-a26ab0074353/projects/c29173d0-3972-11ec-8780-b7d1743a5f4d/images/23bd5e63-9f18-40d0-a8f8-6c4b84840c03
8192/Unknown - 0s 0us/step……
第二次运行:
MLFORKIDS: Downloading information about your machine learning project
MLFORKIDS: Getting your training images to use to train your machine learning model
Found 34 images belonging to 2 classes.
MLFORKIDS: Defining the layers to include in your neural network
多次运行:
出现如下错误
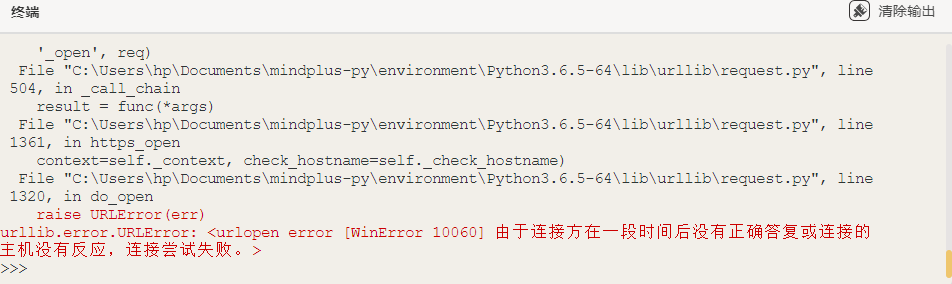
原因可能是运行过程中需要访问这个网站: hub.KerasLayer("https://tfhub.dev/google/imagenet/mobilenet_v2_140_224/classification/4")
我的网络访问不了。
大家可以方式我的代码:
-
-
- import cv2
- import numpy as np
- from mlforkids import MLforKidsImageProject
- key = "f49a7bf0-3973-11ec-aa92-33dbc70ecfa535483aeb-e649-4199-9323-b2f30be8ad8a"
- #myproject = MLforKidsImageProject(key)
- #myproject.train_model()
- cap = cv2.VideoCapture(0)
- color = (0, 255, 0)
- while True:
- ret , img = cap.read()
- face_cascade = cv2.CascadeClassifier("haarcascade_frontalface_default.xml")
- grey = cv2.cvtColor(img, cv2.COLOR_BGR2GRAY)
- faceRects = face_cascade.detectMultiScale(grey, scaleFactor=1.2, minNeighbors=3, minSize=(32, 32))
- if len(faceRects)>0:
- for (x,y,w,h) in faceRects:
- cv2.rectangle(img, (x , y - 10), (x + w + 10, y + h + 10), color, 3) # 5控制绿色框的粗细
- cv2.imwrite('face.jpg',img)
- #demo = myproject.prediction('face.jpg')
- #label = demo["class_name"]
- #confidence = demo["confidence"]
- #print ("result: '%s' with %d%% confidence" % (label, confidence))
- cv2.imshow("face",img)
- if(cv2.waitKey(47)&0xff == 27):
- break
- cap.release()
- cv2.destroyAllWindows()
| 


from mlforkids import MLforKidsImageProject
# treat this key like a password and keep it secret!
key = "bb7ff080-72d4-11ec-97ab-2778c95f205236c156de-a3fb-4262-87b7-4d59e6ddedcf"
# this will train your model and might take a little while
myproject = MLforKidsImageProject(key)
myproject.train_model()
# CHANGE THIS to the image file you want to recognize
demo = myproject.prediction("my-test-image.jpg")
label = demo["class_name"]
confidence = demo["confidence"]
# CHANGE THIS to do something different with the result
print ("result: '%s' with %d%% confidence" % (label, confidence))