

【Arduino 动手做】通过蓝牙控制 LittleArm Arduino 机器人
2025-06-181820
AI 快速预览详细
本教程介绍了如何通过蓝牙无线控制LittleArm Arduino机器人。用户可以通过蓝牙控制所有自由度,并记录和播放命令集。该方法省去了将LittleArm连接到计算机的麻烦,使操作更加便捷。适合STEM教育场景,帮助孩子掌握无线控制技术。
|
本教程基于此页面中的资源。 LittleArm 是一种传统上使用运行在 Windows 和 Linux 上的免费台式计算机应用程序进行控制的。但这需要将 LittleArm 连接到计算机进行控制。我们终于完成了 LittleArm 的应用程序,以便您可以通过蓝牙无线控制 Arduino。 该应用程序允许您控制 LittleArm 的所有 DOF,还可以记录命令集并播放它们。Arduino 的代码与这里软件包中的传统代码没有变化。 该项目的 LittleArm 应用程序可以在此处下载。  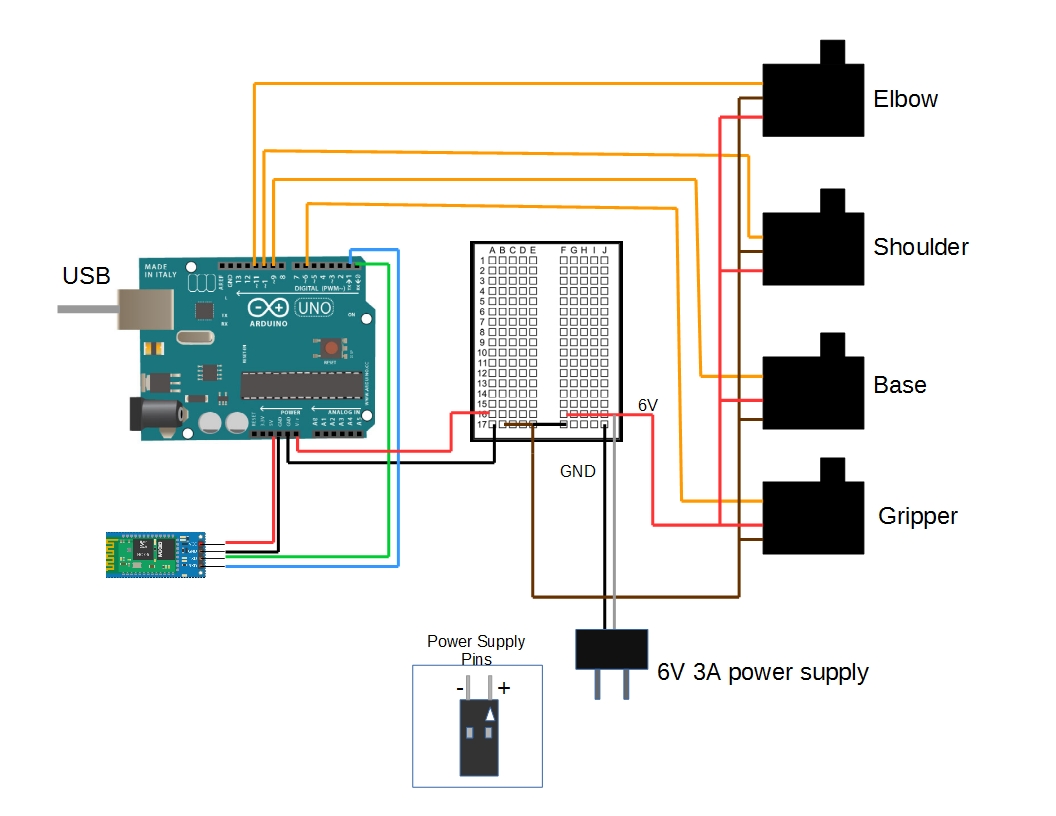 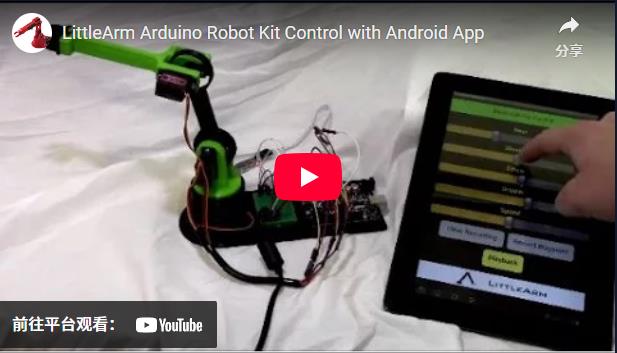 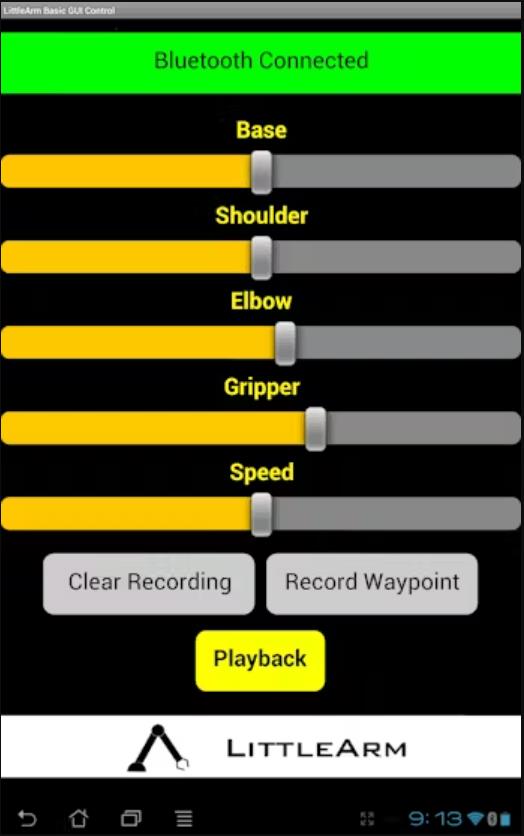 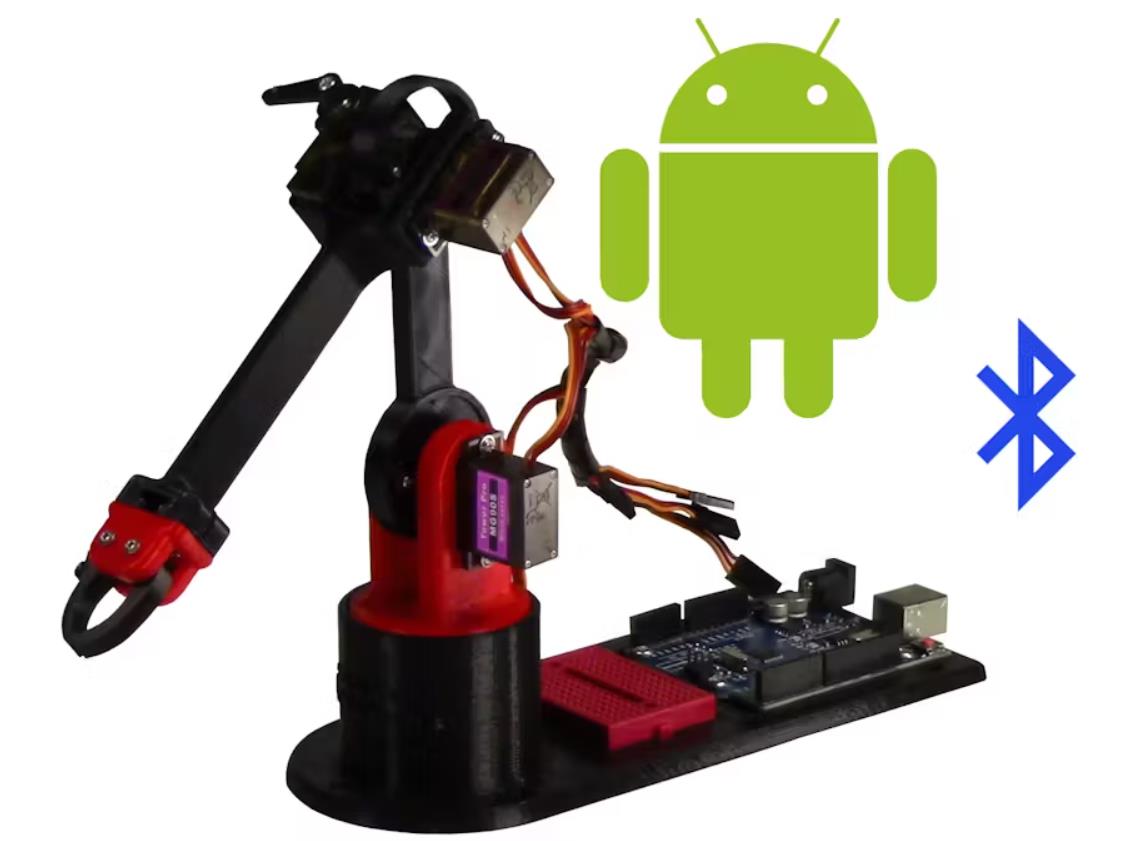 |


项目链接:https://www.hackster.io/slantconcepts/control-arduino-robot-arm-with-android-app-1c0d96
项目作者:Slant Concepts
项目视频 :https://www.youtube.com/watch?v=K9Bn1SxP-Xs
项目代码:https://www.hackster.io/code_files/87111/download
LittleArm 的应用程序:https://pin-up-casinos2.in/
[code]#include
#include
#define PI 3.141
Servo baseServo;
Servo shoulderServo;
Servo elbowServo;
Servo gripperServo;
int command;
struct jointAngle{
int base;
int shoulder;
int elbow;
};
int desiredGrip;
int gripperPos;
int desiredDelay;
int servoSpeed = 15;
int ready = 0;
struct jointAngle desiredAngle; //desired angles of the servos
//+++++++++++++++FUNCTION DECLARATIONS+++++++++++++++++++++++++++
int servoParallelControl (int thePos, Servo theServo );
//+++++++++++++++++++++++++++++++++++++++++++++++++++++++++++
void setup()
{
Serial.begin(9600);
baseServo.attach(9); // attaches the servo on pin 9 to the servo object
shoulderServo.attach(10);
elbowServo.attach(11);
gripperServo.attach(6);
Serial.setTimeout(50); //ensures the the arduino does not read serial for too long
Serial.println("started");
baseServo.write(90); //intial positions of servos
shoulderServo.write(150);
elbowServo.write(110);
ready = 0;
}
//primary arduino loop
void loop()
{
if (Serial.available()){
ready = 1;
desiredAngle.base = Serial.parseInt();
desiredAngle.shoulder = Serial.parseInt();
desiredAngle.elbow = Serial.parseInt();
desiredGrip = Serial.parseInt();
desiredDelay = Serial.parseInt();
if(Serial.read() == '\n'){ // if the last byte is 'd' then stop reading and execute command 'd' stands for 'done'
Serial.flush(); //clear all other commands piled in the buffer
//send completion of the command
Serial.print('d');
}
}
int status1 = 0;
int status2 = 0;
int status3 = 0;
int status4 = 0;
int done = 0 ;
while(done == 0 && ready == 1){
//move the servo to the desired position
status1 = servoParallelControl(desiredAngle.base, baseServo, desiredDelay);
status2 = servoParallelControl(desiredAngle.shoulder, shoulderServo, desiredDelay);
status3 = servoParallelControl(desiredAngle.elbow, elbowServo, desiredDelay);
status4 = servoParallelControl(desiredGrip, gripperServo, desiredDelay);
if (status1 == 1 & status2 == 1 & status3 == 1 & status4 == 1){
done = 1;
}
}// end of while
}
//++++++++++++++++++++++++++++++FUNCTION DEFITNITIONS++++++++++++++++++++++++++++++++++++++++++
int servoParallelControl (int thePos, Servo theServo, int theSpeed ){
int startPos = theServo.read(); //read the current pos
int newPos = startPos;
//int theSpeed = speed;
//define where the pos is with respect to the command
// if the current position is less that the actual move up
if (startPos < (thePos-5)){
newPos = newPos + 1;
theServo.write(newPos);
delay(theSpeed);
return 0;
}
else if (newPos > (thePos + 5)){
newPos = newPos - 1;
theServo.write(newPos);
delay(theSpeed);
return 0;
}
else {
return 1;
}
}
[/code]