

【Arduino 动手做】简单的 Walker 机器人
2025-07-031619
AI 快速预览详细
本文介绍了如何使用Arduino开发板和一些简单的电子产品来构建一个简单的步行机器人。所需的材料包括橡胶刮刀、螺丝扣、铝尺、圆珠笔、Arduino Uno REV 3、标准伺服器、Ping传感器等。文章详细说明了硬件连接步骤,如将舵机母插座插入PCB上的公头引脚,并将电池连接到Arduino。这个项目适合零基础新手入门,无需复杂技能即可开始制作自己的机器人。
|
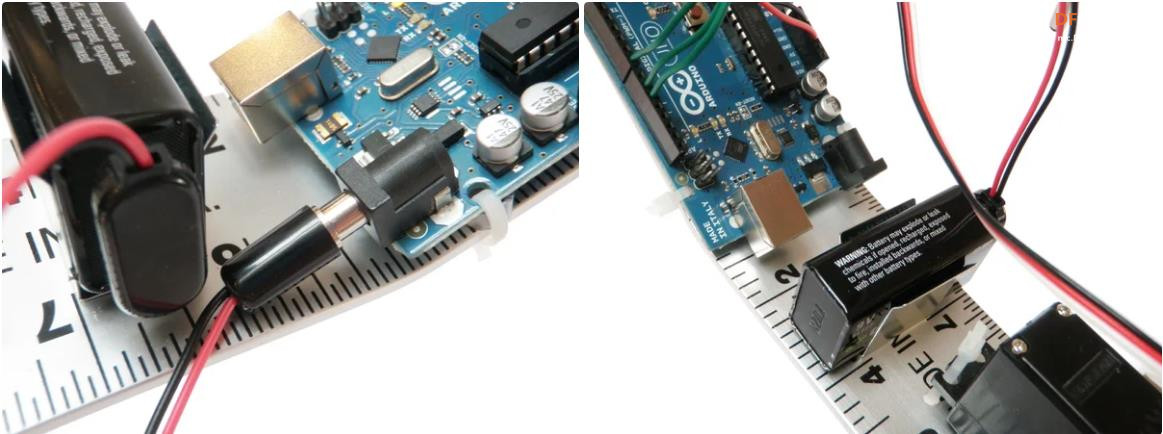
构建一个简单的步行机器人真的很容易。不要让步数欺骗您,让您相信并非如此。这个机器人基本上是由一些家居用品和一些简单的电子产品制成的,您可以在 Radioshack 轻松捡到。事实上,这个机器人完全是拉链绑在一起的,这使得构建和修改它变得非常容易。如果您在任何时候对它的构造不满意,请剪掉扎带并以不同的方式将其扎在一起。 这个机器人的“大脑”也很容易修改,因为它基于 Arduino 开发板。对其进行编程和更改代码非常简单。即使是没有编程经验的人通常也可以很快上手并开始编写自己的机器人程序。 对我来说,这个机器人主要是一个实验,看看如果我建造了一个完整的机器人,就像我建造的众多 Simple Bots 之一一样,会发生什么。有趣的是,当你给这些生物一些计算机逻辑时,这些生物中的一个会变得多么健壮。 您将需要: (x4)橡胶刮刀 (x2) 6“ 螺丝扣 (x1) 2” x 48“ 铝尺 (x1) 圆珠笔 (x1) 4-40 x 1/4” 螺母和螺栓 (x1) Arduino Uno REV 3 (x2) 标准伺服器 (x2) 3x1 公接头引脚(可提供 40 条) (x1) 视差 Ping 传感器 (x1) 9V 卡扣连接器 (x1)9 伏电池座 (x1) 直流电源插头 (x1) 多用途 PC 板 (x1) 绞合 22AWG 电子线 (x1) 9 伏电池 (x1) 5-1/2“ 扎带 将舵机母插座插入 PCB 上的公头引脚,确保黑色与地对齐,红色与电源对齐,白色与绿色信号线对齐。 将 PCB 的红线插入 Arduino 5V 插座。 将 PCB 的黑线插入 Arduino 接地插座。 将 Ping 传感器的绿线插入数字引脚 7 的插座。 将前舵机的绿线插入数字引脚 9 的插座。 将后舵机的绿线插入数字引脚 10 的插座。 将电池连接到 Arduino,将其固定在电池座中,就可以开始了。 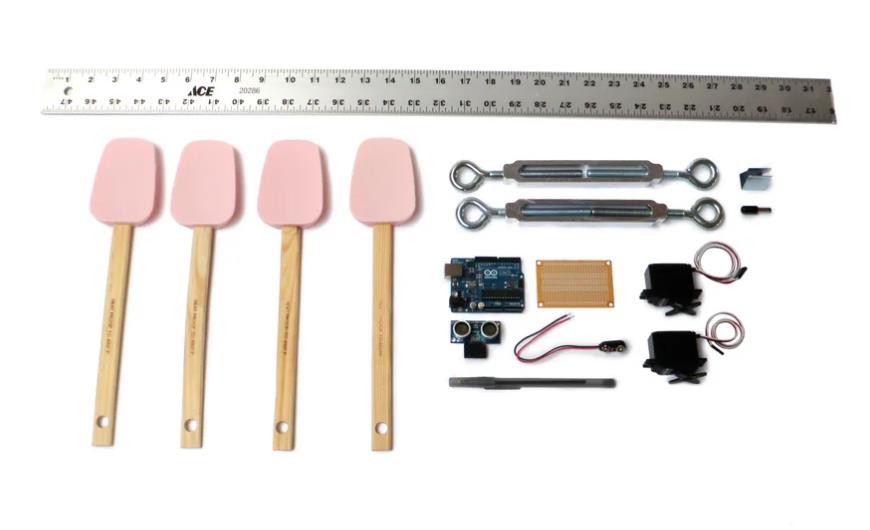 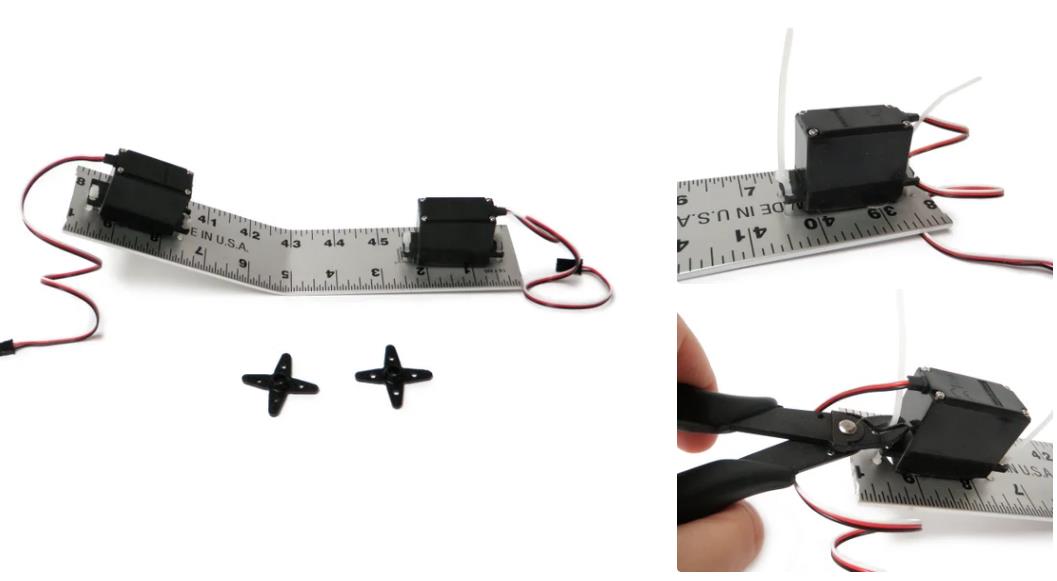 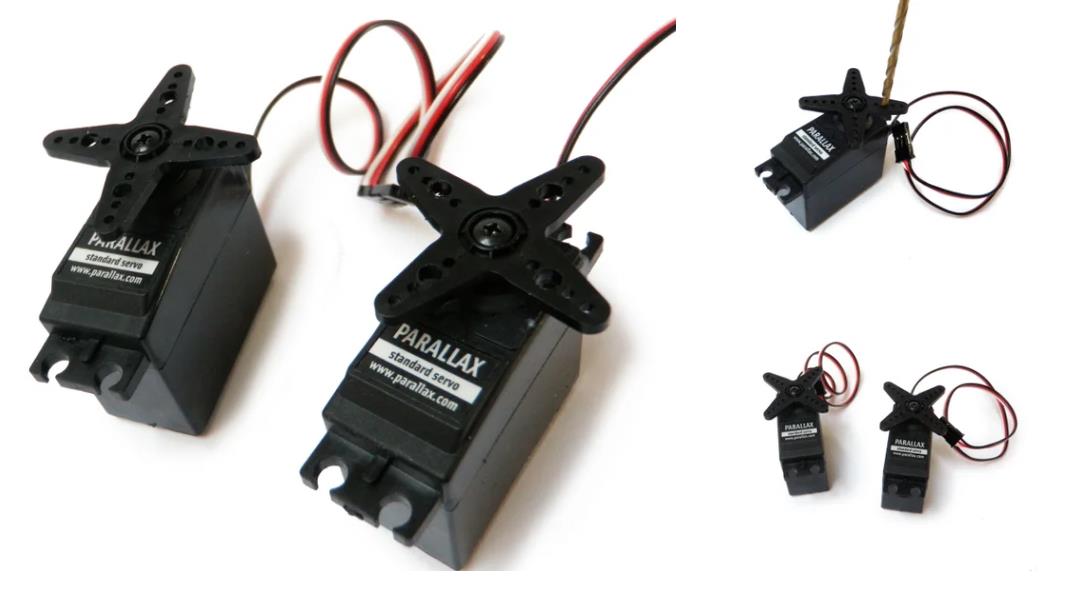 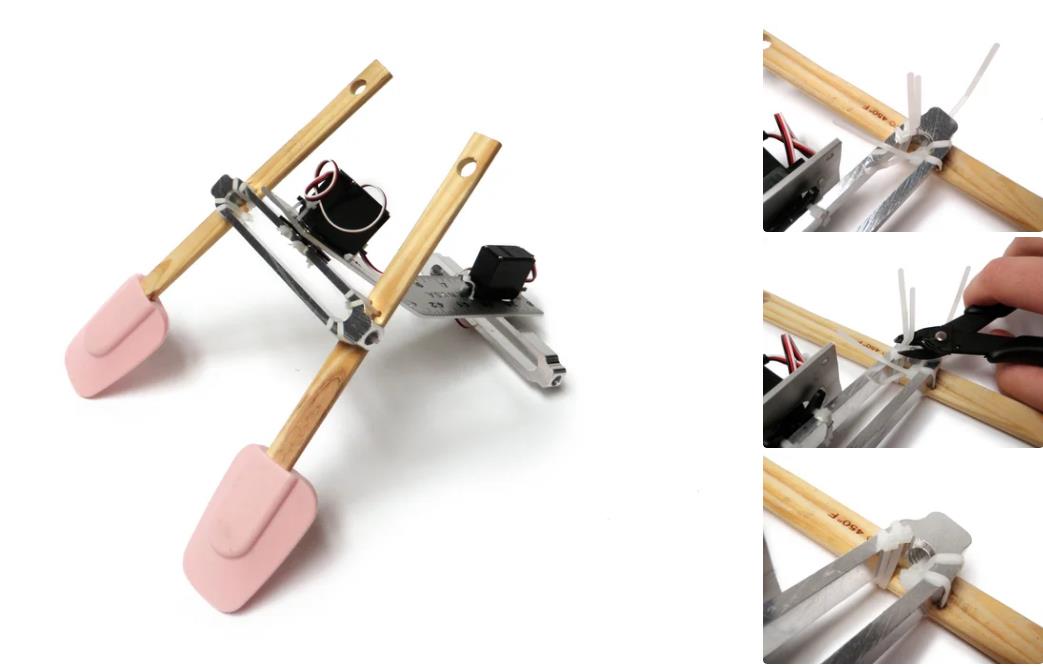 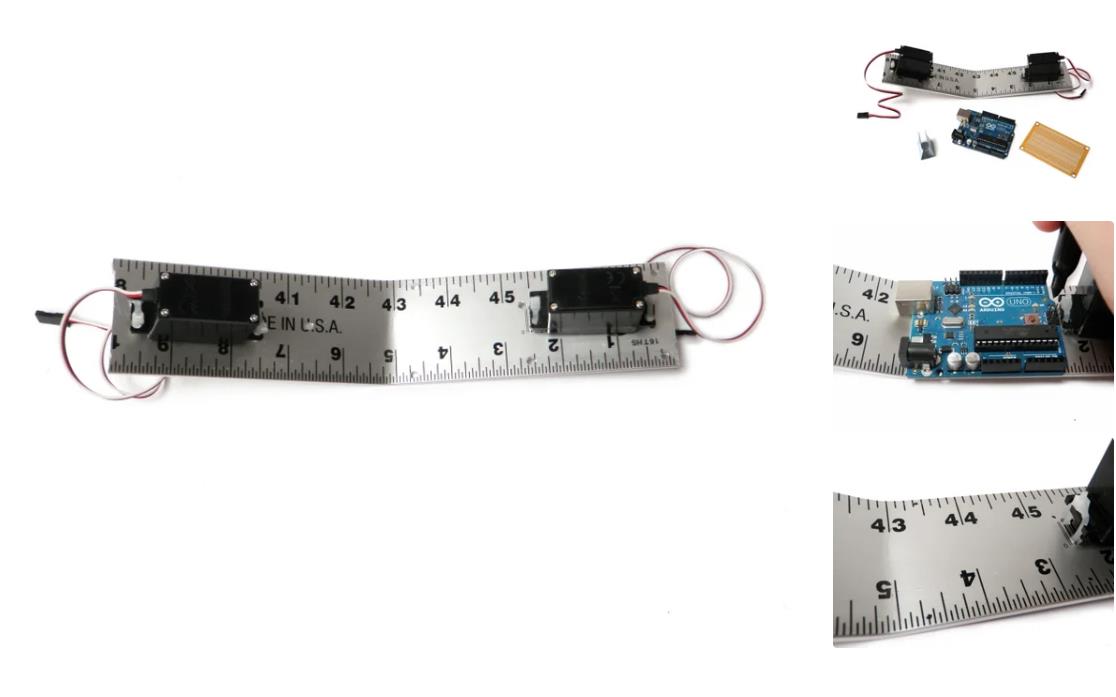 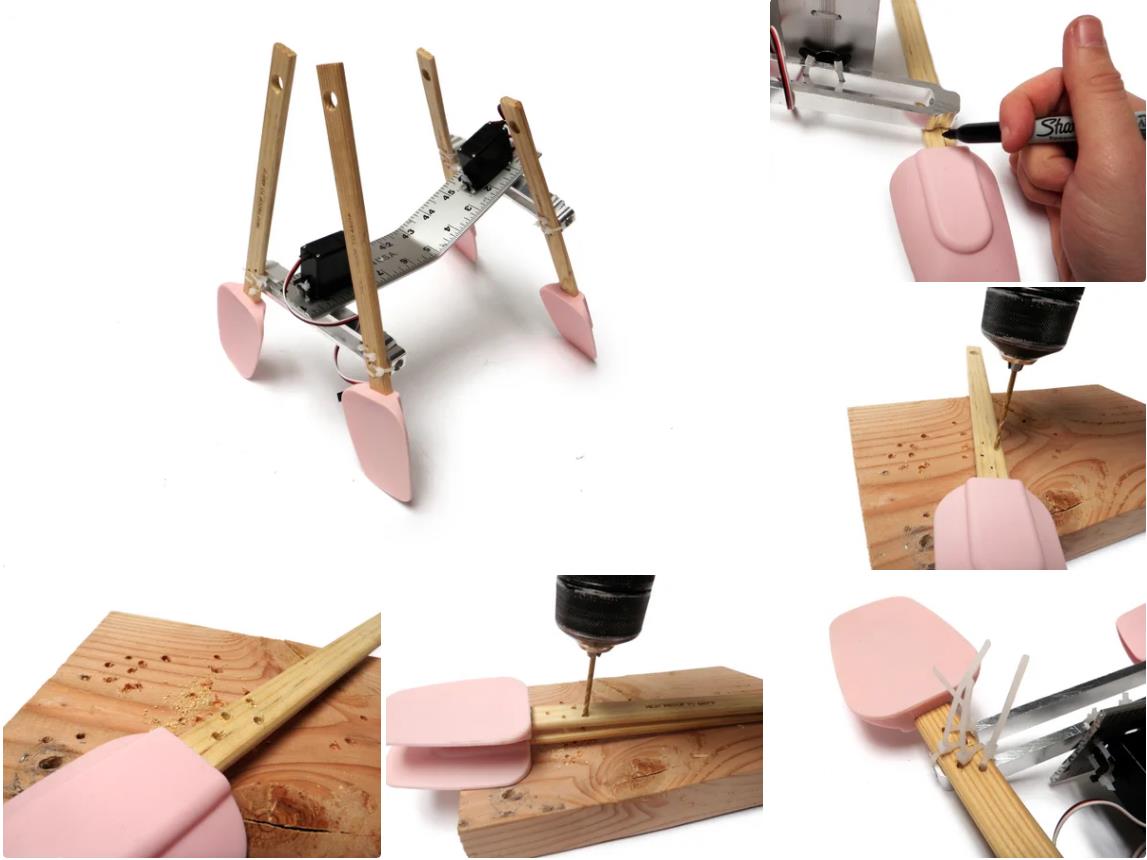 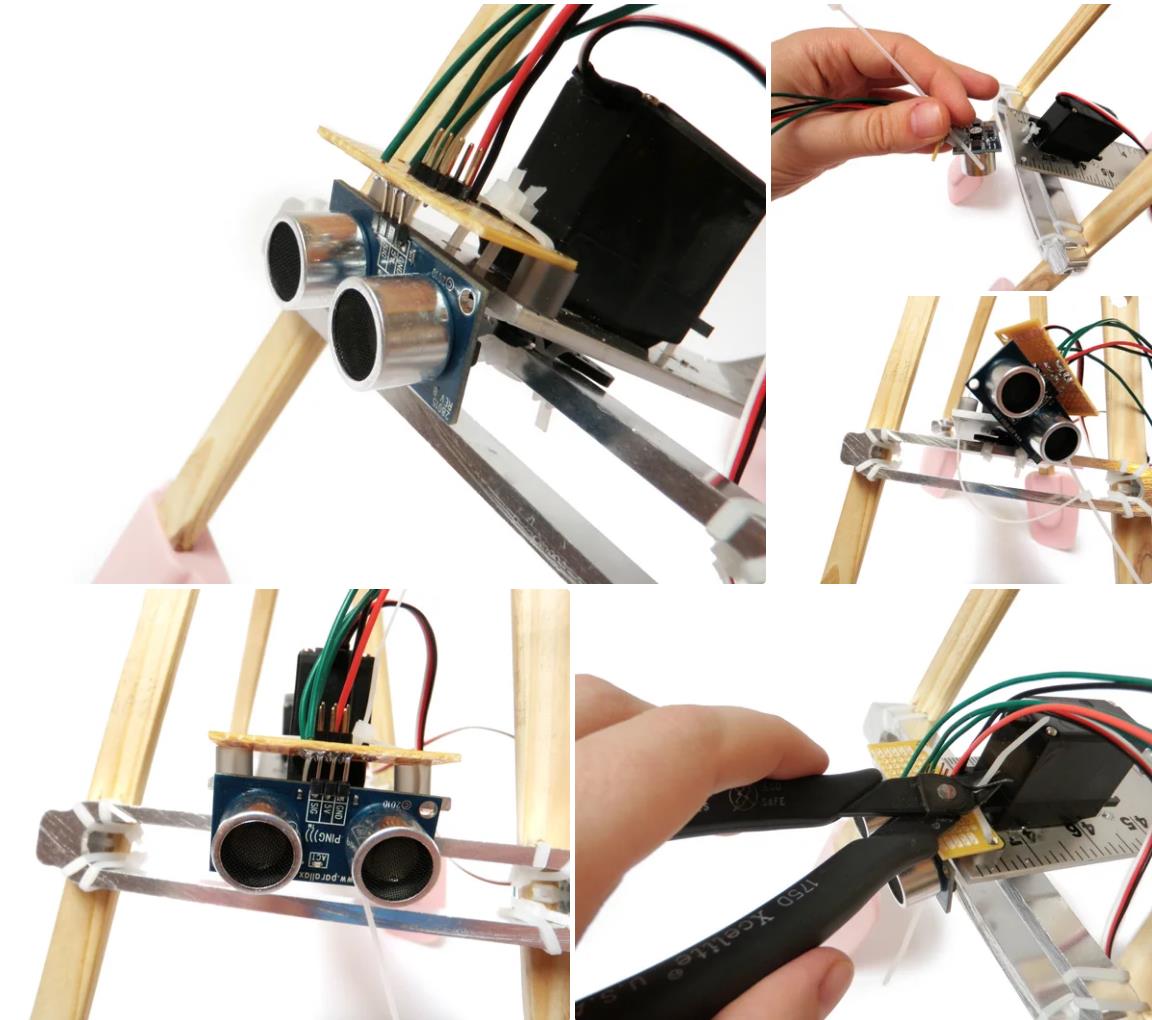 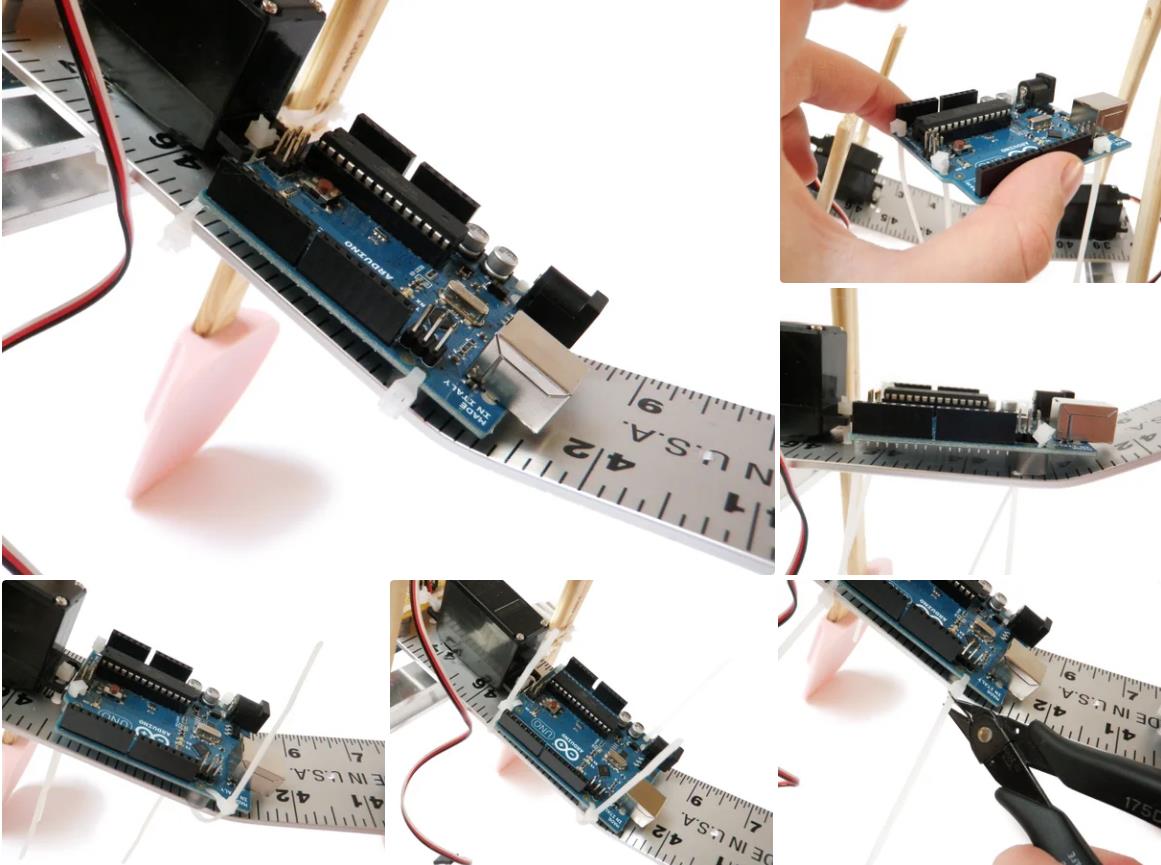 |
-
09.jpg (113.77 KB, 下载次数: 588)



项目链接:https://www.instructables.com/Simple-Walker-Robot/
项目作者:randofo in Circuits
项目视频 :https://www.youtube.com/watch?v=dpoy7R2c1ms&t=56s
项目代码:https://content.instructables.com/FDG/YZLP/GZMIUHIO/FDGYZLPGZMIUHIO.pde
[code]/*
Simple Walker Robot
by Randy Sarafan
This code is for controlling a simple quadruped robot and having it respond to obstacles that approach.
For more information visit the project page:
https://www.instructables.com/id/Simple-Walker-Robot/
This code is based on both the Arduino Sweep example by BARRAGAN
and the Arduino Ping example by Tome Igoe
*/
#include
Servo myservo; // create servo object to control a servo
// a maximum of eight servo objects can be created
Servo myservo1; // create a second servo object to control a servo
int pos = 80; // variable to store the servo position for rear legs
//changing this value changes the default position of the rear legs
int pos1 = 70; // variable to store the servo position for front legs
//changing this value changes the default position of the front legs
//determines the rate at which the legs move
int rate = 1000;
// this constant won't change. It's the pin number
// of the sensor's output:
const int pingPin = 7;
void setup()
{
myservo.attach(9); // attaches the servo on pin 9 to the servo object
myservo1.attach(10); // attaches the servo on pin 10 to the servo object
myservo.write(pos); // tell servo to go to position in variable 'pos' - sets center axis
myservo1.write(pos1); // tell servo to go to position in variable 'pos' - sets center axis
delay(5000);
}
void loop() {
long duration, inches, cm;
// The PING))) is triggered by a HIGH pulse of 2 or more microseconds.
// Give a short LOW pulse beforehand to ensure a clean HIGH pulse:
pinMode(pingPin, OUTPUT);
digitalWrite(pingPin, LOW);
delayMicroseconds(2);
digitalWrite(pingPin, HIGH);
delayMicroseconds(5);
digitalWrite(pingPin, LOW);
// The same pin is used to read the signal from the PING))): a HIGH
// pulse whose duration is the time (in microseconds) from the sending
// of the ping to the reception of its echo off of an object.
pinMode(pingPin, INPUT);
duration = pulseIn(pingPin, HIGH);
// convert the time into a distance
inches = microsecondsToInches(duration);
//if something is closer than a foot, back away
if(inches <= 12){
backward();
}
//if nothing is closer than a foot, go forwards
if(inches > 12){
forward();
}
}
//function for going forwards
void forward(){
myservo.write(pos + 20); // tell servo to go to position in variable 'pos'
myservo1.write(pos1 - 20); // tell servo to go to position in variable 'pos'
delay(rate);
myservo.write(pos - 20); // tell servo to go to position in variable 'pos'
myservo1.write(pos1 + 20); // tell servo to go to position in variable 'pos'
delay(rate);
}
//function for backing away
void backward(){
myservo.write(pos + 25); // tell servo to go to position in variable 'pos'
myservo1.write(pos1 + 50); // tell servo to go to position in variable 'pos'
delay(rate);
myservo.write(pos - 25); // tell servo to go to position in variable 'pos'
myservo1.write(pos1 - 30); // tell servo to go to position in variable 'pos'
delay(rate);
}
long microsecondsToInches(long microseconds)
{
// According to Parallax's datasheet for the PING))), there are
// 73.746 microseconds per inch (i.e. sound travels at 1130 feet per
// second). This gives the distance travelled by the ping, outbound
// and return, so we divide by 2 to get the distance of the obstacle.
// See: http://www.parallax.com/dl/docs/prod/acc/28015-PING-v1.3.pdf
return microseconds / 74 / 2;
}[/code]