使用 Python 的简单雷达
在本教程中,我想向您展示如何轻松快速地创建雷达界面。在阅读完这些说明后,您应该能够自行扩展它们并将其用于您的 DIY 项目。
硬件清单
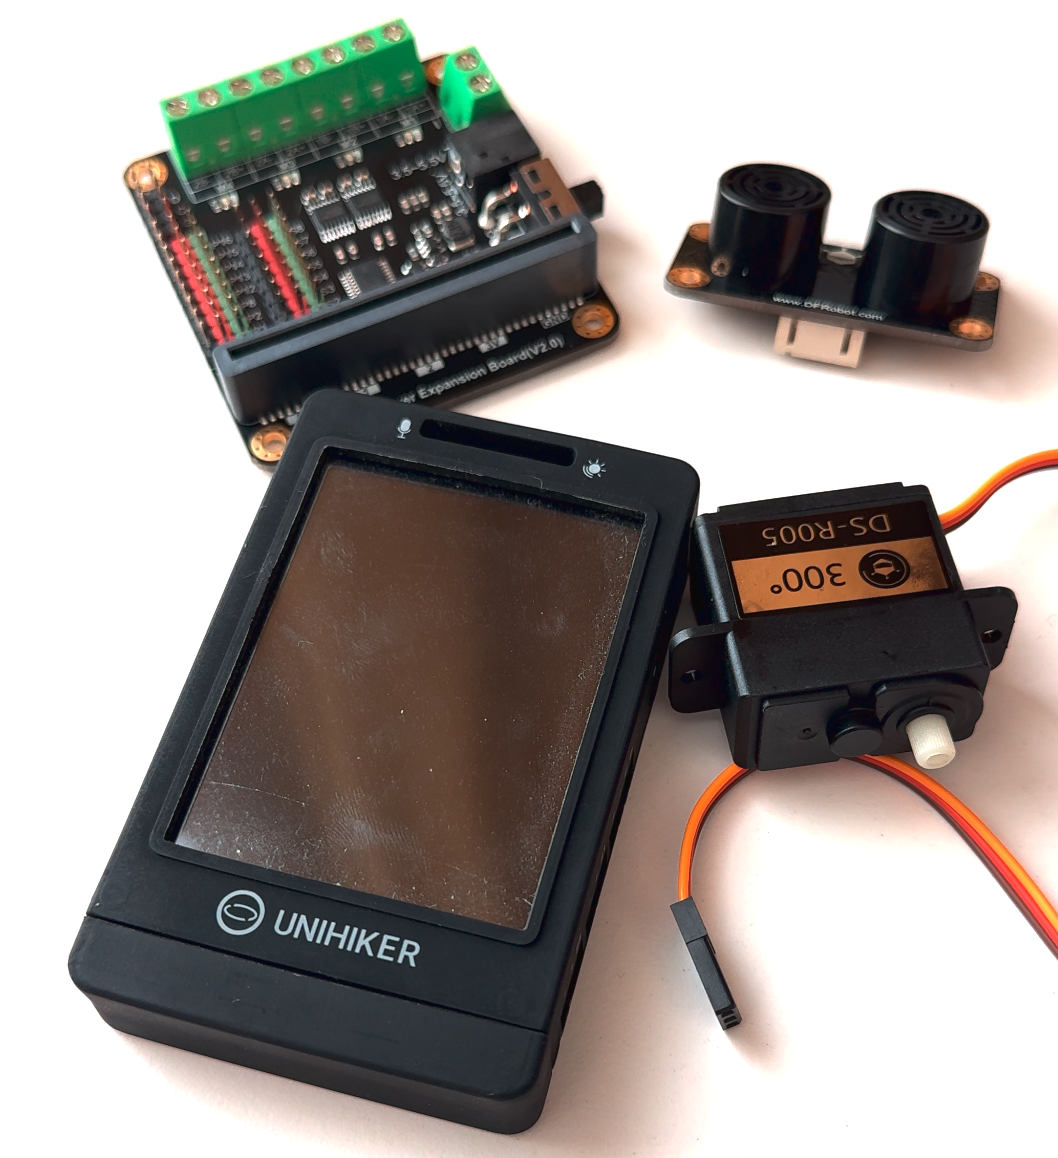
步骤1 连接硬件
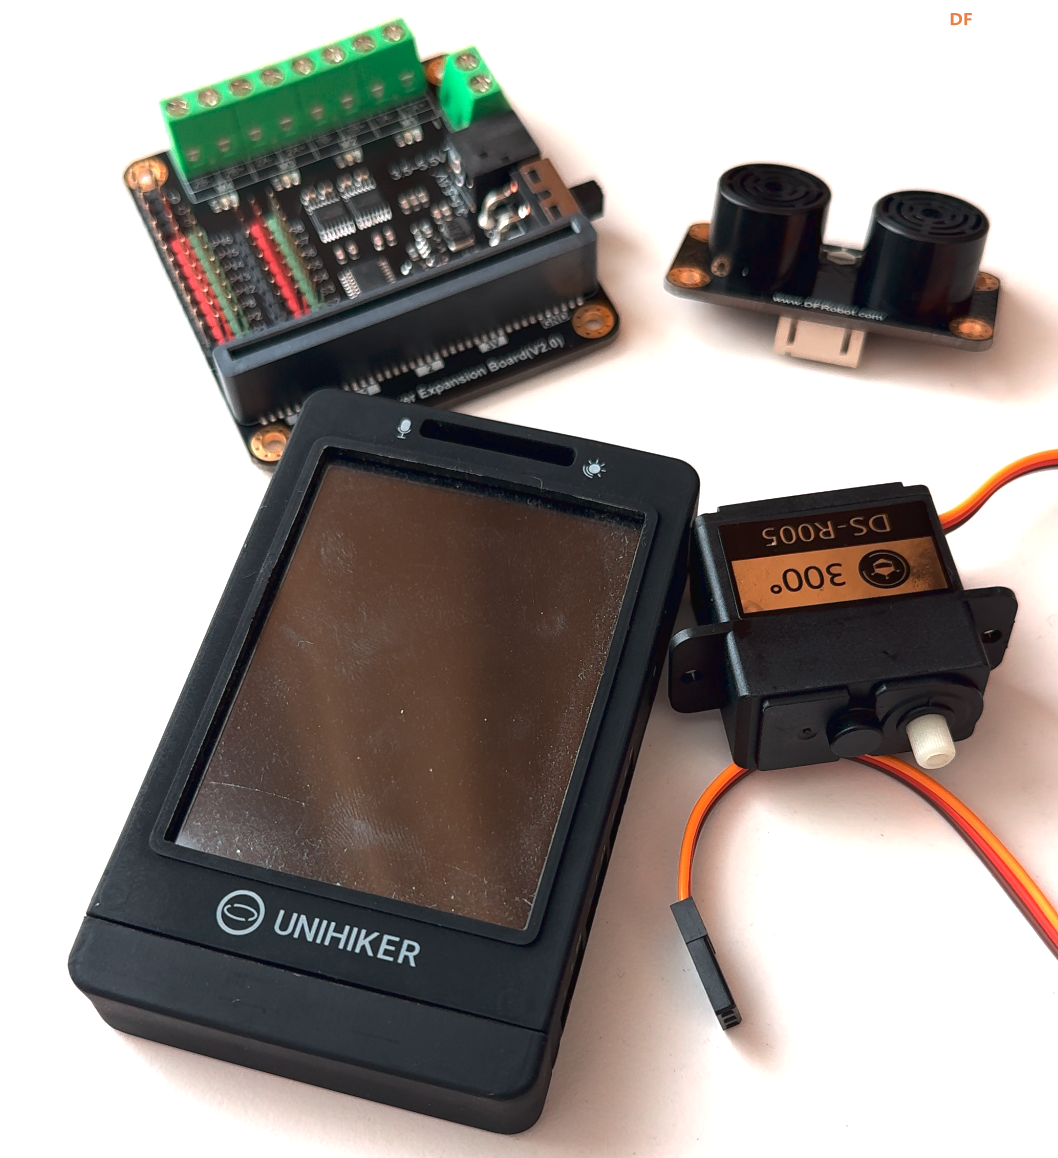
连接硬件非常简单!将行空板插入micro:Driver扩展板(Gravity标准接口)。接下来,通过 I2C 将超声波传感器与行空板连接。然后将伺服电机连接到 micro:Driver 扩展板(例如连接到引脚 S8)。最后,您必须将超声波传感器连接到伺服电机上。我用了一些纸板和尼龙搭扣。它看起来不太好,但它很快而且持久。
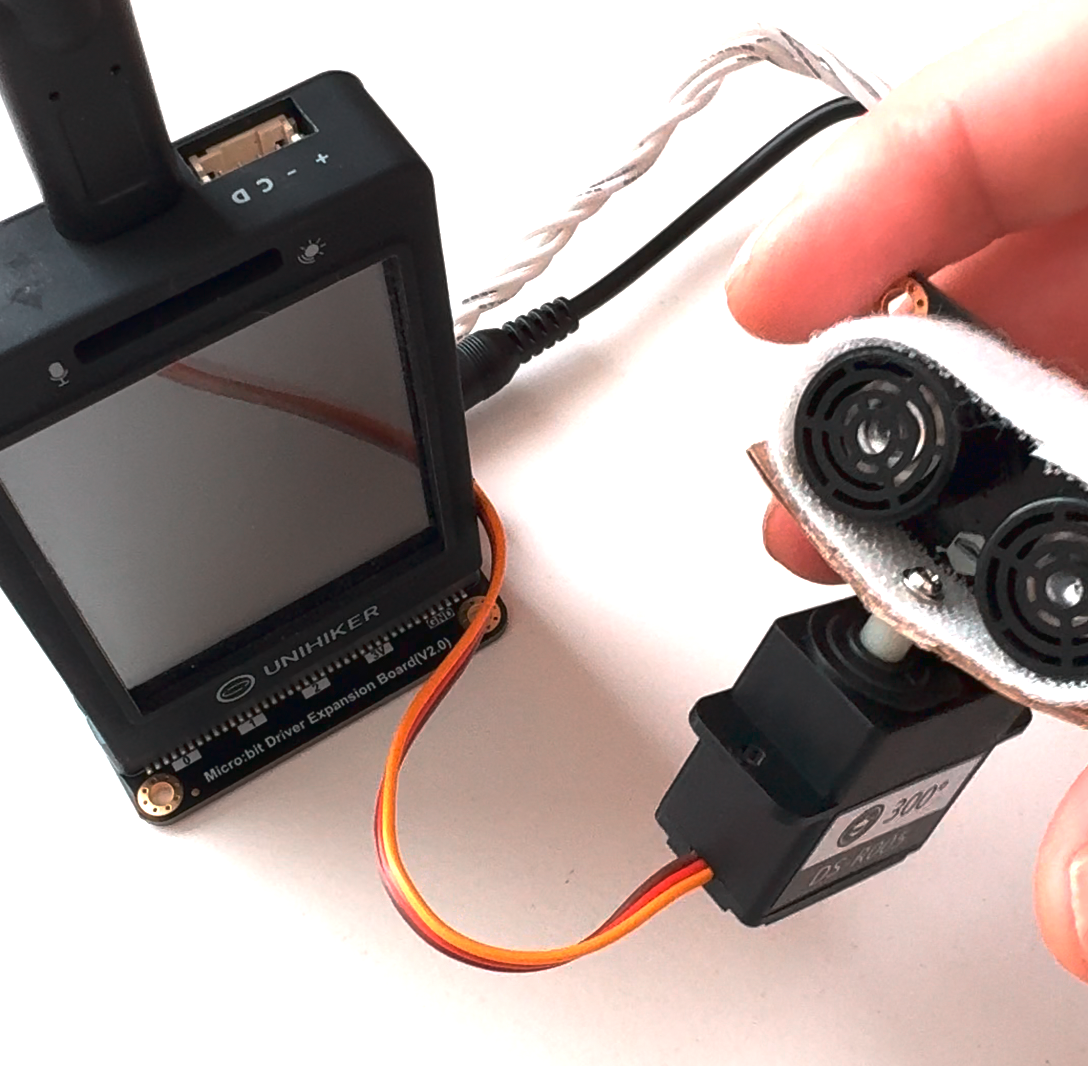
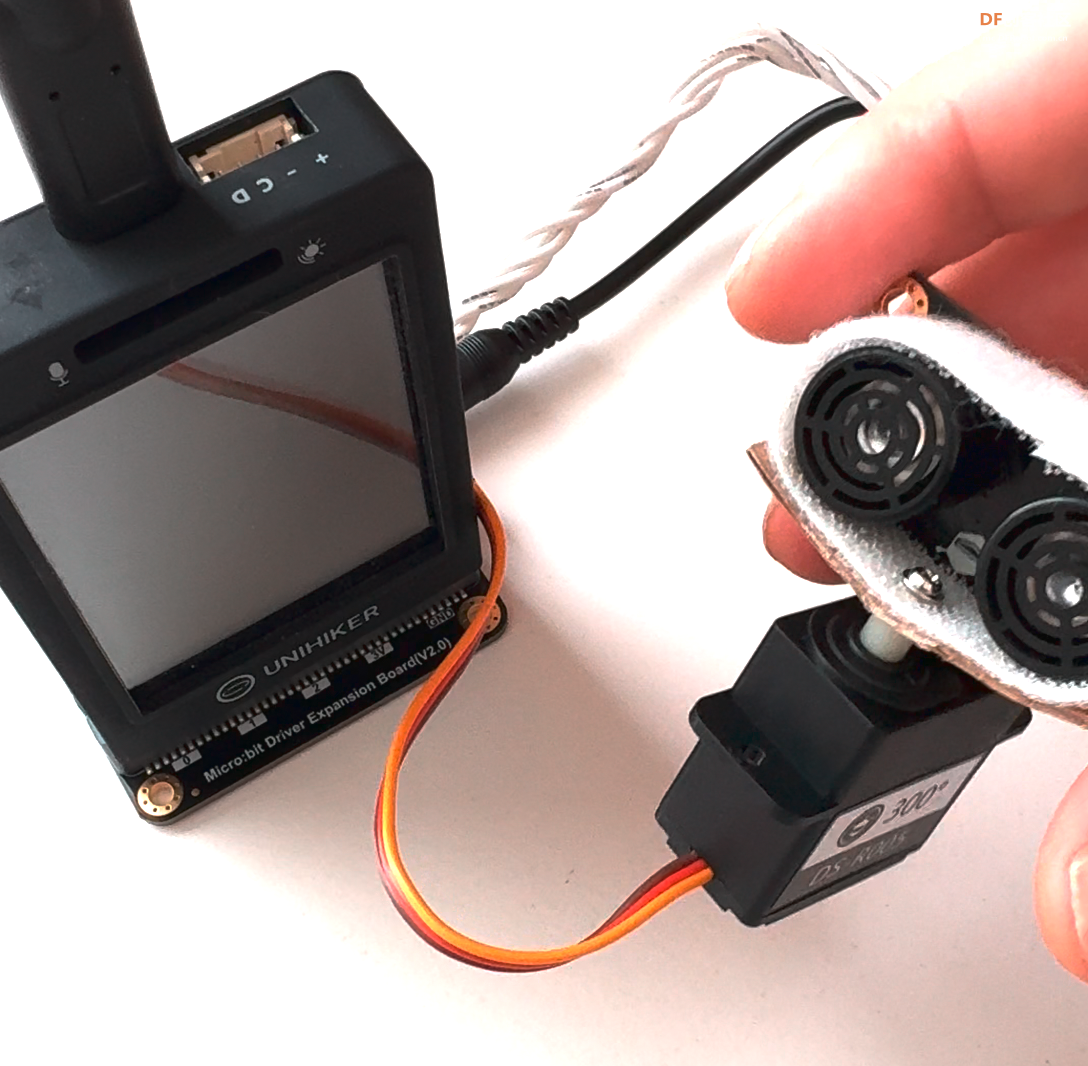
连接所有硬件部件
步骤2 编写Python代码
现在我们从 Python 代码开始。为了保证更好的可维护性和可重用性,我们创建了两个Python脚本。建议将 UI 创建为 Python 模块(例如作为类)。在您的开发项目中,您应该创建一个“lib”文件夹并在其中创建一个“radar.py”文件(例如 YOUR-PROJECT/lib/radar.py)。
代码
from tkinter import Tk, Canvas, BOTH
from math import cos, sin, radians

class Radar:
    """
    Radar class to represent a Radar UI via a Tk interface
    """

    _DISTANCE: str = "cm"
    _FONT: str = "Helvetica"
    _COLORS: dict = {
        'radar': 'white',
        'background': 'black',
        'point': 'yellow',
        'line': 'lawn green',
        'line_text': 'cyan'
    }
    _ARC_STEPS: int = 3
    _SONAR_OBJECTS: dict = {}

    def __init__(self, screen_width: int, screen_height: int) -> None:
        """
        Radar UI interface constructor
        :param screen_width: width of the screen
        :param screen_height: height of the screen
        """
        self._screen_width = int(screen_width)
        self._screen_height = int(screen_height)
        self._center_x = self._screen_width // 2
        self._center_y = self._screen_height - 50
        self._line_width = None
        self._angle_start = None
        self._angle_end = None
        self._max_radius = None
        self._arc_distance = None

        self.screen = Tk()
        self.screen.geometry(f'{self._screen_width}x{self._screen_height}+0+0')
        self.screen.resizable(width=False, height=False)

        self.canvas = Canvas(self.screen, bg=self._COLORS['background'])
        self.canvas.pack(expand=True, fill=BOTH)

    def configure(self, line_width: int, max_radius: int, arc_distance: int, start_angle: int, end_angle: int) -> None:
        """
        Configure the radar
        :param line_width: line width of the graphics
        :param max_radius: arc max radius
        :param arc_distance: arc distance in pixel
        :param start_angle: start angle in degrees for arcs
        :param end_angle: end angle in degrees for arcs
        :return: None
        """
        self._line_width = int(line_width)
        self._angle_start = int(start_angle)
        self._angle_end = int(end_angle)
        self._max_radius = int(max_radius)
        self._arc_distance = int(arc_distance)

    def _draw_line(self, angle: int, color: str) -> None:
        """
        Draw line with given angle and color on interface
        :param angle: angle in degrees
        :return: None
        """
        in_radian = radians(int(angle))
        x1 = self._center_x
        y1 = self._center_y
        x2 = x1 + self._max_radius * cos(in_radian)
        y2 = y1 - self._max_radius * sin(in_radian)

        self.canvas.create_line(x1, y1, x2, y2, width=self._line_width, fill=str(color))

    def _draw_text(self, x: int, y: int, text: str, color: str, font_size: int = 20) -> None:
        """
        Draw given text with values on interface
        :param x: x position as integer
        :param y: y position as integer
        :param text: string with current line angle
        :param color: color of the text as string
        :param font_size: optional font size (default: 20)
        :return: None
        """
        x_pos = int(x)
        y_pos = int(y)
        font = (self._FONT, int(font_size))

        self.canvas.create_text(x_pos, y_pos, text=str(text), font=font, fill=color)

    def _draw_background(self, show_measurement: bool = True) -> None:
        """
        Draw radar background graphic on interface
        :param show_measurement: whether to show the measurement or not
        :return: None
        """
        color = self._COLORS['radar']
        angle_total = self._angle_start + self._angle_end
        x1 = self._center_x - self._max_radius
        y1 = self._center_y - self._max_radius
        x2 = self._center_x + self._max_radius
        y2 = self._center_y + self._max_radius

        for _ in range(self._ARC_STEPS):
            self.canvas.create_arc(x1, y1, x2, y2,
                                   start=self._angle_start,
                                   extent=self._angle_end,
                                   width=self._line_width,
                                   outline=color)

            x1 += self._arc_distance
            y1 += self._arc_distance
            x2 -= self._arc_distance
            y2 -= self._arc_distance

        for value in range(0, 360, 45):
            if self._angle_start <= value <= angle_total:
                self._draw_line(angle=value, color=color)

        radius = self._max_radius

        if bool(show_measurement):
            for _ in range(self._ARC_STEPS):
                text_start_x = self._center_x + radius * cos(radians(self._angle_start))
                text_start_y = self._center_y - radius * sin(radians(self._angle_start))
                text_end_x = self._center_x + radius * cos(radians(angle_total))
                text_end_y = self._center_y - radius * sin(radians(angle_total))

                if self._angle_start == 0:
                    text_start_x -= 25
                    text_start_y += 10

                if angle_total == 180:
                    text_end_x += 25
                    text_end_y += 10

                if self._angle_start <= 90:
                    text_start_x += 25

                if angle_total >= 90:
                    text_end_x -= 25

                self._draw_text(x=text_start_x,
                                y=text_start_y,
                                text=f'{radius}{self._DISTANCE}',
                                color=color,
                                font_size=10)

                self._draw_text(x=text_end_x,
                                y=text_end_y,
                                text=f'{radius}{self._DISTANCE}',
                                color=color,
                                font_size=10)

                radius -= self._arc_distance

    def _draw_point(self, distance: int, angle: int) -> None:
        """
        Draw point on radar with given distance and angle on interface
        :param distance: distance in centimeters
        :param angle: angle in degrees
        :return: None
        """
        color = self._COLORS['point']

        in_radian = radians(int(angle))
        x = self._center_x + int(distance) * cos(in_radian)
        y = self._center_y - int(distance) * sin(in_radian)

        self.canvas.create_oval(x - 5, y - 5, x + 5, y + 5, fill=color)

    def update(self, distance: int, angle: int) -> None:
        """
        Update the radar with given distance and angle
        :param distance: distance in centimeters
        :param angle: angle in radian
        :return: None
        """
        current_distance = int(distance)
        current_angle = int(angle)

        self._SONAR_OBJECTS[angle] = current_distance
        end = self._angle_start + self._angle_end

        self.canvas.delete("all")

        self._draw_background(show_measurement=False)
        self._draw_text(x=self._center_x,
                        y=self._center_y + 15,
                        text=f'{current_angle}°',
                        color=self._COLORS['line_text'])

        for key, value in self._SONAR_OBJECTS.items():
            if 1 <= value <= self._max_radius and self._angle_start <= key <= end:
                self._draw_point(distance=value, angle=key)

        if self._angle_start <= current_angle <= end:
            self._draw_line(angle=current_angle, color=self._COLORS['line'])
直接在项目文件夹中创建另一个文件“main.py”(例如 YOUR-PROJECT/main.py)。这里所有其他库实际上只是导入,控制伺服电机并读取超声波传感器。
代码
from time import sleep
from pinpong.board import Board
from pinpong.libs.dfrobot_urm09 import URM09
from pinpong.libs.microbit_motor import DFServo
from lib.radar import Radar

SCREEN_WIDTH: int = 240
SCREEN_HEIGHT: int = 320

ARC_LINE_WIDTH: int = 1
ARC_MAX_RADIUS: int = 150
ARC_DISTANCE: int = 50
ARC_START: int = 45
ARC_EXTENT: int = 90

SERVO_PIN: int = 8
DELAY_SECONDS: float = .25

def generate_numbers(minimum: int, maximum: int, step: int):
    """
    Generates numbers between minimum and maximum by step
    :param minimum: minimum value
    :param maximum: maximum value
    :param step: step value
    """
    g_minimum = int(minimum)
    g_maximum = int(maximum)
    g_step = int(step)

    number = g_minimum
    direction = 1

    while True:
        yield number
        number += g_step * direction

        if number > g_maximum:
            direction = -1
            number = g_maximum
        elif number < g_minimum:
            direction = 1
            number = g_minimum

if __name__ == '__main__':
    Board("UNIHIKER").begin()

    print('Init servo motor')
    servo = DFServo(SERVO_PIN)
    servo.angle(45)
    sleep(.5)

    print('Init ultrasonic sensor')
    sensor = URM09()
    sensor.set_mode_range(sensor._MEASURE_MODE_AUTOMATIC, sensor._MEASURE_RANG_150)

    print('Init angle generator')
    generator = generate_numbers(minimum=45, maximum=135, step=1)

    print('Init radar UI')
    display = Radar(screen_width=SCREEN_WIDTH, screen_height=SCREEN_HEIGHT)
    display.configure(line_width=ARC_LINE_WIDTH,
                      max_radius=ARC_MAX_RADIUS,
                      arc_distance=ARC_DISTANCE,
                      start_angle=ARC_START,
                      end_angle=ARC_EXTENT)

    while True:
        servo_angle = next(generator)
        servo.angle(servo_angle)

        sensor_distance = sensor.distance_cm()

        display.update(distance=sensor_distance, angle=servo_angle)

        display.screen.update()
        sleep(DELAY_SECONDS)
步骤3 上传并测试
现在将所有必要的文件夹和文件加载到行空板上。为此,必须启动行空板并通过 USB 或 WLAN 进行访问。我为此使用了“SCP”,并将所有文件从本地计算机递归复制到 UNIHIKER:“$scp -r ~/Projects/unihiker/Radar root@10.1.2.3:/root/Projects/”。重要的!该命令只是一个示例。你必须自己适应它。上传成功后,您可以测试一切。以下是终端的示例:“$ cd Projects/Radar && python3 -B main.py”。但您也可以使用行空板 UI 来启动一切!
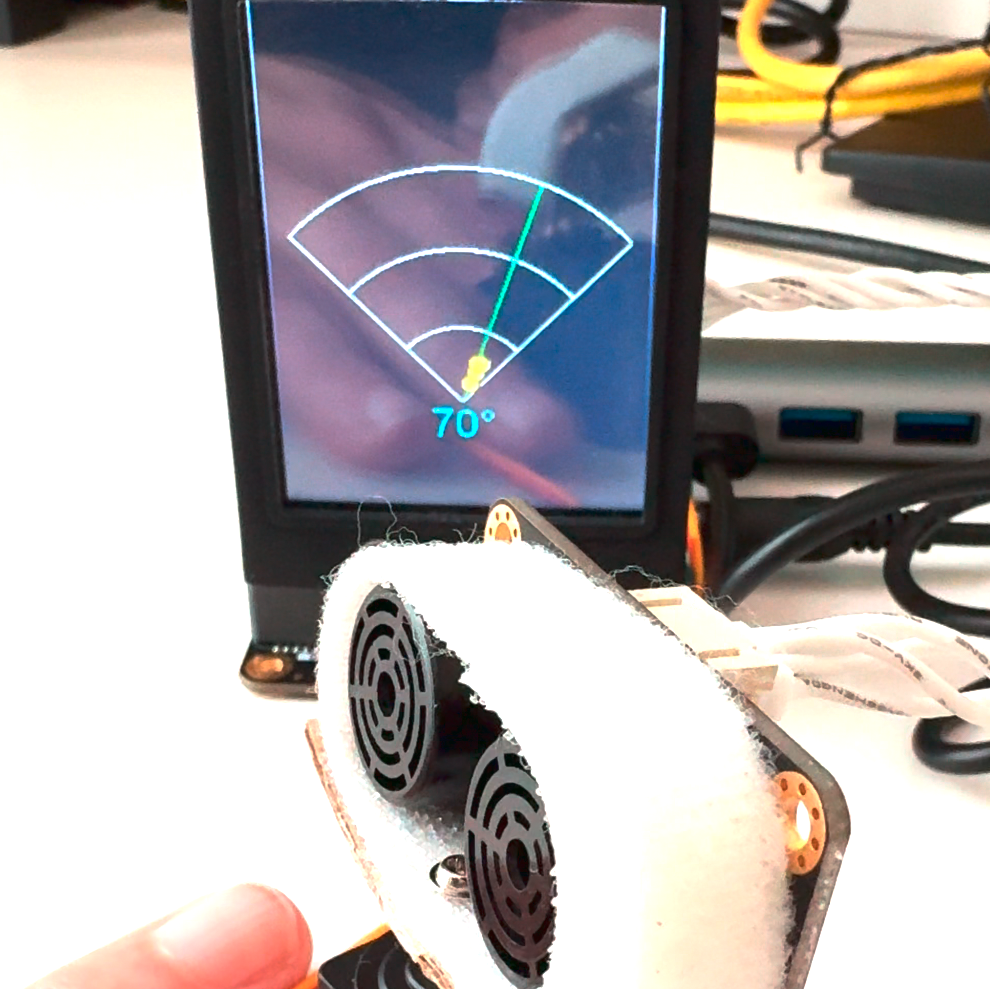
雷达试运行
注解
- 您可以调整/修改用户界面(例如颜色、弧线或线宽)!仔细查看“radar.py”和“main.py”文件。每个文件中都有一些常量可以帮助您解决此问题。另外,我尝试对所有重要的内容进行评论或为其编写文档字符串。
- 行空板上已预装相应的 pinpong 包/模块(用于伺服器和传感器)。
- 您不必使用相同的伺服电机或超声波传感器。DFRobot还提供其他设备(根据您的需求)。但要修改代码!
 沪公网安备31011502402448