刚买的flymaple,想使用USB串口通信,但是一直没有成功。现在把程序贴上,希望可以收到高手回复解决。
这是烧录程序。
- int ledPin = 13; // LED connected to digital pin 13
-
- void setup()
- {
- pinMode(ledPin, OUTPUT); // sets the digital pin as output
- }
-
- void loop()
- {
- SerialUSB.print(',');
- SerialUSB.print(',');
- SerialUSB.print('\n');
- digitalWrite(ledPin, HIGH); // sets the LED on
- delay(1000); // waits for a second
- digitalWrite(ledPin, LOW); // sets the LED off
- delay(1000); // waits for a second
-
- }
-
-
-
- 这是processing程序:功能很简单就是看串口是否收到信息然后显示绘图的变化。
- import processing.serial.*;
- Serial myPort;
- final String serialPort = "COM3";
- final int VIEW_SIZE_X=500,VIEW_SIZE_Y = 500;
- PFont font;
- float []Euler = new float[3];
- void setup()
- {
- size(VIEW_SIZE_X,VIEW_SIZE_Y,P3D);
- myPort = new Serial(this,serialPort,115200);
- font = createFont("Courier",32);
- delay(100);
- myPort.clear();
- Euler[0]=0;
- Euler[1]=0;
- Euler[2]=0;
- }
- void draw()
- {
- background(#000000);
- fill(#ffffff);
- if (myPort.available() != 0) {
- Euler[0]+=1;
- Euler[1]+=1;
- Euler[2]+=1;
- delay(1000);
-
- }
- drawCube();
- }
-
-
- void drawCube() {
- pushMatrix();
- translate(VIEW_SIZE_X/2, VIEW_SIZE_Y/2 + 50, 0);
- scale(5, 5, 5);
-
- // a demonstration of the following is at
- // <a href="http://www.varesano.net/blog/fabio/ahrs-sensor-fusion-orientation-filter-3d-graphical-rotating-cube" target="_blank">http://www.varesano.net/blog/fab ... hical-rotating-cube</a>
- rotateZ(-Euler[2]);
- rotateX(-Euler[1]);
- rotateY(-Euler[0]);
-
- buildBoxShape();
-
- popMatrix();
- }
-
-
- void buildBoxShape() {
- //box(60, 10, 40);
- noStroke();
- beginShape(QUADS);
-
- //Z+ (to the drawing area)
- fill(#00ff00);
- vertex(-30, -5, 20);
- vertex(30, -5, 20);
- vertex(30, 5, 20);
- vertex(-30, 5, 20);
-
- //Z-
- fill(#0000ff);
- vertex(-30, -5, -20);
- vertex(30, -5, -20);
- vertex(30, 5, -20);
- vertex(-30, 5, -20);
-
- //X-
- fill(#ff0000);
- vertex(-30, -5, -20);
- vertex(-30, -5, 20);
- vertex(-30, 5, 20);
- vertex(-30, 5, -20);
-
- //X+
- fill(#ffff00);
- vertex(30, -5, -20);
- vertex(30, -5, 20);
- vertex(30, 5, 20);
- vertex(30, 5, -20);
-
- //Y-
- fill(#ff00ff);
- vertex(-30, -5, -20);
- vertex(30, -5, -20);
- vertex(30, -5, 20);
- vertex(-30, -5, 20);
-
- //Y+
- fill(#00ffff);
- vertex(-30, 5, -20);
- vertex(30, 5, -20);
- vertex(30, 5, 20);
- vertex(-30, 5, 20);
-
- endShape();
- }
-
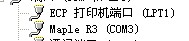
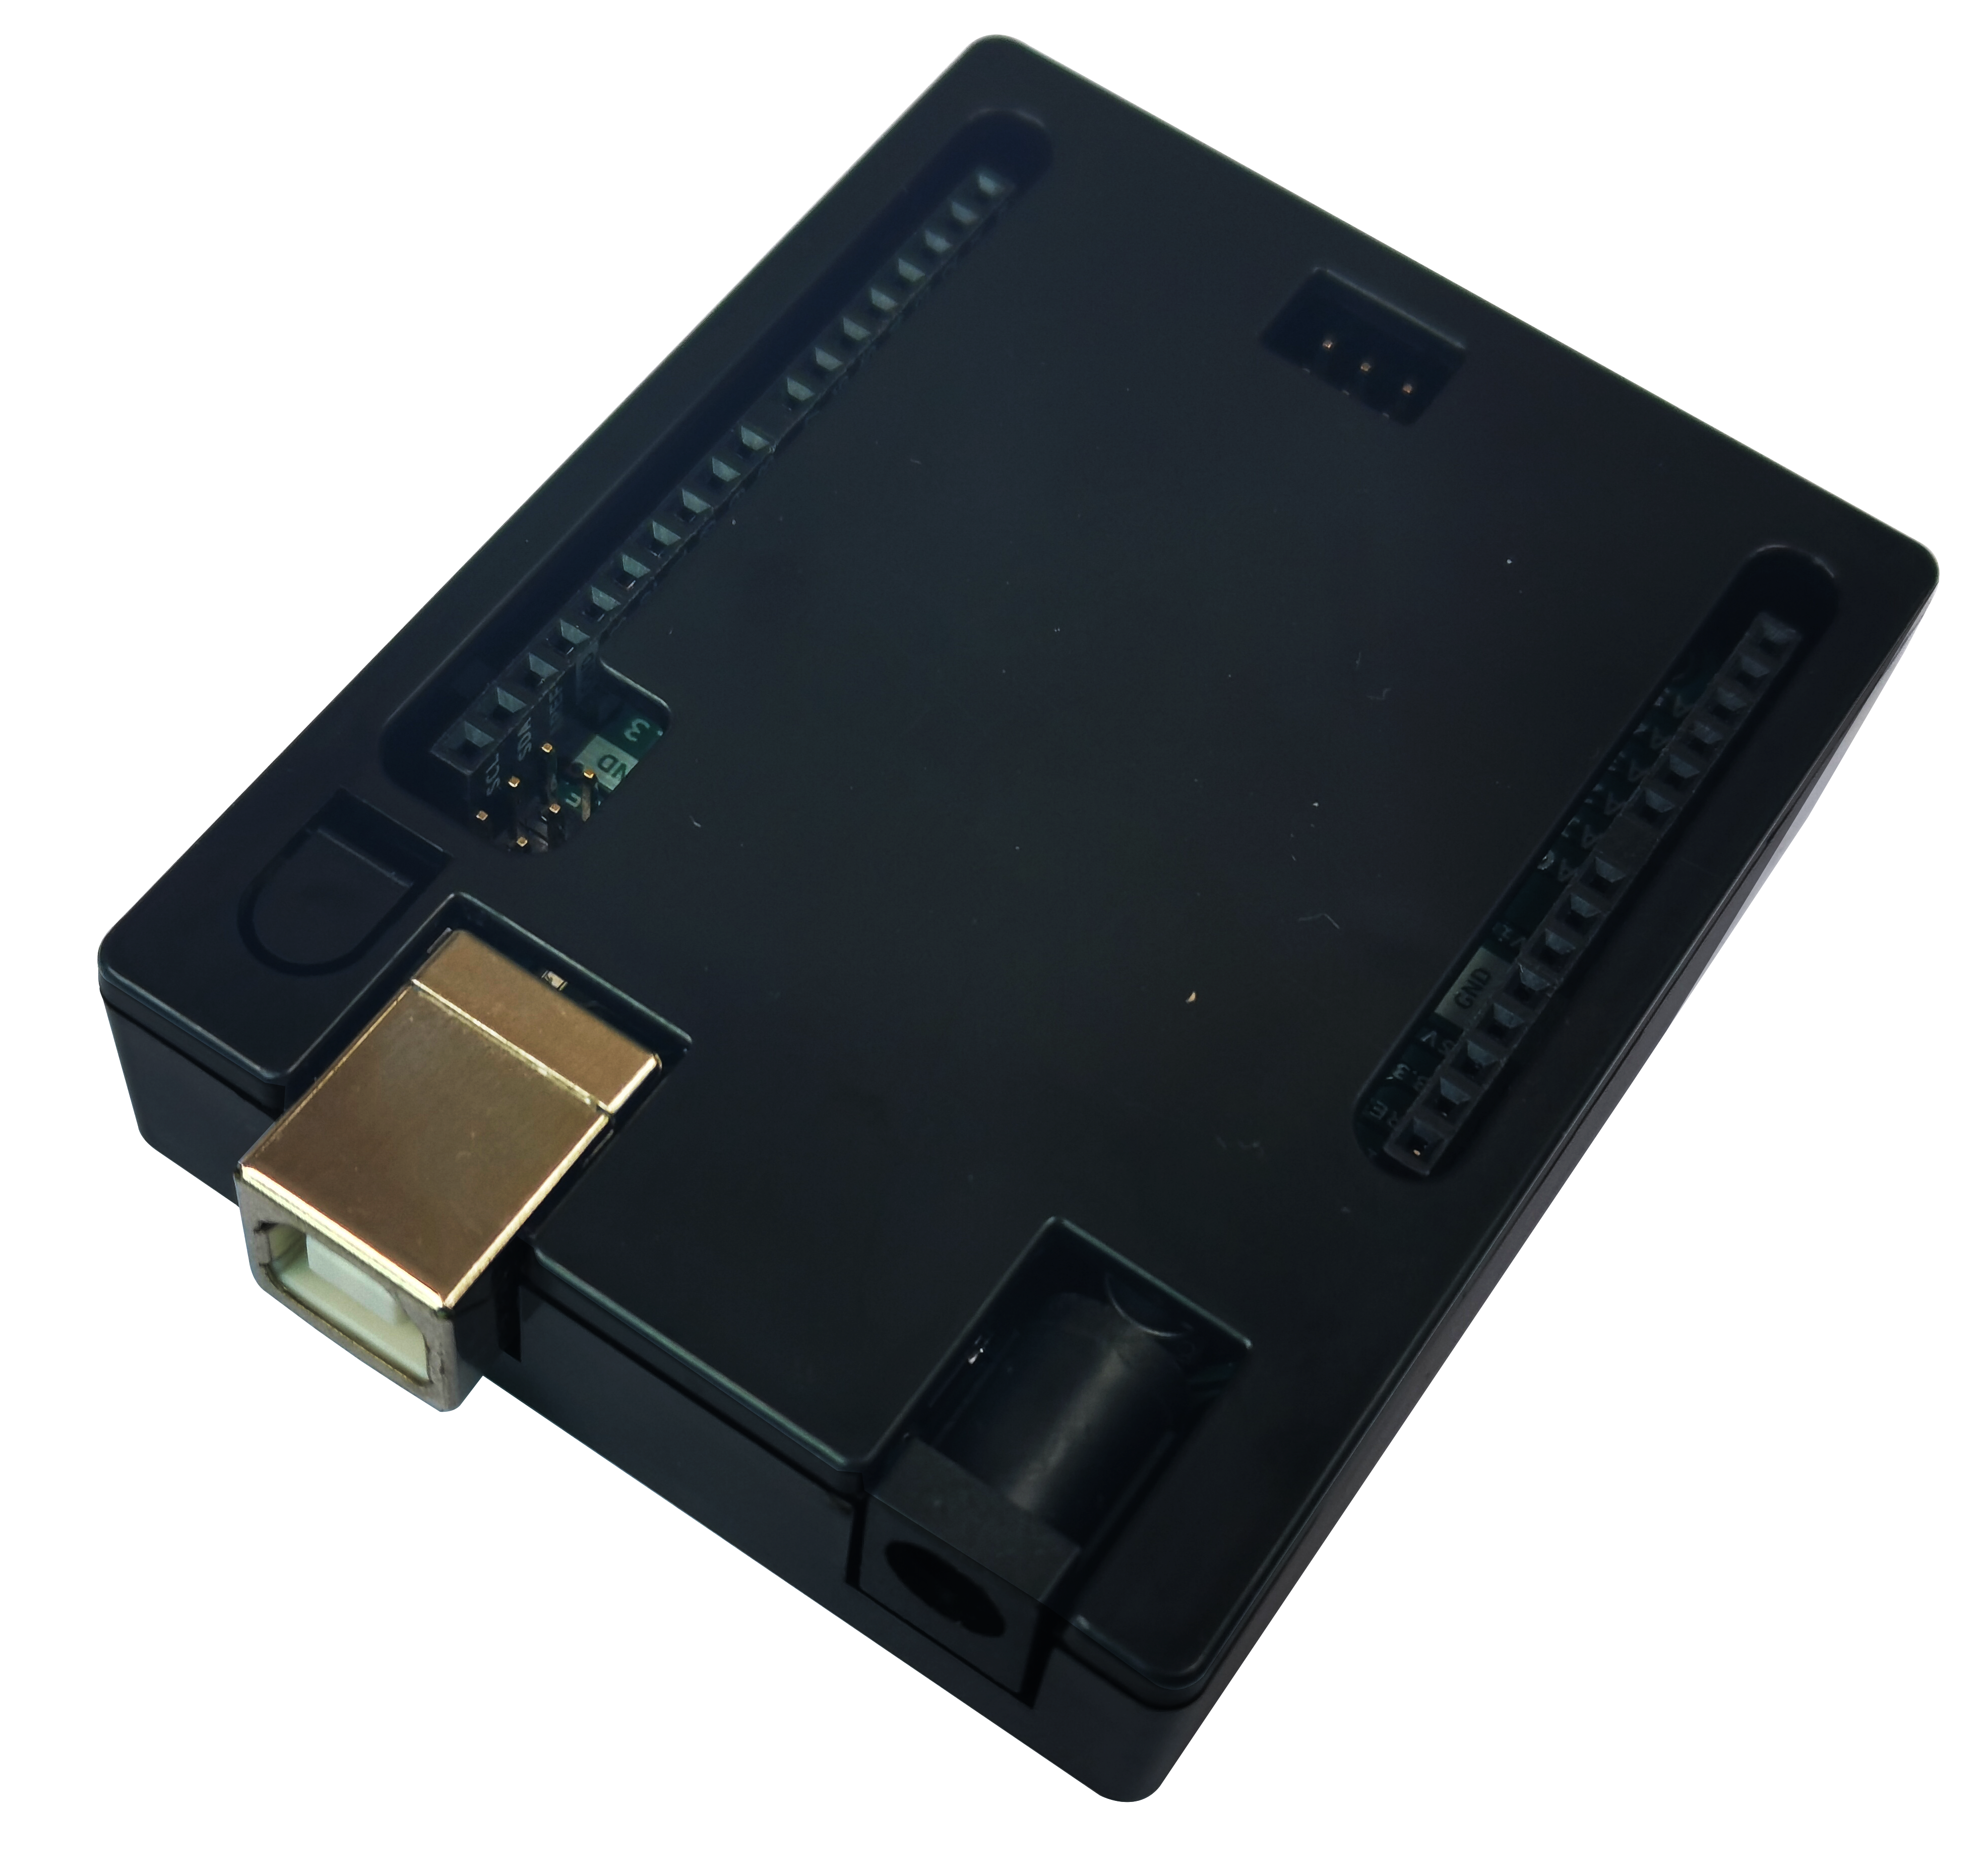
硬件串口情况
如图
|





这段代码 不需要声明什么,也不需要在 Setup() 里初始化什么。
在 Loop() 中直接调用这个函数就可以了。[code]void loopTestSerialUSB()
{
unsigned int CharNum;
CharNum = SerialUSB.available();
if ( CharNum > 0)
{
for(int i=0 ;i< CharNum;i++)
{
// get incoming byte:
char inByte;
inByte = SerialUSB.read();
SerialUSB.print(inByte);
}
SerialUSB.println("");
}
}[/code]这个函数就是收到什么就发回什么字串。
新号过瘾中……
{
SerialUSB.println("Run void loop() Begin.");
digitalWrite(BOARD_LED_PIN, HIGH);
delay(500);
digitalWrite(BOARD_LED_PIN, LOW);
delay(500);
SerialUSB.println("Run void loop() End.");
}[/code]
看下我调试通过的代码:[code]#include
#include
#include
//////////////////////////////////////
// FlyMaple Study 2012.12.23
//////////////////////////////////////
////////////////////////////////////////////////////////////////////////////
// 分项学习代码 传感器基本读数(原始数据),未加校正等变换。
////////////////////////////////////////////////////////////////////////////
void setup()
{
SerialUSB.println("Run void setup()");
//测试板载按钮
//pinMode(BOARD_BUTTON_PIN, INPUT);
// 测试板载LED
pinMode(BOARD_LED_PIN, OUTPUT);
SerialUSB.println("Run void setup() ...OK!");
}
void loop()
{
SerialUSB.println("Run void loop() Begin.");
toggleLED(); //LED翻转 亮灭
delay(500);
SerialUSB.println("Run void loop() End.");
}[/code]