用ESP32+MicroPython+Thonny点亮WS2812灯带

2019-04-301.7万
AI 快速预览详细 收起
本文介绍了如何使用Thonny IDE在ESP32上通过MicroPython编程点亮WS2812灯带。首先,下载并安装Thonny IDE,然后选择合适的端口和MicroPython主控。接着,输入一段程序测试ESP32上的LED显示。文章提供了详细的代码示例,包括设置单个像素颜色、渐变效果和彩虹循环。通过这些步骤,即使是零基础的新手也能快速上手,体验编程的乐趣。


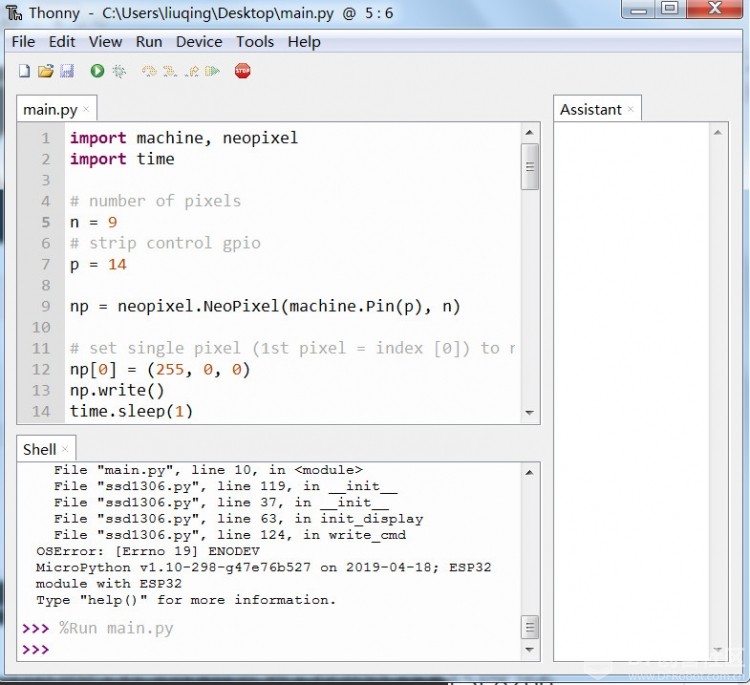
尽管python的编程软件很多,anaconda,pycharm or python ide.个人认为最好用的是Thonny。虽然做AI项目时候可能需要用pyCharm这类的去编程。但低级别单片机是上的py编程一定选Thonny了。这次就是用Thonny环境来给ESP32单片机和RGB灯带硬件编程。
用ESP32+MicroPython+Thonny点亮WS2812灯带图5
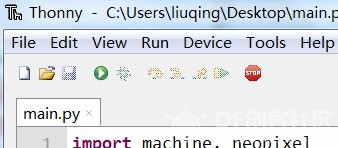
这是Thonny主界面了。
用ESP32+MicroPython+Thonny点亮WS2812灯带图7
Thonny下载地址
用ESP32+MicroPython+Thonny点亮WS2812灯带图2
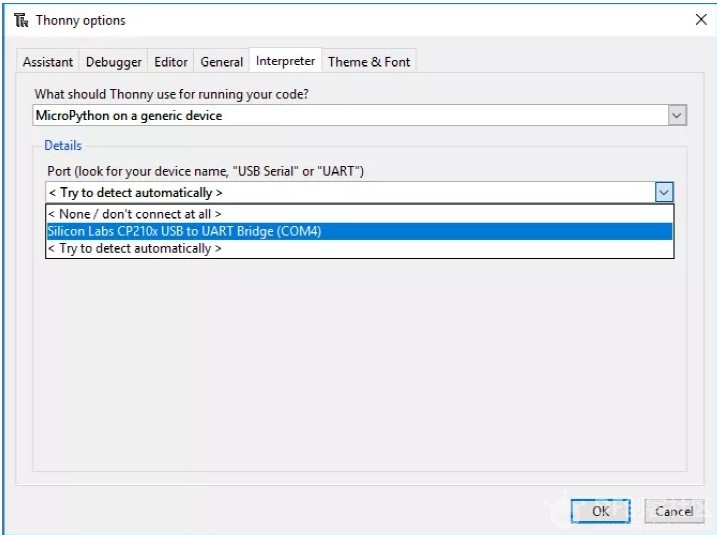
选定端口
用ESP32+MicroPython+Thonny点亮WS2812灯带图6
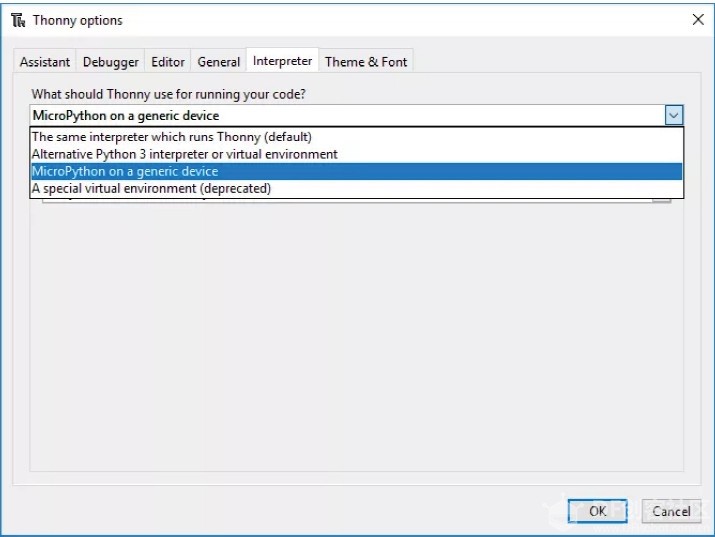
选MicroPython主控
用ESP32+MicroPython+Thonny点亮WS2812灯带图3
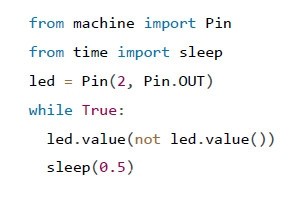
先输入一段程序,测试下ESP32上的LED的显示

import machine, neopixel
import time

n = 14
# strip control gpio
p = 14

np = neopixel.NeoPixel(machine.Pin(p), n)

# set single pixel (1st pixel = index [0]) to red color
np[0] = (255, 0, 0)
np.write()
time.sleep(1)

# set strip color
def set_color(r, g, b):
  for i in range(n):
    np = (r, g, b)
    np.write()

set_color(0, 0, 255)
time.sleep(1)

# fade in/out
def fade_in_out(color, wait):
  for i in range(0, 4 * 256, 8):
    for j in range(n):
      if (i // 256) % 2 == 0:
        val = i & 0xff
      else:
        val = 255 - (i & 0xff)
        if color == 'red':
          np[j] = (val, 0, 0)
        elif color == 'green':
          np[j] = (0, val, 0)
        elif color == 'blue':
          np[j] = (0, 0, val)
        elif color == 'purple':
          np[j] = (val, 0, val)
        elif color == 'yellow':
          np[j] = (val, val, 0)
        elif color == 'teal':
          np[j] = (0, val, val)
        elif color == 'white':
          np[j] = (val, val, val)
      np.write()
    time.sleep_ms(wait)

#fade_in_out('red', 0)
fade_in_out('green', 10)
#fade_in_out('blue', 25)
#fade_in_out('purple', 10)
fade_in_out('yellow', 10)
fade_in_out('teal', 10)
#fade_in_out('white', 10)
time.sleep(1)

# bounce
def bounce(r, g, b, wait):
  for i in range(4 * n):
    for j in range(n):
      np[j] = (r, g, b)
    if (i // n) % 2 == 0:
      np[i % n] = (0, 0, 0)
    else:
      np[n - 1 - (i % n)] = (0, 0, 0)
    np.write()
    time.sleep_ms(wait)
      
bounce(255, 0, 125, 50)
time.sleep(1)

# cycle
def cycle(r, g, b, wait):
  for i in range(4 * n):
    for j in range(n):
      np[j] = (0, 0, 0)
    np[i % n] = (r, g, b)
    np.write()
    time.sleep_ms(wait)

cycle(0, 255, 0, 50)
time.sleep(1)

# function to go through all colors
def wheel(pos):
  # Input a value 0 to 255 to get a color value.
  # The colours are a transition r - g - b - back to r.
  if pos < 0 or pos > 255:
    return (0, 0, 0)
  if pos < 85:
    return (255 - pos * 3, pos * 3, 0)
  if pos < 170:
    pos -= 85
    return (0, 255 - pos * 3, pos * 3)
  pos -= 170
  return (pos * 3, 0, 255 - pos * 3)

# rainbow
def rainbow_cycle(wait):
  for j in range(255):
    for i in range(n):
      rc_index = (i * 256 // n) + j
      np = wheel(rc_index & 255)
    np.write()
    time.sleep_ms(wait)

rainbow_cycle(10)
rainbow_cycle(5)
time.sleep(1)

# turn off all pixels
def clear():
  for i in range(n):
    np = (0, 0, 0)
    np.write()

clear()


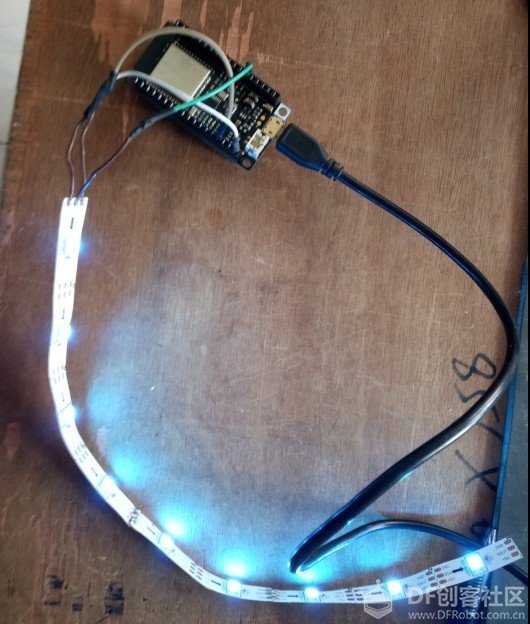
测试ws2812b彩灯带。
用ESP32+MicroPython+Thonny点亮WS2812灯带图1
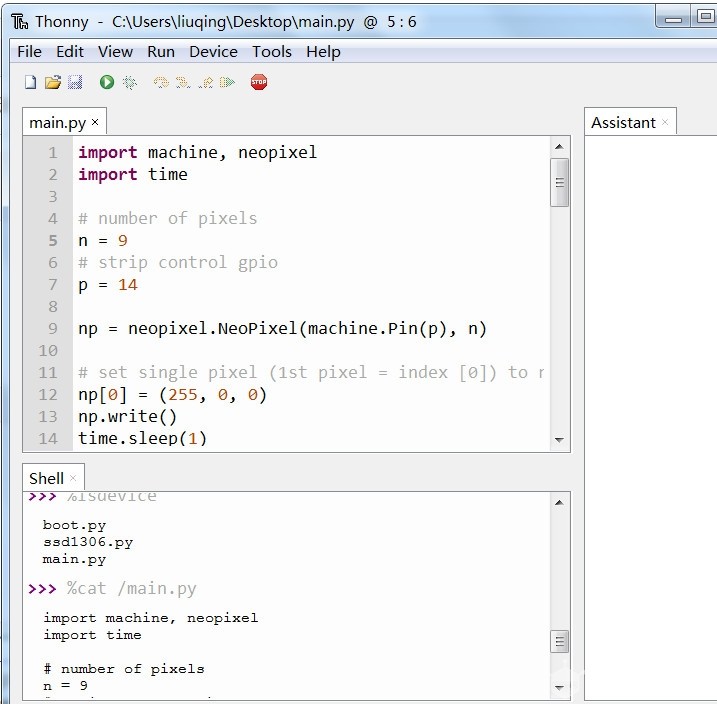
用cat /main.py命令测试主程序
用ESP32+MicroPython+Thonny点亮WS2812灯带图4
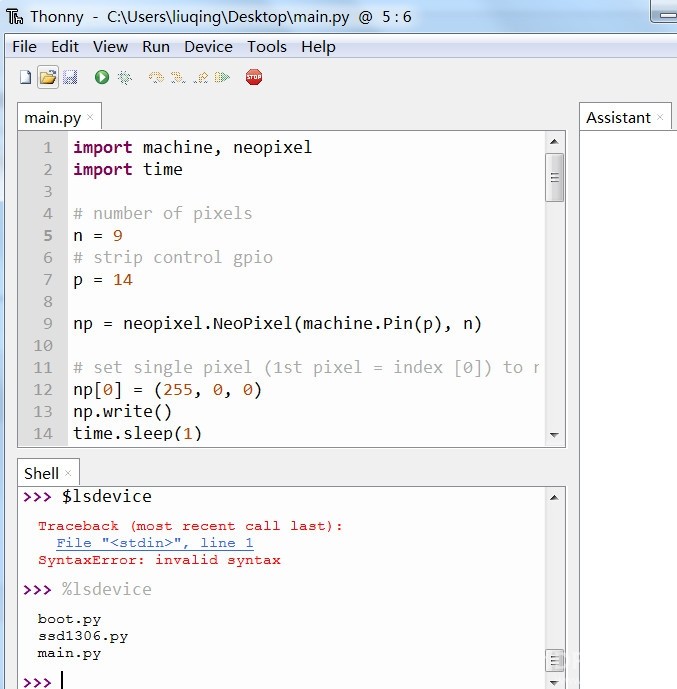
用%lsdevice命令测试ESP32里有什么程序,
用ESP32+MicroPython+Thonny点亮WS2812灯带图9
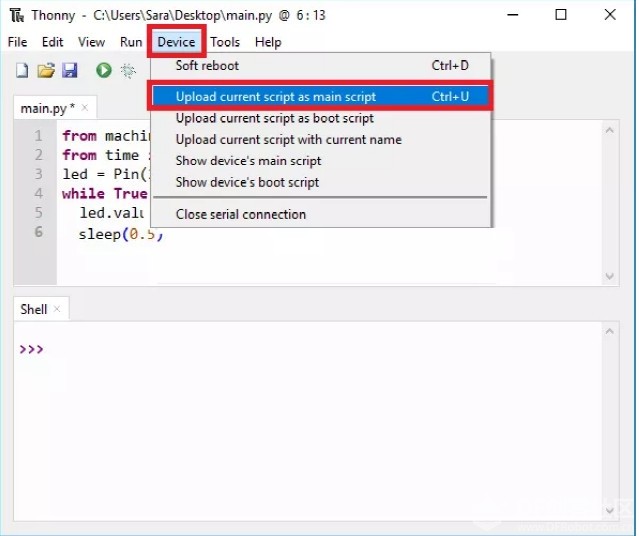
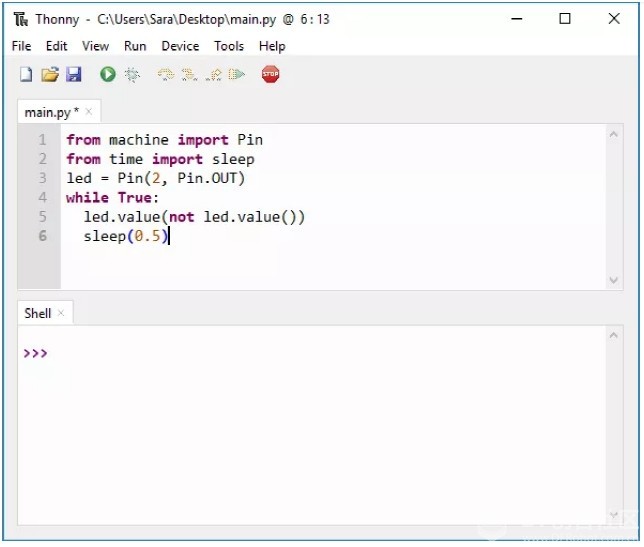
点击三角运行按钮,可以运行程序,但并没有烧录到ESP32里。
用ESP32+MicroPython+Thonny点亮WS2812灯带图8
要在device里运行点击激活如上功能。上传程序。
最后因为Thonny并没有能从ESP32里删除文件的功能。很多人用上传空文件的方法达到删除的目的。
用ESP32+MicroPython+Thonny点亮WS2812灯带图10
用ESP32+MicroPython+Thonny点亮WS2812灯带图11

main code.jpg (41.8 KB, 下载次数: 4211)

ESP32 + MicroPython + Thonny · 点亮WS2812灯带_image_3.webp

创作许可协议

本项目采用 None(不开放任何权利,保留所有权利) 进行许可。

评论(1)
陨落的泪痕
陨落的泪痕
# 这个Demo,最新的MicroPython跑不起来的更正代码: from machine import Pin from neopixel import NeoPixel p=25 n=64 #初始化 p = Pin(p, Pin.OUT) np = NeoPixel(p, n) # set single pixel (1st pixel = index [0]) to red color np[0] = (255, 0, 0) np.write() time.sleep(1) # set strip color def set_color(r, g, b): for i in range(n): np[i] = (r, g, b) np.write() set_color(0, 0, 255) time.sleep(1) # fade in/out def fade_in_out(color, wait): for i in range(0, 4 * 256, 8): for j in range(n): if (i // 256) % 2 == 0: val = i & 0xff else: val = 255 - (i & 0xff) if color == 'red': np[j] = (val, 0, 0) elif color == 'green': np[j] = (0, val, 0) elif color == 'blue': np[j] = (0, 0, val) elif color == 'purple': np[j] = (val, 0, val) elif color == 'yellow': np[j] = (val, val, 0) elif color == 'teal': np[j] = (0, val, val) elif color == 'white': np[j] = (val, val, val) np.write() time.sleep_ms(wait) #fade_in_out('red', 0) fade_in_out('green', 10) #fade_in_out('blue', 25) #fade_in_out('purple', 10) fade_in_out('yellow', 10) fade_in_out('teal', 10) #fade_in_out('white', 10) time.sleep(1) # bounce def bounce(r, g, b, wait): for i in range(4 * n): for j in range(n): np[j] = (r, g, b) if (i // n) % 2 == 0: np[i % n] = (0, 0, 0) else: np[n - 1 - (i % n)] = (0, 0, 0) np.write() time.sleep_ms(wait) bounce(255, 0, 125, 50) time.sleep(1) # cycle def cycle(r, g, b, wait): for i in range(4 * n): for j in range(n): np[j] = (0, 0, 0) np[i % n] = (r, g, b) np.write() time.sleep_ms(wait) cycle(0, 255, 0, 50) time.sleep(1) # function to go through all colors def wheel(pos): # Input a value 0 to 255 to get a color value. # The colours are a transition r - g - b - back to r. if pos < 0 or pos > 255: return (0, 0, 0) if pos < 85: return (255 - pos * 3, pos * 3, 0) if pos < 170: pos -= 85 return (0, 255 - pos * 3, pos * 3) pos -= 170 return (pos * 3, 0, 255 - pos * 3) # rainbow def rainbow_cycle(wait): for j in range(255): for i in range(n): rc_index = (i * 256 // n) + j np[i] = wheel(rc_index & 255) np.write() time.sleep_ms(wait) rainbow_cycle(10) rainbow_cycle(5) time.sleep(1) # turn off all pixels def clear(): for i in range(n): np[i] = (0, 0, 0) np.write() clear()
- 没有更多了 -