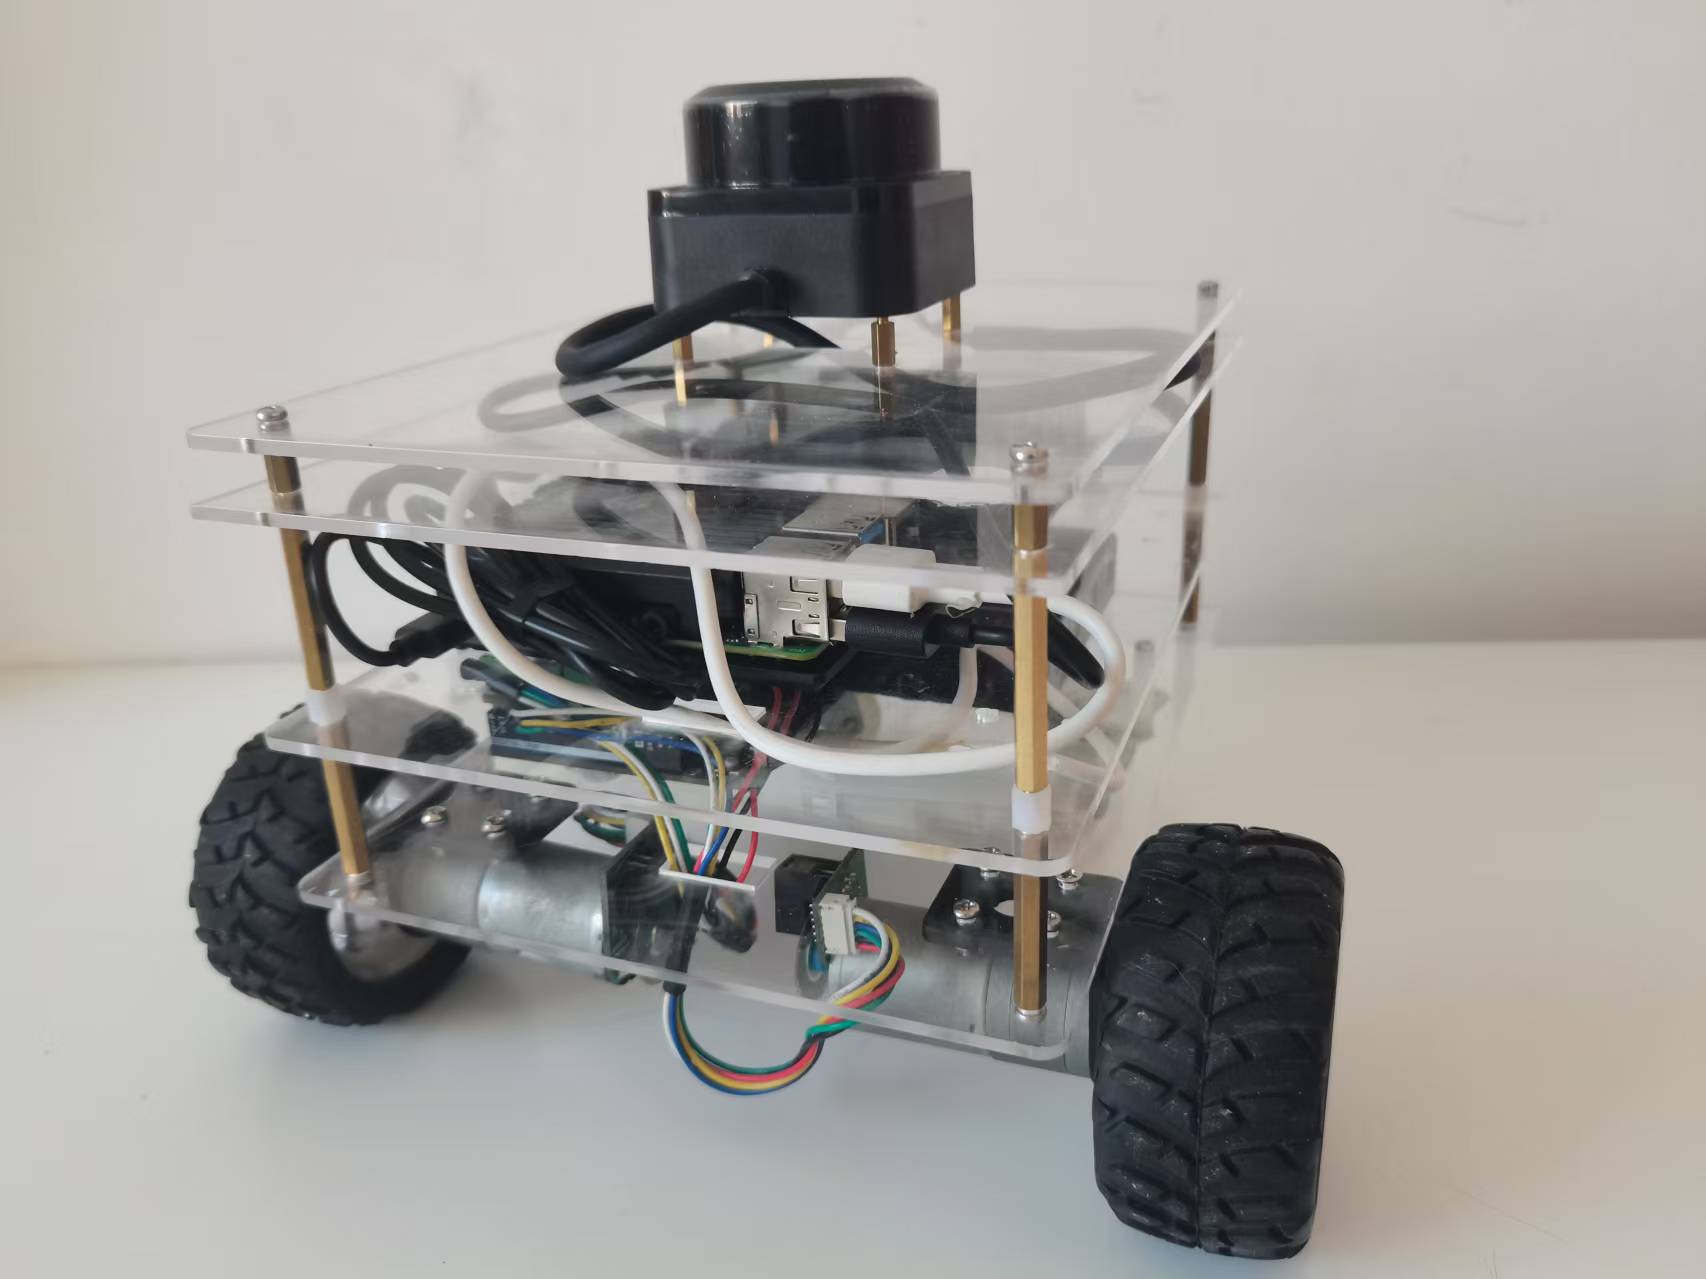
介绍在树莓派上使用串口进行数据收发。开发环境依然使用之前介绍的PyCharm编写python代码和远程开发,然后使用QtCreator编写QML的GUI界面。
1、新建项目
1.1、新建工程
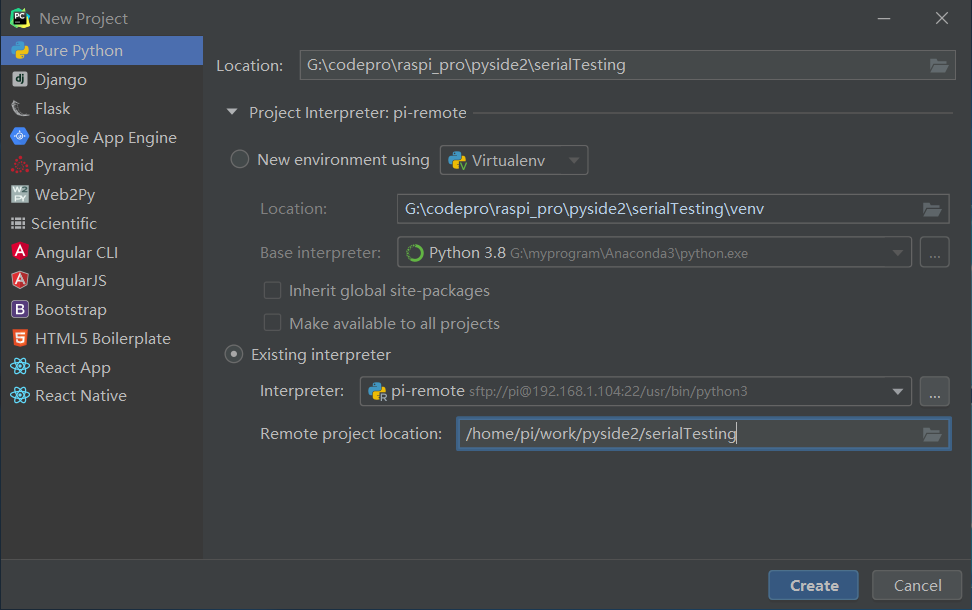
打开PyCharm,新建工程serialTesting,如下:
1.2、添加python主程序
serialTesting.py 主程序如下:
import os
import sys
from pathlib import Path

import serial
import threading
from PySide2 import QtCore
from PySide2.QtCore import Qt, QObject, Slot
from PySide2.QtQml import QQmlApplicationEngine
from PySide2.QtWidgets import QApplication

mserial1 = serial.Serial('/dev/ttyAMA1',115200)
mserial2 = serial.Serial('/dev/ttyAMA2',115200)

def Serial1Reading():
    while True:
        while mserial1.inWaiting() > 0:
            s = mserial1.read(mserial1.inWaiting())
            s = s.decode()

            if s != "":
                print("serial1 recv:", s)
                controler.uart1sig.emit(s)

def Serial2Reading():
    while True:
        while mserial2.inWaiting()>0:
            s = mserial2.read(mserial2.inWaiting())
            s = s.decode()

            if s != "":
                print("serail2 recv:",s)
                controler.uart2sig.emit(s)

thread1 = threading.Thread(target=Serial1Reading)
thread2 = threading.Thread(target=Serial2Reading)

class Controler(QObject):

    uart1sig = QtCore.Signal(str)
    uart2sig = QtCore.Signal(str)

    def __init__(self):
        super().__init__()

    @Slot()
    def exit(self):

        sys.exit()

    @Slot(str)
    def uart1send(self,s):
        print("uart1 send:",s)
        if mserial1.isOpen():
            mserial1.write(str(s).encode())

    @Slot(str)
    def uart2send(self,s):
        print("uart2 send:",s)
        if mserial2.isOpen():
            mserial2.write(str(s).encode())

if __name__=='__main__':

    os.environ["QT_IM_MODULE"] = "qtvirtualkeyboard"

    a = QApplication(sys.argv)

    a.setOverrideCursor(Qt.BlankCursor)

    engine = QQmlApplicationEngine()

    controler = Controler()
    context = engine.rootContext()
    context.setContextProperty("_Controler", controler)

    engine.load(os.fspath(Path(__file__).resolve().parent / "ui/main.qml"))
    if not engine.rootObjects():
        sys.exit(-1)

    root = engine.rootObjects()[0]
    controler.uart1sig.connect(root.uart1ReadyRead)
    controler.uart2sig.connect(root.uart2ReadyRead)

    thread1.daemon=True
    thread2.daemon=True
    thread1.start()
    thread2.start()

    sys.exit(a.exec_())
- 程序中建立了一个Controler类用于和qml界面进行交互,这样就可以通过界面来进行串口数据的发送和显示接收到的数据;
- Controler类中有两个信号和两个槽函数分别用于串口数据的接收和串口数据的发送功能;
- 建立了两个线程来进行串口数据读取,当有串口数据到来就通过信号槽方式,将数据显示到界面;
1.3、添加界面文件
- 在项目中添加ui文件夹,并新建main.qml文件,然后使用QtCreator来编写界面:
import QtQuick 2.11
import QtQuick.Window 2.4
import QtQuick.Controls 2.4
import QtQuick.Controls.Styles 1.4
import QtQuick.Extras 1.4
import QtGraphicalEffects 1.0
import QtQuick.VirtualKeyboard 2.1
import QtQuick.VirtualKeyboard.Settings 2.1

ApplicationWindow{
    id:root
    width: 800
    height: 480
    visible: true
    visibility: Window.FullScreen

    function uart1ReadyRead(string){
//        console.log("uart1 recv:",string)
        uart1recv.append(string)
    }

    function uart2ReadyRead(string){
//        console.log("uart2 recv:",string)
        uart2recv.append(string)
    }

    background: Rectangle{
        color: "black"
        anchors.fill: parent
    }

    Button{
        id:btnexit
        background: Rectangle{
            color: "#a01010"
            anchors.fill: parent
            radius:12
        }
        width: 48
        height: 48
        anchors{
            top: parent.top
            right: parent.right
            topMargin: 8
            rightMargin: 8
        }
        Text {
            text: qsTr("X")
            anchors.centerIn: parent
            font{
                pointSize: 32
            }
            color: "white"
        }
        onClicked: {
            _Controler.exit();
        }
    }

    Text {
        id: title
        text: qsTr("Serial Testing")
        anchors{
            top:  parent.top
            horizontalCenter: parent.horizontalCenter
            topMargin: 20
        }
        font{
            pointSize: 24
        }
        color: "#a0a0a0"
    }

    TextField {
        id: uart1send
        width: 200
        font.pointSize: 12
        placeholderText: qsTr("uart1 send text")
        anchors{
            top: title.bottom
            left: parent.left
            topMargin: 20
            leftMargin: 30
        }
        color: "#DBD6D6"
        background: Rectangle{
            anchors.fill: parent
            color: "#303030"
        }
    }
    Button{
        id:btnsend
        text: "Send"
        width: 100
        height: uart1send.height
        anchors{
            left: uart1send.right
            leftMargin: 40
            top: uart1send.top
        }
        background: Rectangle{
            anchors.fill: parent
            color: btnsend.pressed ? "#216CB8" : "#a0a0a0"
            radius: 10
        }
        font.pixelSize: 20
        font.bold: true
        onClicked: {
            _Controler.uart1send(uart1send.text)
        }
    }

    TextArea{
        id:uart1recv
        width: 360
        height: 320
        anchors{
            top: uart1send.bottom
            topMargin: 10
            left: parent.left
            leftMargin: 20

        }
        font.pointSize: 12
        color: "#20a0a0"
        background: Rectangle{
            anchors.fill: parent
            color: "#202020"
        }
    }

    TextField {
        id: uart2send
        width: 200
        font.pointSize: 12
        placeholderText: qsTr("uart2 send text")
        anchors{
            top: title.bottom
            right: btn2send.left
            topMargin: 20
            rightMargin: 20
        }
        color: "#DBD6D6"
        background: Rectangle{
            anchors.fill: parent
            color: "#303030"
        }
    }
    Button{
        id:btn2send
        text: "Send"
        width: 100
        height: uart2send.height
        anchors{
            right: parent.right
            rightMargin: 30
            leftMargin: 40
            top: uart1send.top
        }
        background: Rectangle{
            anchors.fill: parent
            color: btn2send.pressed ? "#216CB8" : "#a0a0a0"
            radius: 10
        }
        font.pixelSize: 20
        font.bold: true
        onClicked: {
            _Controler.uart2send(uart2send.text)
        }
    }

    TextArea{
        id:uart2recv
        width: 360
        height: 320
        anchors{
            top: btn2send.bottom
            topMargin: 10
            right: parent.right
            rightMargin: 20

        }
        font.pointSize: 12
        color: "#a020b0"
        background: Rectangle{
            anchors.fill: parent
            color: "#202020"
        }
    }

    InputPanel {
        id: inputPanel
        z: 99
        x: 50
        y: parent.height
        width: parent.width-100

        states: State {
            name: "visible"
            when: inputPanel.active
            PropertyChanges {
                target: inputPanel
                y: parent.height - inputPanel.height
            }
        }
        transitions: Transition {
            from: ""
            to: "visible"
            reversible: true
            ParallelAnimation {
                NumberAnimation {
                    properties: "y"
                    duration: 250
                    easing.type: Easing.InQuart
                }
            }
        }
    }

}

/*##^##
Designer {
    D{i:0;formeditorZoom:0.75;height:480;width:800}
}
##^##*/
界面完成后如下图:

- 界面中主要建立了两个发送和接收窗口,然后可以测试向对方发送数据和数据的接收显示。
2、执行程序
2.1、上传程序到树莓派
在工程上右键将这个项目文件上传到树莓派中。
2.2、执行程序
上传后,在树莓派对应文件夹中,执行如下命令执行程序:
python3 serialTesting.py
执行后可以看到显示如下:

然后可以在输入框中分别输入数据,然后点击“Send”发送,这样就可以测试串口1和串口2间数据的发送和接收:

<iframe src="//player.bilibili.com/player.html?aid=720423638&bvid=BV1RQ4y167Px&cid=407206922&page=1" scrolling="no" border="0" frameborder="no" framespacing="0" allowfullscreen="true" style="width: 100%; height: 500px; max-width: 100%;align:center; padding:20px 0;" > </iframe>
|