esp8266+mysql的问题
2022-12-179951
AI 快速预览详细
本文介绍了如何使用esp8266通过WiFi连接MySQL数据库。文章提供了详细的代码示例,包括设置WiFi连接、配置MySQL连接参数以及执行SQL语句。如果遇到连接失败的问题,可以参考文中的故障排查步骤,如检查WiFi连接状态、确认MySQL服务器IP地址、验证用户名和密码等。通过这些步骤,您可以轻松解决连接问题,确保数据能够顺利传输。
|
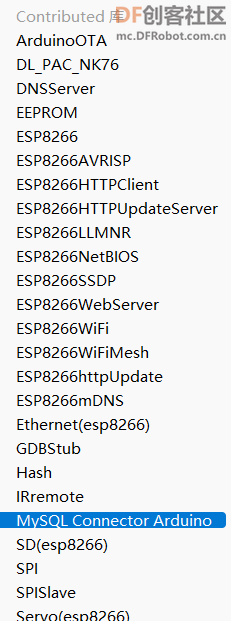
我最近在使用esp8266的时候 打算和本机的mysql数据库产生互联 我使用了Arduino的sql库 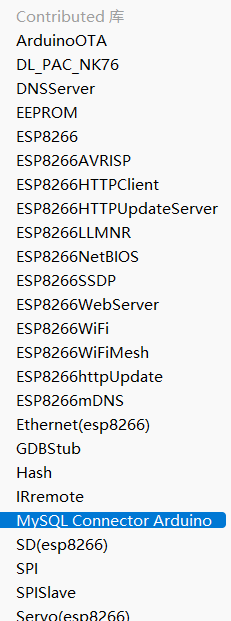 然后使用实例代码 /* MySQL Connector/Arduino Example : connect by wifi This example demonstrates how to connect to a MySQL server from an Arduino using an Arduino-compatible Wifi shield. Note that "compatible" means it must conform to the Ethernet class library or be a derivative with the same classes and methods. For more information and documentation, visit the wiki: https://github.com/ChuckBell/MySQL_Connector_Arduino/wiki. INSTRUCTIONS FOR USE 1) Change the address of the server to the IP address of the MySQL server 2) Change the user and password to a valid MySQL user and password 3) Change the SSID and pass to match your WiFi network 4) Connect a USB cable to your Arduino 5) Select the correct board and port 6) Compile and upload the sketch to your Arduino 7) Once uploaded, open Serial Monitor (use 115200 speed) and observe If you do not see messages indicating you have a connection, refer to the manual for troubleshooting tips. The most common issues are the server is not accessible from the network or the user name and password is incorrect. Created by: Dr. Charles A. Bell */ #include <Arduino.h> #include <ESP8266WiFi.h> // Use this for WiFi instead of Ethernet.h #include <MySQL_Connection.h> #include <MySQL_Cursor.h> IPAddress server_addr(192,168,1,5); // IP of the MySQL *server* here char user[] = "root"; // MySQL user login username char password[] = "123456"; // MySQL user login password // Sample query char INSERT_SQL[] = "INSERT INTO arduino_test.hello (message) VALUES ('Hello, Arduino!')"; // WiFi card example char ssid[] = "CU_md5k"; // your SSID char pass[] = "g7yy7h63"; // your SSID Password WiFiClient client; // Use this for WiFi instead of EthernetClient MySQL_Connection conn(&client); MySQL_Cursor* cursor; void setup() { Serial.begin(9600); while (!Serial); // wait for serial port to connect. Needed for Leonardo only // Begin WiFi section Serial.printf("\nConnecting to %s", ssid); WiFi.begin(ssid, pass); while (WiFi.status() != WL_CONNECTED) { delay(500); Serial.print("."); } // print out info about the connection: Serial.println("\nConnected to network"); Serial.print("My IP address is: "); Serial.println(WiFi.localIP()); Serial.print("Connecting to SQL... "); if (conn.connect(server_addr, 3306, user, password)) Serial.println("OK."); else Serial.println("FAILED."); // create MySQL cursor object cursor = new MySQL_Cursor(&conn); } void loop() { if (conn.connected()) cursor->execute(INSERT_SQL); delay(5000); } 我已经在mysql里面创建好对应的表 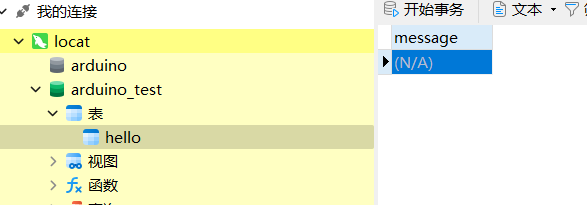 ip地址也查到了  为了防止是我IP不是内网的原因 我还使用了同一WiFi下的IP地址尝试  但是我还是连接不上  我使用的arduino版本是1.8.1 esp8266 版本是1.0.0 MYSQL Connector Arduino 的库版本是1.2.0 电脑安装的sql版本是5.7.36 希望您们可以帮助我 |
-
SatDecember-202212174845..png (25.74 KB, 下载次数: 4195)