【Arduino 动手做】带有 2xHC-SR04 传感器的 360° Arduino 雷达
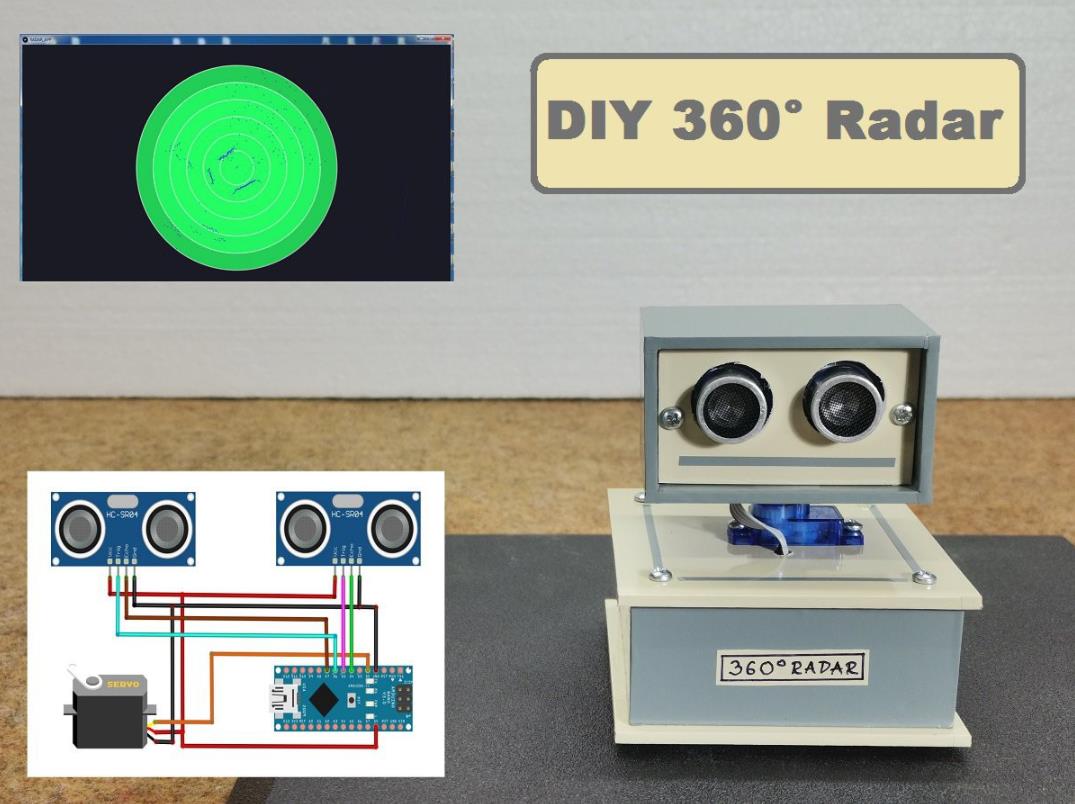
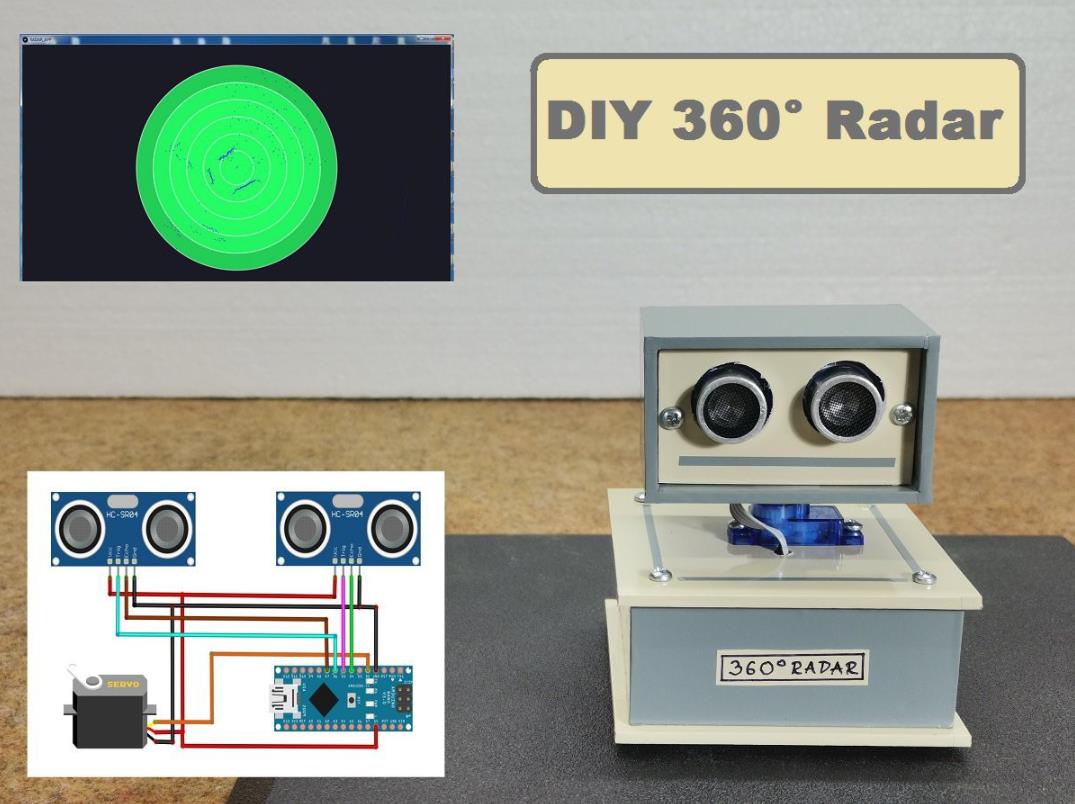
超声波传感器模块安装在旋转 0 至 180° 之间的伺服电机上,在这种情况下,有趣的是使用两个传感器来扫描整个 360 度空间。
这次我将向您展示如何制作基于 Arduino 的超声波雷达。我们可以称之为声纳,因为它利用的是声音,但声纳通常被认为是在水下使用的。在本例中,有趣的是,我们使用两个传感器来扫描整个 360 度空间。超声波传感器模块安装在一个可在 0 到 180° 之间旋转的伺服电机上。这种方法也简化了设计,因为您不会遇到电缆缠绕在伺服电机上的问题。
前往https://bit.ly/3DQGHBn制作您的 PCB。新用户可享 50 美元优惠券。
该过程从测试伺服器旋转开始。首先,它旋转 0° 到 180°,然后旋转 180° 到 0°,以检查耳机是否正确移动。该过程从测试伺服器旋转开始。首先,它旋转 0° 到 180°,然后旋转 180° 到 0°,以检查耳机是否正确移动。该过程从测试伺服器旋转开始。首先,它旋转 0° 到 180°,然后旋转 180° 到 0°,以检查耳机是否正确移动。
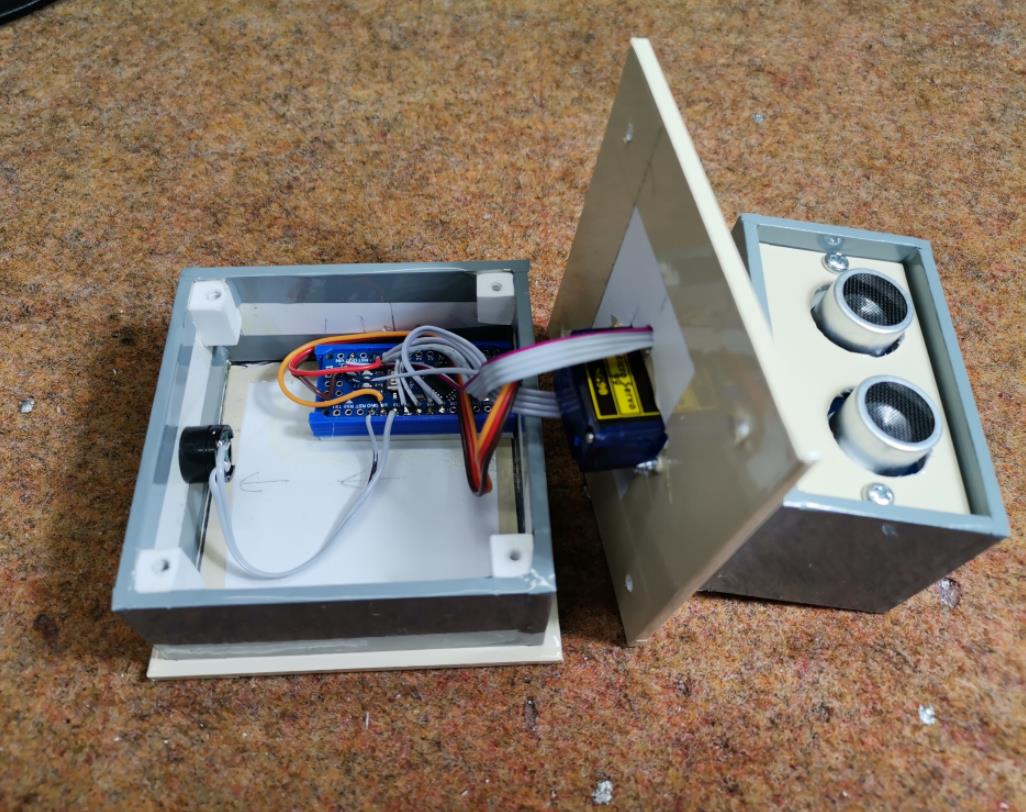
该设备构建起来非常简单,由以下几个元素组成:
- Arduino Nano 微控制器
- 小型 9g 伺服电机
- 和两个 HC-SR04 超声波模块
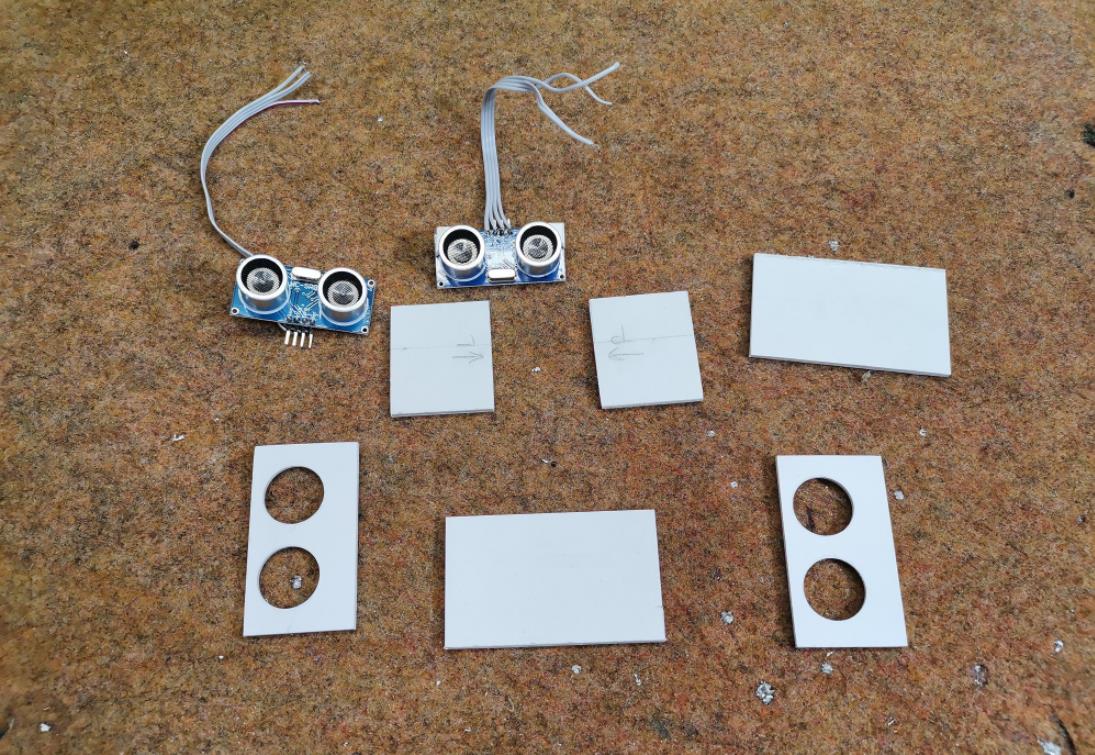
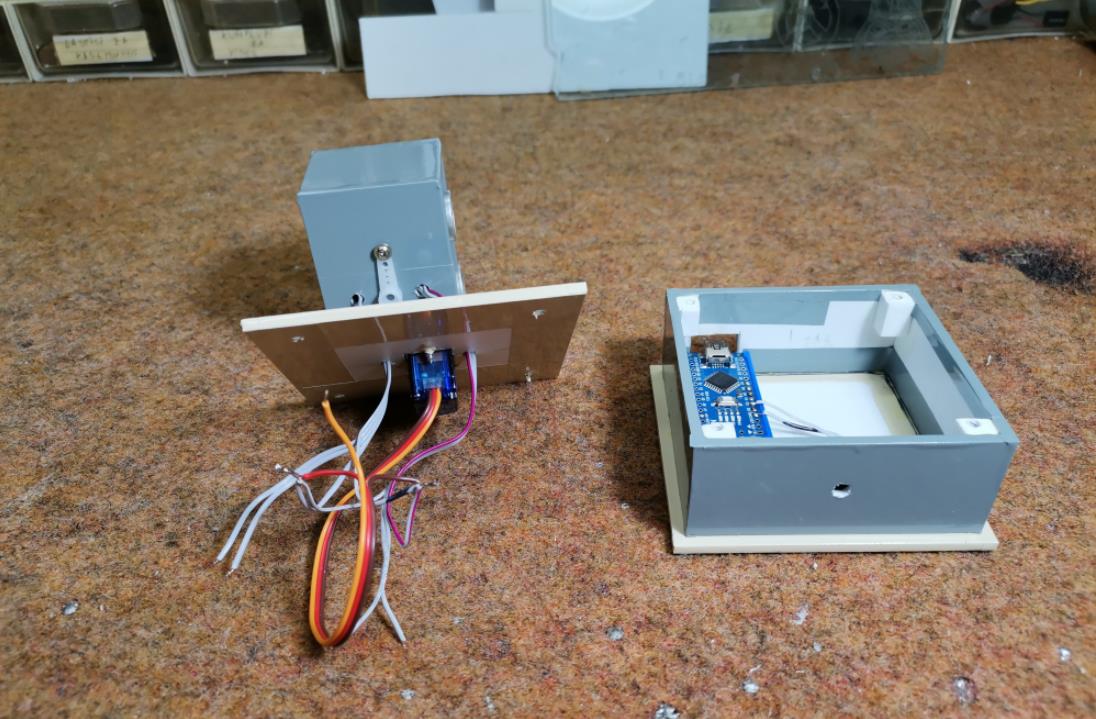
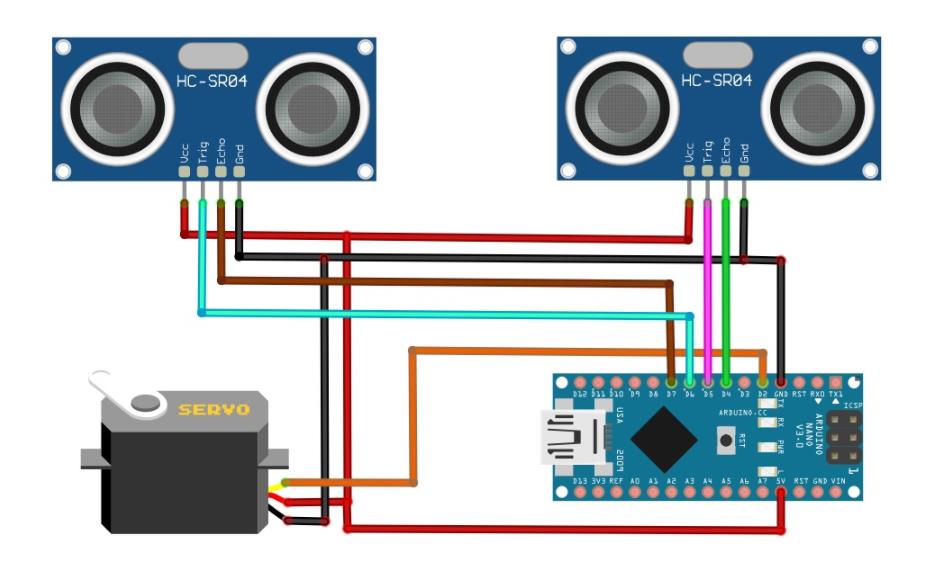
启动时,测试伺服电机的运动。此后,雷达立即开始扫描。接下来,我们在 PC 上启动 Processing 应用程序,然后需要输入与 Arduino 通信的正确串行端口。这样就会显示一个类似雷达的监视器,上面正在监视对象。需要说明的是,这个想法和代码是西班牙电子工程专业学生 Victor Casado 的作品。从图片中可以看到,该设备还包含一个压电蜂鸣器。这是因为我目前正在测试修改后的代码,根据物体的距离,发出具有特定频率的声音。如果成功,我将以更新的形式发布新代码。
#include <HCSR04.h>
#include <Servo.h>

UltraSonicDistanceSensor distanceSensor(6, 7);             //Create the 1st sensor object
UltraSonicDistanceSensor distanceSensor2(5, 4);             //Create the 2nd sensor object
Servo servoMotor;            //Create the Servo object

int delayTime = 5;            //Delay value to wait for the servo to reach the 1 angle difference
long d;                 //Distance from 1st sensor calculated
long d2;                //Distance from 2nd sensor calculated

void setup() {
  Serial.begin(9600);           //Initialize the Serial communication at 9600 bauds

  servoMotor.attach(2);         //Attach the servo to the Digital PWM pin 2
  servoMotor.write(180);        //Rotate the servo to the 180?
  delay(1000);              //Wait for the servo to reach 180?
  servoMotor.write(0);          //Rotate the servo to the 0?
  delay(1000);              //Wait for the servo to reach 0?

}

void loop() {
  for (int i = 1; i < 180; i++) {   //Move the Servo 180 degrees forward
    readSensors();            //Read the sensors
    Serial.print(i);          //Print the angle
    Serial.print(",");          //Print a ","
    Serial.print(d);          //Print the 1st distance
    Serial.print(",");          //Print a ","
    Serial.println(d2);         //Print the 2nd distance with end line
    servoMotor.write(i);        //Set the sensor at the angle
    delay(delayTime);         //Wait for the servo to reach i?
  }
  for (int i = 180; i > 1; i--) {   //Move the Servo 180 degrees backward
    readSensors();            //Read the sensors
    Serial.print(i);          //Print the angle
    Serial.print(",");          //Print a ","
    Serial.print(d);          //Print the 1st distance
    Serial.print(",");          //Print a ","
    Serial.println(d2);         //Print the 2nd distance with end line
    servoMotor.write(i);        //Set the sensor at the angle
    delay(delayTime);         //Wait for the servo to reach i?
  }
}

void readSensors() {
  d = distanceSensor.measureDistanceCm();
  d2 = distanceSensor2.measureDistanceCm();
}
最后,将该装置装入一个合适的盒子中,该盒子由厚度为 3 毫米和 5 毫米的 PVC 板制成,并涂有自粘彩色壁纸。
附录
项目链接:https://hackaday.io/project/181643-360-arduino-radar-with-2xhc-sr04-sensors
项目作者:米尔塞姆克
项目代码:https://cdn.hackaday.io/files/1816437771414112/Original%20code.txt