近期,DFRobot已经推出了全新开发板 FireBeetle 2 ESP32-P4。这块开发板搭载了 ESP32-P4 主控,虽未集成 Wi-Fi 与蓝牙,但凭借强劲性能,依然令人眼前一亮。很荣幸能体验这块开发板! 1.开发板介绍FireBeetle 2 ESP32-P4有很多种外设: Type-C USB CDC:Type-C USB烧录、调试接口 IO3/LED:板载LED引脚 Power LED:主板电源指示灯 RST:复位按键 IO35/BOOT:IO引脚/BOOT按键 MIC: MEMS PDM麦克风 HIGH-SPEED USB OTG 2.0: Type-C高速USB OTG 2.0 ESP32-P4:ESP32-P4芯片 MIPI-DSI: 两通道MIPI-DSI屏幕(兼容树莓派4B DSI屏幕线序) MIPI-CSI: 两通道MIPI-DSI屏幕(兼容树莓派4B CSI摄像头线序) TF Card: TF卡插槽 16MB FLASH: 16MB Flash存储 ESP32-C6:ESP32-C6-MINI-1模组,通过SDIO与ESP32-P4连接,用于扩展WiFi、蓝牙
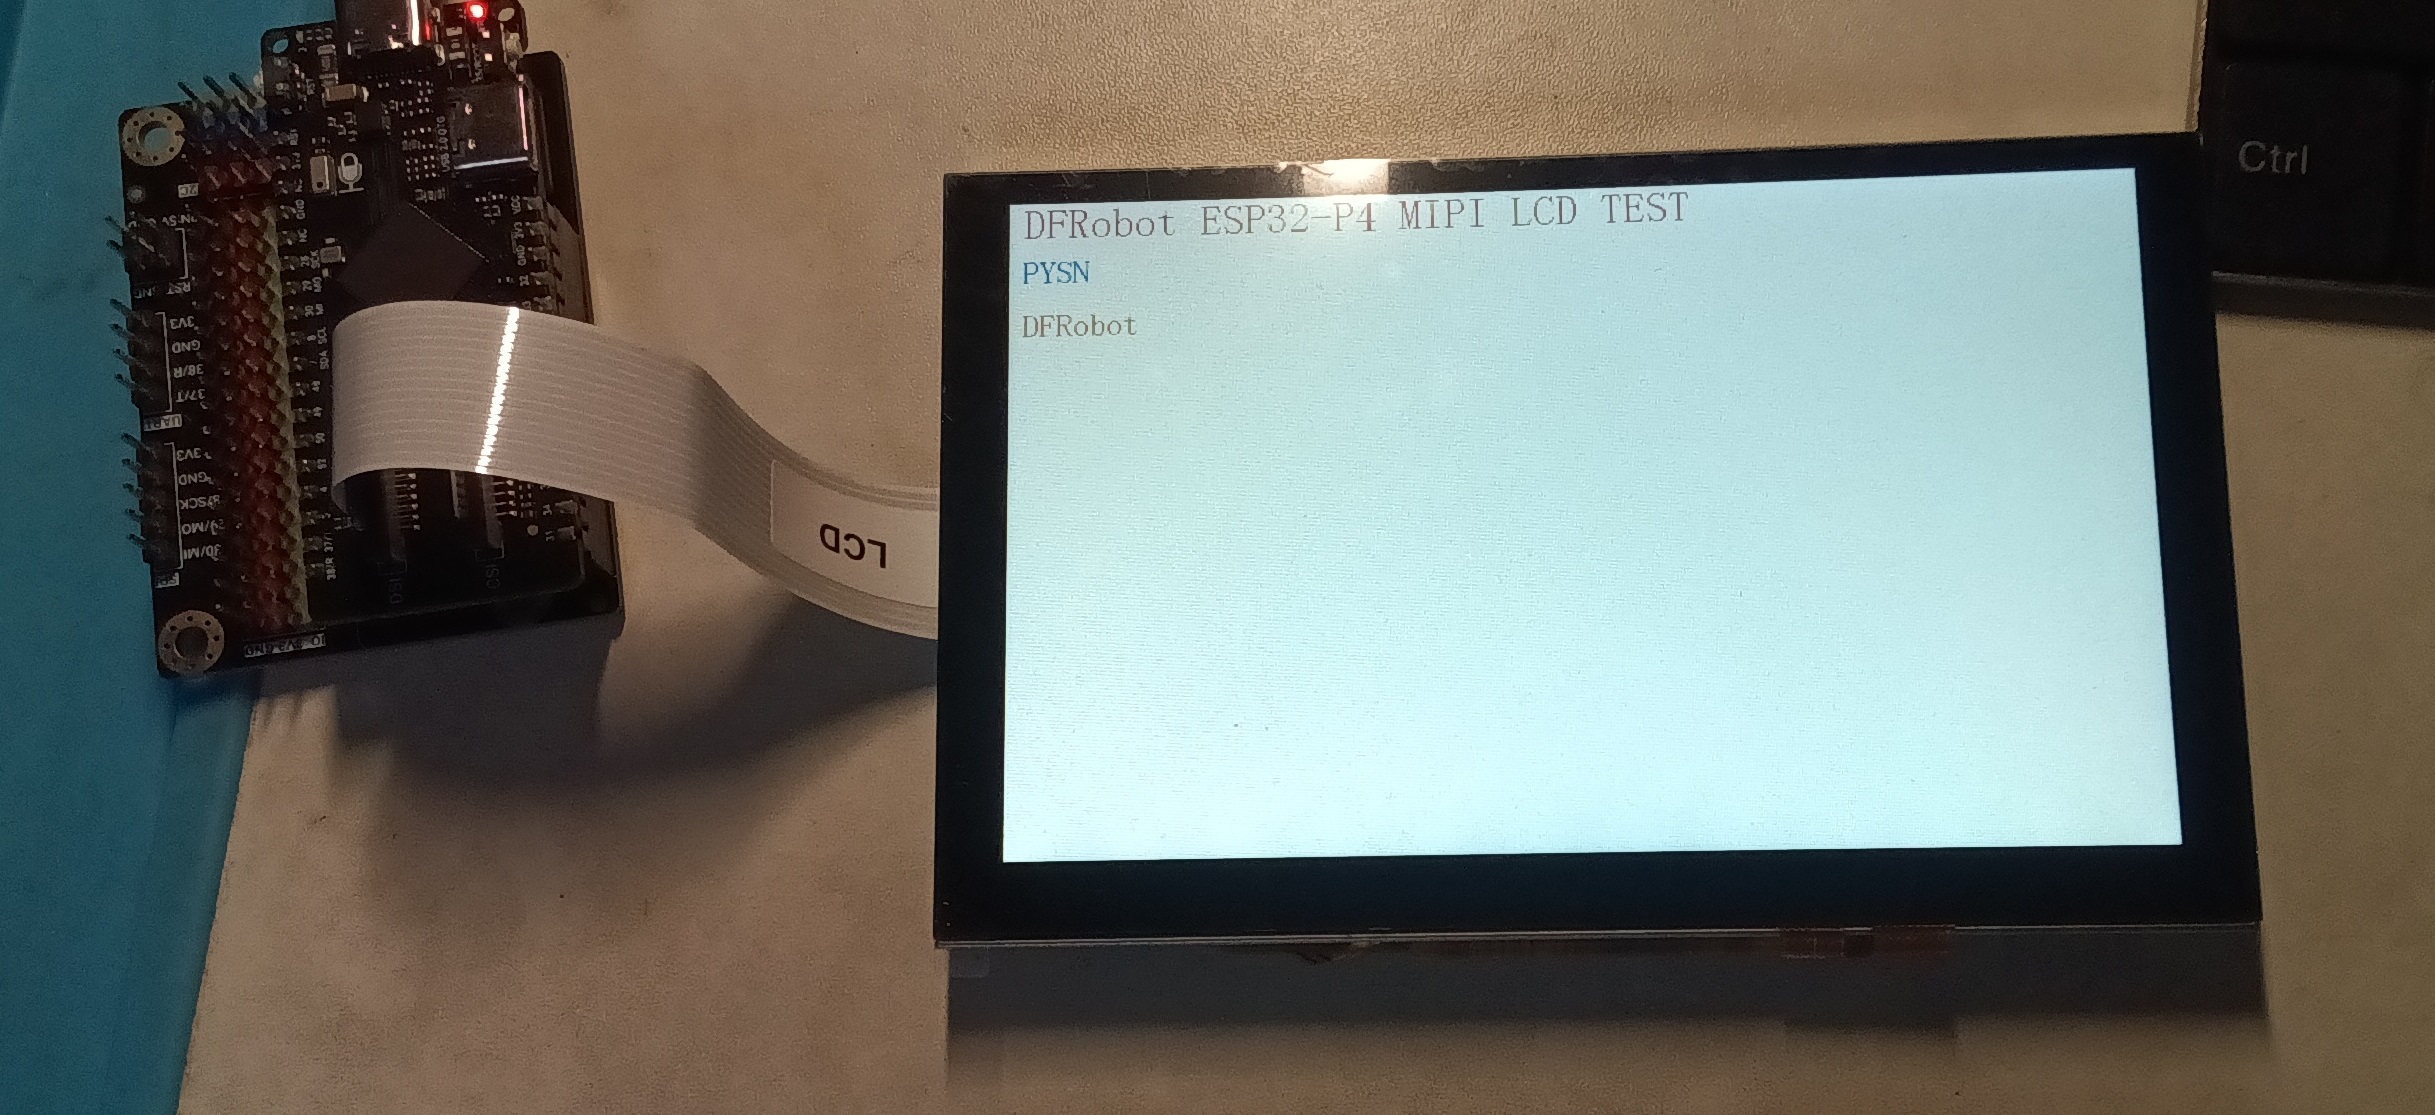
2.添加屏幕驱动依旧放在GitHub上: https://github.com/Vincent1-python/esp32p4-micropython-dfrobot-rpi-dsi-driver 3.正式体验这里先做一个单显示测试:
- from lcd import *
- from machine import Pin
- from machine import I2C
- i2c = I2C(0,scl=Pin(8), sda=Pin(7))
- init()
- i2c.writeto_mem(0x45, 0x86, b'\xff')
- # 初始化LCD
- clear(WHITE)
- string(10, 0, 500, 32, 32, "DFRobot ESP32-P4 MIPI LCD TEST", RED)
- string(10, 40, 240, 24, 24, "PYSN", BLUE)
- string(10, 80, 240, 24, 24, "DFRobot", BRRED)
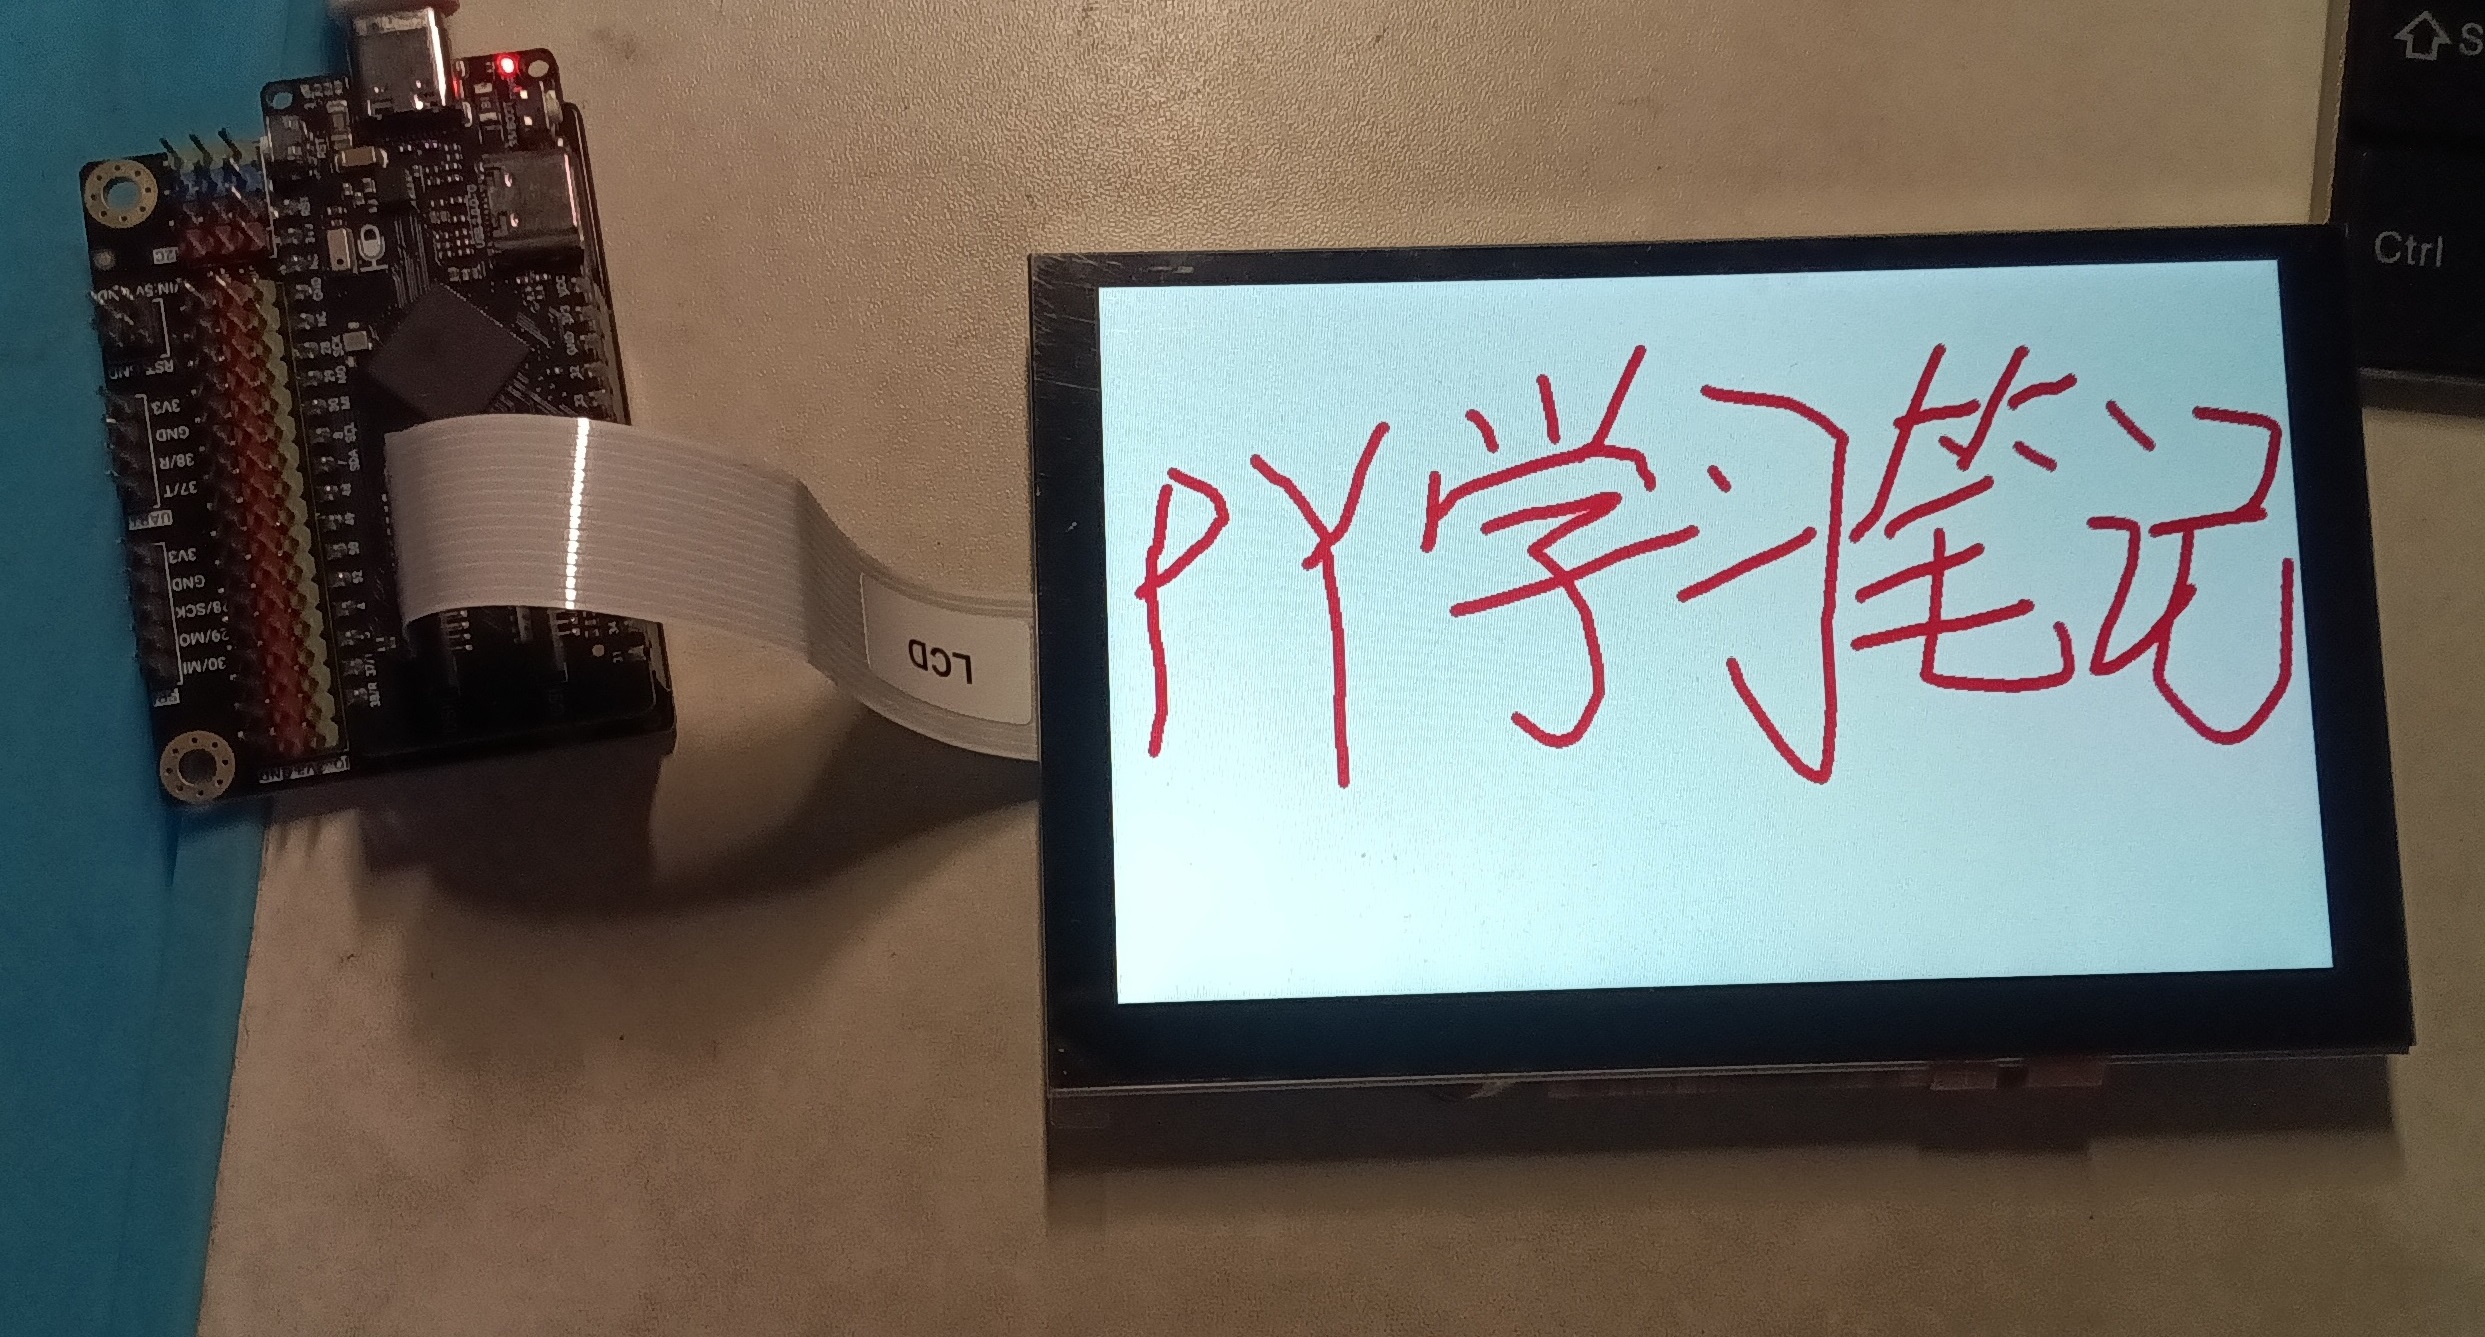
触摸测试: - from machine import Pin
- from machine import I2C
- import time,lcd
- from ft5x06 import FT5x06
-
- # 触摸点颜色和状态
- POINT_COLOR_TBL = [lcd.RED, lcd.GREEN, lcd.BLUE, lcd.YELLOW, lcd.BLACK]
- last_points = [[0, 0] for _ in range(5)] # 5个触摸点的最后位置
-
- def lcd_draw_bline(x1, y1, x2, y2, size, color):
- """优化后的带宽度直线绘制函数"""
- dx = abs(x2 - x1)
- dy = abs(y2 - y1)
- sx = 1 if x1 < x2 else -1
- sy = 1 if y1 < y2 else -1
- err = dx - dy
-
- while True:
- lcd.fill_circle(x1, y1, size, color)
- if x1 == x2 and y1 == y2:
- break
- e2 = 2 * err
- if e2 > -dy:
- err -= dy
- x1 += sx
- if e2 < dx:
- err += dx
- y1 += sy
- if __name__ == "__main__":
-
- lcd.init()
- i2c = I2C(0,scl=Pin(8), sda=Pin(7))
- t = FT5x06(i2c)
- i2c.writeto_mem(0x45, 0x86, b'\xff')
- lcd.clear(lcd.WHITE)
- while True:
- touch = t.get_positions()
- if touch:
- for i, point in enumerate(touch[:5]):
- # 计算当前触摸点坐标
- curr_x = 800-point[0]
- curr_y = 480-point[1]
-
- # 绘制从上次位置到当前位置的线
- if last_points[i] != [0, 0]:
- lcd_draw_bline(last_points[i][0], last_points[i][1],
- curr_x, curr_y, 4, POINT_COLOR_TBL[i])
-
- # 更新最后位置
- last_points[i] = [curr_x, curr_y]
- else:
- # 无触摸时重置所有点
- for i in range(5):
- last_points[i] = [0, 0]
4.效果
|