|
15202| 8
|
[进阶] 创客礼物 | 这条魔法项链告诉你,气温也是有色彩的 |
|
母亲节又要到了 孝顺的你还在为送什么礼物而感到发愁吗 有位酷爱文艺与科技的创客妈咪 就给自己制作了一条项链 然而与普通手工艺品不同的是 它不仅能做配饰与各种衣服百搭 还能实时感知气温并变幻出不同的颜色 当气温较为凉爽时(20℃-25℃),呈现翡翠绿; 当气温相对较热时(高于25℃),呈现珊瑚红; 当气温相对较冷时(低于25℃),呈现宝石蓝; 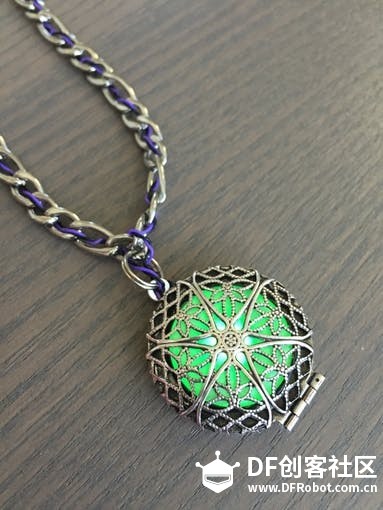 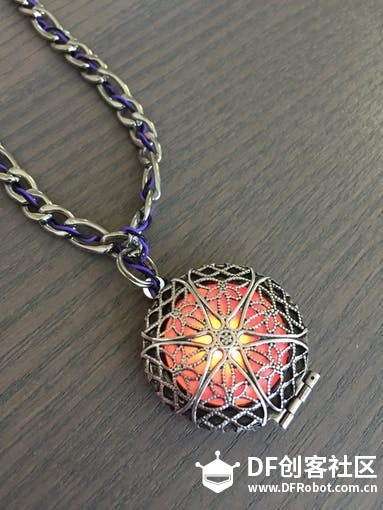 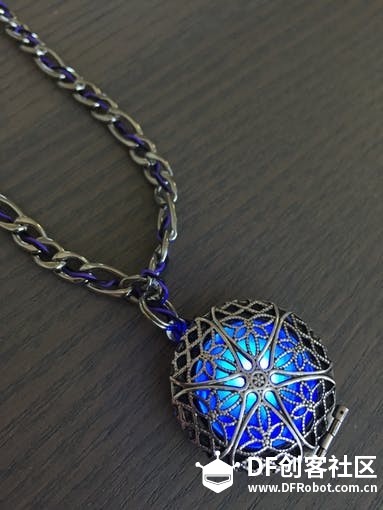 梦幻的颜色配合复古的吊坠 美的不像真的! 怎么做到的? ▼▼▼ 教程专区 材料清单(*部分硬件来自Lilypad Kit) Arduino控制器、温度传感器、RGB LED、鳄鱼夹,剥线钳、装饰项链,毛毡,针线、剪刀、热熔胶枪等 制作过程 1.电路搭建;可先用鳄鱼夹搭建整个电路进行测试,具体连接方式如下图所示: 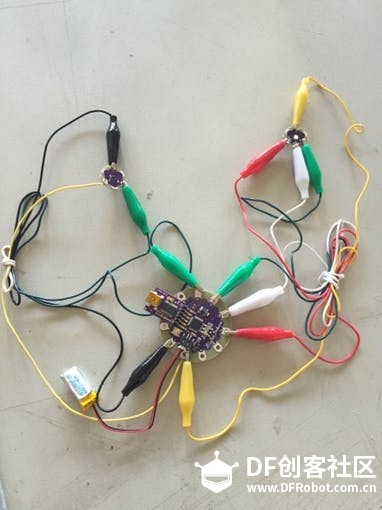 2.上传代码 [mw_shl_code=applescript,true] /* * This program shows different light colors according to the current ambient temperature: * It gives a green color to indicate the cool weather (68 to 78 degrees Fahrenheit). * A red color is shown when the weather is relatively hot (above 78 degrees Fahrenheit) * and a blue one to represent the cold weather (below 68 Fahrenheit). * * Written by Tahani Almanie */ int tempSenPin = A2; // Temperature sensor connected to analog pin A2 int tempReading; // This variable for the sensor reading float voltage; // This variable for the voltage value of the sensor float tempC; // This variable for the Centigrade temperature float tempF; // This variable for the Fahrenheit temperature int redPin = 9; // R on RGB LED connected to digital pin 9 int greenPin = 11; // G on RGB LED connected to digital pin 11 int bluePin = 10; // B on RGB LED connected to digital pin 10 void setup() { Serial.begin(9600); //Start the serial connection to view the sensor readings } void loop() { //getting the reading from the temperature sensor tempReading = analogRead(tempSenPin); // converting that reading to voltage voltage = tempReading * 4.15 / 1024.0; // print out the voltage Serial.print(voltage); Serial.println(" volts"); // converting that voltage to Centigrade temperature tempC = (voltage - 0.5) * 100 ; // print out the Centigrade temperature Serial.print(tempC); Serial.println(" degrees C"); // converting Centigrade to Fahrenheit tempF = (tempC * 9.0 / 5.0) + 32.0; // print out the Fahrenheit temperature Serial.print(tempF); Serial.println(" degrees F"); //waiting 1 second delay(1000); lightColor(); } void lightColor() { if (tempF >= 78 ) //hot ambient gives a red light generateColor(255,0,0); else if (tempF>=68 && tempF<78)//nice ambient gives a green light generateColor(0,255,0); else //cold ambient gives a blue light generateColor(0,0,255); } void generateColor(int red, int green, int blue) { analogWrite(redPin, 255-red); analogWrite(greenPin, 255-green); analogWrite(bluePin, 255-blue); }[/mw_shl_code] 3.项链制作 准备所有材料和工具。 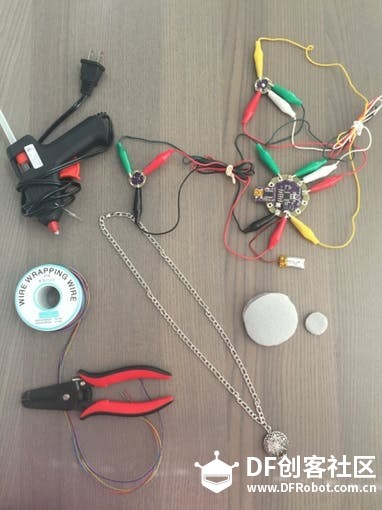 将导线螺旋编织并穿过项链。 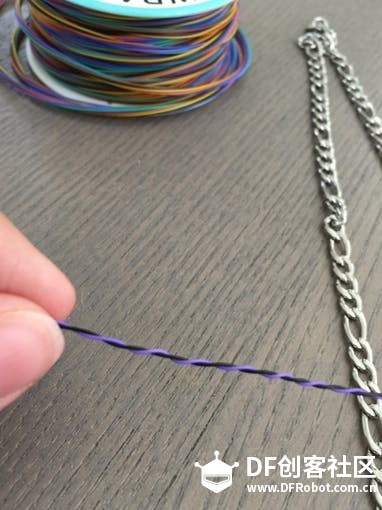 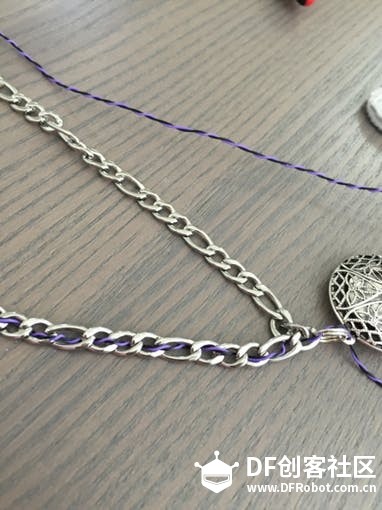 电源固定在主控器的背面,连接控制器和温度传感器各端口的导线。 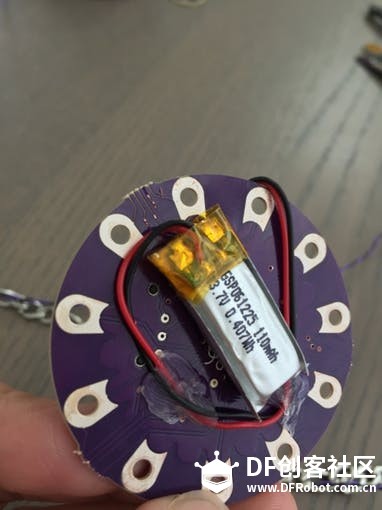 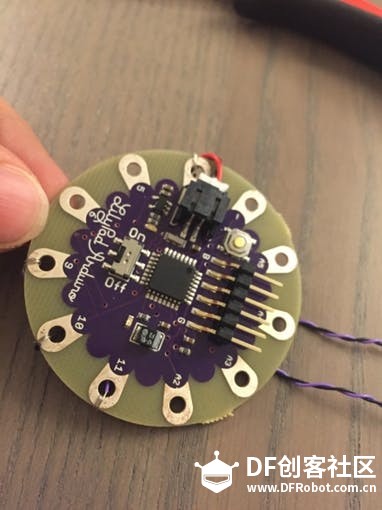 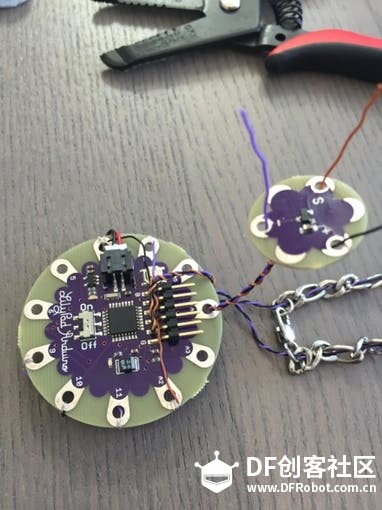 剪几个大小合适的圆片,用针线将其缝成口袋,然后把控制器、温度传感器裹起来。 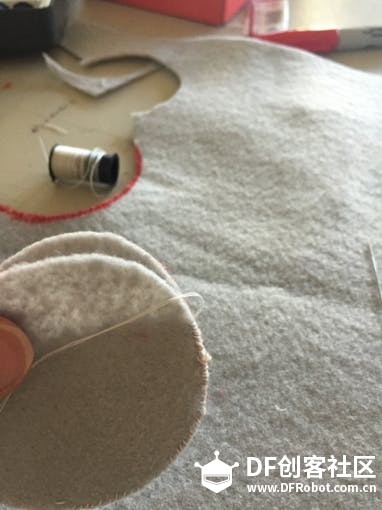 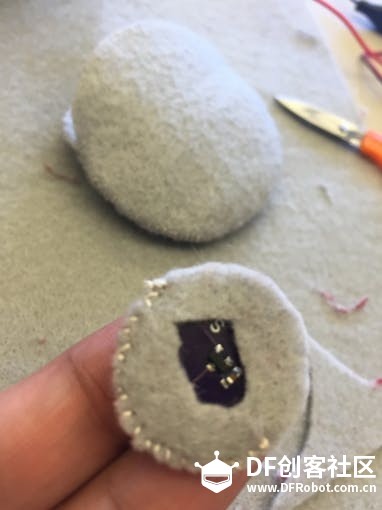  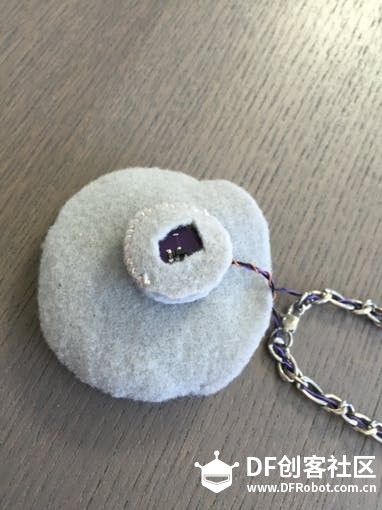 把导线另一侧的RGB LED模块放入吊坠内部。   也可以在吊坠内部用圆片遮挡,这样LED光线显得不那么刺眼。 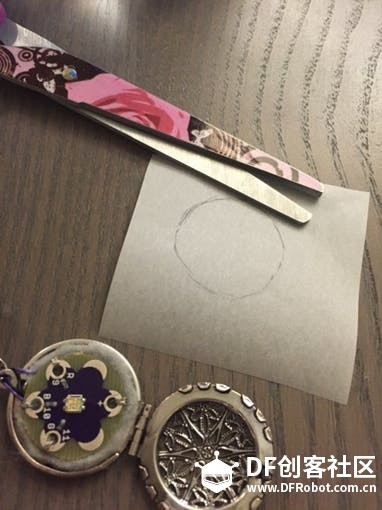 把吊坠合上,作品完工。 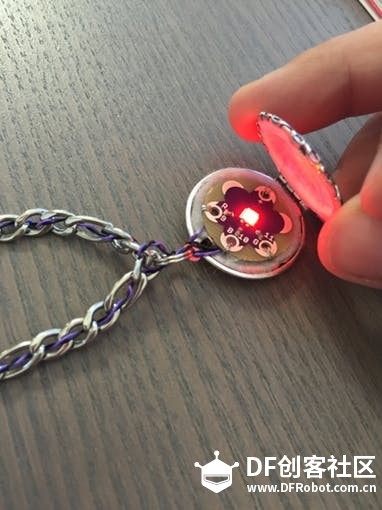 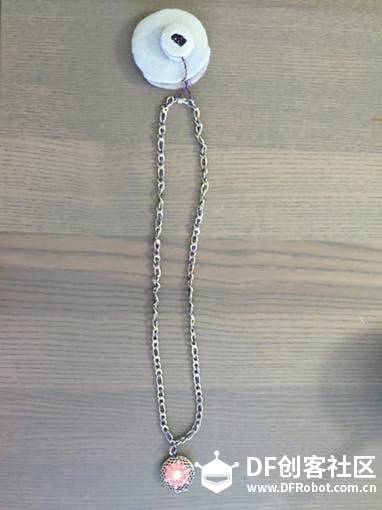 怎么样,你心动了吗? 如此又唯美又有科技含量的项链 制作工艺也不复杂 赶紧给母上大人也制作一条吧 |
 沪公网安备31011502402448
© 2013-2026 Comsenz Inc. Powered by Discuz! X3.4 Licensed