|
21118| 5
|
[入门] 【小白入门】手势感应蝴蝶 |

|
小白小白看过来 教你做最简单的感应蝴蝶啦~ 挥一挥手 蝴蝶就会挥动翅膀 【材料清单】 DFRduino Uno *1(购买链接) IO 传感器扩展板 V7.1 (购买链接) 红外手势传感器 *1 (购买链接) 金属9g舵机 *2(购买链接) USB电缆 *1 杜邦线若干 泡沫纸或卡纸 *1 铅笔 铁丝 剪刀 等 备用工具:热熔胶枪 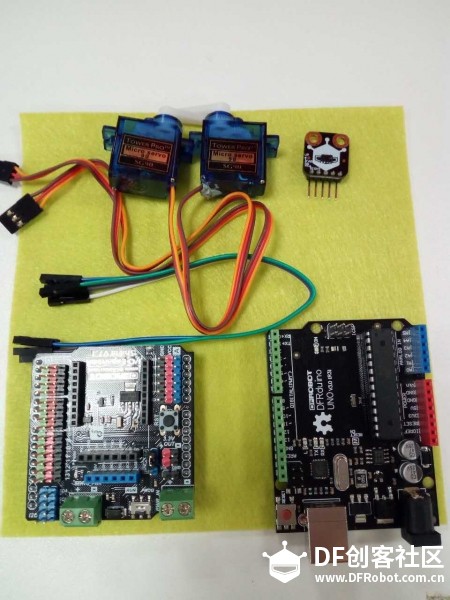 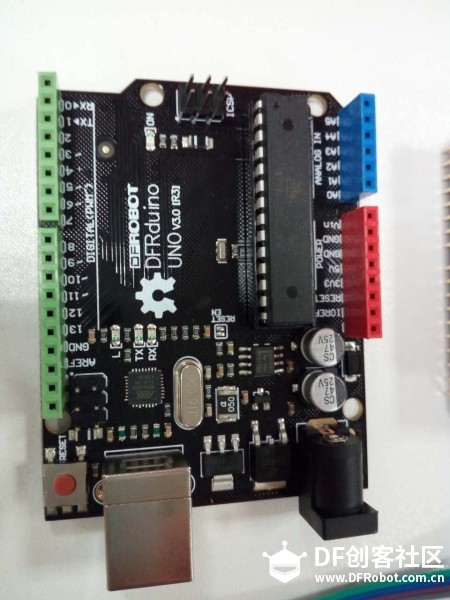 【步骤一:制作蝴蝶外形】 有条件的朋友可以使用3D打印机,效果会更好! 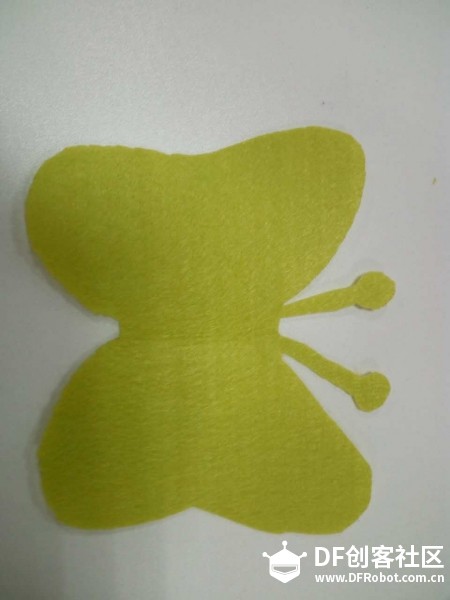 【步骤二:舵机调试】 此处我们设置60度的旋转幅度 注意两个舵机的旋转方向是相反的, 有的舵机精度不高,可以稍微再微调 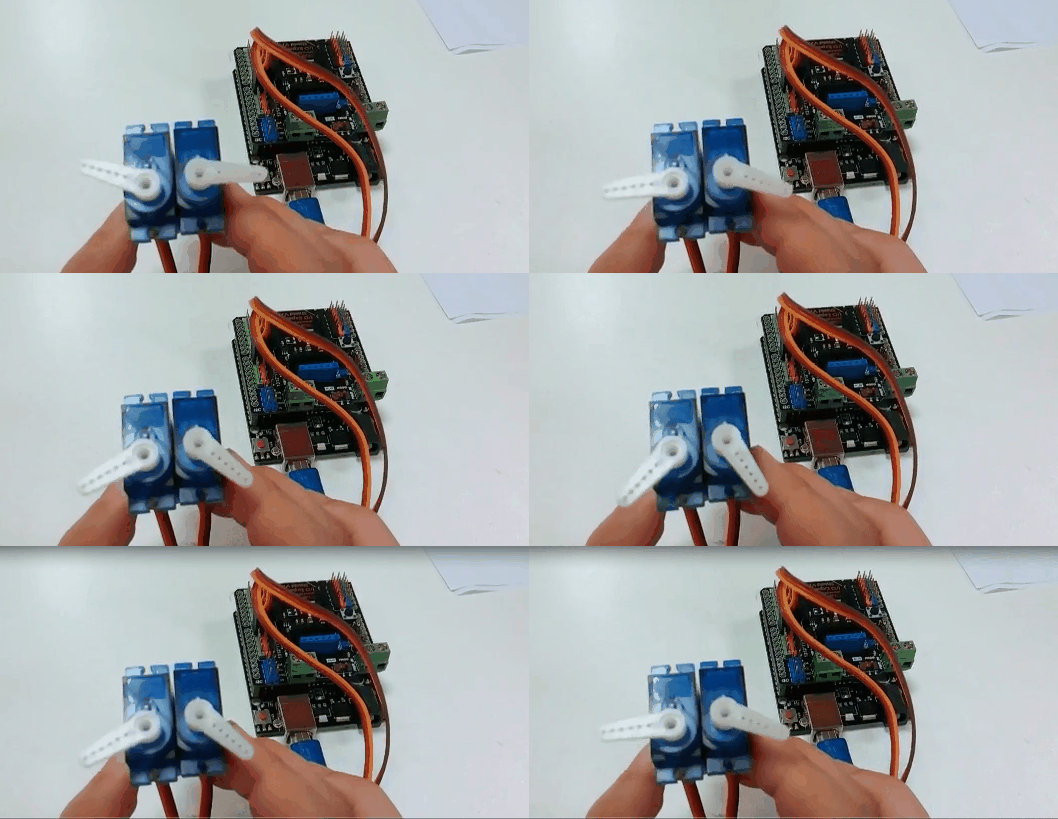 代码: [mw_shl_code=applescript,true]#include <Servo.h> // 声明调用Servo.h库 Servo servoright; // 创建一个舵机对象 Servo servoleft; int pos = 0; // 变量pos用来存储舵机位置 void setup() { servoright.attach(9); // 将引脚9上的舵机与声明的舵机对象连接起来 servoleft.attach(8); // 将引脚8上的舵机与声明的舵机对象连接起来 } for(pos = 0; pos < 60; pos += 1){ // 舵机从0°转到60°,每次增加1° servoleft.write(pos); // 给舵机写入角度 servoright.write(180-pos); delay(15); // 延时15ms让舵机转到指定位置 } for(pos = 60; pos>=1; pos-=1) { // 舵机从60°转回到0°,每次减小1° servoleft.write(pos); // 给舵机写入角度 servoright.write(180-pos); delay(15); // 延时15ms让舵机转到指定位置 } }[/mw_shl_code] 【步骤三:红外手势传感器测试】 这款传感器拓展应用比较丰富,此处我们只使用最简单的手势感应。 打开串口监视器,可以查看到各种手势的检测 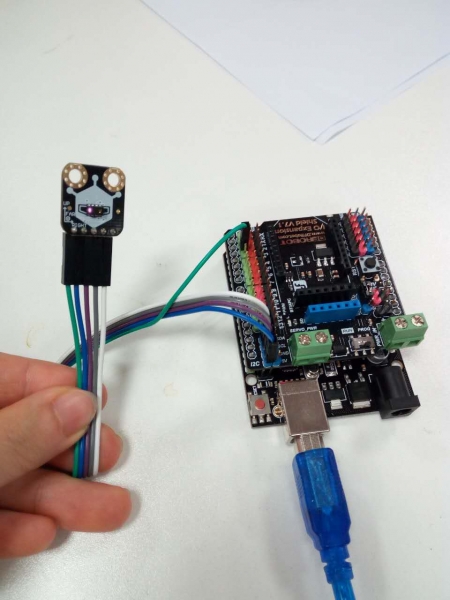 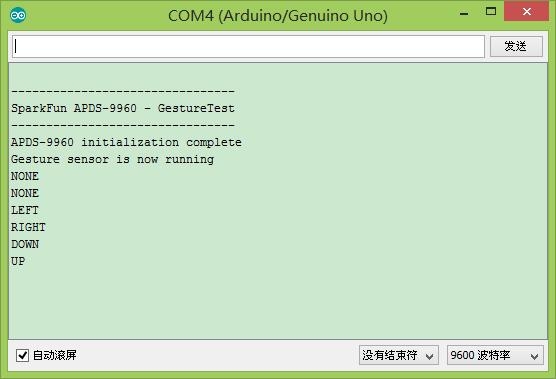 样例代码: #include <SparkFun_APDS9960.h> // Pins #define APDS9960_INT 2 // Needs to be an interrupt pin // Constants // Global Variables SparkFun_APDS9960 apds = SparkFun_APDS9960(); int isr_flag = 0; void setup() { // Initialize Serial port Serial.begin(9600); Serial.println(); Serial.println(F("--------------------------------")); Serial.println(F("SparkFun APDS-9960 - GestureTest")); Serial.println(F("--------------------------------")); // Initialize interrupt service routine attachInterrupt(0, interruptRoutine, FALLING); // Initialize APDS-9960 (configure I2C and initial values) if ( apds.init() ) { Serial.println(F("APDS-9960 initialization complete")); } else { Serial.println(F("Something went wrong during APDS-9960 init!")); } // Start running the APDS-9960 gesture sensor engine if ( apds.enableGestureSensor(true) ) { Serial.println(F("Gesture sensor is now running")); } else { Serial.println(F("Something went wrong during gesture sensor init!")); } } void loop() { if( isr_flag == 1 ) { handleGesture(); if(digitalRead(APDS9960_INT) == 0){ apds.init(); apds.enableGestureSensor(true); } isr_flag = 0; } } void interruptRoutine() { isr_flag = 1; } void handleGesture() { if ( apds.isGestureAvailable() ) { switch ( apds.readGesture() ) { case DIR_UP: Serial.println("UP"); break; case DIR_DOWN: Serial.println("DOWN"); break; case DIR_LEFT: Serial.println("LEFT"); break; case DIR_RIGHT: Serial.println("RIGHT"); break; case DIR_NEAR: Serial.println("NEAR"); break; case DIR_FAR: Serial.println("FAR"); break; default: Serial.println("NONE"); } } }[/mw_shl_code] 【步骤四:完整电路搭建】 现场我们把输入和输出结合起来 舵机的主程序加到红外传感器的代码结合起来即可 if( isr_flag == 1 ) { for(pos = 0; pos < 60; pos += 1){ // 舵机从0°转到180°,每次增加1° servoleft.write(pos); // 给舵机写入角度 servoright.write(180-pos); delay(15); // 延时15ms让舵机转到指定位置 } for(pos = 60; pos>=1; pos-=1) { // 舵机从180°转回到0°,每次减小1° servoleft.write(pos); // 写角度到舵机 servoright.write(180-pos); delay(15); // 延时15ms让舵机转到指定位置 } handleGesture(); isr_flag = 0; } } void interruptRoutine() { isr_flag = 1; } [/mw_shl_code] 【步骤五:让蝴蝶动起来】 最后一步 用热熔胶枪把舵盘与铁丝粘起来 再把铁丝扎进蝴蝶翅膀里 这样手势感应蝴蝶就做好啦~~~ 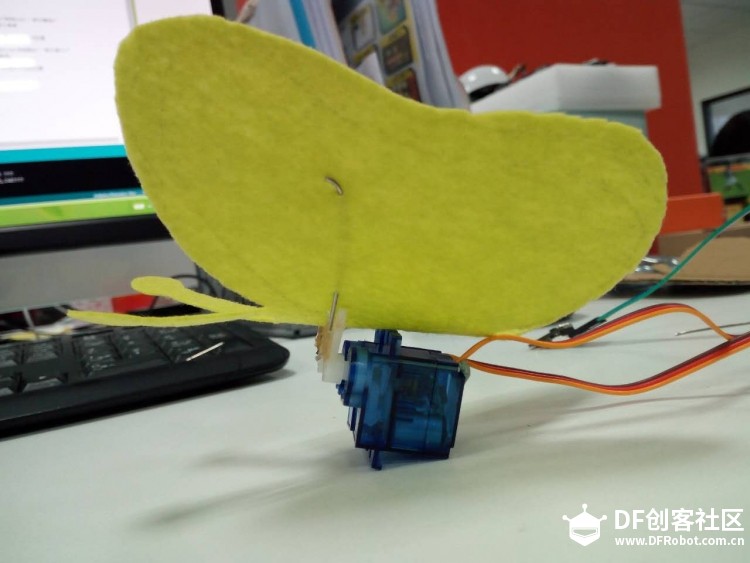 我这个只是简单地做了搭建,欢迎各位创客大神莅临指导! 后续可以做更多改进,比如做一只3D打印大蝴蝶,哈哈哈 |
 沪公网安备31011502402448
© 2013-2026 Comsenz Inc. Powered by Discuz! X3.4 Licensed