一、基本介绍
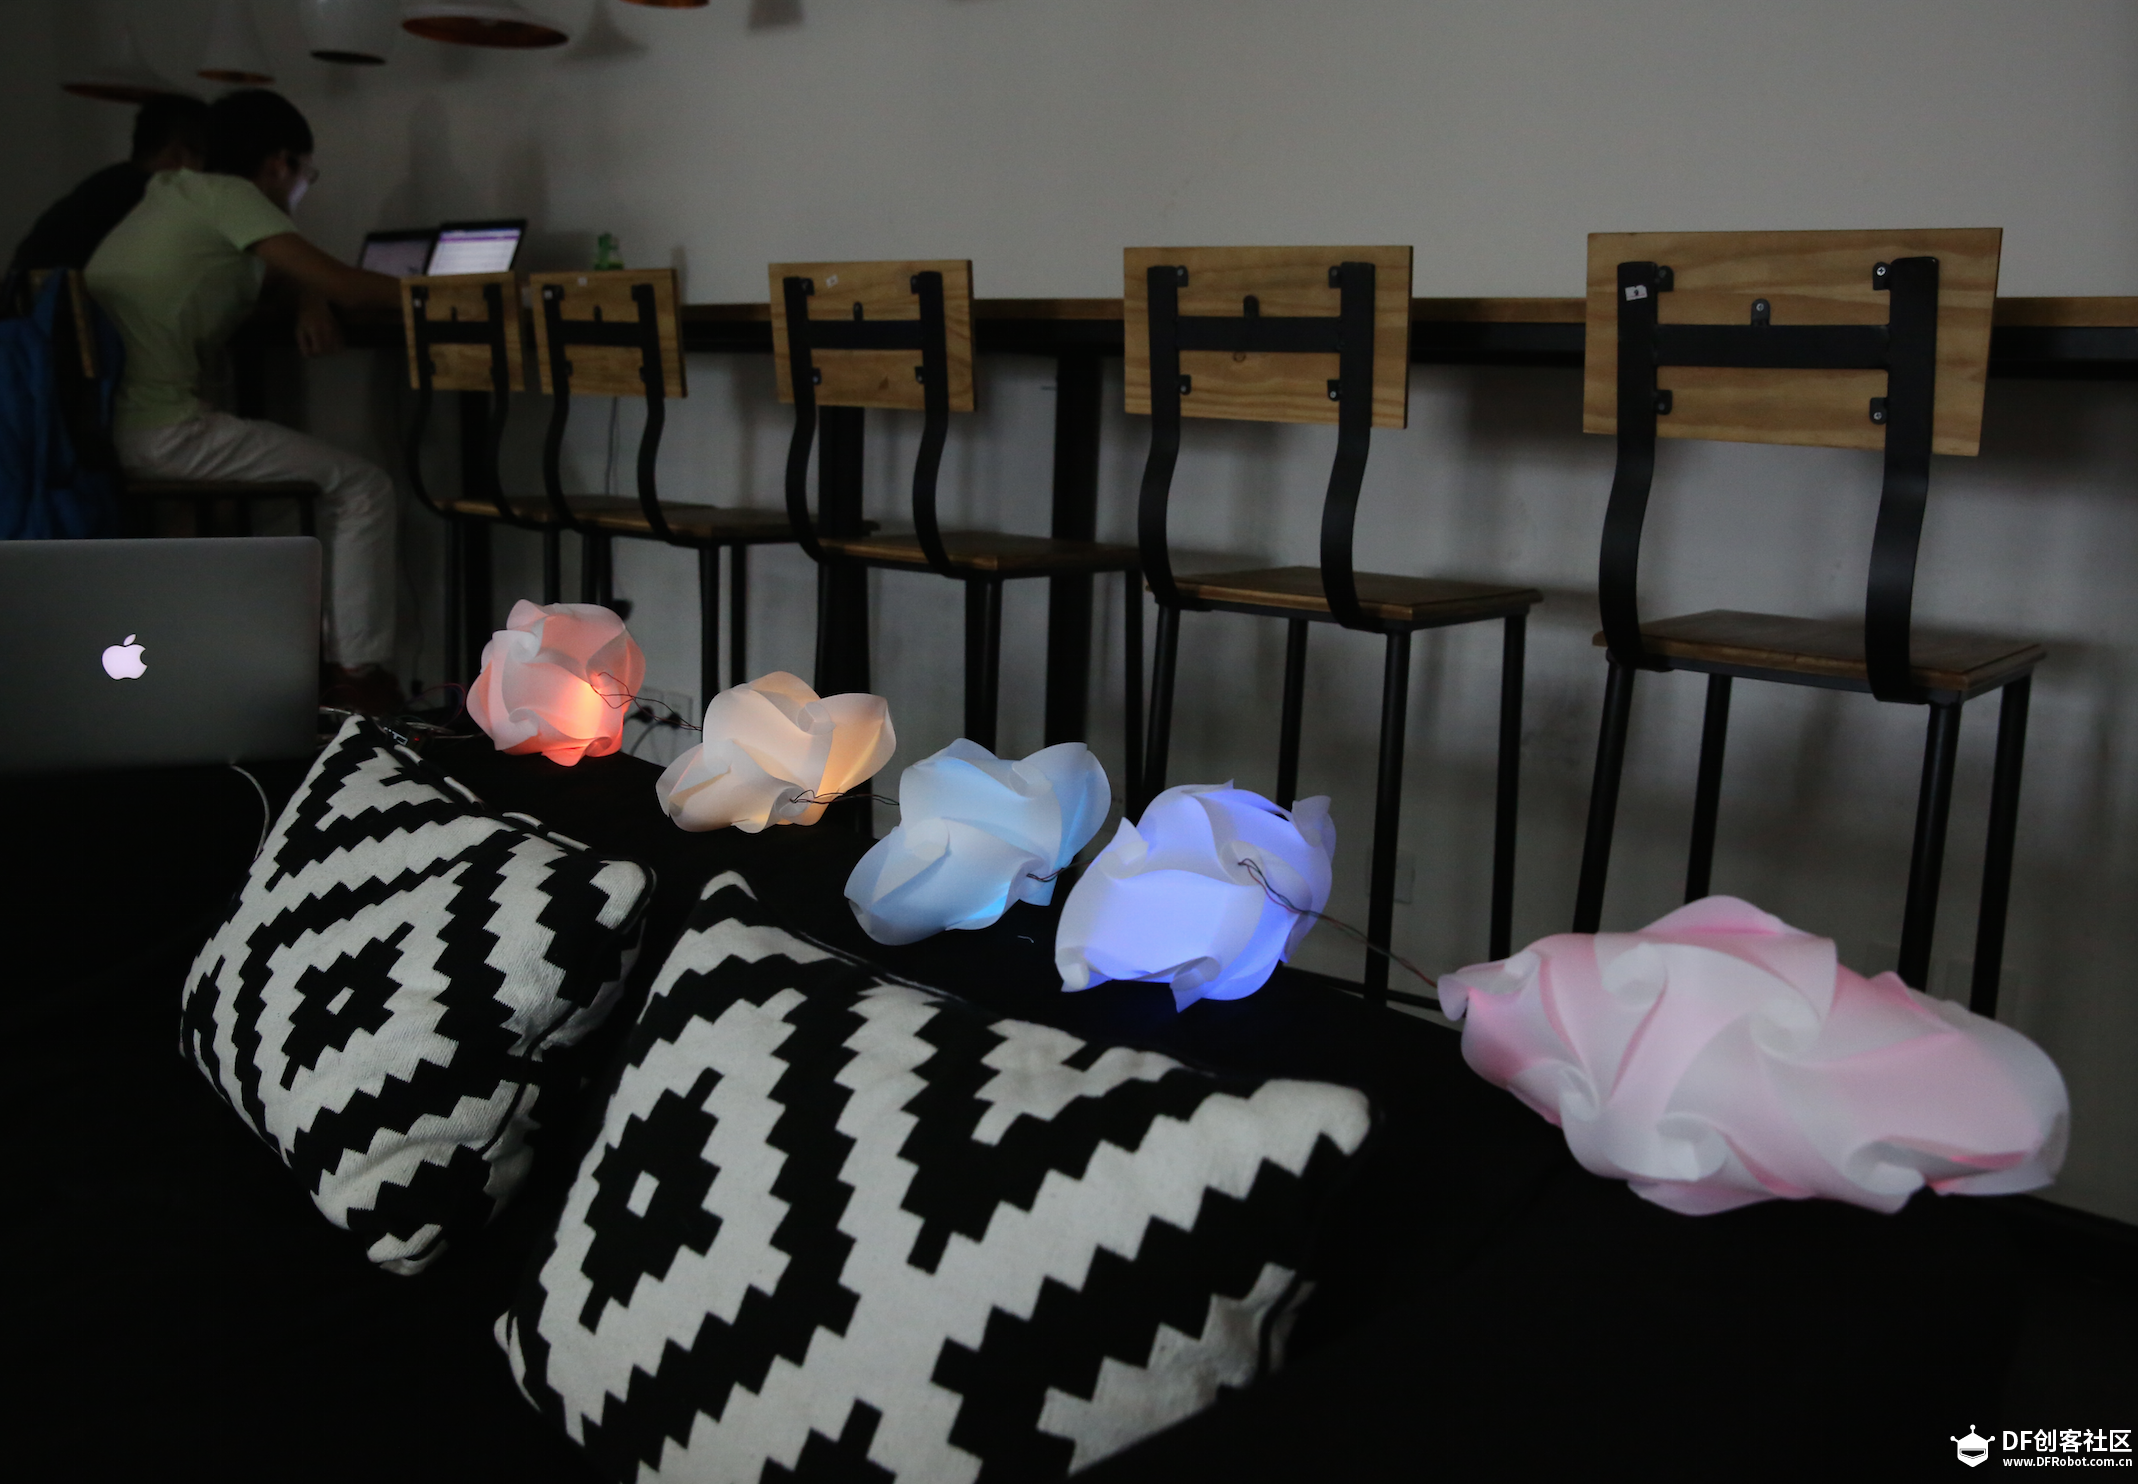
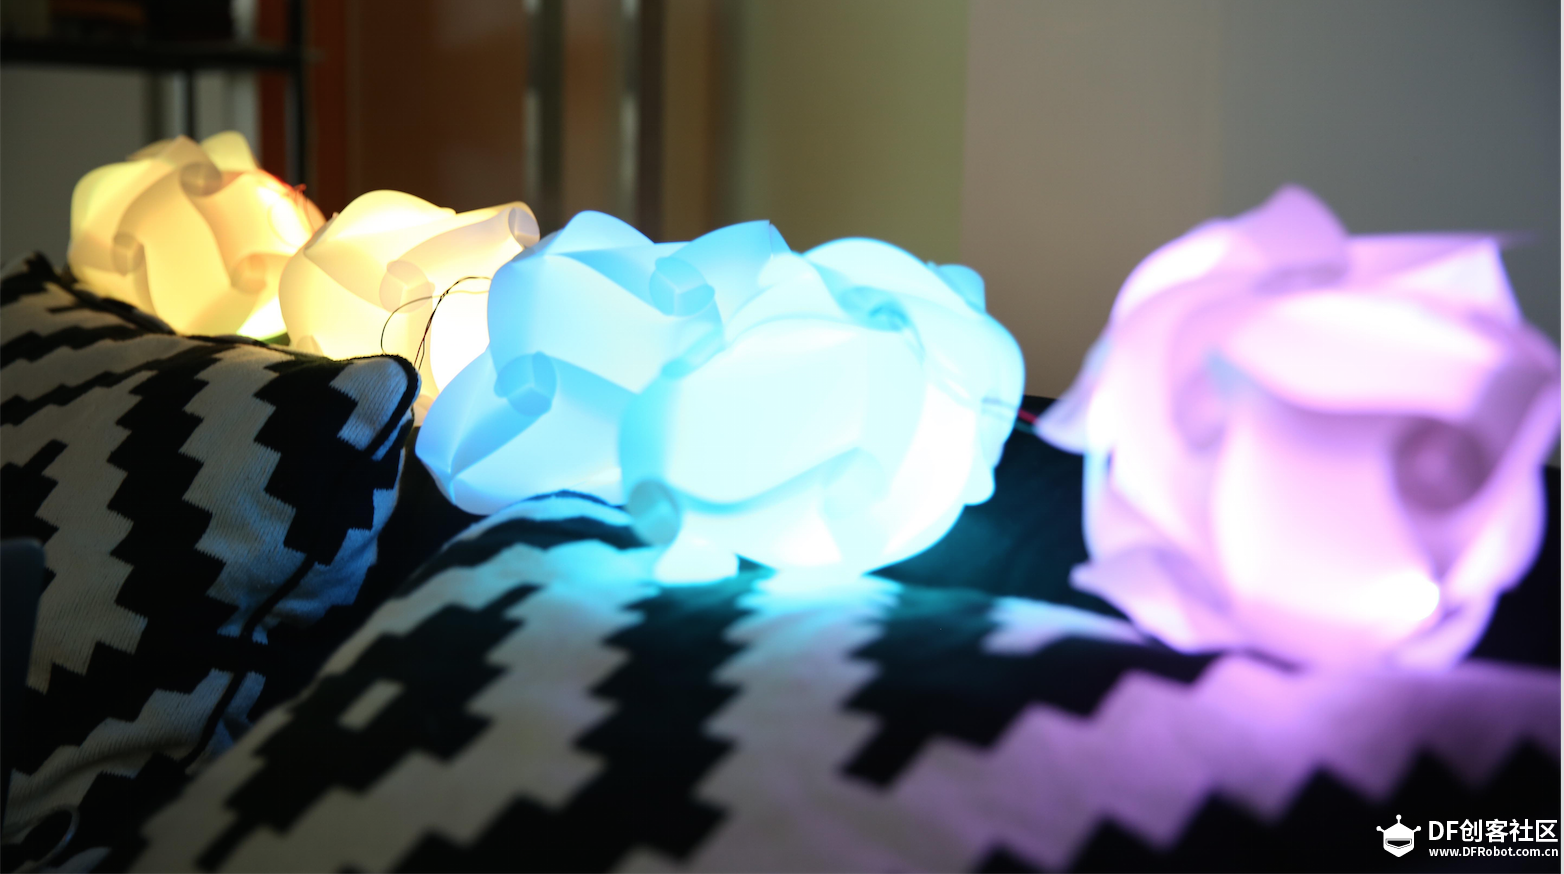
这款音乐IQ灯是基于RGB全彩LED灯带的一个应用,可以变幻成多种不同的产品。无论是安装在床后用来舒缓情绪、或者是贴在墙面上作为家中装饰,来一支浪漫的双人舞,都是不错的选择。在这里,楼主选择了将IQ灯精神发扬光大,尝试了多种不同拼法,将其做成了一串音乐IQ灯(才不是虫虫!)

好啦,废话不多说,先让我们来看看效果如何吧
这款音乐灯最独特的地方就在于其使用的灯带是可以独立控制其中的每一个LED小灯的,这就使赋予不同灯不同的色彩变得可行起来,再加上声音处理模块的参与,就可以使不同的灯对应音乐不同的频率做出相应变换,相较于只对声音强度产生变化的小灯更具趣味性。
二、所需元件 导线若干
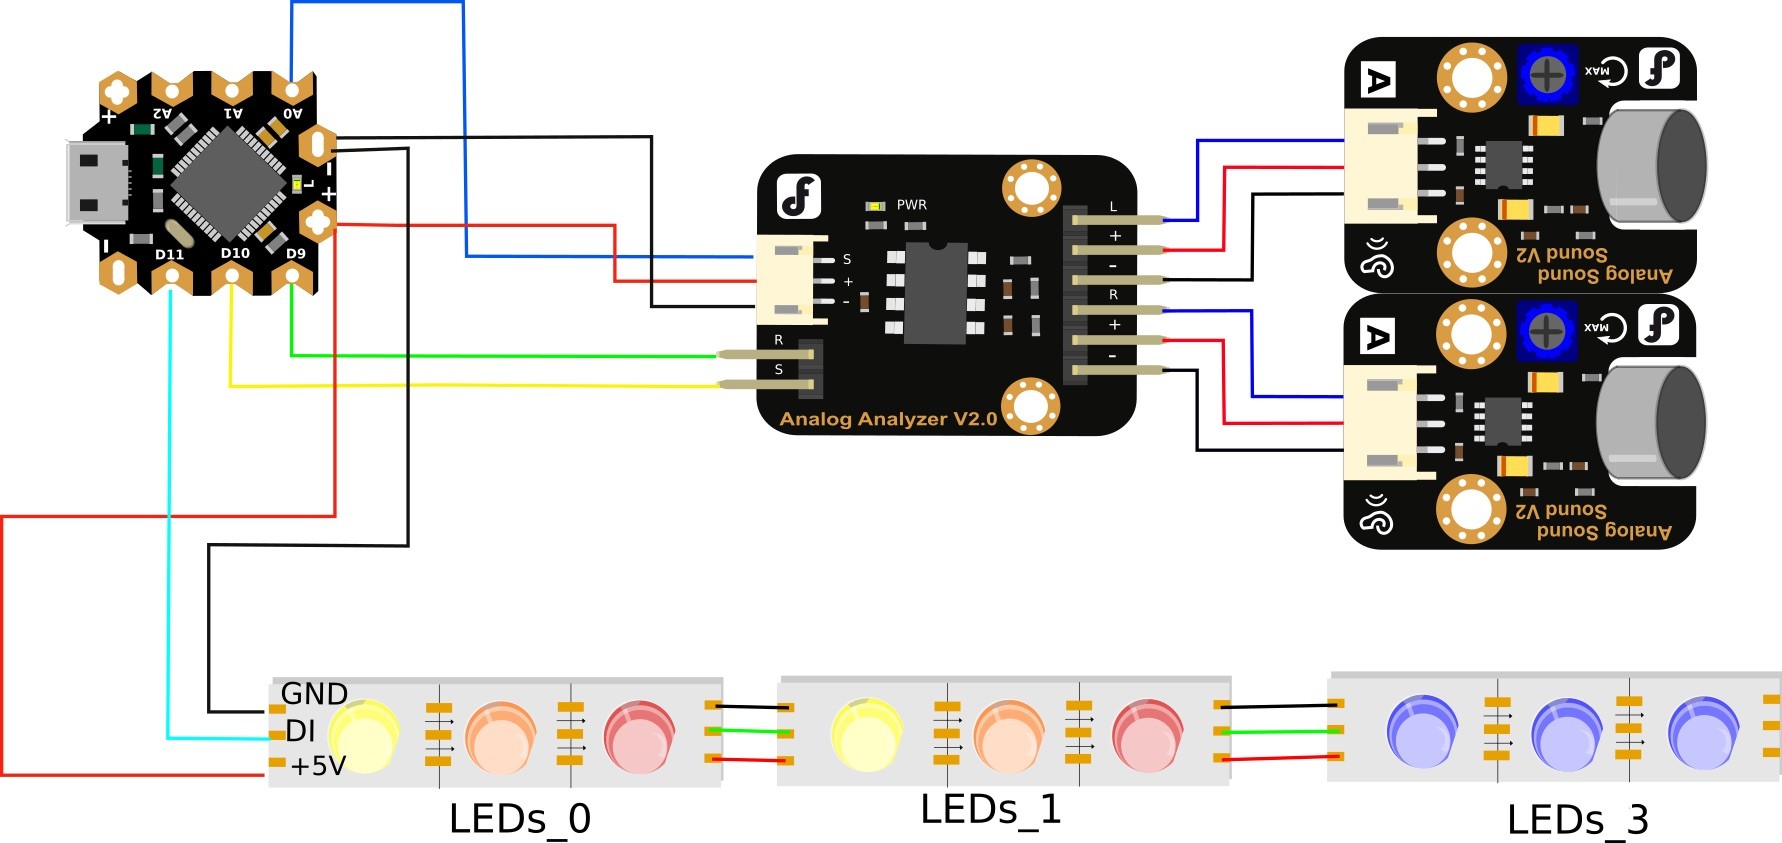
三、焊接与连接 新版灯带选用了beetle板子,更小巧美观,如下图所示将各元件连接好 
三、安装Arduino IDE
如果你是第一次使用Arduino的话,需要下载Ardunio IDE并装好驱动。
四、安装库文件并烧录代码
我们可以安装并使用前辈们写好的库文件,方便地完成对单个LED灯的控制
 AudioAnalyzer.zip AudioAnalyzer.zip Adafruit_NeoPixel.zip Adafruit_NeoPixel.zip
安装库文件教程
烧录以下代码到控制器中
- /*music responsible led strip sample code
- created by Yu on 07/28/2015
- */
-
- #include <Adafruit_NeoPixel.h>
- #include <AudioAnalyzer.h>
-
- #define PIN 11 //The signal pin connected with Arduino
- #define LED_COUNT 34 //total number of leds in the strip
- #define NOISE 120// noise that you want to chrop off
- #define SEG 6 // how many parts you want to seperate the led strip into
-
- Analyzer Audio = Analyzer(10,9,0);//Strobe pin ->10 RST pin ->9 Analog Pin ->0
-
- Adafruit_NeoPixel leds = Adafruit_NeoPixel(LED_COUNT, PIN, NEO_GRB + NEO_KHZ800);
-
- int FreqVal[7];//create an array to store the value of different freq
-
- void setup()
- {
- Serial.begin(57600);
- Audio.Init();
- leds.begin(); // Call this to start up the LED strip.
- clearLEDs(); // This function, defined below, turns all LEDs off...
- leds.show(); // ...but the LEDs don't actually update until you call this.
- }
-
- void loop(){
- Audio.ReadFreq(FreqVal);
- for (int i = 0;i<7;i++){
- FreqVal[i]=constrain(FreqVal[i],NOISE,1023);
- FreqVal[i]=map( FreqVal[i],NOISE,1023,0,255);
- Serial.print(FreqVal[i]);//used for debugging and Freq choosing
- Serial.print(" ");
- }
- int j;
- //assign different values for different parts of the led strip
- for (j=0;j<LED_COUNT;j++){
- if(0<=j && j<=LED_COUNT/7)
- {
- set(j,FreqVal[1]);// set the color of led
- leds.show();
- delay(1.5);// to make the led transit color more naturally
- }
- else if((LED_COUNT/SEG)<=j && j<(LED_COUNT/SEG*2))
- {
- set(j,FreqVal[1]);
- leds.show();
- delay(1.5);
- }
- else if((LED_COUNT/SEG*2)<=j&& j<(LED_COUNT/SEG*3)){
- set(j,FreqVal[3]);
- leds.show();
- delay(1.5);
- }
- else if((LED_COUNT/SEG*3)<=j&& j<(LED_COUNT/SEG*4)){
- set(j,FreqVal[4]);
- leds.show();
- delay(1.5);
- }
- else if((LED_COUNT/SEG*4)<=j&& j<(LED_COUNT/SEG*5)){
- set(j,FreqVal[3]);
- leds.show();
- delay(1.5);
- }
- else{
- set(j,FreqVal[2]);
- leds.show();
- delay(1.5);
- }
-
- }
-
- }
-
- //the following function set the led color based on its position and freq value
- void set(byte position, int value){
-
- if(0<=position&& position<LED_COUNT/SEG){
- leds.setPixelColor(position,leds.Color(position*15+value*15,position*5+value*6,0));
-
- }
- else if(LED_COUNT/SEG<=position && position<LED_COUNT/SEG*2){
- leds.setPixelColor(position,leds.Color(position*5+value*5,value+position*2,0));
-
- }
- else if(LED_COUNT/SEG*2<=position&& position<LED_COUNT/SEG*3){
- leds.setPixelColor(position,leds.Color(value*5+position*3,value*4+position*2,0));
-
- }
- else if(LED_COUNT/SEG*3<=position&& position<LED_COUNT/SEG*4){
- leds.setPixelColor(position,leds.Color(0,value*8+position,position*0.96+value*2));
-
-
- }
- else if(LED_COUNT/SEG*4<=position&& position<LED_COUNT/SEG*5){
- leds.setPixelColor(position,leds.Color(0,(value*2+position*0.2)*3,(value+position*0.5)*3));
-
- }
- else{
- leds.setPixelColor(position,leds.Color(value*0.4+position*0.8,value*0.3,value*0.5+position*0.2));
-
- }
-
-
- }
-
- void clearLEDs()
- {
- for (int i=0; i<LED_COUNT; i++)
- {
- leds.setPixelColor(i, 0);
- }
-
-
- }
NOTE: 这段代码中很多参数取决于背景的噪音、所使用的LED灯个数、和你所希望的分区情况,可以说是一个DIY程度非常高的项目,所以以上代码仅仅是做一个参考,大家可以根据自己的喜好,来调节最终的灯带效果,期待更多的作品哦 XD
五、裁剪灯带并安装在IQ灯中(不需要剪短灯带的做法可以忽略下面这一步哈)
将LED灯带裁剪成预先设想好的段数,然后再用导线将它们分别焊接起来,注意灯带上所标示的方向,灯带需要保持一个方向连接。
焊接完成后,用胶枪把焊接部位胶住,防止导线被扯断。
接下来把灯带装入IQ灯球中就OK啦~
| 


 AudioAnalyzer.zip
 Adafruit_NeoPixel.zip
 沪公网安备31011502402448