|
3626| 0
|
[2019年] 【嘉年华展示】 多功能门闸 |
|
现在正是国庆假期,大家是不是都十分想购物呢?如果你是想去一个超市买点东西,是否关注过上面的门闸呢?为此,我制做了“多功能门闸”。 步骤1 准备材料 1xArduino套装链接 步骤2 编程平台 这里我使用的是Mind+编程平台,请看下图。 步骤3 组装硬件 我使用这个套装中的Arduino UNO,舵机,雨水传感器,声音传感器,面包板,导线,LED灯,蜂鸣器,下面是他们的样子。 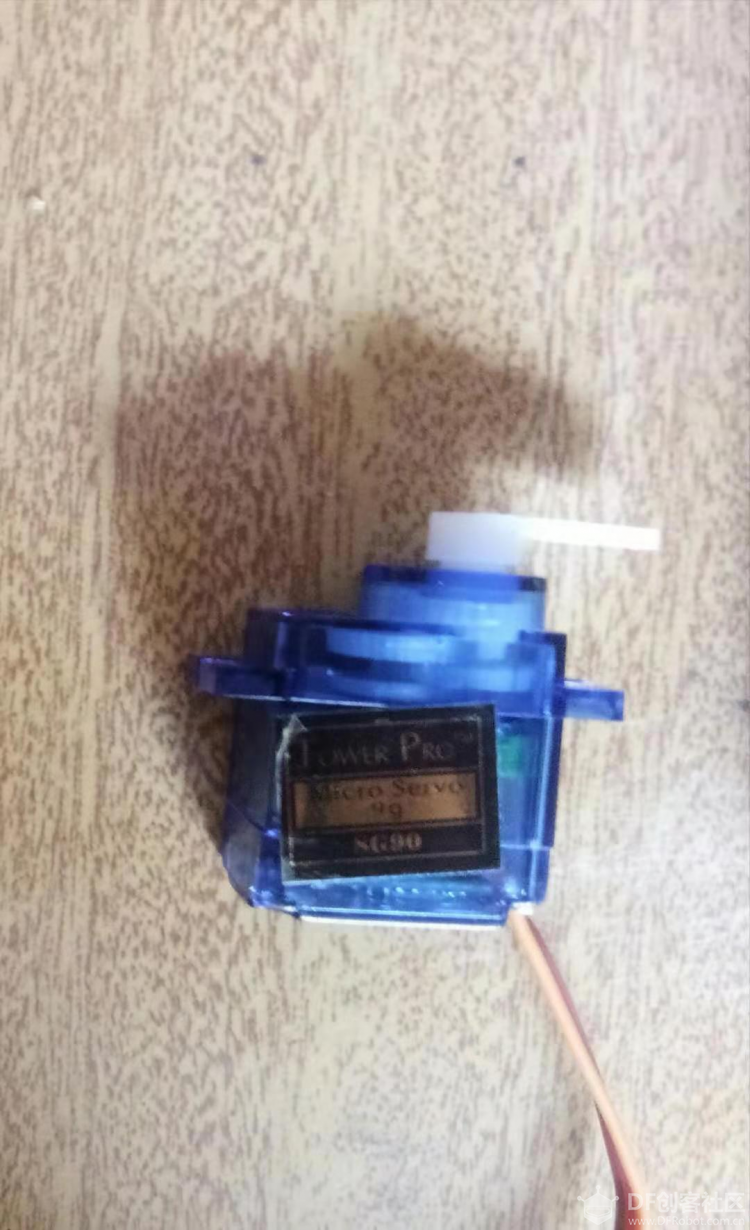 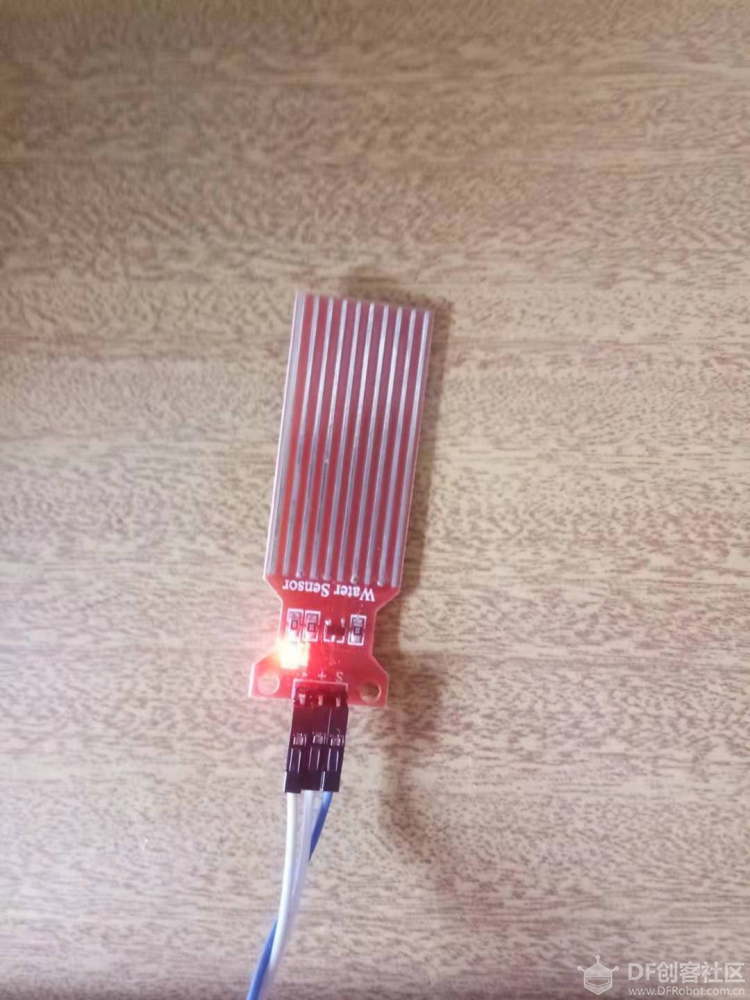 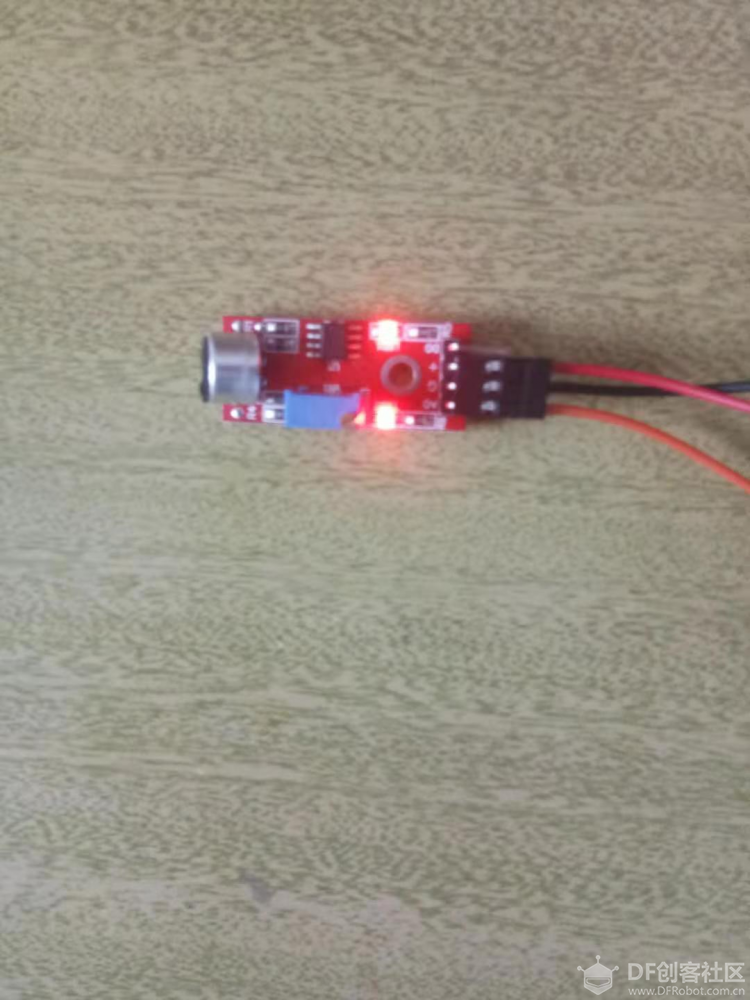 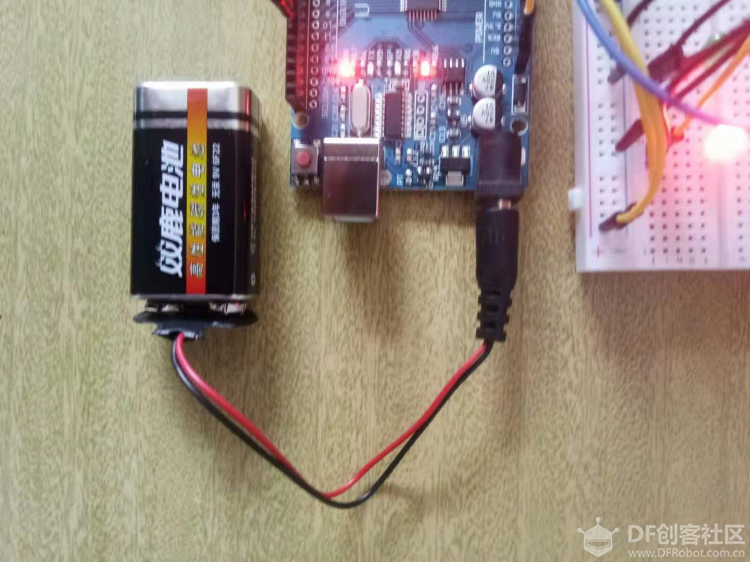 以及商场平面图。 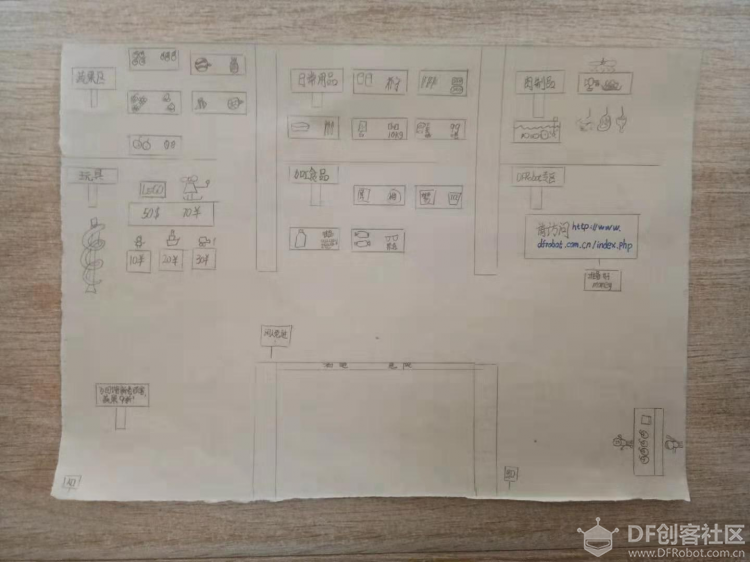 步骤4 编辑程序 我使用的是图形化编程,高手们可以参看下面的代码哦。 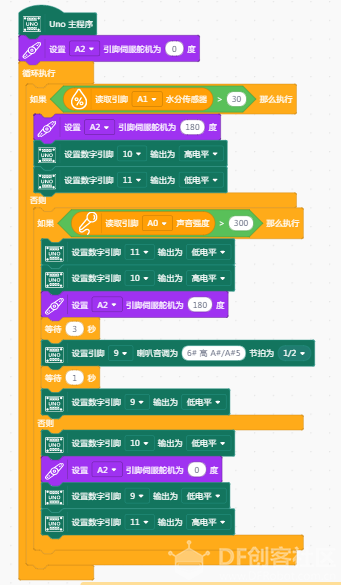 [mw_shl_code=applescript,true]#include <DFRobot_Servo.h> Servo myservoA2; void dfrobotTone(int tonePin, int frequency, int duration) { if(frequency == 0){ digitalWrite(tonePin,LOW); return; } int period = 1000000.0 / frequency; int pulse = period / 2.0; pinMode(tonePin,OUTPUT); for (int i = 1; i <= ((duration * 1000.0) / period); i++ ) { digitalWrite(tonePin,HIGH); delayMicroseconds(pulse); digitalWrite(tonePin,LOW); delayMicroseconds(pulse); } } void setup() { myservoA2.attach(A2); myservoA2.angle(abs(0)); } void loop() { if ((analogRead(A1) > 30)) { myservoA2.angle(abs(180)); digitalWrite(10, HIGH); digitalWrite(11, LOW); } else { if ((analogRead(A0) > 300)) { digitalWrite(11, LOW); digitalWrite(10, HIGH); myservoA2.angle(abs(180)); delay(3000); dfrobotTone(9, 932, 500); delay(1000); digitalWrite(9, LOW); } else { digitalWrite(10, LOW); myservoA2.angle(abs(0)); digitalWrite(9, LOW); digitalWrite(11, HIGH); } } }[/mw_shl_code] 视频展示 |
 沪公网安备31011502402448
© 2013-2026 Comsenz Inc. Powered by Discuz! X3.4 Licensed