在这个有趣的项目中,我们将学习如何使用Arduino制作嗡嗡声加MP3音的游戏,可以用于教学或亲子娱乐。网上都是用蜂鸣器来发音,这里为了增加趣味,增加了随机MP3音播放。
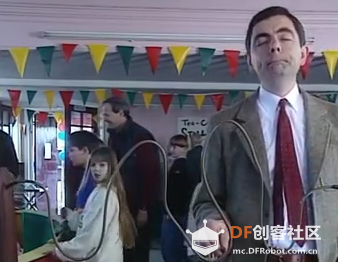
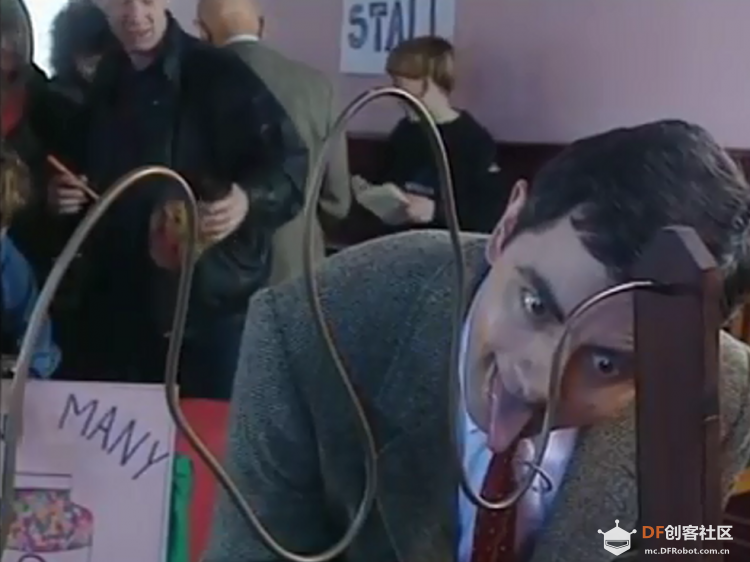
这里主要是受了Mr.Beans的电影的启发。当时看完留下了深刻的印象,后来转念一想,可以DIY一个,应该不难。
以下是完成此项目所需的核心部件: 1 x Arduino UNO或类似产品。 1 x铁丝两米。 1 x I2C LCD1602。 1 xDF的MP3模块。 1 x压电蜂鸣器。 3 x快速连线器。 

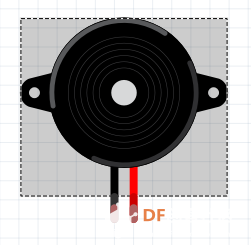
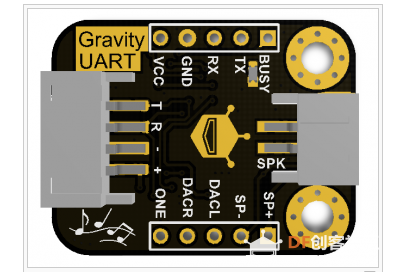
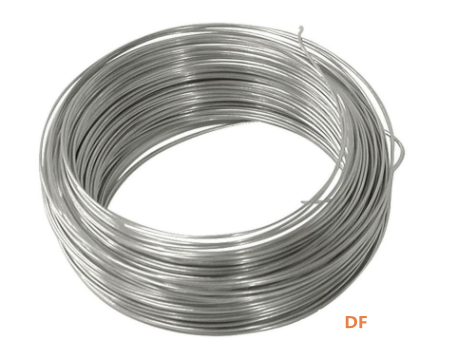

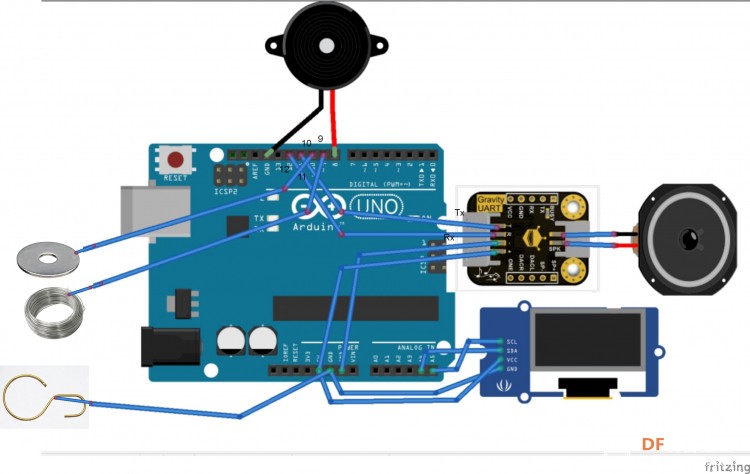
IIC LCD主要显示钩子碰到铁丝的出错次数和胜利信息。GND连钩子,D9连铁丝,D10连一个铁环(终点-钩子触动这里会有从buzzer发出的胜利音乐)
[mw_shl_code=applescript,false]/*-------This sketch is made by Shanno--Web name gada888------
-------it's completely open-source,which means you are free to modify or copy it without prior notification of the creator
----2020--04-20--
*/
#include <SoftwareSerial.h>
SoftwareSerial Serial1(11, 12);// RX, TX
#include <LiquidCrystal_I2C.h>
LiquidCrystal_I2C lcd(0x27, 16, 2); // set the LCD address to 0x27 for a 16 chars and 2 line display
#define PIEZO 8
#define WIRE 9
#define FINISH 10
#define NOTE_C5 523
#define NOTE_D5 587
#define NOTE_E5 659
#define NOTE_A5 880
#define NOTE_B5 988
int BUZZ = 0;
int z = 0;
int WinMelody[] = {NOTE_A5, NOTE_B5, NOTE_C5, NOTE_B5, NOTE_C5, NOTE_D5, NOTE_C5, NOTE_D5, NOTE_E5, NOTE_D5, NOTE_E5, NOTE_E5};
int WinNoteDurations[] = {8,8,8,8,8,8,8,8,8,8,8,8};
#define playWinMelody() playMelody(WinMelody, WinNoteDurations, 12)
char inChar;
String inString;
void playMelody(int *melody, int *noteDurations, int notesLength)
{
for (int thisNote = 0; thisNote < notesLength; thisNote++) {
int noteDuration = 1000 / noteDurations[thisNote];
tone(PIEZO, melody[thisNote], noteDuration);
int pauseBetweenNotes = noteDuration * 1.30;
delay(pauseBetweenNotes);
noTone(PIEZO);
}
}
unsigned char order[4] = {0xAA,0x06,0x00,0xB0};
void intro() {
lcd.setCursor(3, 0);
lcd.print("BUZZ WIRE");
lcd.setCursor(3, 1);
lcd.print("PLAY NOW..");
delay(2000);
lcd.clear();
lcd.setCursor(3, 0);
lcd.print("BUZZ WIRE");
lcd.setCursor(7, 1);
lcd.print(BUZZ);
}
void play(unsigned char Track)
{
unsigned char play[6] = {0xAA,0x07,0x02,0x00,Track,Track+0xB3};
Serial1.write(play,6);
}
void volume( unsigned char vol)
{
unsigned char volume[5] = {0xAA,0x13,0x01,vol,vol+0xBE};
Serial1.write(volume,5);
}
void setup() {
Serial1.begin(9600);
volume(0x1E);
randomSeed(analogRead(0));
// put your setup code here, to run once:
pinMode(WIRE, INPUT_PULLUP);
pinMode(FINISH, INPUT_PULLUP);
pinMode(PIEZO, OUTPUT);
lcd.begin();
lcd.backlight();
intro();
}
void loop() {
for (int z = 1; z <= 11; z++)//set max to number of mp3's
{
// put your main code here, to run repeatedly:
if (digitalRead(WIRE) == LOW) {
BUZZ = BUZZ + 1;
z=random(1,11); //set max to number of mp3's
delay(400);
lcd.setCursor(3, 0);
lcd.print("BUZZ WIRE");
lcd.setCursor(7, 1);
lcd.print(BUZZ);
play(z);
delay(500);
}
else if (digitalRead(WIRE) == HIGH) {
noTone;
}
if (digitalRead(FINISH) == LOW) {
lcd.clear();
lcd.setCursor(1, 0);
lcd.print("WELL DONE");
lcd.setCursor(4, 1);
lcd.print("YOU WIN!");
playWinMelody();
delay(3000);
BUZZ = 0;
lcd.clear();
intro();
}
}
}
[/mw_shl_code] 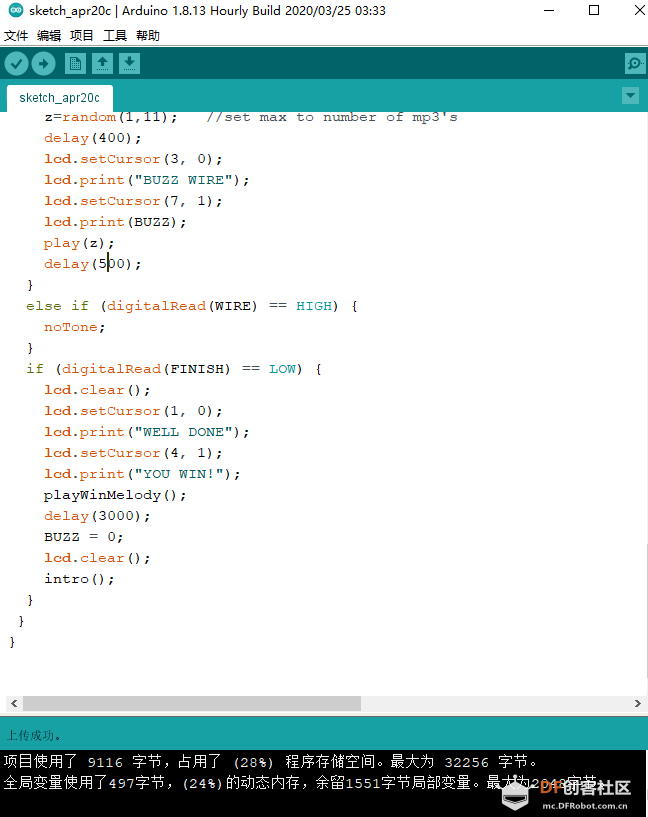
烧录成功
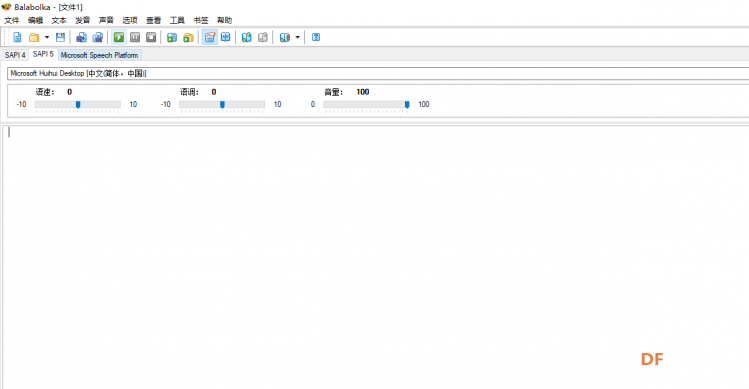
这是用到的文字转mp3软件,mp3文件要拷贝到mp3模块里。细节参考DF wifi相关产品。 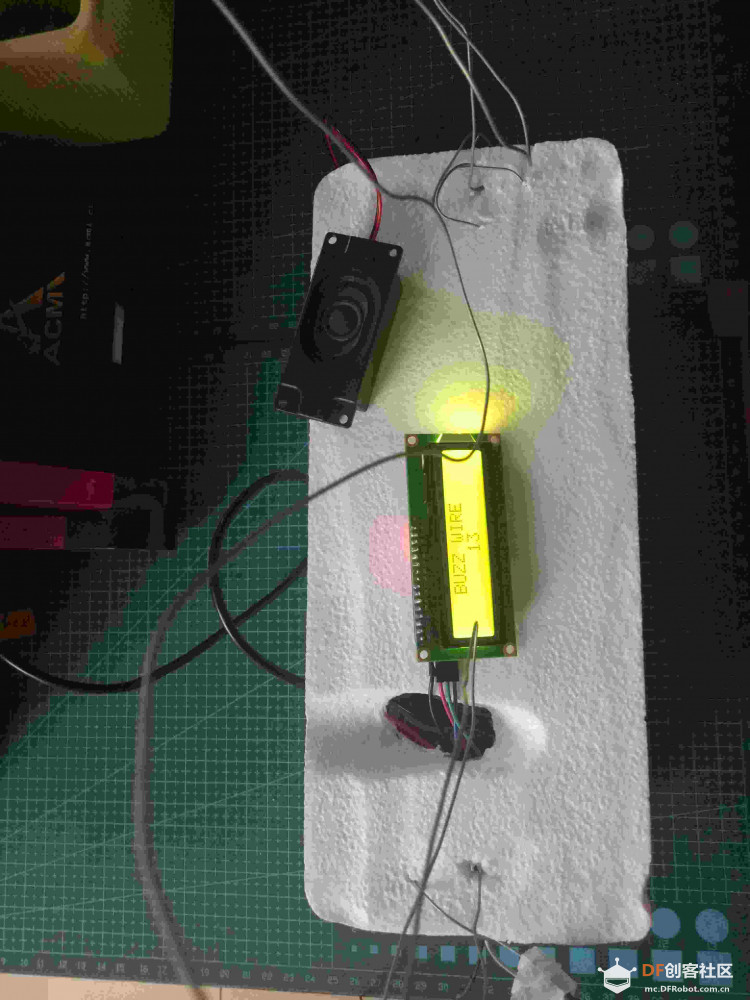
|


 沪公网安备31011502402448

 置顶卡
置顶卡 变色卡
变色卡 千斤顶
千斤顶
 老版主限定
老版主限定
 创作达人
创作达人
 创客造
创客造
 编辑选择奖
编辑选择奖


