|
8943| 5
|
[项目] 发光逗趣口罩 |
|
本帖最后由 gada888 于 2020-8-24 16:53 编辑 引言: Arduino做的各种应用广泛被开源硬件爱好者喜欢。今天给大家介绍一个互动性强的arduino点阵搞怪口罩,这个是我在看到国外的创客伙伴先做了一个麦克风+8x8LED的模仿人说话口型的口罩出来,然后灵机一动,用手边的点阵模块+震动模块的组合也模仿了一个模仿人说话口型的口罩出来,主要是给经常带口罩的人娱乐他人用的。 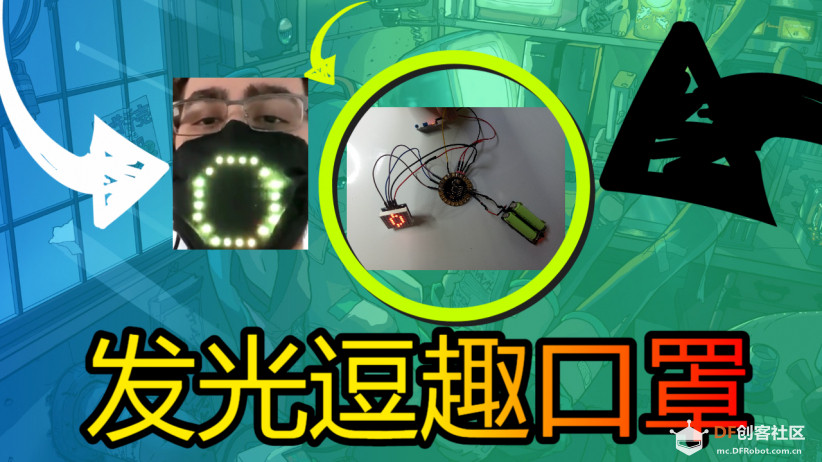 相关视频会在3日内奉上。 第一步:展示内容 通过嘴巴的运动触发震动模块,从中使得arduino控制的点阵led显示打开的嘴巴形状,好像人在说话的喜剧效果。  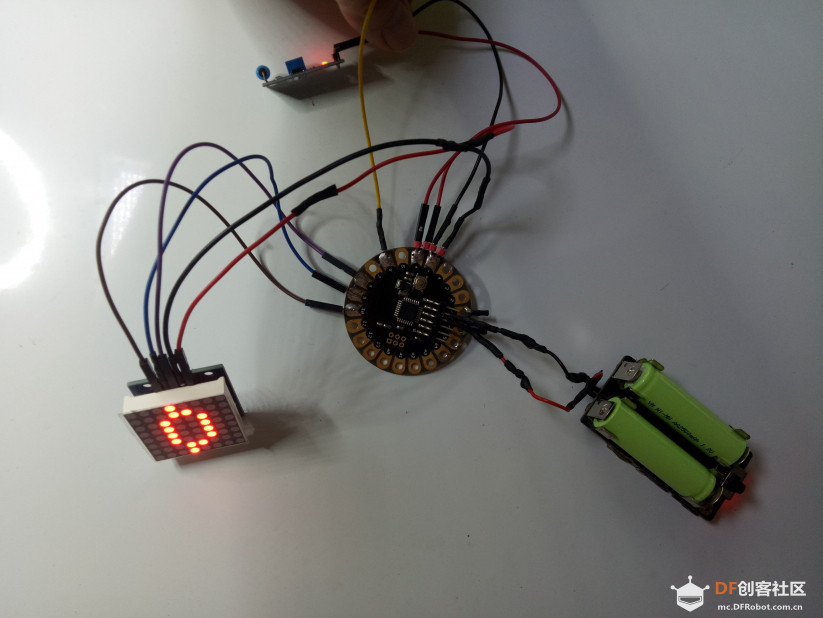 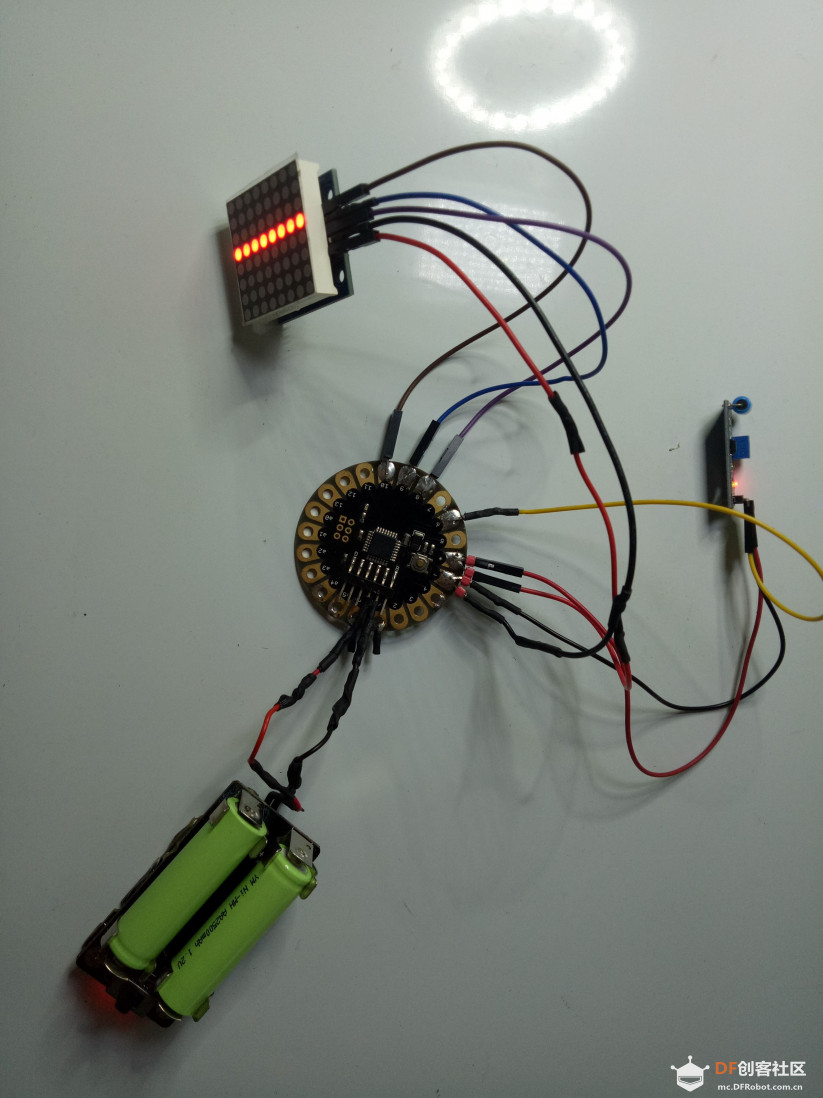 第二步:关键难点是arduino的选型,最后选了可穿戴的arduino lilypad模块做主控 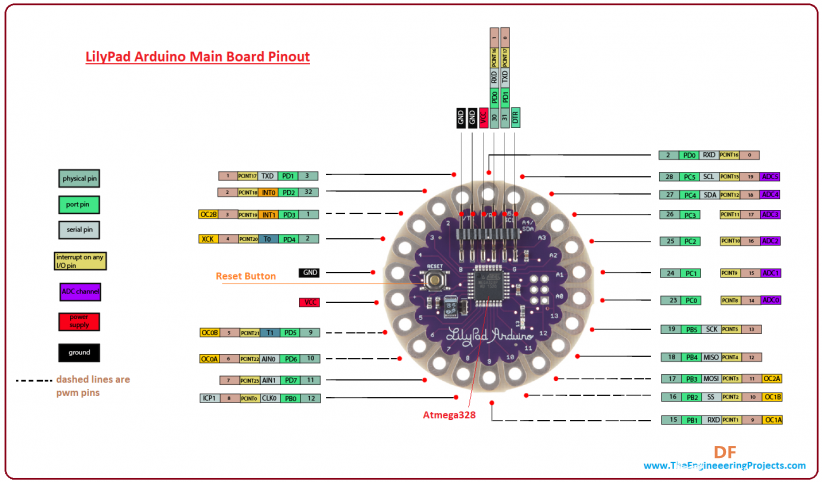 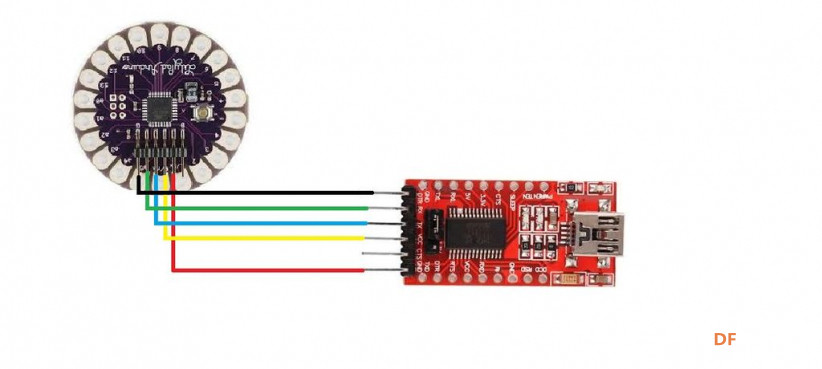 第三步:硬件搭建 所需器材:Arduino lilypad控制器(2);震动传感器(3);8x8点阵模块(4);5v 锂电池;(5);FTDI烧录模块; 第四步:了解一下关键硬件的参数 根据测试,震动模块的旋钮调整到绿色led灯亮时候,效果最佳 第五步: 发一些硬件的图片。让人有个直观的认识 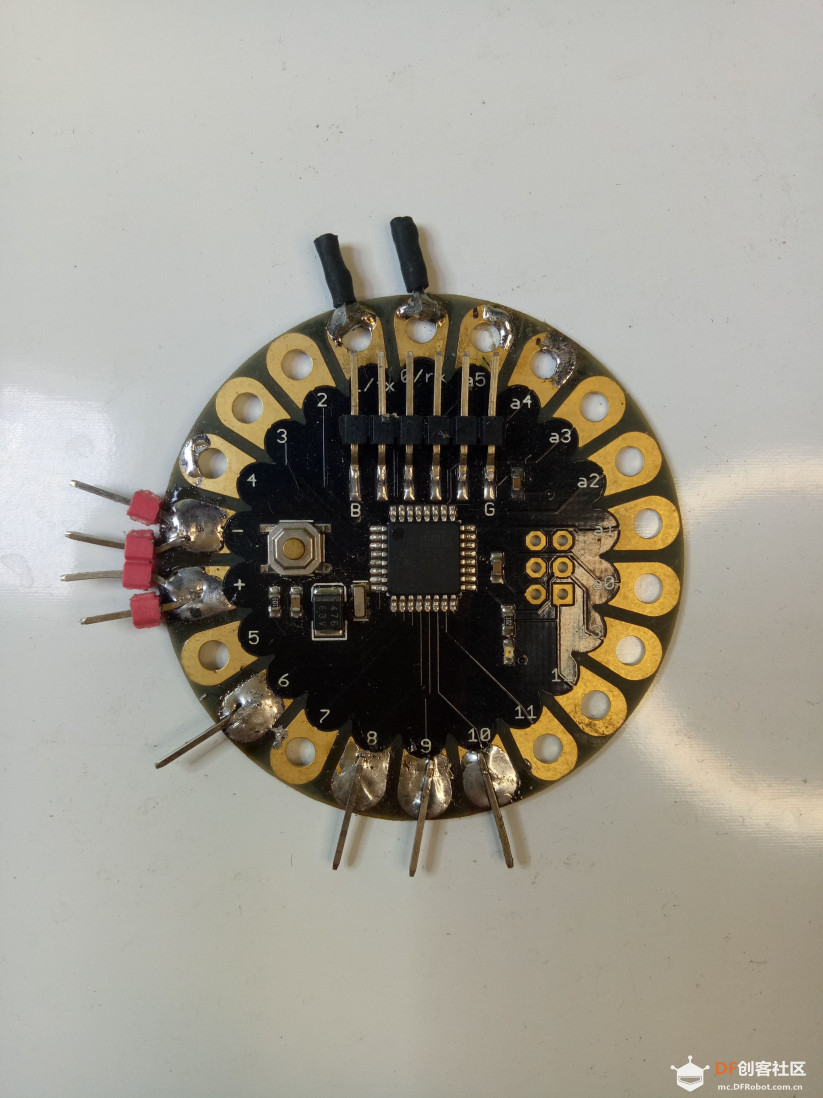 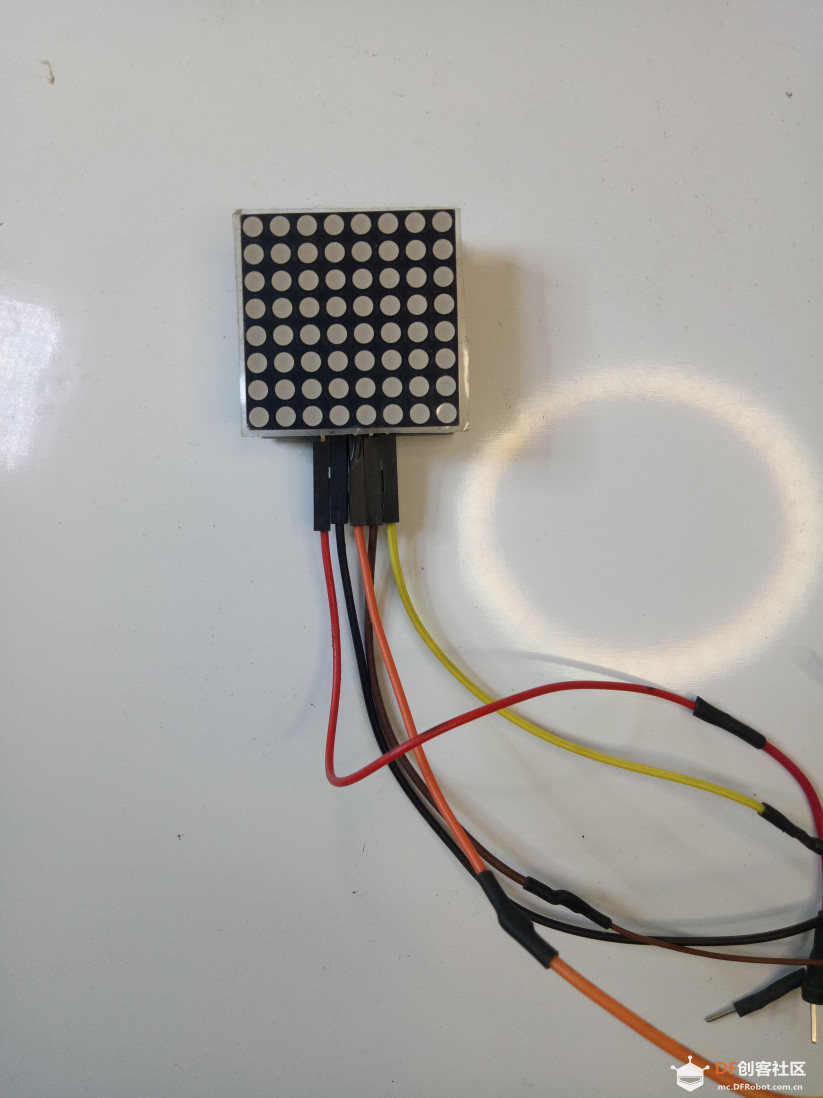 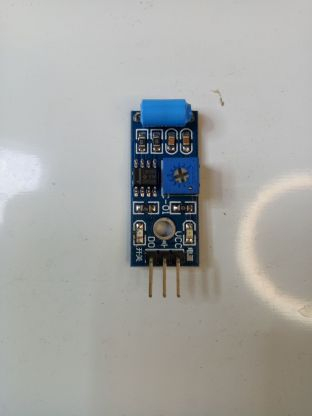  第六步:总体介绍 逗趣口罩设计系统是由点阵模块震动传感器和lilypad arduino来完成的。震动传感的灵敏度可以调整, 做好后放在两个口罩中间缝合好,工作原理是通过嘴的动作触发震动模块来实现点阵决定显示何种图案的。 第七部:连线图 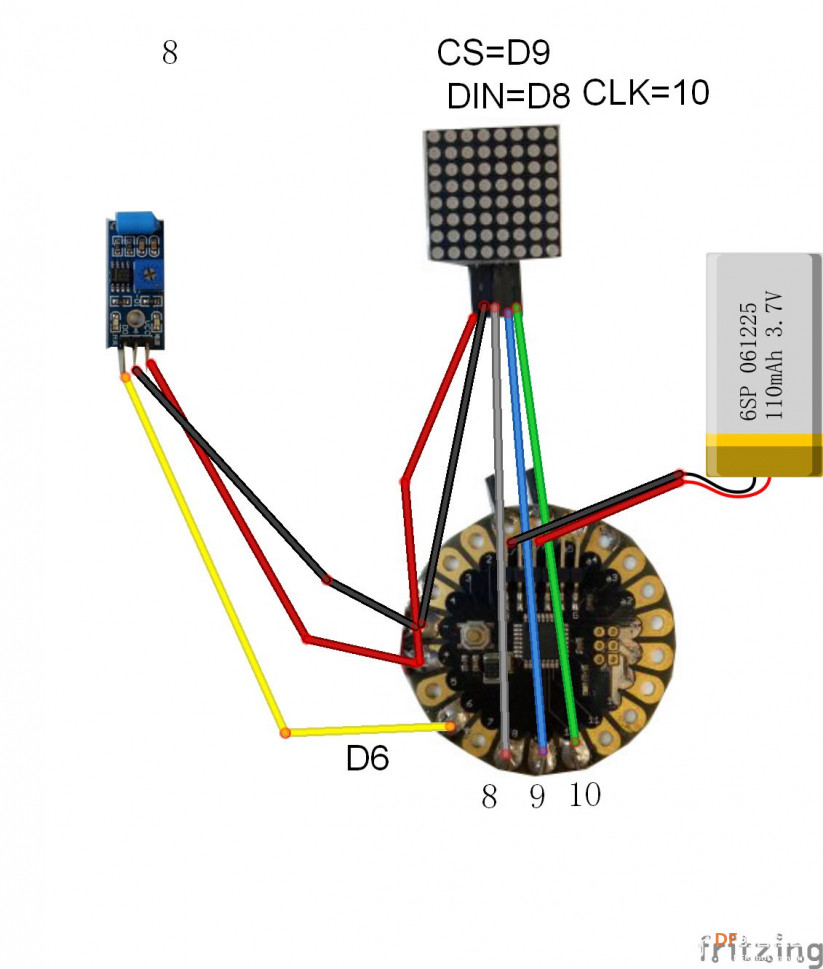 第七部:代码部分的设计 [mw_shl_code=applescript,false]/* * This project is for fun only.it simulates a speaking mouth through* a 8x8 led matrix modual and a Vibration modual. * It was made by gada888 from Luoyang.CN.28-06-2020 * contact email:gada888@hotmail.com */ #include <LedControl.h> int VIB =6; int DIN = 8; int CS = 9; int CLK = 10; LedControl lc = LedControl(DIN, CLK, CS, 0); byte open[8] = {0x0,0x0,0x3C,0xC3,0x42,0x3C,0x0,0x0}; byte close[8] = {0x0,0x0,0x0,0xFF,0x0,0x0,0x0,0x0}; void setup() { lc.shutdown(0, false); //The MAX72XX is in power-saving mode on startup lc.setIntensity(0, 4); // Set the brightness to maximum value lc.clearDisplay(0); // and clear the display pinMode(VIB, INPUT); Serial.begin(9600); } void loop() { long measurement =TP_init(); delay(50); Serial.print("measurment = "); Serial.println(measurement); if (measurement > 1000){ printByte(open); } else{ printByte(close); } } void printByte(byte character []) { int i = 0; for(i = 0; i < 8; i++) { lc.setRow(0, i, character); } } long TP_init(){ delay(10); long measurement=pulseIn (VIB, HIGH); //wait for the pin to get HIGH and returns measurement return measurement; }[/mw_shl_code] |
 沪公网安备31011502402448
© 2013-2026 Comsenz Inc. Powered by Discuz! X3.4 Licensed