使用Beetle ESP32C3实现访问ChatGpt
ChatGpt问世已久,已经有许多网站、公众号使用openai的官方api接口,使用这个语言模型。由于openai的限制,使得国内无法访问相关内容。本篇文章,使用Beetle ESP32C3,借助国内一些chatgpt网站的接口,实现访问ChatGPT相关内容
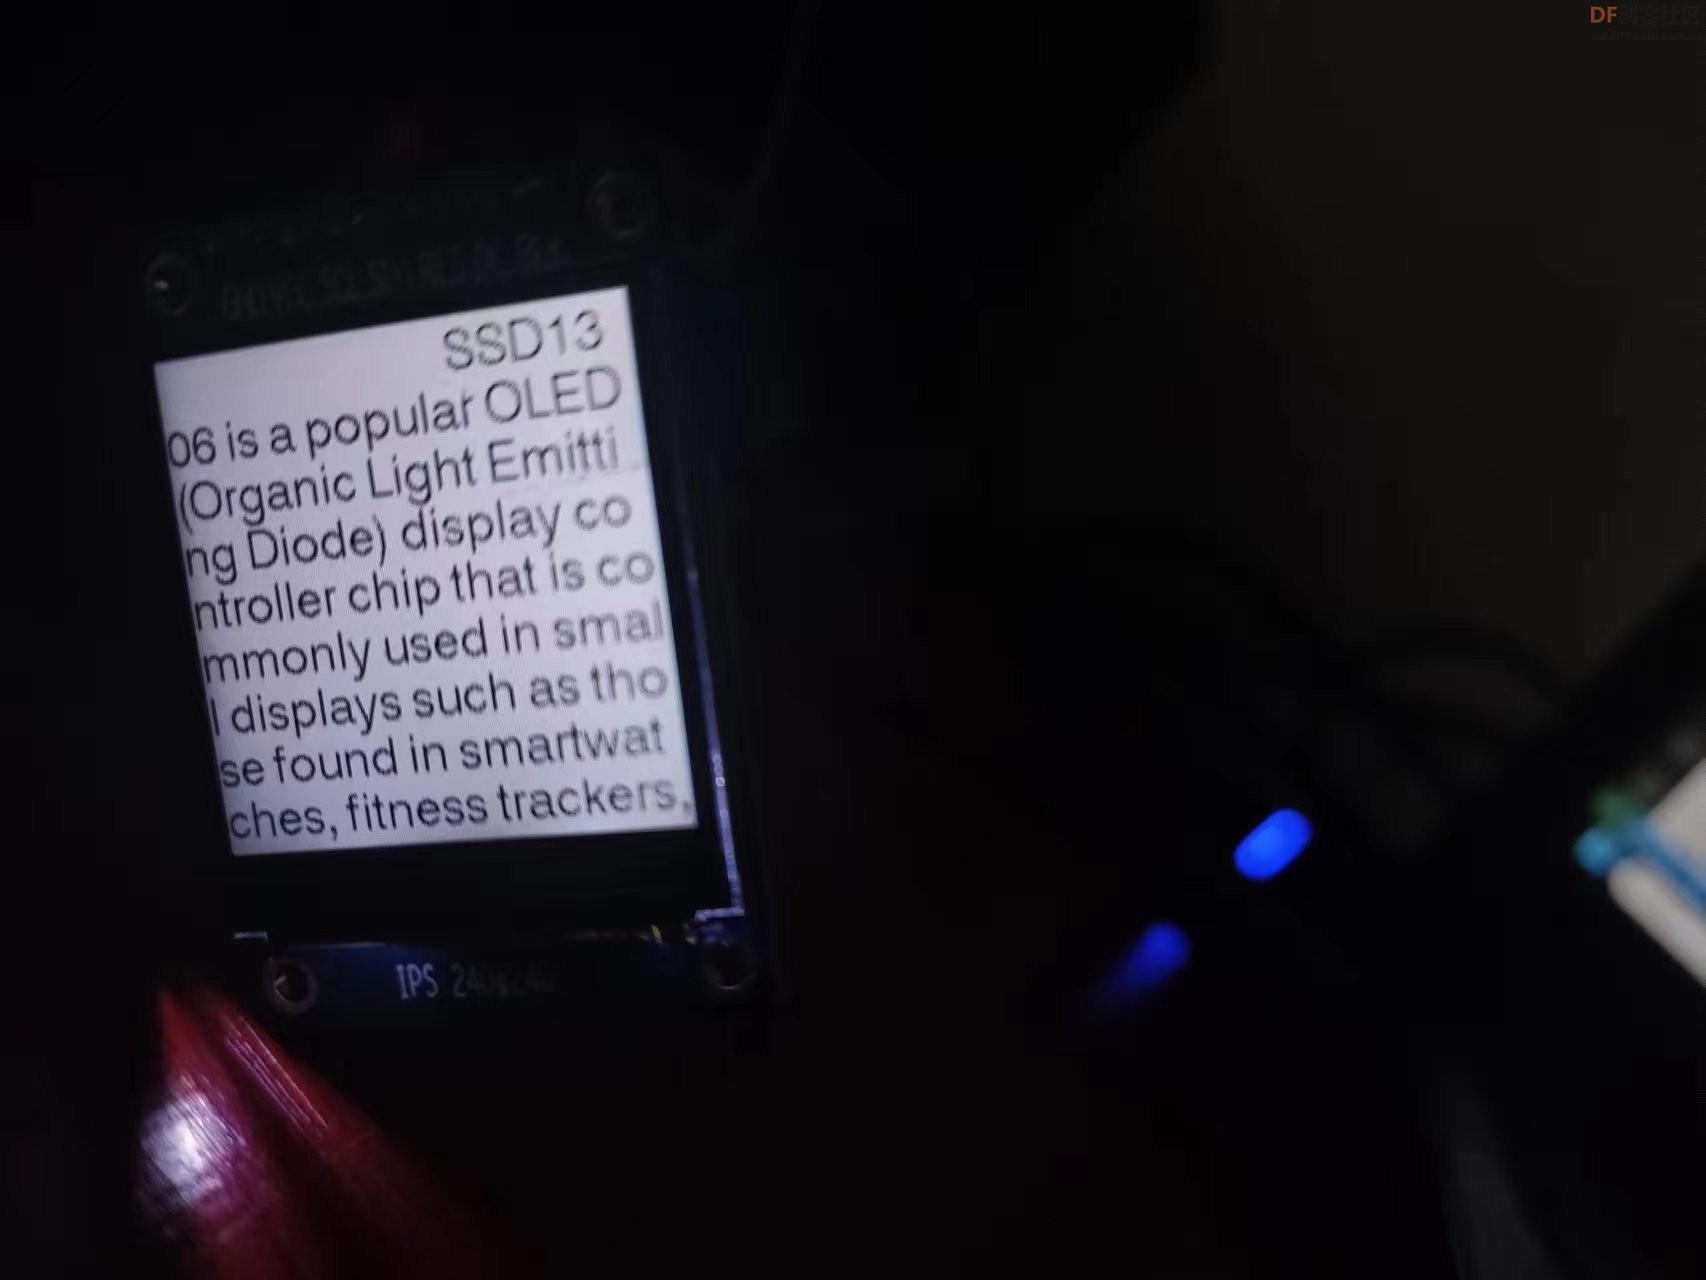
一、材料准备
- Beetle ESP32C3
- 1.54寸IPS显示屏(240×240)
- 杜邦线
- 装有python的电脑
二、电脑端实现思路
1.使用浏览器自带的开发者工具,抓取国内Gpt网站的访问接口,抓取结果如下图:
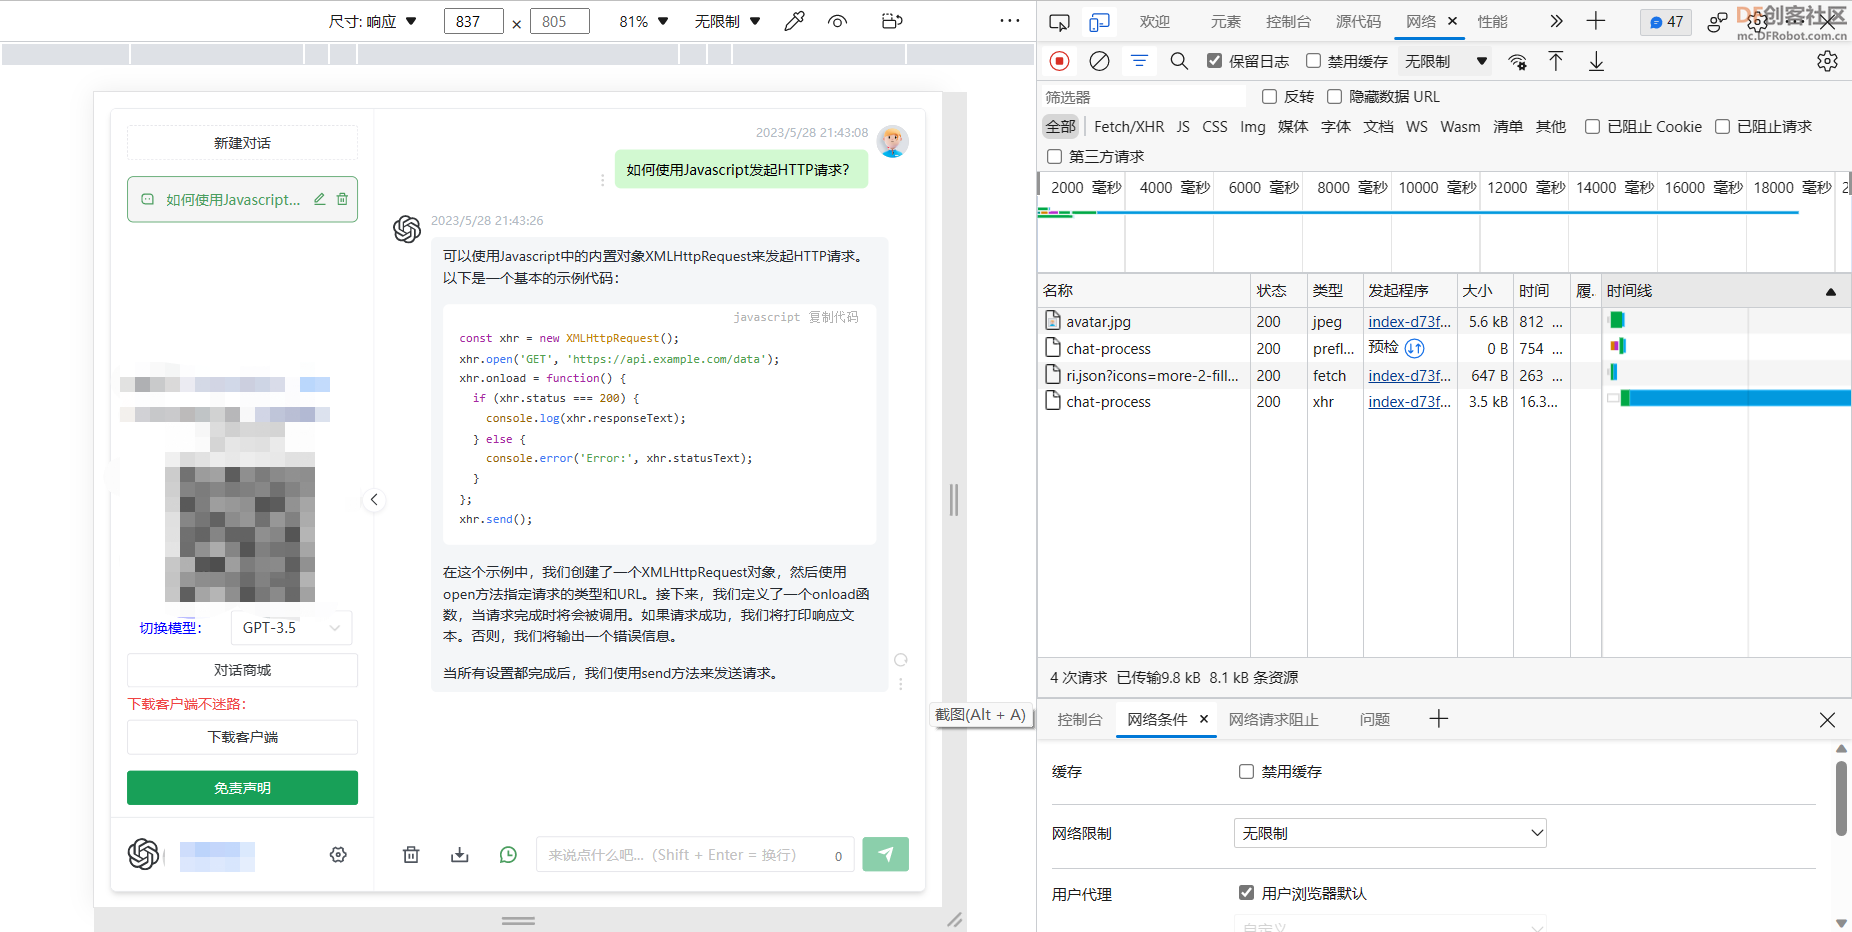
2.从上图可以看出,当提交数据时候,采用的是post请求,在post请求之前,会先提交一个options请求,其请求的方式如下图:
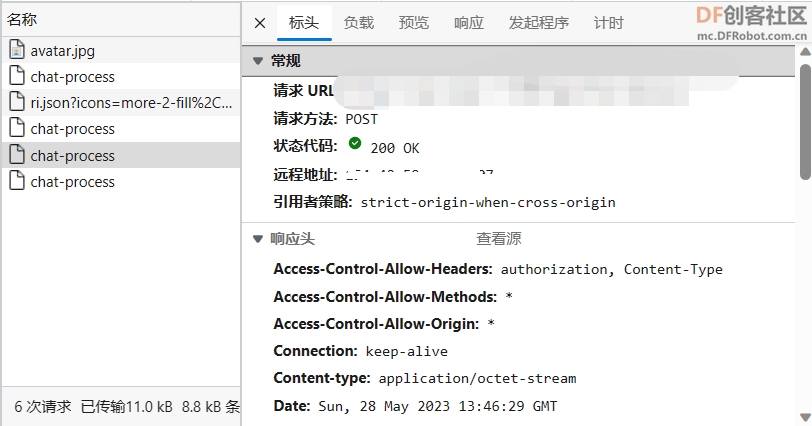
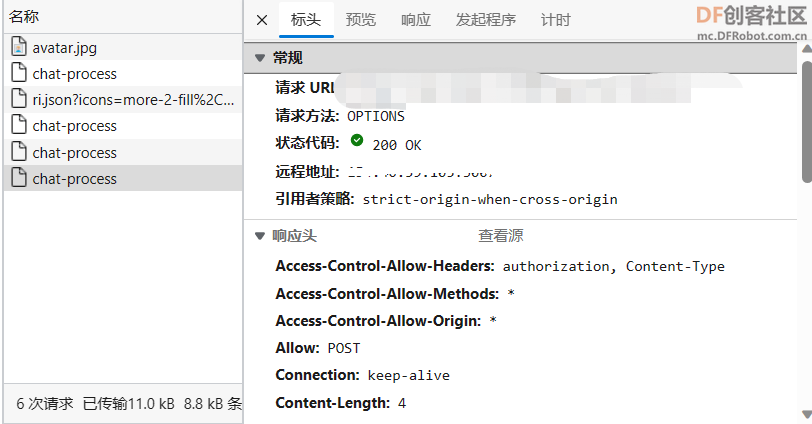
3.接下来使用python来模拟请求,其请求格式如下图所示:
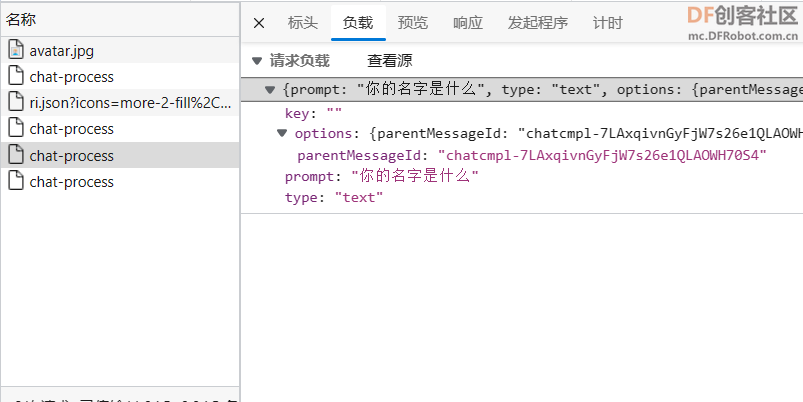
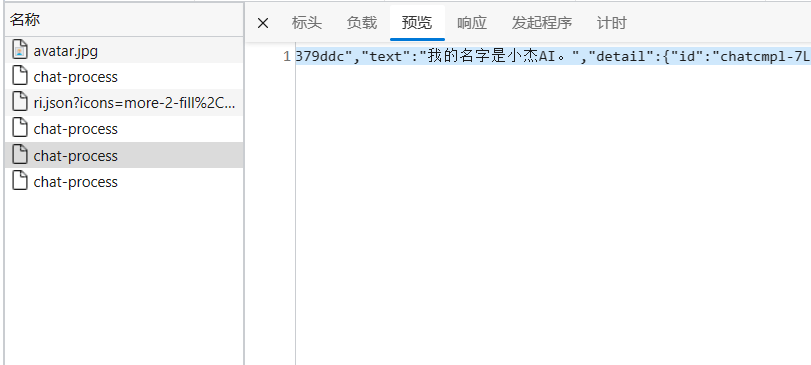
4.python使用requests库实现请求和数据解析,并使用flask库,在内网中搭建一个http服务器,将解析出来的数据通过局域网地址可以访问到,代码如下:
from flask import Flask
app = Flask(__name__)
import json
import requests

headers = {
'Accept': '*/*',
'Accept-Encoding': 'gzip, deflate, br',
'Accept-Language': 'zh-CN,zh;q=0.9,en;q=0.8,en-GB;q=0.7,en-US;q=0.6',
'Access-Control-Request-Headers': 'content-type',
'Access-Control-Request-Method': 'POST',
'Connection': 'keep-alive',
'Host': 'api.n.cc',
'Origin': 'https://n.cc',
'Referer': 'https://n.cc/',
'Sec-Fetch-Dest': 'empty',
'Sec-Fetch-Mode': 'cors',
'Sec-Fetch-Site':'same-site',
'User-Agent': 'Mozilla/5.0 (Linux; Android 6.0; Nexus 5 Build/MRA58N) AppleWebKit/537.36 (KHTML, like Gecko) Chrome/113.0.0.0 Mobile Safari/537.36 Edg/113.0.1774.42',
}
url='https://api.n.cc:3007/api/chat-process'
headers1= {
'Accept': 'application/json, text/plain, */*',
'Accept-Encoding': 'gzip, deflate, br',
'Accept-Language': 'zh-CN,zh;q=0.9,en;q=0.8,en-GB;q=0.7,en-US;q=0.6',
'Connection': 'keep-alive',
'Content-Length': '205',
'Content-Type': 'application/json',
'Host': 'api.n.cc:3007',
'Origin': 'https://n.xjai.cc',
'Referer': 'https://n.xjai.cc/',
'sec-ch-ua': '"Microsoft Edge";v="113", "Chromium";v="113", "Not-A.Brand";v="24"',
'sec-ch-ua-mobile': '?1',
'sec-ch-ua-platform': "Android",
'Sec-Fetch-Dest': 'empty',
'Sec-Fetch-Mode': 'cors',
'Sec-Fetch-Site': 'same-site',
'User-Agent': 'Mozilla/5.0 (Linux; Android 6.0; Nexus 5 Build/MRA58N) AppleWebKit/537.36 (KHTML, like Gecko) Chrome/113.0.0.0 Mobile Safari/537.36 Edg/113.0.1774.42',
}
data1={"prompt":"what is your name?who is your father?",
       "type":"text",
       "options":"{chatcmpl-7IBsYlaLPW46Qp5aNPVqjAXxRWcRO}",
       "key":""}
dataa=json.dumps(data1)
html = requests.options(url=url,headers=headers)
html1 = requests.post(url=url,headers=headers1, data=dataa)
htmlwenben=html1.text
print(htmlwenben)
print(type(htmlwenben))
textlloca=htmlwenben.find("parentMessageId")
textlloca=htmlwenben.find("parentMessageId",textlloca+20)
textloca=htmlwenben.find("text",textlloca)
textendloca=htmlwenben.find("detail",textloca)
jiexiwenben=htmlwenben[textloca+7:textendloca-3]
print(jiexiwenben)
@app.route('/')
def hello_world():
    return jiexiwenben

app.run(host='0.0.0.0')
数据解析使用的是python的string方法实现,结果如下图所示:

三、ESP32端实现思路
ESP32端采用Arduino编写,IPS240240屏幕使用TFT_eSPI库来驱动显示,连接Wifi使用WiFi库,HTTP请求使用HTTPClient库。
//第一步:设定驱动类型
#define ST7789_DRIVER
//第二步:设定显示模式
#define TFT_RGB_ORDER TFT_BGR
//第三步:设定分辨率,宽高
#define TFT_HEIGHT 240
#define TFT_WIDTH  240
//第四步:设置ST7735修正,解决屏幕偏移问题
//第五步针对esp32设定对应脚位
#define TFT_MOSI 1 // In some display driver board, it might be written as "SDA" and so on.
#define TFT_SCLK 0
#define TFT_CS   5  // Chip select control pin
#define TFT_DC   3  // Data Command control pin
#define TFT_RST  2  // Reset pin (could connect to Arduino RESET pin)
#define TFT_BL   4  // LED back-light```

* **2.基本程序展示**

```#include <Arduino.h>
#include <TFT_eSPI.h>
#include <WiFi.h>
#include <HTTPClient.h>

TFT_eSPI tft;
const char* ssid     = "yhm";     // WIFI账户
const char* password = "12345678"; // WIFI密码

void setup() {
   Serial.begin(115200);

   // lcd init
   tft.init();
   tft.fillScreen(TFT_WHITE);
   Serial.println("screen init success.");

   // lcd test
   tft.setTextColor(TFT_BLACK);
   tft.setCursor (12, 5);
   tft.print("Original ADAfruit font!");

   // The new larger fonts do not use the .setCursor call, coords are embedded
   tft.setTextColor(TFT_BLACK, TFT_BLACK); // Do not plot the background colour

   // Overlay the black text on top of the rainbow plot (the advantage of not drawing the backgorund colour!)
   tft.drawString("你好", 120, 14, 2); // Draw text centre at position 80, 12 using font 2

   tft.drawCentreString("Font size 4", 120, 30, 4); // Draw text centre at position 80, 24 using font 4

   tft.drawCentreString("12.34", 120, 54, 6); // Draw text centre at position 80, 24 using font 6

   tft.drawCentreString("12.34 is in font size 6", 120, 92, 2); // Draw text centre at position 80, 90 using font 2

 Serial.print("Attempting to connect to SSID: ");
 Serial.println(ssid);
 WiFi.begin(ssid, password);

   for(uint8_t t = 4; t > 0; t--) {
       Serial.printf("[SETUP] WAIT %d...\n", t);
       Serial.flush();
       delay(1000);
   }

 while (WiFi.status() != WL_CONNECTED) {
   Serial.print(".");
   // wait 1 second for re-trying
   delay(1000);
 }
/* 开始访问指定服务器地址,获取数据  */
 Serial.print("Connected to ");
 Serial.println(ssid);
       HTTPClient http;
       Serial.print("[HTTP] begin...\n");
       int text=0,text1=1;

       http.begin("http://192.168.98.194:5000"); //访问服务器地址

       Serial.print("[HTTP] GET...\n");
       // start connection and send HTTP header
       int httpCode = http.GET();

       // httpCode will be negative on error
       if(httpCode > 0) {
           // HTTP header has been send and Server response header has been handled
           Serial.printf("[HTTP] GET... code: %d\n", httpCode);

           // file found at server
           if(httpCode == HTTP_CODE_OK) {
               String payload = http.getString();
               text=payload.length();
               Serial.println(payload);
               tft.fillScreen(TFT_WHITE);
               tft.setTextFont(4);
               tft.println(payload);
           }
       } else {
           Serial.printf("[HTTP] GET... failed, error: %s\n", http.errorToString(httpCode).c_str());
       }
       http.end();

}

void loop() {

}
- 3.实验效果

 沪公网安备31011502402448