本帖最后由 孙毅 于 2015-9-30 22:58 编辑
1, 翻箱倒柜的找到封尘依旧的一两小车的框架,4个直流电机,四个轱辘,两个亚克力板,组装如下:
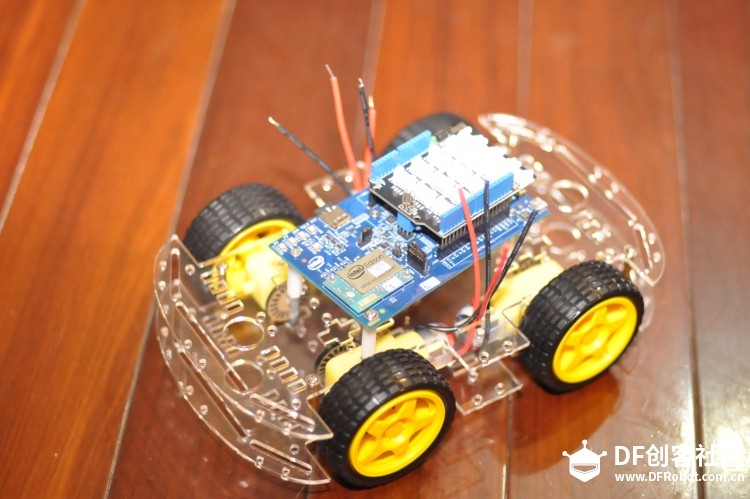 
相信论坛里好多朋友们也都玩过的,没什么花头。
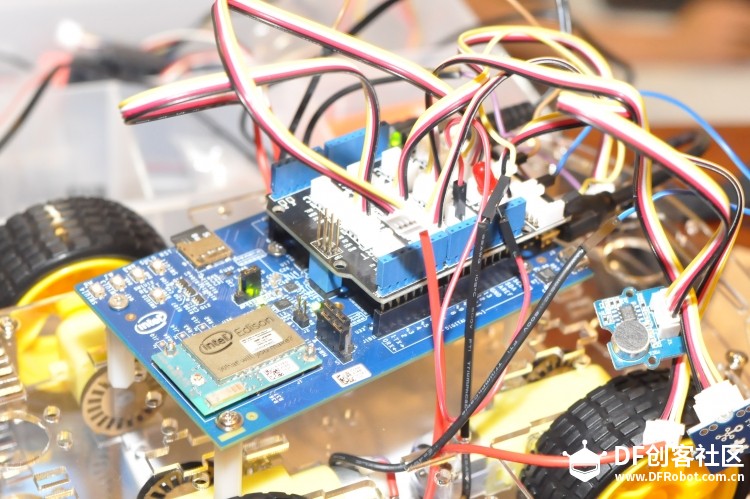
因为不是按照Edison设计的,所以好不容易才能斜着把Edison固定在上面。
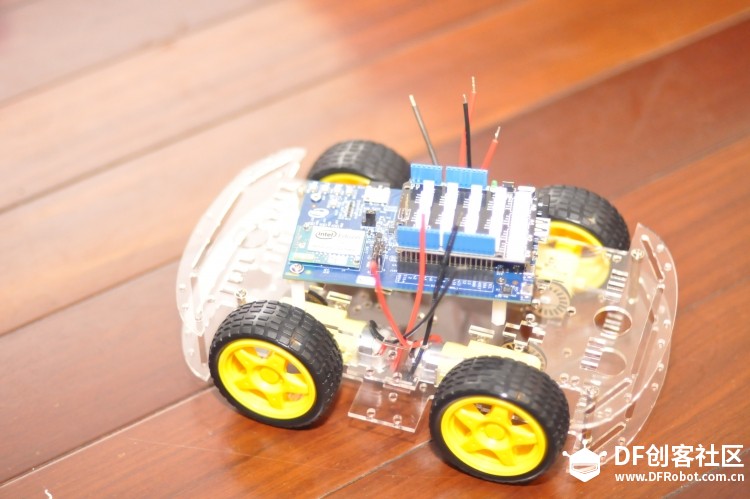
2, 噼里啪啦一顿接线,现在是这个样子:
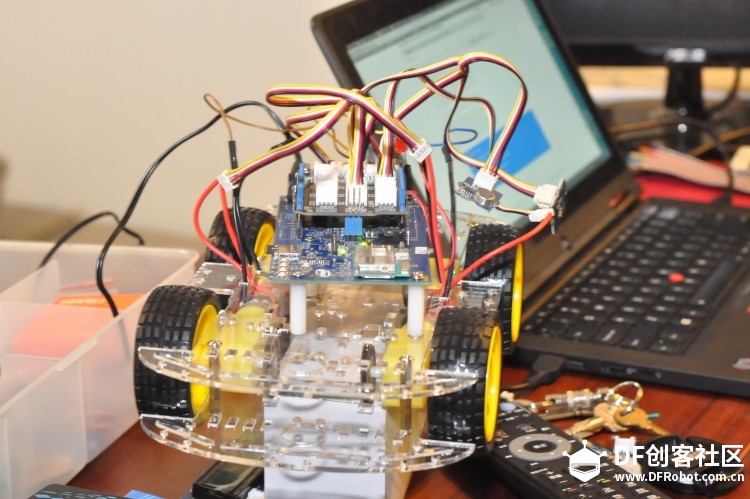 
细数下,有如下传感器:
1, 直流电机 x 4
2, LED
3, Button
4, Speaker
5, LCD
然后我们一个一个的讲这些传感器用起来:
3, PWM 输出控制直流电机
- #!/usr/bin/python
- import mraa
- import time
- import sys
-
- x1 = mraa.Pwm(3)
- x1.period_us(0)
- x1.enable(True)
-
- x2 = mraa.Pwm(5)
- x2.period_us(0)
- x2.enable(True)
-
- x3 = mraa.Pwm(6)
- x3.period_us(0)
- x3.enable(True)
-
- x4 = mraa.Pwm(9)
- x4.period_us(0)
- x4.enable(True)
-
- if len(sys.argv) > 1:
- switch = sys.argv[1]
- else:
- switch = 'off'
-
- print switch
-
- if switch == 'on':
- x1.write(1)
- x2.write(1)
- x3.write(1)
- x4.write(1)
- else:
- x1.write(0)
- x2.write(0)
- x3.write(0)
- x4.write(0)
这里的code就不一一解释了,简单说几句吧:
1) Edison默认GPIO 3、5、6、9支持PWM,一共就4个PWM我们都占掉了2)将文件命名为 pwm.py,可以通过传递on/off来使得直流电机工作了:
./pwm.py on 关闭使用: ./pwm.py off
4, 使用button控制LED:
- import time
- import pyupm_grove as grove
-
- # Create the Grove LED object using GPIO pin 2
- led = grove.GroveLed(3)
-
- # Create the button object using GPIO pin 0
- button = grove.GroveButton(7)
-
- # Read the input and print, waiting one second between readings
- while 1:
- print button.name(), ' value is ', button.value()
- time.sleep(1)
-
- if button.value():
- led.on()
- else:
- led.off()
说明:当按下button的时候,LED会点亮,松开的时候,LED灭掉
5, 使用buzzer发出音调:
- import time
- import pyupm_buzzer as upmBuzzer
-
- # Create the buzzer object using GPIO pin 5
- buzzer = upmBuzzer.Buzzer(6)
-
- chords = [upmBuzzer.DO, upmBuzzer.RE, upmBuzzer.MI, upmBuzzer.FA,
- upmBuzzer.SOL, upmBuzzer.LA, upmBuzzer.SI, upmBuzzer.DO,
- upmBuzzer.SI];
-
- # Print sensor name
- print buzzer.name()
-
- # Play sound (DO, RE, MI, etc.), pausing for 0.1 seconds between notes
- for chord_ind in range (0,7):
- # play each note for one second
- print buzzer.playSound(chords[chord_ind], 1000000)
- time.sleep(0.1)
-
- print "exiting application"
-
- # Delete the buzzer object
- del buzzer
运行python脚本,buzzer会发出1(dou),2(ruai),3(mi),4(fa),5(sao)
好了基本上就这样吧,作为一个初步的demo,小车的基本功能已经差不多了,后面我们会慢慢的在这辆限量版的纯手工打杂的小车上安装更多的好玩的东东,大家有什么好玩法欢迎留言!
这个时候感觉到3D打印的必要行了。这一堆线挺丑的,一不小心就碰掉哪一个了。
|  活跃会员
活跃会员
 老版主限定
老版主限定
 小蘑菇
小蘑菇


 沪公网安备31011502402448
 置顶卡
置顶卡 变色卡
变色卡 千斤顶
千斤顶