|
12848| 15
|
【项目分享】MIDI跳舞机-LattePanda |

|
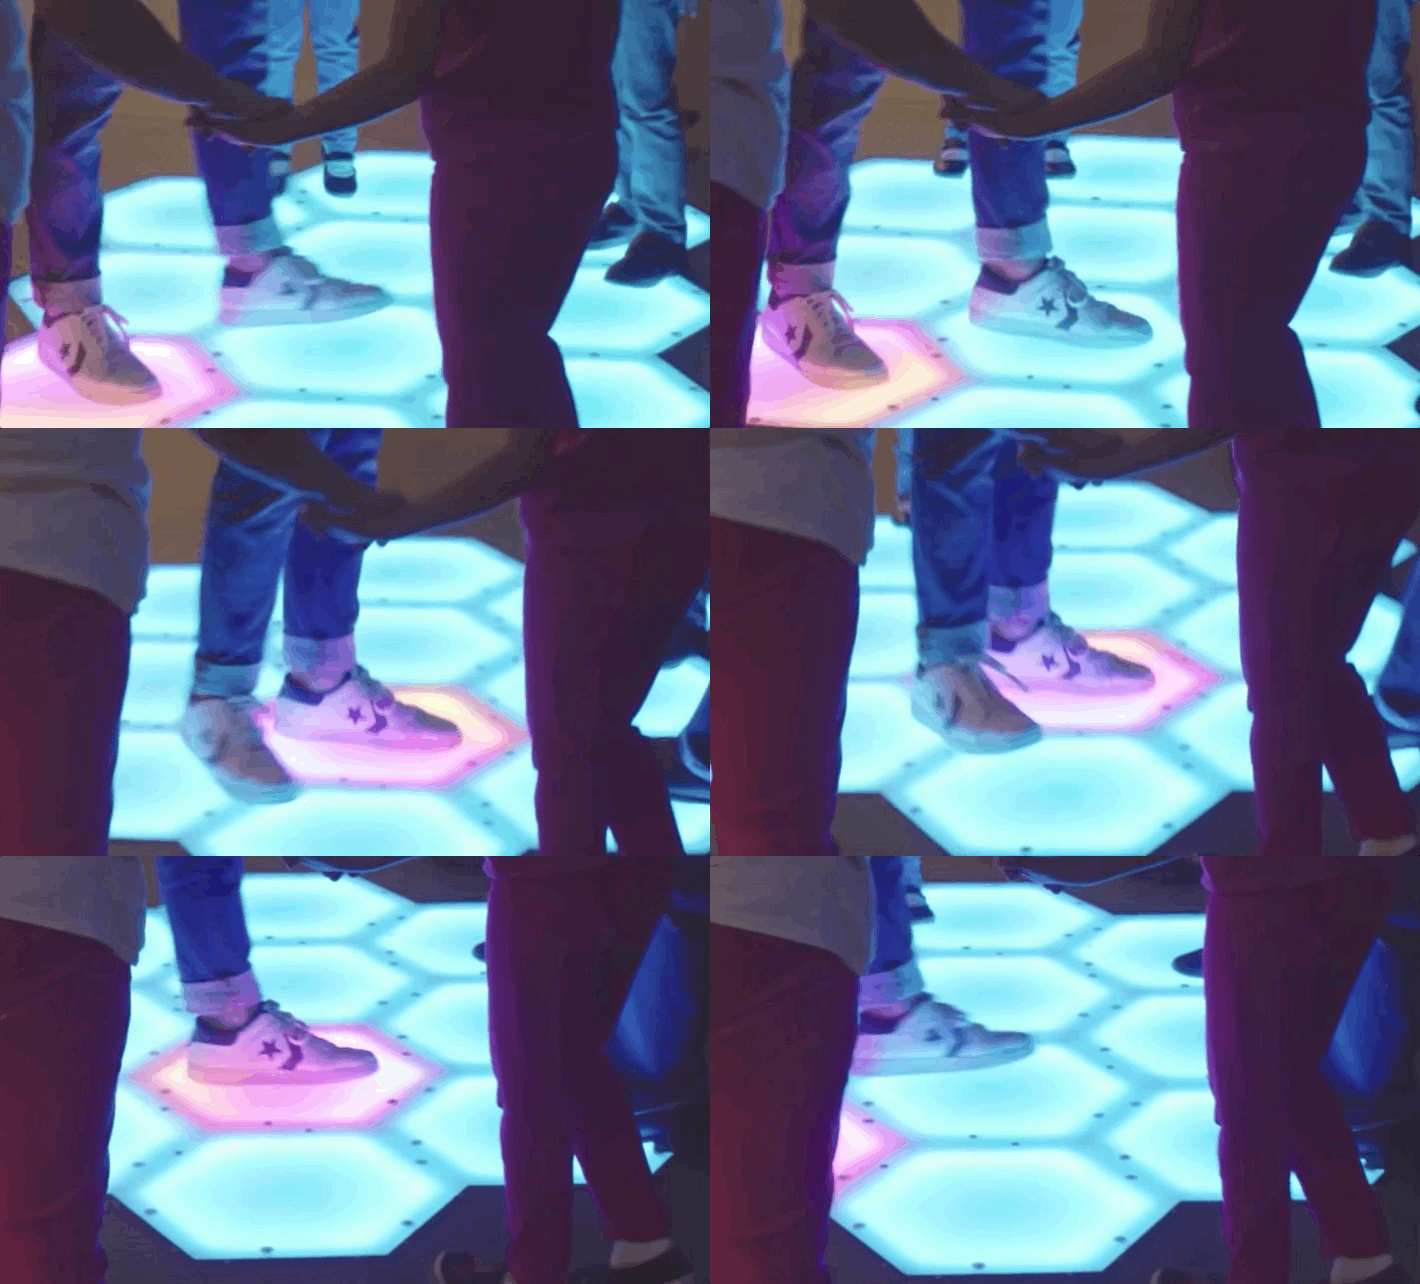
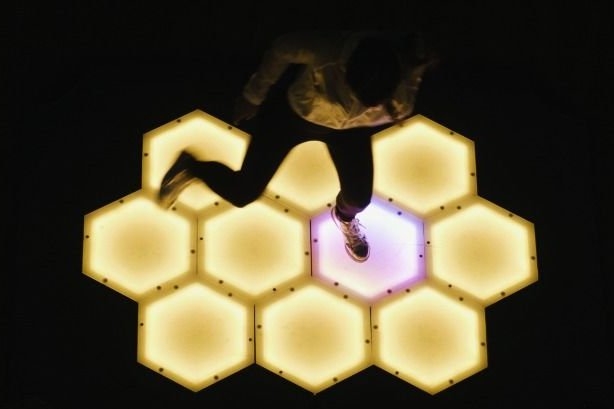
MIDI交互舞台-LattePanda 原作者:kilo_mx 翻译:kiki(纯人工翻译,如有错误请提出,会虚心修改)   In this instructable we'll show you how to make a light and sound interface that can be used to play "Simon Says" and as a MIDI interface. Both modes will be played with your feet. 在这个教学中,我们将向您展示如何制作一个可用于播放“Simon Says”和MIDI接口的灯光和声音结合的舞台。两种模式都将用你的脚丫子来演奏。  Background/背景 The project was born because we wanted to make an interactive installation where almost any kind of audience could make use of it no matter their age. It was developed for a mall, as one of its attractions. 该项目的诞生是因为我们想要做一个交互式装置,几乎任何类型的观众都可以使用,大到七老八十,小到小娃娃。制作这个交互装置的初衷是为了一个商场的活动,目的在于为商城吸引人流量。我们从客户那里得到的方案是“Simon Says”(可以去网上搜一下这个词)的这个版本,只要用脚就可以玩。我们思考了一段时间,但是我们不得不复制这个想法。 We researched similar game/platforms, and we found a lot of dance floors, most of them work with light but not sound. We also found big pianos for feet so we thought that something interesting could come out from adding the musical instrument functionality. For the love of music! 我们研究了类似的游戏/平台,我们发现了很多类似的,其中大多数都是用光的形式来展现而不是声音。我们还发现了用于脚来弹奏的的大钢琴,所以我们认为添加乐器功能可能会产生一些有趣的东西。这当然是因为我们对音乐的热爱! We also considered the shape of the platform. Almost every dance floor that we found were rectangular, with square pads. There is one exception that has circular pads. We wanted to give a different feeling to our platform while keeping the modular aspect of squares, that's why we decided to use hexagons. 我们考虑了平台的形状。我们发现的几乎每个舞台都是方形的,并带有方形垫。其中有一个例外,是圆形垫。我们希望给我们的舞台带来不同的感觉,我们采纳了大部分舞台的方形设计,但我们进行了稍微的改动,最后决定使用六边形。 While searching for projects with hexagonal shapes, we found this one. The idea of making hexagonal shapes was exciting to us... we didn't had an idea of what was coming. 在搜索具有六边形形状的项目时,我们找到了下面的项目。制作六边形的想法对我们来说很令人兴奋......我们并不知道将要发生什么。 (图片来源Magnetic and modular LEDs can cover a wall in light) We had a clearer goal: 但是我们有一个更清晰的目标:
Step 1: Materials/第1步 For each Pad/每个Pad: 1.5) Meter of Neopixel strip 1) Industrial limit switch 1) Opaline Acrylique 1cm thickness 1) PVC hexagon 1) Metal profile hexagon structure
General/材料清单: 1) LattePanda 1) MUX 1) 5VDC 50A Power Source 1) Industrial Control Panel 1) Perma-Proto 1) LattePanda case 1) Power Outlet 5V @2.5a 10) Resistor 10k ohms 5) Screw terminal 1) Speaker Plastic securing belts
Step 2: Choosing a Control Board/第2步:选择控制板 Arduino is the development board that we have used for a long time. It has never failed, nevertheless we need to check all the requirements for this project: Arduino是我们长期使用的开发板。它从未失败,但我们需要检查该项目的所有要求:
We'll go deeper into these subjects as we go along, for now, the part that we need to solve is the sound. 随着我们的进展,我们将深入研究这些问题,现在,我们最需要解决的部分是声音。 We considered using PureData because even when you can generate sound with Arduino it can get complicated and limited at some point, meanwhile with PD we can make synthesis or a patch to trigger sounds via MIDI. We needed a computer to run PD and Arduino to control everything else. 我们考虑使用PureData,因为即使你可以用Arduino生成声音,它也会变得比较嘈杂并且在某些时候还会受到限制,所以我们同时使用了PD,这让我们可以通过MIDI进行合成或创建一个补丁来触发声音。然而我们还是需要一台计算机来运行PD和Arduino来控制这些一切。 我们研究了我们可以获得的选项,我们非常喜欢LattePanda板的性能:带有Windows 10和集成Arduino的计算机。 LattePanda有一个GPIO端口,您可以在其中找到映射的Arduino引脚,通过它们我们可以控制焊盘的开关和neopixels。 编程游戏也将在Arduino板上进行,顺便说一下,它是Arduino Leonardo。 LattePanda有一个3.5千斤顶,从那里我们会发出声音。 我们可以使用很多主板,也许你会问自己为什么我们没有使用Raspberry Pi。原因如下:
LattePanda比较昂贵,它比其他主板小得多。如果你不确定使用LattePanda,你也可以使用其他板子(Raspy,UDOO,BeagleBone等......)。 第3步:设计和原型结构 虑设计结构的点:
介于材料的强度,低成本和可用性,我们决定使用金属型材。 该结构由两个由六个短杆连接的六边形组成:
第4步:踏步表面 一旦我们有了金属结构,我们必须涵盖两点:
为了保护电子器件,我们决定使用pvc材料,它并不昂贵,易于使用并且它可以在一定程度上防水。 对于用户踩到的表面,我们用了一种特殊的材质,因为它与光可以相互作用,并且厚度为1cm,因此它可以承受成人的重量。 我们用激光机切割所有东西,速度快且不贵。 第5步:安装灯带 在每个条带的起始处焊接一个470欧姆的电阻器 在内缘安装彩带 使用维可牢尼龙搭扣将条带固定在适当的位置 焊接从pvc表面出来的彩带的延伸部分 第6步:Installing the Switch 我们选择了工业机械开关来激接焊盘。由于丙烯酸树脂的柔韧性并且由于开关通过pvc片放置在六边形的中心,因此当使用者踩踏丙烯酸树脂表面时,可以实现开关需要被激活的压力量。我们使用垫圈校准了开关需要高低的程度。 第7步:焊接连接器和电缆 每个六边形都有一个开关和一个LED灯条,总共有5根电缆。这些电缆必须连接到控制电路,在那里一切都将集中。 我们使用了两个XLR连接器; 一个用于neopixels(3根电缆),另一根用于开关(2根电缆)。理想情况只是一个连接器,但我们负担不起,如果可以的话,它会使事情变得更容易。 这些开关连接到16输入多路复用器 Neopixels直接连接到Arduino引脚。 步骤8:准备控制面板 控制面板内有什么:
步骤9:焊接控制电路和LattePanda连接 步骤10:将焊盘连接到控制面板和电源
第11步:编程 为了控制MIDI,我们发现这些信息非常有用 我们将此库用于Arduino 我们将这个补丁用于PureData 对于音乐样本,网络上有几种免费的替代品 对于Neopixels控件,我们使用了FastLED库 对于游戏,这个非常有用 步骤12:制造保护平台的结构 |
KIKIYA 发表于 2019-1-14 15:40 可以买成品? |
 沪公网安备31011502402448
© 2013-2026 Comsenz Inc. Powered by Discuz! X3.4 Licensed