虚谷号搭建 LNMP 和 WordPress
虚谷系统为 2019-12-16 的固件版本
一、安装 Nginx
1. 安装
scope@localhost:~$ sudo apt install nginx
2. 卸载
scope@localhost:~$ sudo apt --purge remove nginx
scope@localhost:~$ sudo apt --purge remove nginx-common
scope@localhost:~$ sudo apt --purge remove nginx-core
3. Nginx 服务器目录
scope@localhost:~$ cd /var/www/html/
scope@localhost:/var/www/html$ ls
index.nginx-debian.html
scope@localhost:/var/www/html$
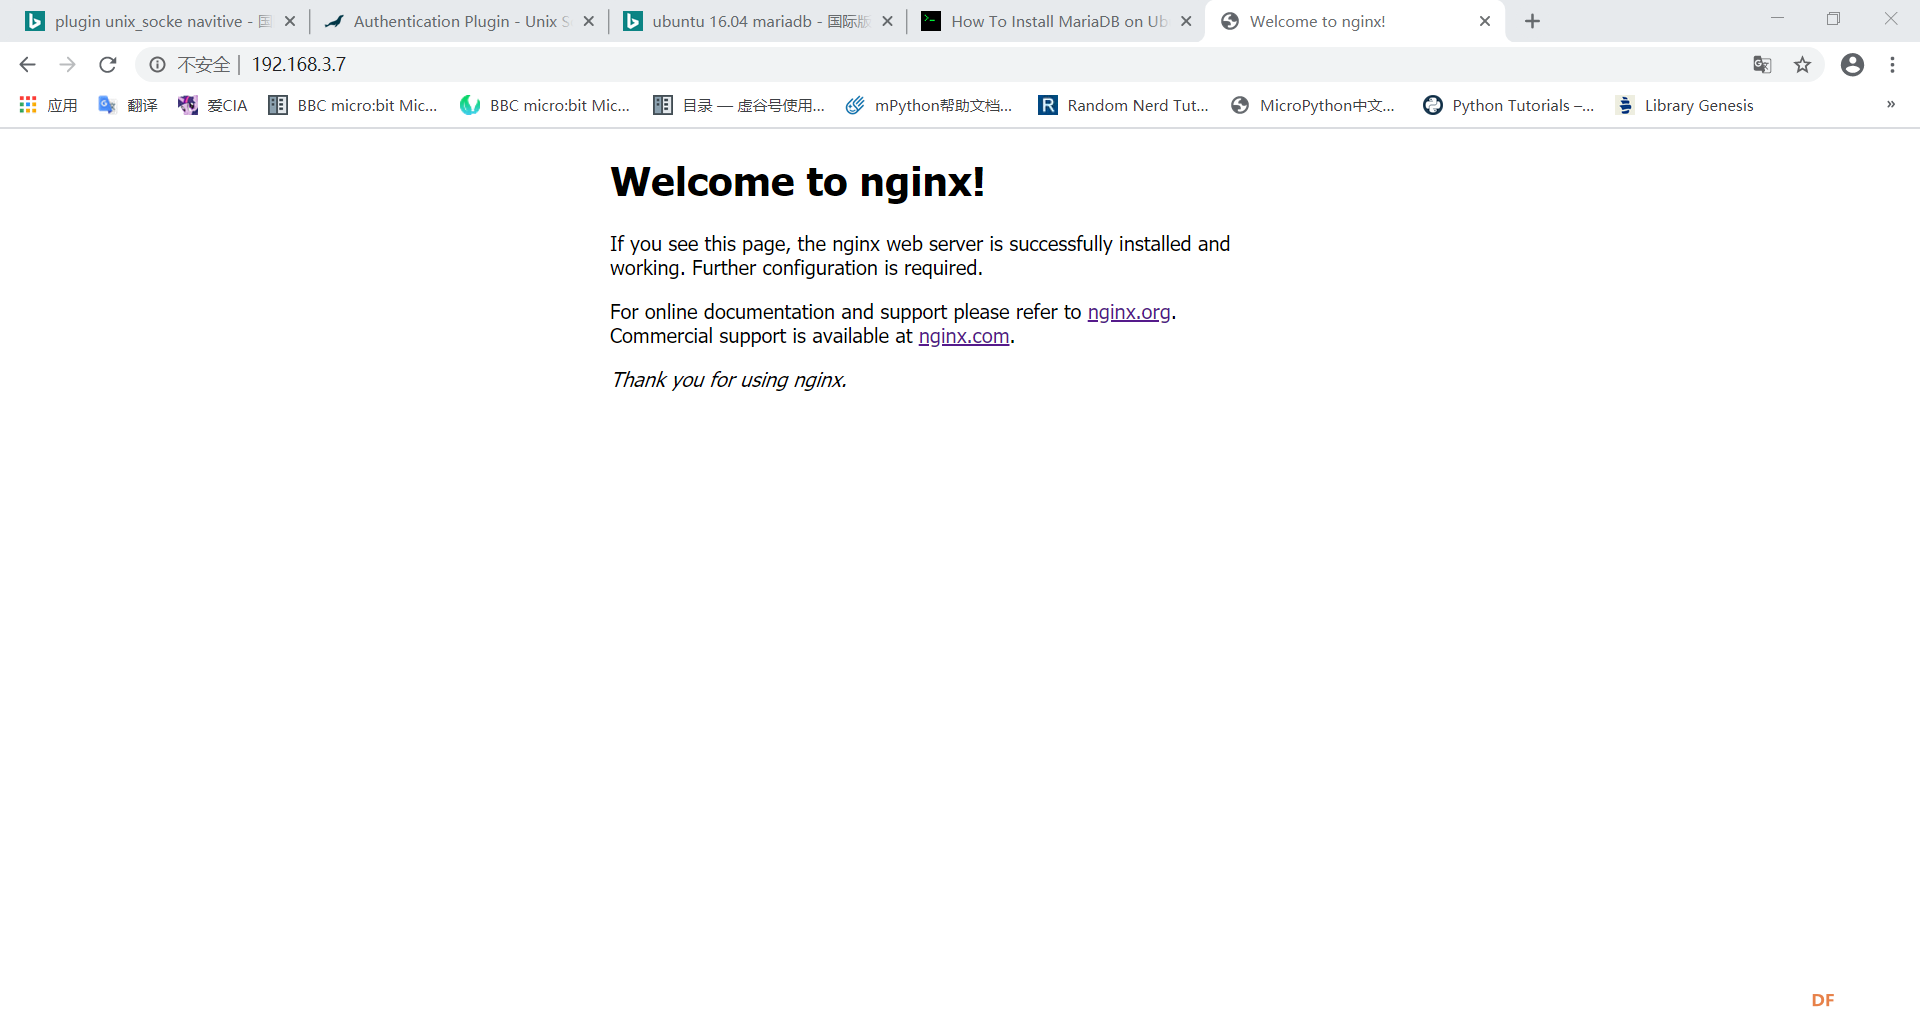
4. 验证 Nginx 服务器
打开浏览器,输入虚谷号 IP 地址,会出现经典的 Nginx 页面
二、安装 MariaDB
1. 安装
scope@localhost:~$ sudo apt-get install mariadb-server
2. 查看版本
scope@localhost:~$ mysqld --version
mysqld  Ver 10.0.38-MariaDB-0ubuntu0.16.04.1 for debian-linux-gnu on aarch64 (Ubuntu 16.04)
200219 11:55:41 [Note] mysqld (mysqld 10.0.38-MariaDB-0ubuntu0.16.04.1) starting as process 16758 ...
3. 安全配置
scope@localhost:~$ sudo mysql_secure_installation
[sudo] scope 的密码:

NOTE: RUNNING ALL PARTS OF THIS SCRIPT IS RECOMMENDED FOR ALL MariaDB
      SERVERS IN PRODUCTION USE!  PLEASE READ EACH STEP CAREFULLY!

In order to log into MariaDB to secure it, we'll need the current
password for the root user.  If you've just installed MariaDB, and
you haven't set the root password yet, the password will be blank,
so you should just press enter here.

Enter current password for root (enter for none):  # 回车

OK, successfully used password, moving on...

Setting the root password ensures that nobody can log into the MariaDB
root user without the proper authorisation.

Set root password? [Y/n] y  # 输入 y 设置密码
New password:  # 设置 root 用户密码

Re-enter new password:  # 再次输入设置的密码

Password updated successfully!
Reloading privilege tables..
 ... Success!

By default, a MariaDB installation has an anonymous user, allowing anyone
to log into MariaDB without having to have a user account created for
them.  This is intended only for testing, and to make the installation
go a bit smoother.  You should remove them before moving into a
production environment.

Remove anonymous users? [Y/n] y  # 是否删除匿名用户
 ... Success!

Normally, root should only be allowed to connect from 'localhost'.  This
ensures that someone cannot guess at the root password from the network.

Disallow root login remotely? [Y/n] n  # 是否禁止 root 远程登录
 ... skipping.

By default, MariaDB comes with a database named 'test' that anyone can
access.  This is also intended only for testing, and should be removed
before moving into a production environment.

Remove test database and access to it? [Y/n] y  # 是否删除 text 数据库
 - Dropping test database...
 ... Success!
 - Removing privileges on test database...
 ... Success!

Reloading the privilege tables will ensure that all changes made so far
will take effect immediately.

Reload privilege tables now? [Y/n] y  # 是否重新加载权限表
 ... Success!

Cleaning up...

All done!  If you've completed all of the above steps, your MariaDB
installation should now be secure.

Thanks for using MariaDB!
scope@localhost:~$
4. 设置 MySQL
scope@localhost:~$ sudo mysql -u root  # 以 root 登录 MySQL

'''
或者用以下命令登录 MySQL
'''

scope@localhost:/var/www/html$ mysql -u root -p
# -u 参数,后接登录 MySQL 的用户名
# -p 参数,密码
MariaDB [(none)]> select user, authentication_string, plugin from mysql.user;
# 查看 mysql 数据库下的 user、authentication_string、plugin
MariaDB [(none)]> show databases; # 列出现有的数据库
MariaDB [(none)]> use mysql; # 使用 mysql 数据库
MariaDB [mysql]> update user set plugin="mysql_native_password" where user="root";
# 设置 plugin 为 mysql_native_password,便于后续使用 root 来远程登录 WordPress 数据库
MariaDB [mysql]> flush privileges; # 刷新权限
MariaDB [mysql]> exit # 退出
scope@localhost:~$ sudo mysql -u root
Welcome to the MariaDB monitor.  Commands end with ; or \g.
Your MariaDB connection id is 49
Server version: 10.0.38-MariaDB-0ubuntu0.16.04.1 Ubuntu 16.04

Copyright (c) 2000, 2018, Oracle, MariaDB Corporation Ab and others.

Type 'help;' or '\h' for help. Type '\c' to clear the current input statement.

MariaDB [(none)]> select user, authentication_string, plugin from mysql.user;
+------+-----------------------+-------------+
| user   | authentication_string | plugin         |
+------+-----------------------+-------------+
| root   |                                    | unix_socket |
+------+-----------------------+-------------+
1 row in set (0.00 sec)

MariaDB [(none)]> show databases;
+-----------------------+
| Database                    |
+-----------------------+
| information_schema  |
| mysql                          |
| performance_schema |
+-----------------------+
3 rows in set (0.00 sec)

MariaDB [(none)]> use mysql;
Reading table information for completion of table and column names
You can turn off this feature to get a quicker startup with -A

MariaDB [mysql]> update user set plugin="mysql_native_password" where user="root";
Query OK, 1 row affected (0.00 sec)
Rows matched: 1  Changed: 1  Warnings: 0

MariaDB [mysql]> flush privileges;
Query OK, 0 rows affected (0.00 sec)

MariaDB [mysql]> select user, plugin from mysql.user;
+------+--------------------------+
| user   | plugin                             |
+------+--------------------------+
| root   | mysql_native_password |
+------+--------------------------+
1 row in set (0.00 sec)

MariaDB [mysql]> exit
Bye
scope@localhost:~$
三、安装 PHP
1. 安装
scope@localhost:~$ sudo apt install php-fpm php-mysql
'''
安装 php-fpm、php-mysql 即能直接装好php
注意到版本是 7.0
'''
2. 查询版本
scope@localhost:~$ php --version
PHP 7.0.33-0ubuntu0.16.04.11 (cli) ( NTS )
Copyright (c) 1997-2017 The PHP Group
Zend Engine v3.0.0, Copyright (c) 1998-2017 Zend Technologies
    with Zend OPcache v7.0.33-0ubuntu0.16.04.11, Copyright (c) 1999-2017, by Zend Technologies
3. 配置 PHP 文件
scope@localhost:~$ sudo nano /etc/php/7.0/fpm/php.ini
'''
搜索 cgi.fix_pathinfo,可改可不改

原内容为:
;cgi.fix_pathinfo=1
改为:
cgi.fix_pathinfo=0
原来为1,允许⽹站其他⽤⼾上传图⽚,改为0 禁⽌
注意要把开头的";"去掉
'''
cgi.fix_pathinfo=0
4. 配置 Nginx 文件
scope@localhost:~$ sudo vim /etc/nginx/sites-available/default
# 此处用到 vim 编辑器,便于后面截图显示,有高亮效果
四、测试
1. 测试配置文件
对 Nginx 配置文件进行语法检查
scope@localhost:~$ sudo nginx -t
nginx: the configuration file /etc/nginx/nginx.conf syntax is ok
nginx: configuration file /etc/nginx/nginx.conf test is successful
2. 重新加载
scope@localhost:~$ sudo systemctl reload nginx
3. 修改权限
scope@localhost:~$ sudo chmod 755 -R /var/www/
scope@localhost:~$ sudo chown -R scope /var/www/*
五、安装 WordPress
1. 下载并解压
scope@localhost:~$ cd /var/www/html/  # 进入到 /var/www/html/ 文件夹下
scope@localhost:/var/www/html$ wget https://wordpress.org/latest.zip  # 下载
scope@localhost:/var/www/html$ sudo unzip -q latest.zip  # 解压
scope@localhost:/var/www/html$ sudo cp -r wordpress/* /var/www/html/
# 把解压后得到的 wordpress 文件夹内的所有文件,考到 /var/www/html/ 文件夹下

scope@localhost:/var/www/html$ sudo rm -rf wordpress  # 删除 wrodpress 文件夹
scope@localhost:/var/www/html$ sudo rm -rf latest.zip  # 删除下载包
2. 在 MySQL 中创建数据库
scope@localhost:/var/www/html$ mysql -u root -p
# -u 参数,后接登录 MySQL 的用户名
# -p 参数,密码
MariaDB [(none)]> create database wordpress; # 创建一个名叫 wordpress 的数据库
MariaDB [(none)]> show databases; # 列出现有的数据库
scope@localhost:/var/www/html$ mysql -u root -p
Enter password:
Welcome to the MariaDB monitor.  Commands end with ; or \g.
Your MariaDB connection id is 56
Server version: 10.0.38-MariaDB-0ubuntu0.16.04.1 Ubuntu 16.04

Copyright (c) 2000, 2018, Oracle, MariaDB Corporation Ab and others.

Type 'help;' or '\h' for help. Type '\c' to clear the current input statement.

MariaDB [(none)]> create database wordpress;
Query OK, 1 row affected (0.01 sec)

MariaDB [(none)]> show databases;
+------------------------+
| Database                     |
+------------------------+
| information_schema   |
| mysql                          |
| performance_schema |
| wordpress                   |
+-----------------------+
4 rows in set (0.00 sec)

MariaDB [(none)]> exit
Bye
scope@localhost:/var/www/html$
3. 安装 WordPress
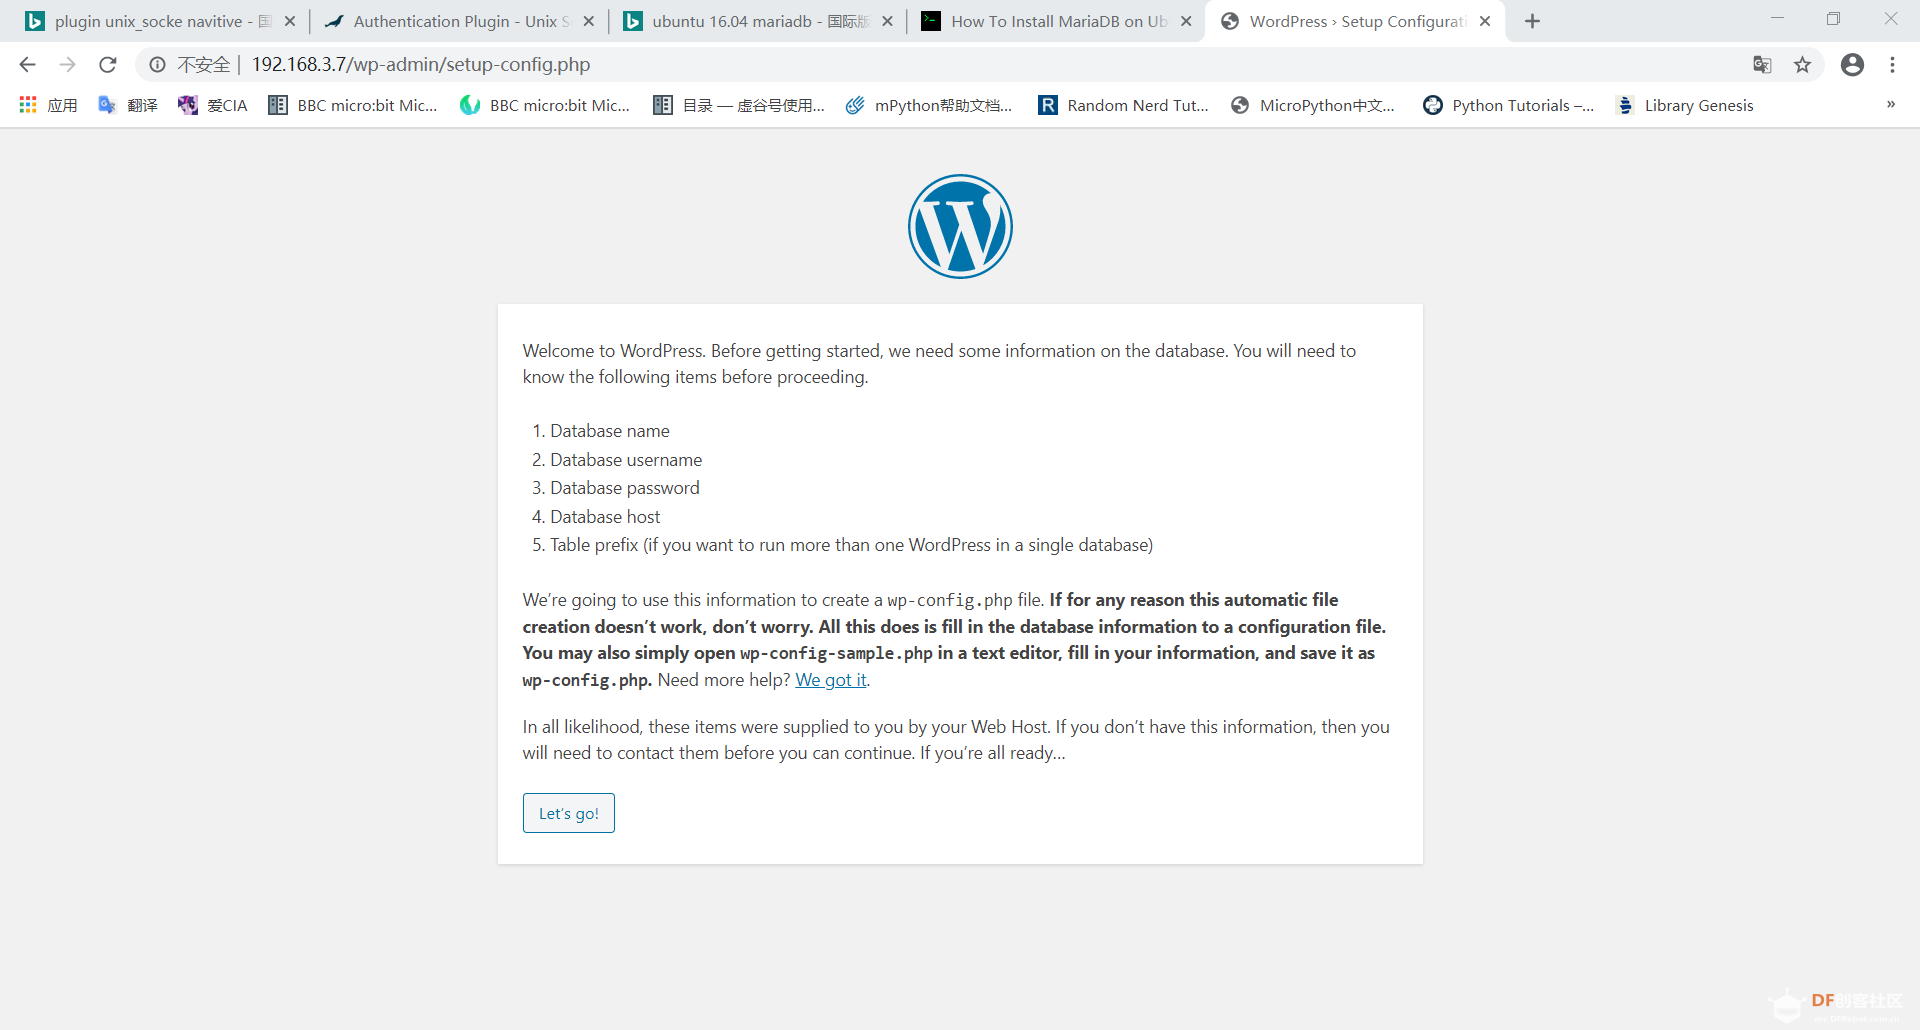
-
浏览器输入虚谷号的 IP 地址
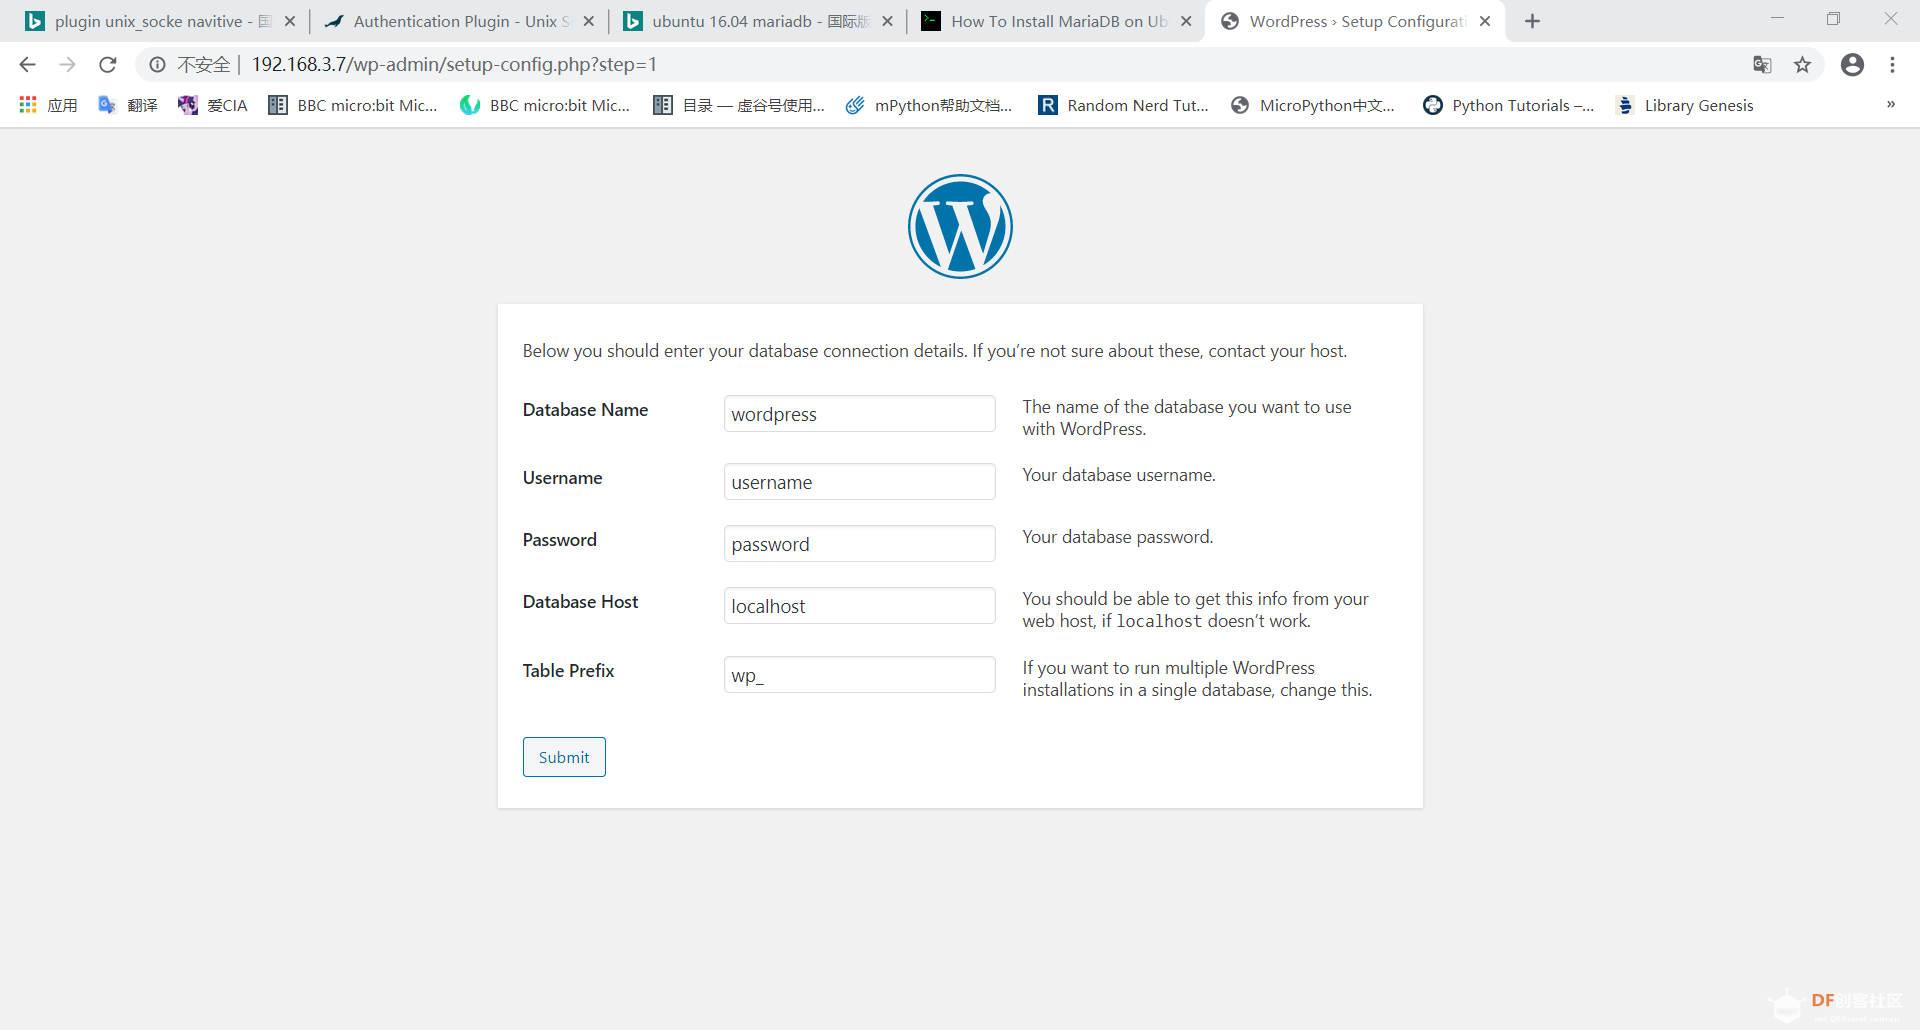
-
输入创建的数据库名称 wordpress、用户名 root、密码为设置的 root 密码,其他两项不改
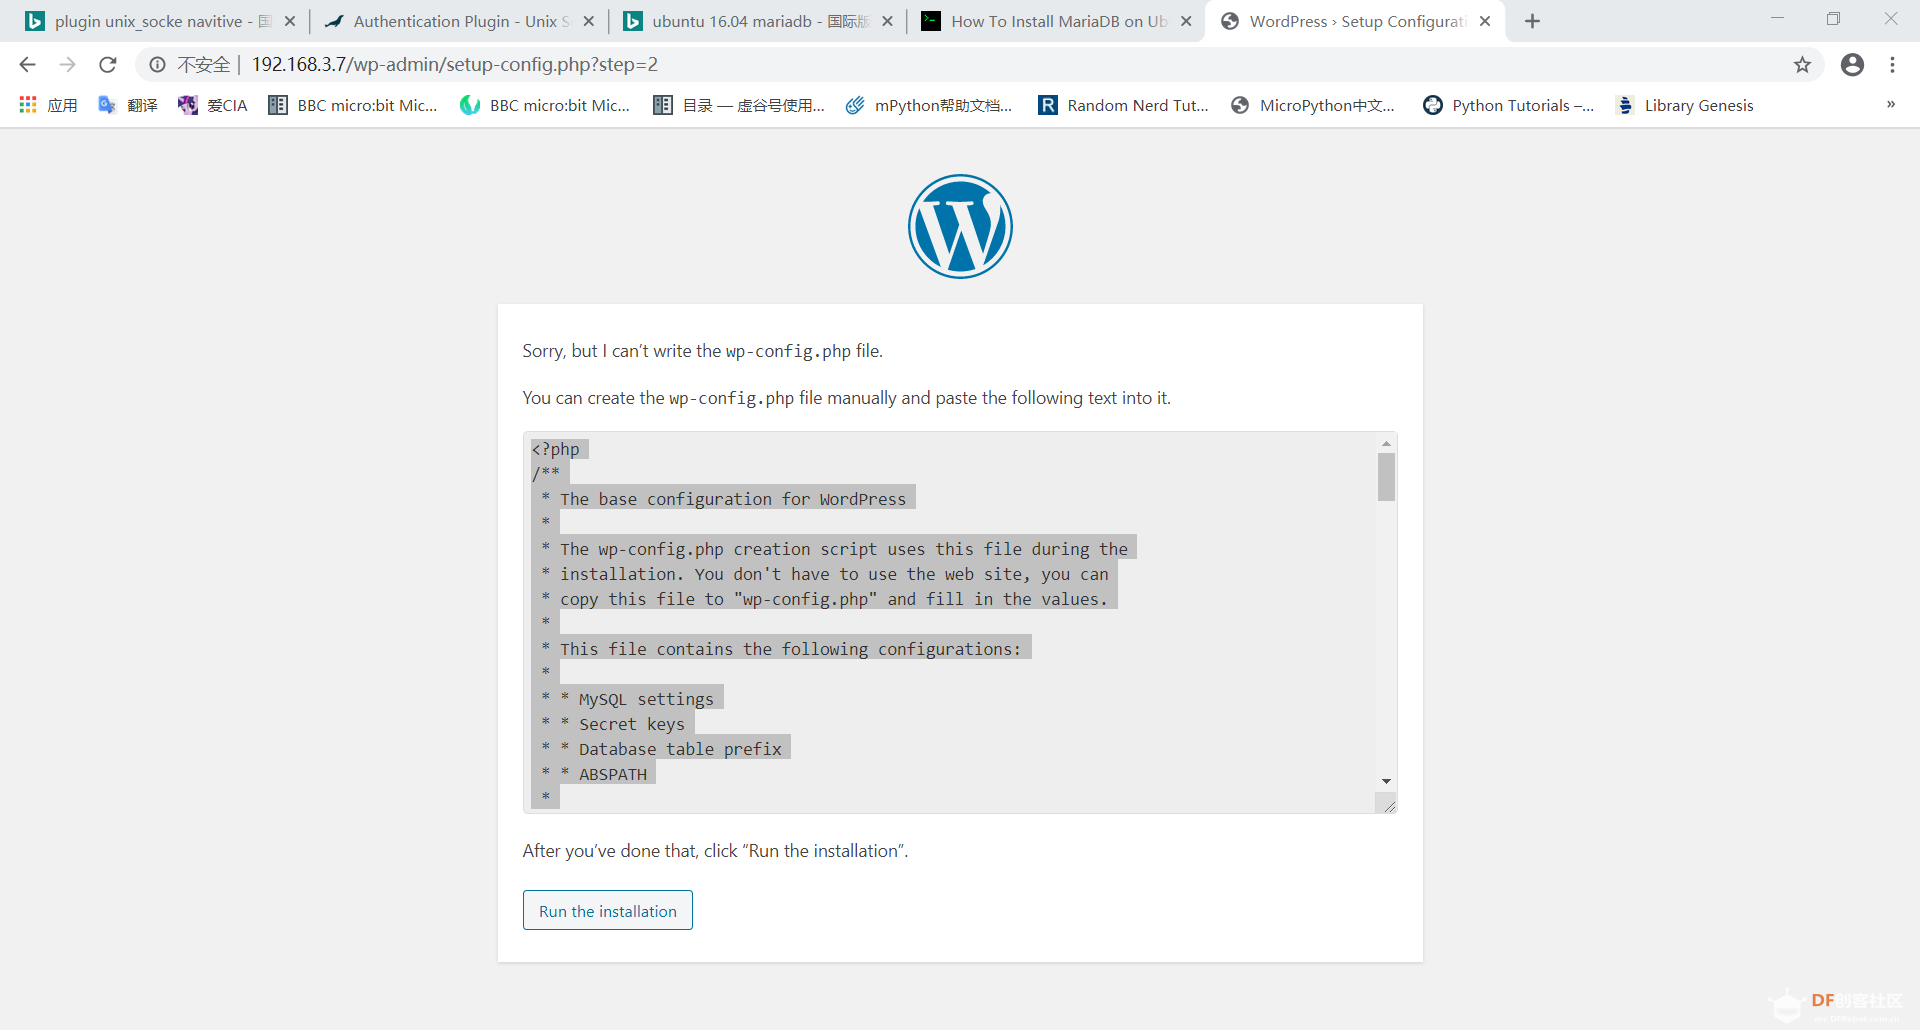
-
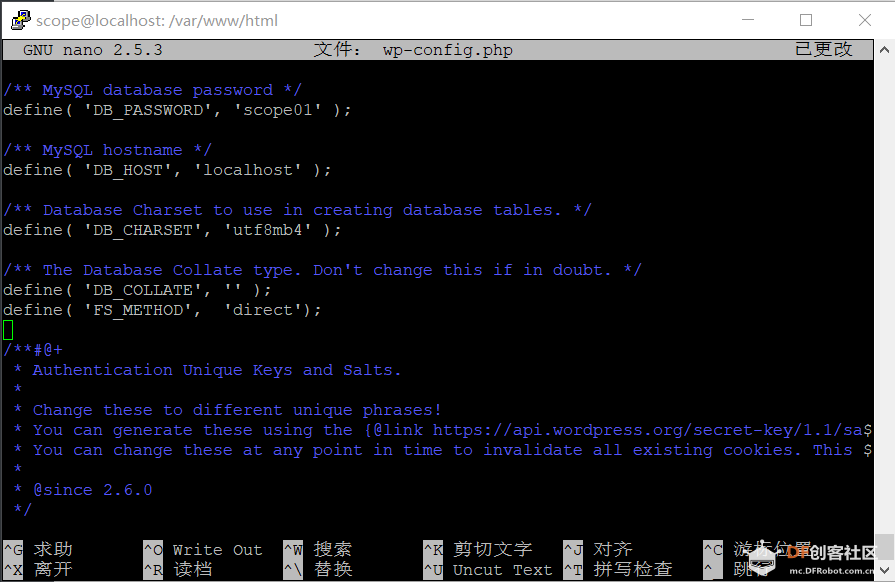
根据提示在 /var/www/html 文件夹下创建 wp-config.php 文件,并考入页面的代码
scope@localhost:~$ cd /var/www/html/
scope@localhost:/var/www/html$ sudo nano wp-config.php
考入代码并添加: define( 'FS_METHOD', 'direct');
define( 'DB_COLLATE', '' );
define( 'FS_METHOD', 'direct');
-
点击 Run the installation
-
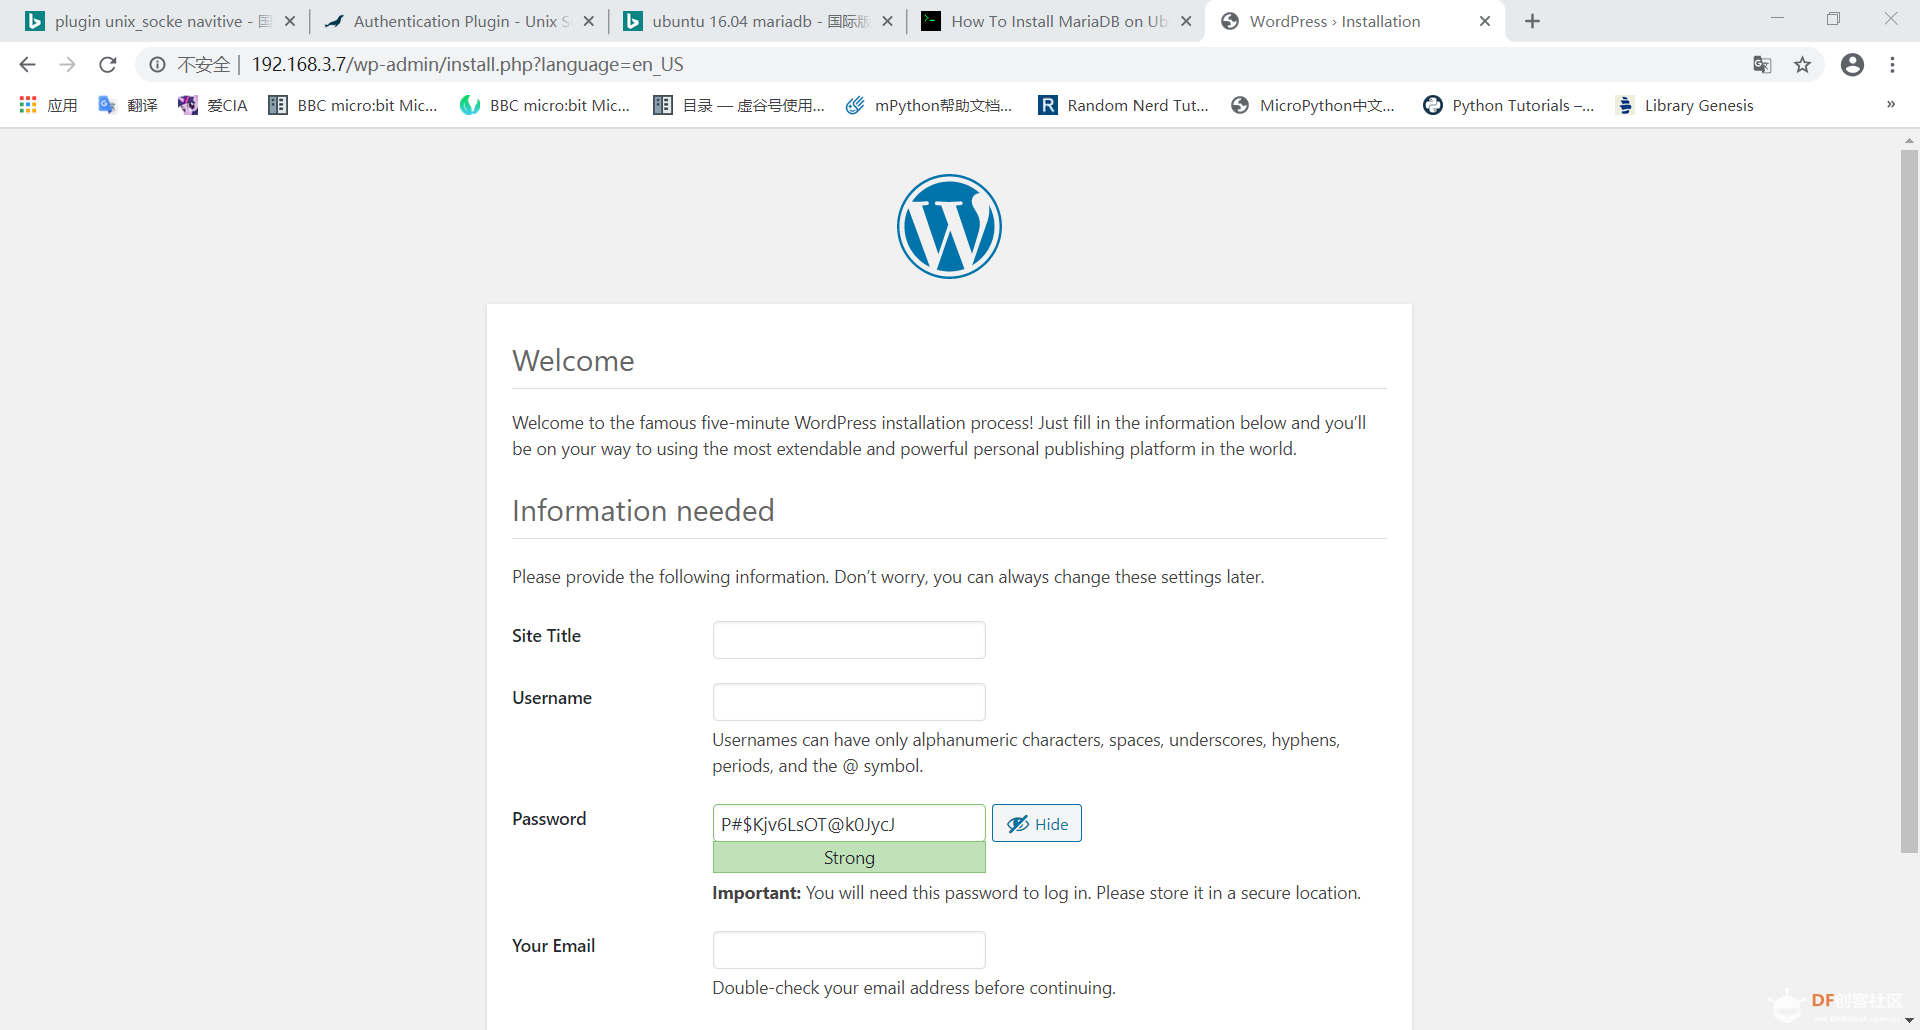
创建标题,注册用户名和密码
-
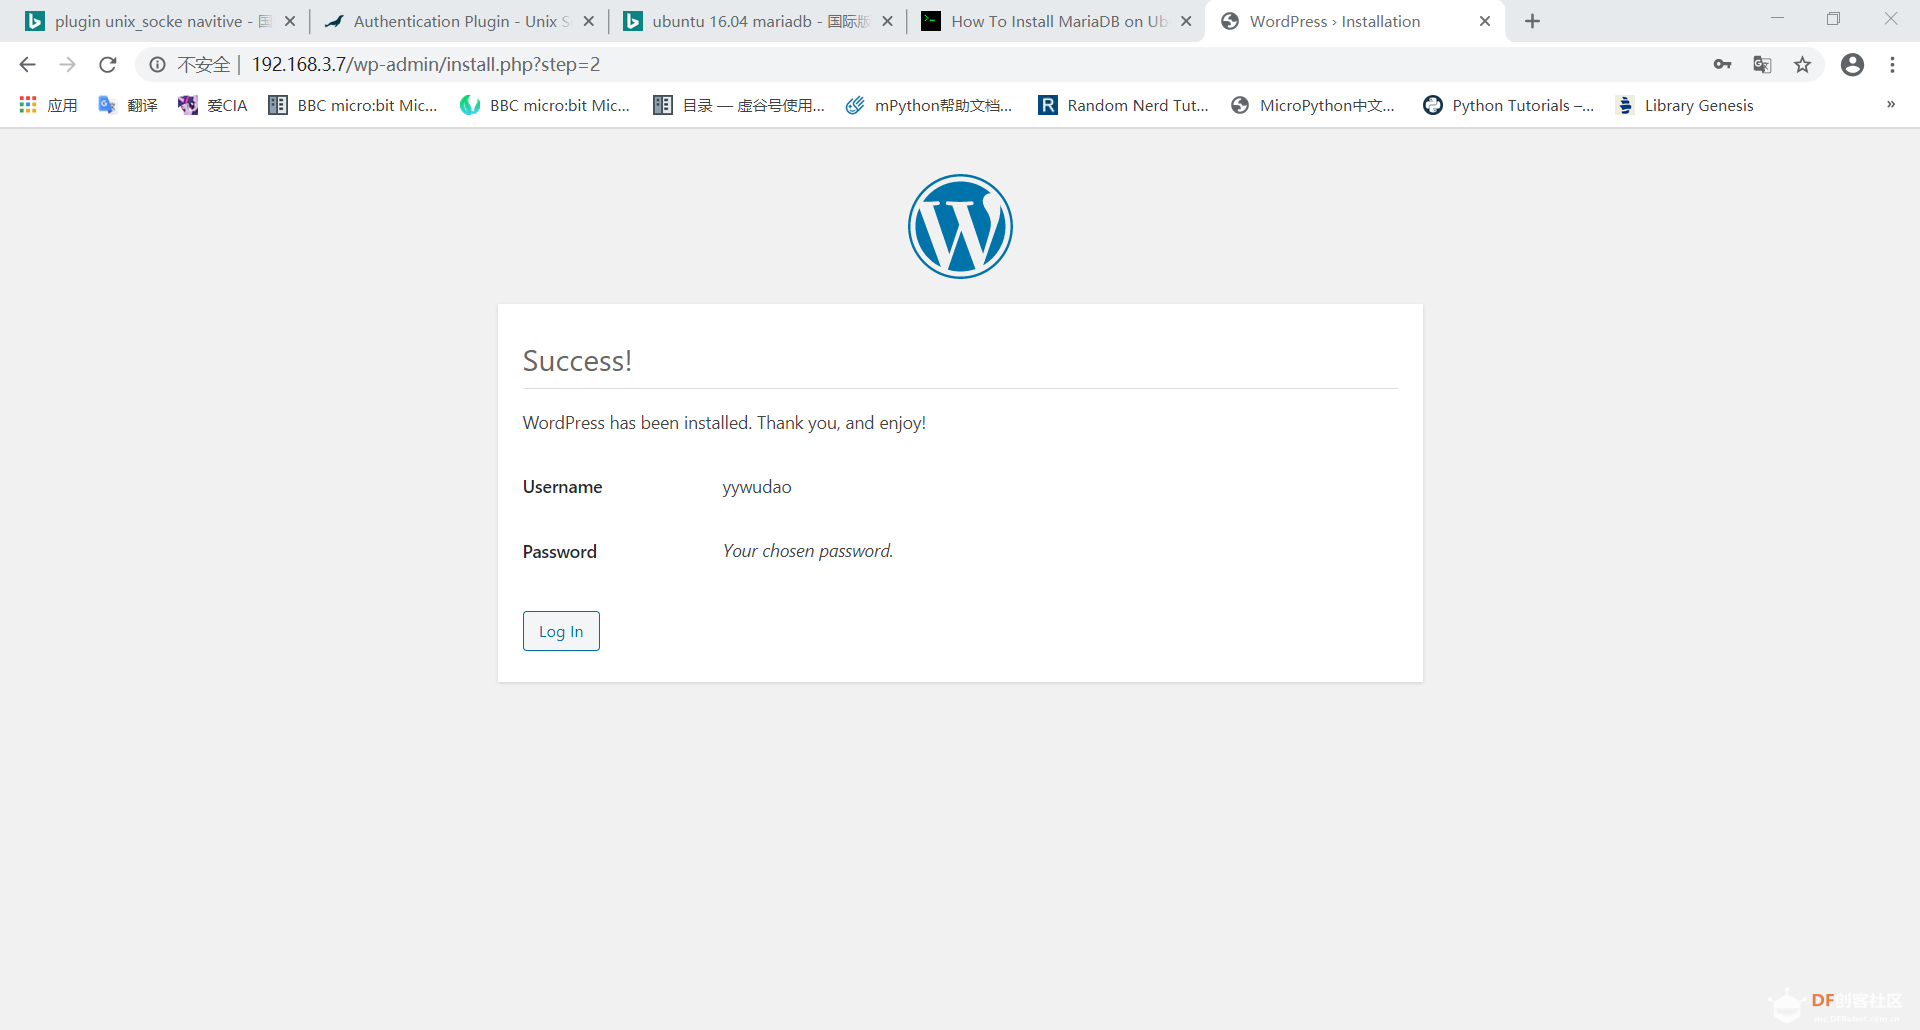
安装完成
-
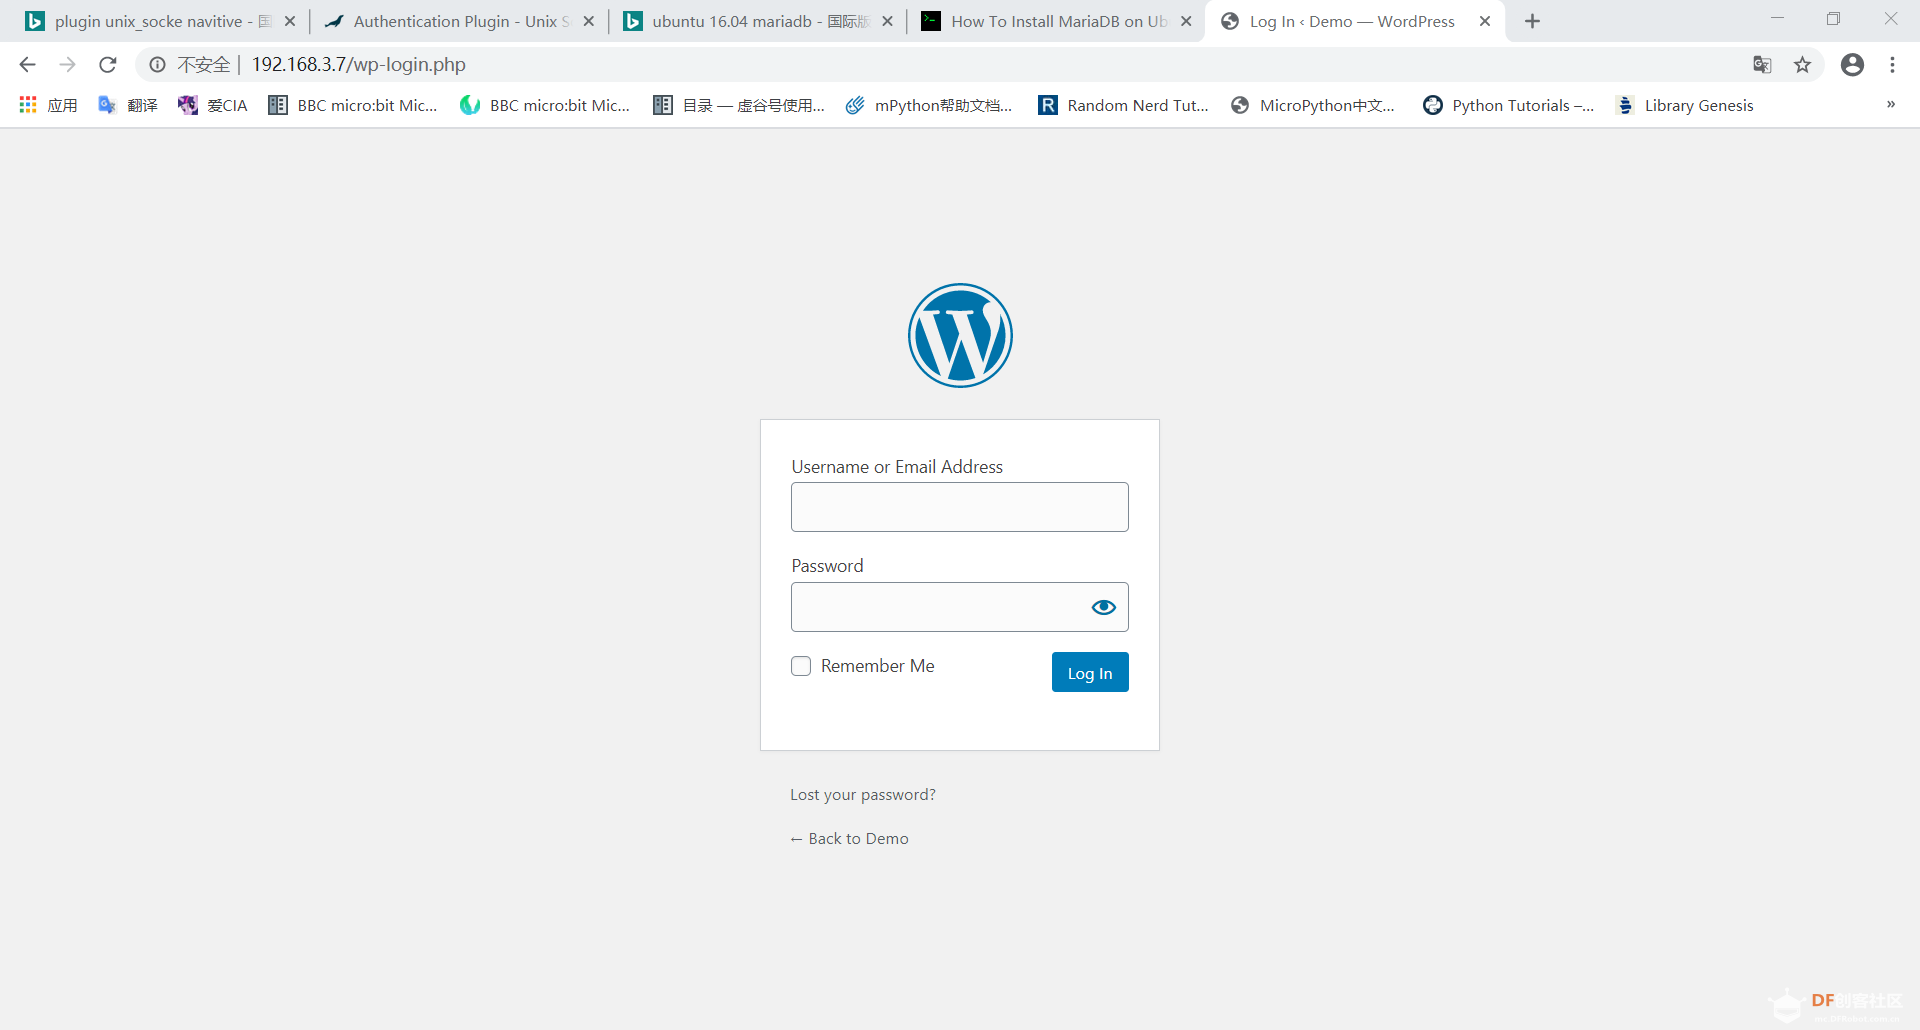
使用注册的用户名和密码进行登录
-
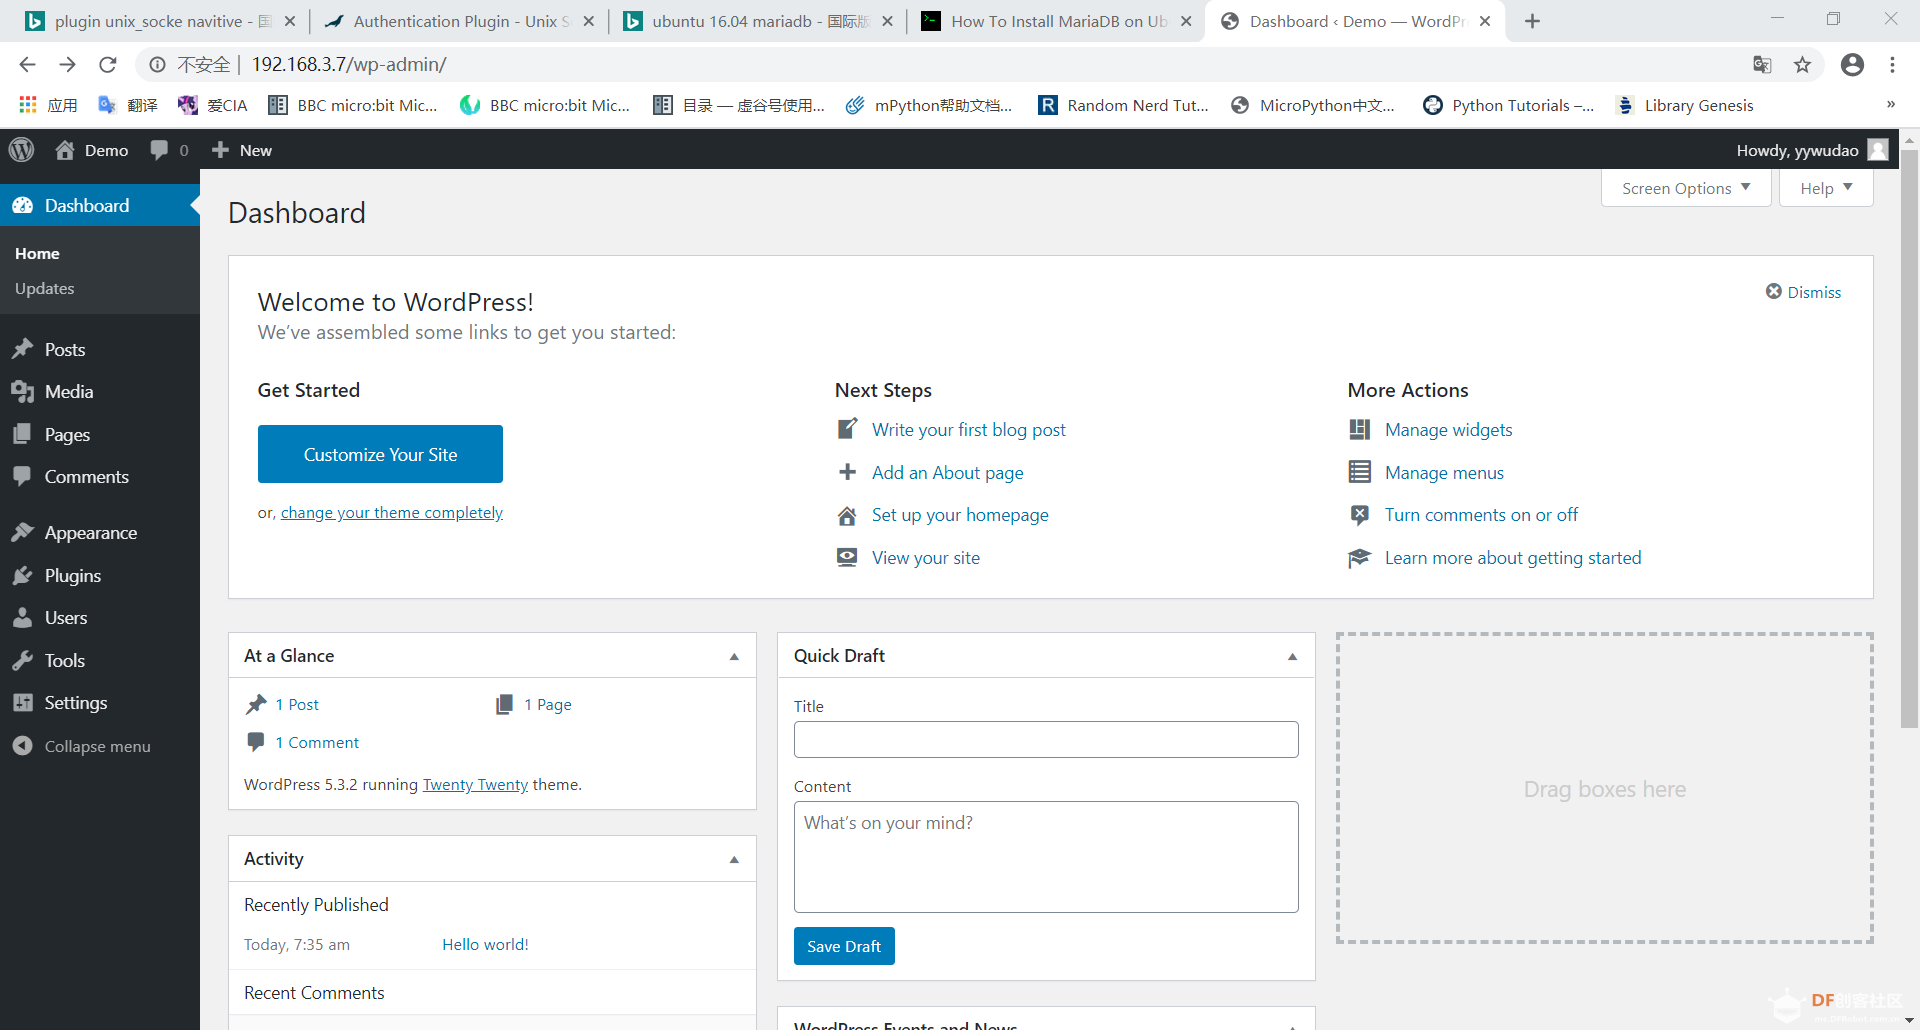
六、欢迎来到 WordPress
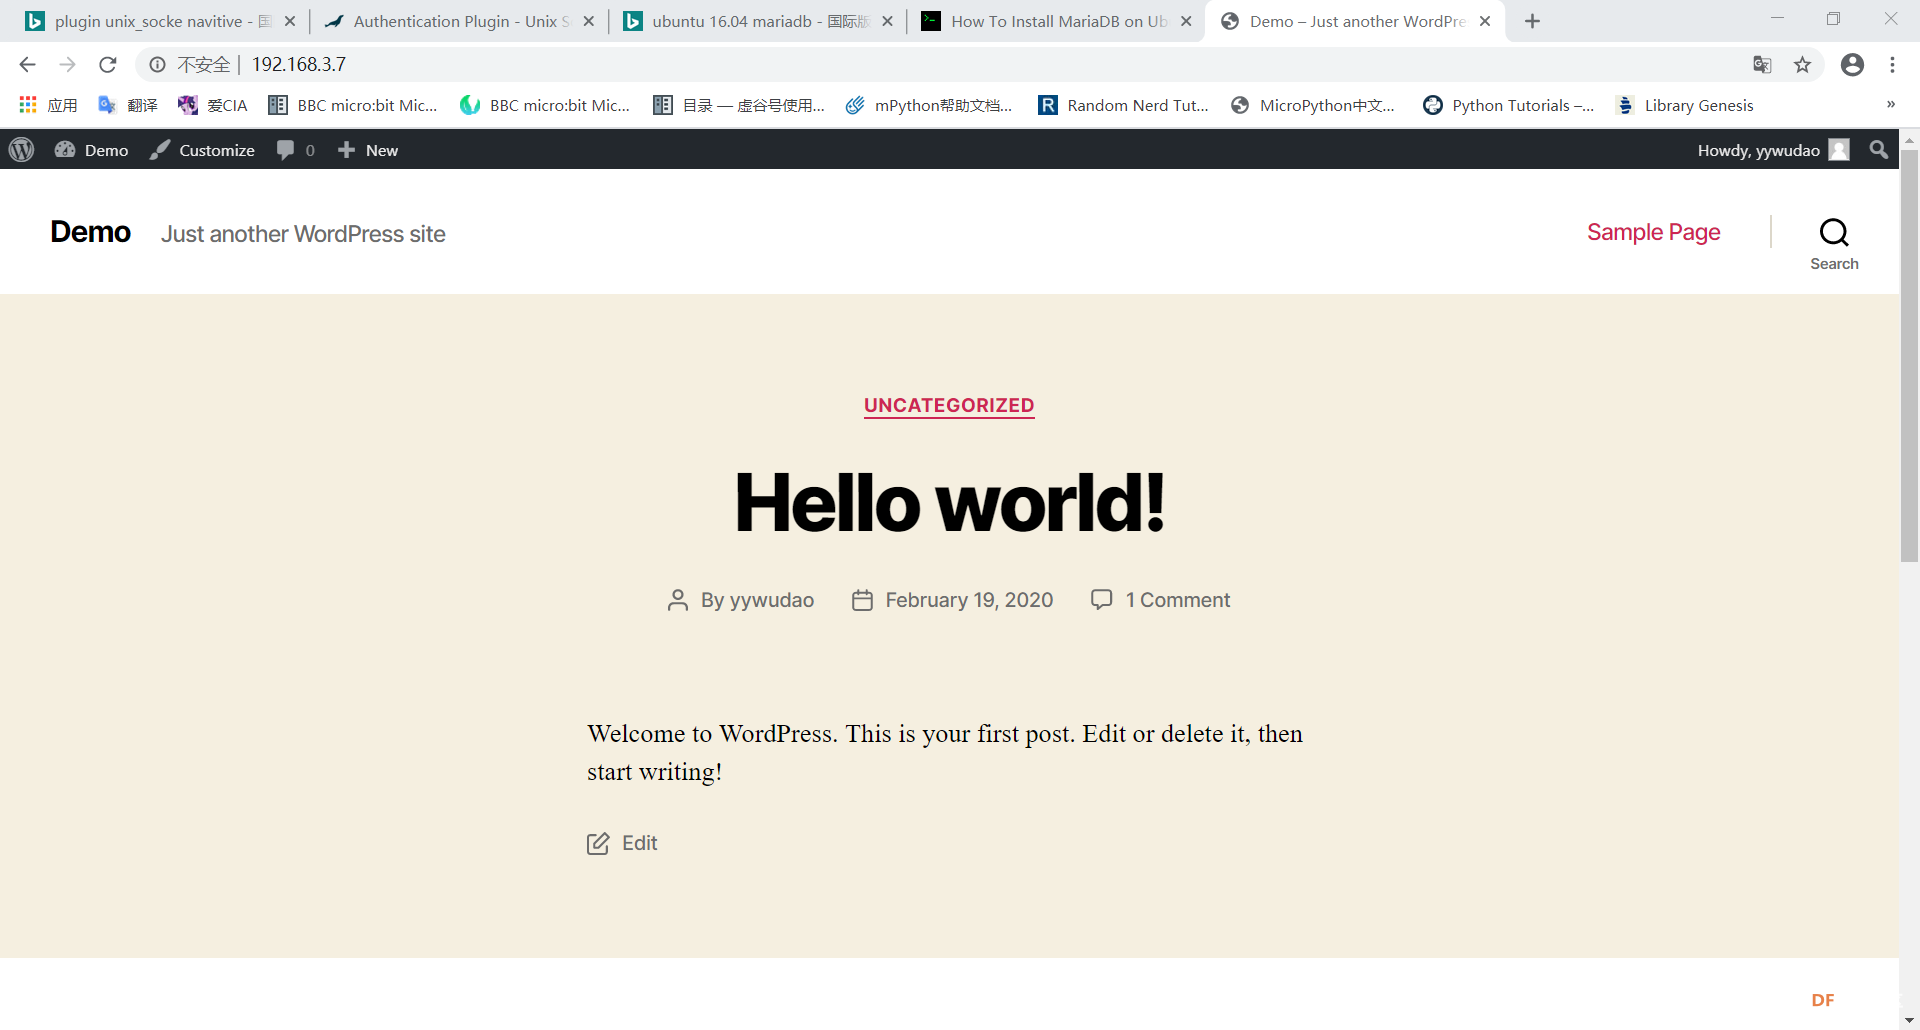
1. 配置上传权限问题
scope@localhost:~$ sudo chown -R www-data:www-data /var/www/html/
2. 配置上传图片大小
附录
参考内容:

 沪公网安备31011502402448