虚谷号搭建 NAS BT 下载器
一、挂载 U 盘
1. 查询分区
插入准备好的 U 盘(USB3.0),列出分区表
scope@localhost:~$ sudo fdisk -l

Disk /dev/sda: 14.5 GiB, 15518924800 bytes, 30310400 sectors
Units: sectors of 1 * 512 = 512 bytes
Sector size (logical/physical): 512 bytes / 512 bytes
I/O size (minimum/optimal): 512 bytes / 512 bytes
Disklabel type: dos
Disk identifier: 0x6132549e

设备       启动 Start   末尾   扇区     Size  Id 类型
/dev/sda1      2048  30310399 30308352 14.5G 83 Linux
我的 U 盘之前已经格式化了,此处显示 U 盘的设备分区为 sda
2. 格式化 U盘
对分区 /dev/sda 进行操作
scope@localhost:~$ sudo fdisk /dev/sda
[sudo] scope 的密码:

Welcome to fdisk (util-linux 2.27.1).
Changes will remain in memory only, until you decide to write them.
Be careful before using the write command.

命令(输入 m 获取帮助): d  # 删除分区
Selected partition 1
Partition 1 has been deleted.

命令(输入 m 获取帮助): n
Partition type
   p   primary (0 primary, 0 extended, 4 free)
   e   extended (container for logical partitions)
Select (default p):  # 只创建一个分区,一路默认回车

Using default response p.
分区号 (1-4, default 1):
First sector (2048-30310399, default 2048):
Last sector, +sectors or +size{K,M,G,T,P} (2048-30310399, default 30310399):

Created a new partition 1 of type 'Linux' and of size 14.5 GiB.

命令(输入 m 获取帮助): w  # 保存修改并退出
The partition table has been altered.
Calling ioctl() to re-read partition table.
Syncing disks.

scope@localhost:~$
格式化分区创建文件系统为 ext4 格式
scope@localhost:~$ sudo mkfs -t ext4 /dev/sda1
mke2fs 1.42.13 (17-May-2015)
/dev/sda1 contains a ext4 file system
        last mounted on /mnt on Sun Mar 22 14:28:26 2020
无论如何也要继续? (y,n) y
Creating filesystem with 3788544 4k blocks and 948416 inodes
Filesystem UUID: b54efb44-1a14-4e71-95ca-3cdd9177d2be
Superblock backups stored on blocks:
        32768, 98304, 163840, 229376, 294912, 819200, 884736, 1605632, 2654208

Allocating group tables: 完成
正在写入inode表: 完成
Creating journal (32768 blocks): 完成
Writing superblocks and filesystem accounting information: 完成

scope@localhost:~$
3. 挂载 U 盘
scope@localhost:~$ sudo mount /dev/sda1 /mnt
scope@localhost:~$ df -h
文件系统        容量  已用  可用 已用% 挂载点
/dev/root       6.7G  5.2G  1.2G   83% /
devtmpfs        446M     0  446M    0% /dev
tmpfs           446M   84K  446M    1% /dev/shm
tmpfs           446M   12M  434M    3% /run
tmpfs           5.0M  4.0K  5.0M    1% /run/lock
tmpfs           446M     0  446M    0% /sys/fs/cgroup
tmpfs            90M   32K   90M    1% /run/user/1000
/dev/mmcblk2p7  128M   75M   54M   59% /home/scope/vvBoard
/dev/sda1        15G   37M   14G    1% /mnt
scope@localhost:~$
scope@localhost:~$ sudo vim /etc/fstab # 编辑文件分区表
添加:/dev/sda1 /mnt ext4 defaults 1 1
scope@localhost:~$ sudo hdparm -Tt /dev/sda

/dev/sda:
 Timing cached reads:   1616 MB in  2.00 seconds = 807.57 MB/sec
 Timing buffered disk reads: 102 MB in  3.05 seconds =  33.46 MB/sec
scope@localhost:~$
二、设置 SAMBA
虚谷号系统已经安装了 samba 和 samba-common-bin
1. 创建共享数据的文件夹
scope@localhost:~$ cd /mnt/
scope@localhost:/mnt$ sudo mkdir data
2. 设置文件夹权限
scope@localhost:/mnt$ sudo chown -R root:scope /mnt/data
# 设置拥有者为 root 用户, scope 用户组

scope@localhost:/mnt$ ls -l
总用量 20
drwxr-xr-x 2 root scope  4096 3月  22 15:16 data
drwx------ 2 root root  16384 3月  22 14:45 lost+found

scope@localhost:/mnt$ sudo chmod -R ug=rwx,o=rx /mnt/data/
# 设置对文件的读、写、执行权限

scope@localhost:/mnt$ ls -l
总用量 20
drwxrwxr-x 2 root scope  4096 3月  22 15:16 data
drwx------ 2 root root  16384 3月  22 14:45 lost+found
scope@localhost:/mnt$
3. 配置 SAMBA
scope@localhost:/mnt$ sudo vim /etc/samba/smb.conf
'''
[共享文件名]
    comment = 对共享的注释说明
    path = 共享目录路径
    valid users = 允许访问该共享的用户名
    force group = 创建的文件拥有组是
    create mask = 创建的文件权限为
    directory mask = 创建的文件夹权限为
    read only = 对共享资源是否只读
'''
[public]
   comment = public storage
   path = /mnt/data
   valid users = scope
   force group = scope
   create mask = 0660
   directory mask = 0771
   read only = no
scope@localhost:/mnt$ sudo /etc/init.d/samba-ad-dc restart
[ ok ] Restarting samba-ad-dc (via systemctl): samba-ad-dc.service.

# 或者
scope@localhost:~$ sudo service smbd restart
4. 查看共享文件
虚谷号系统已经为 samba 添加了用户 scope
Windows系统下,文件夹输入 \\xxx.xxx.xxx(虚谷号的 IP 地址)
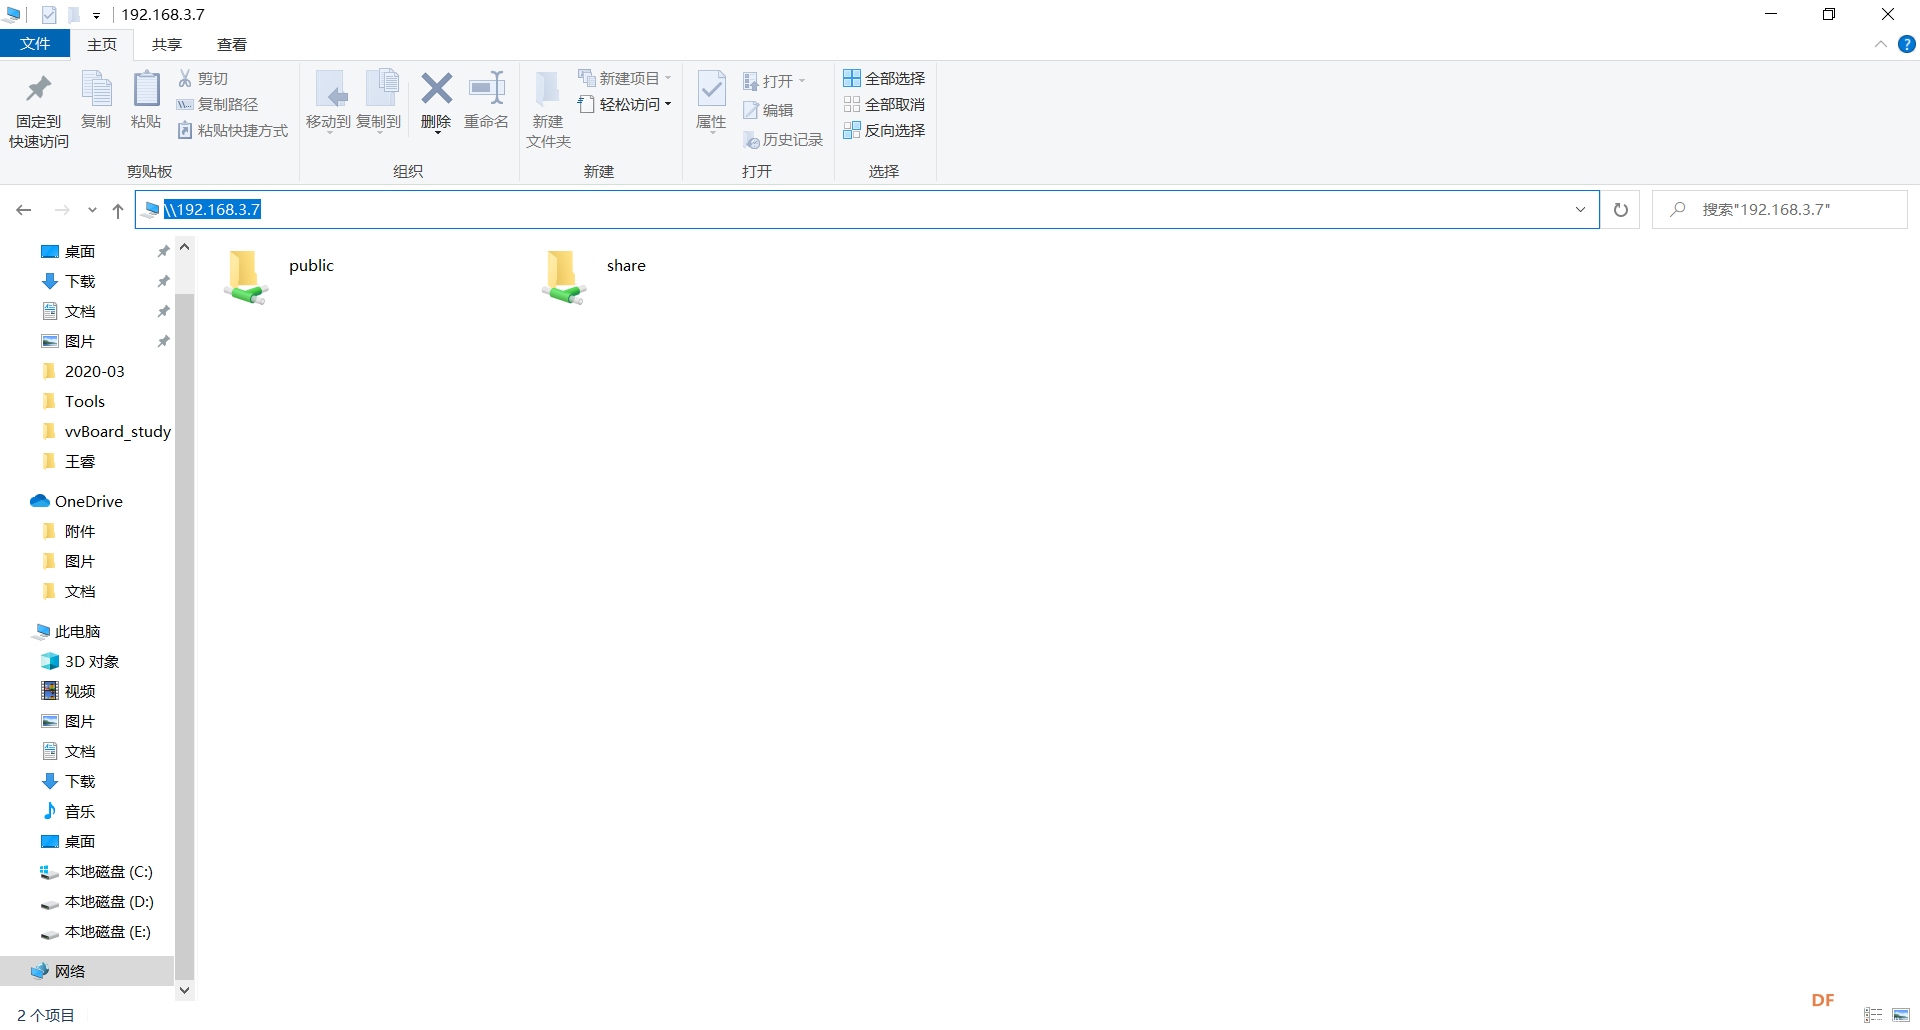
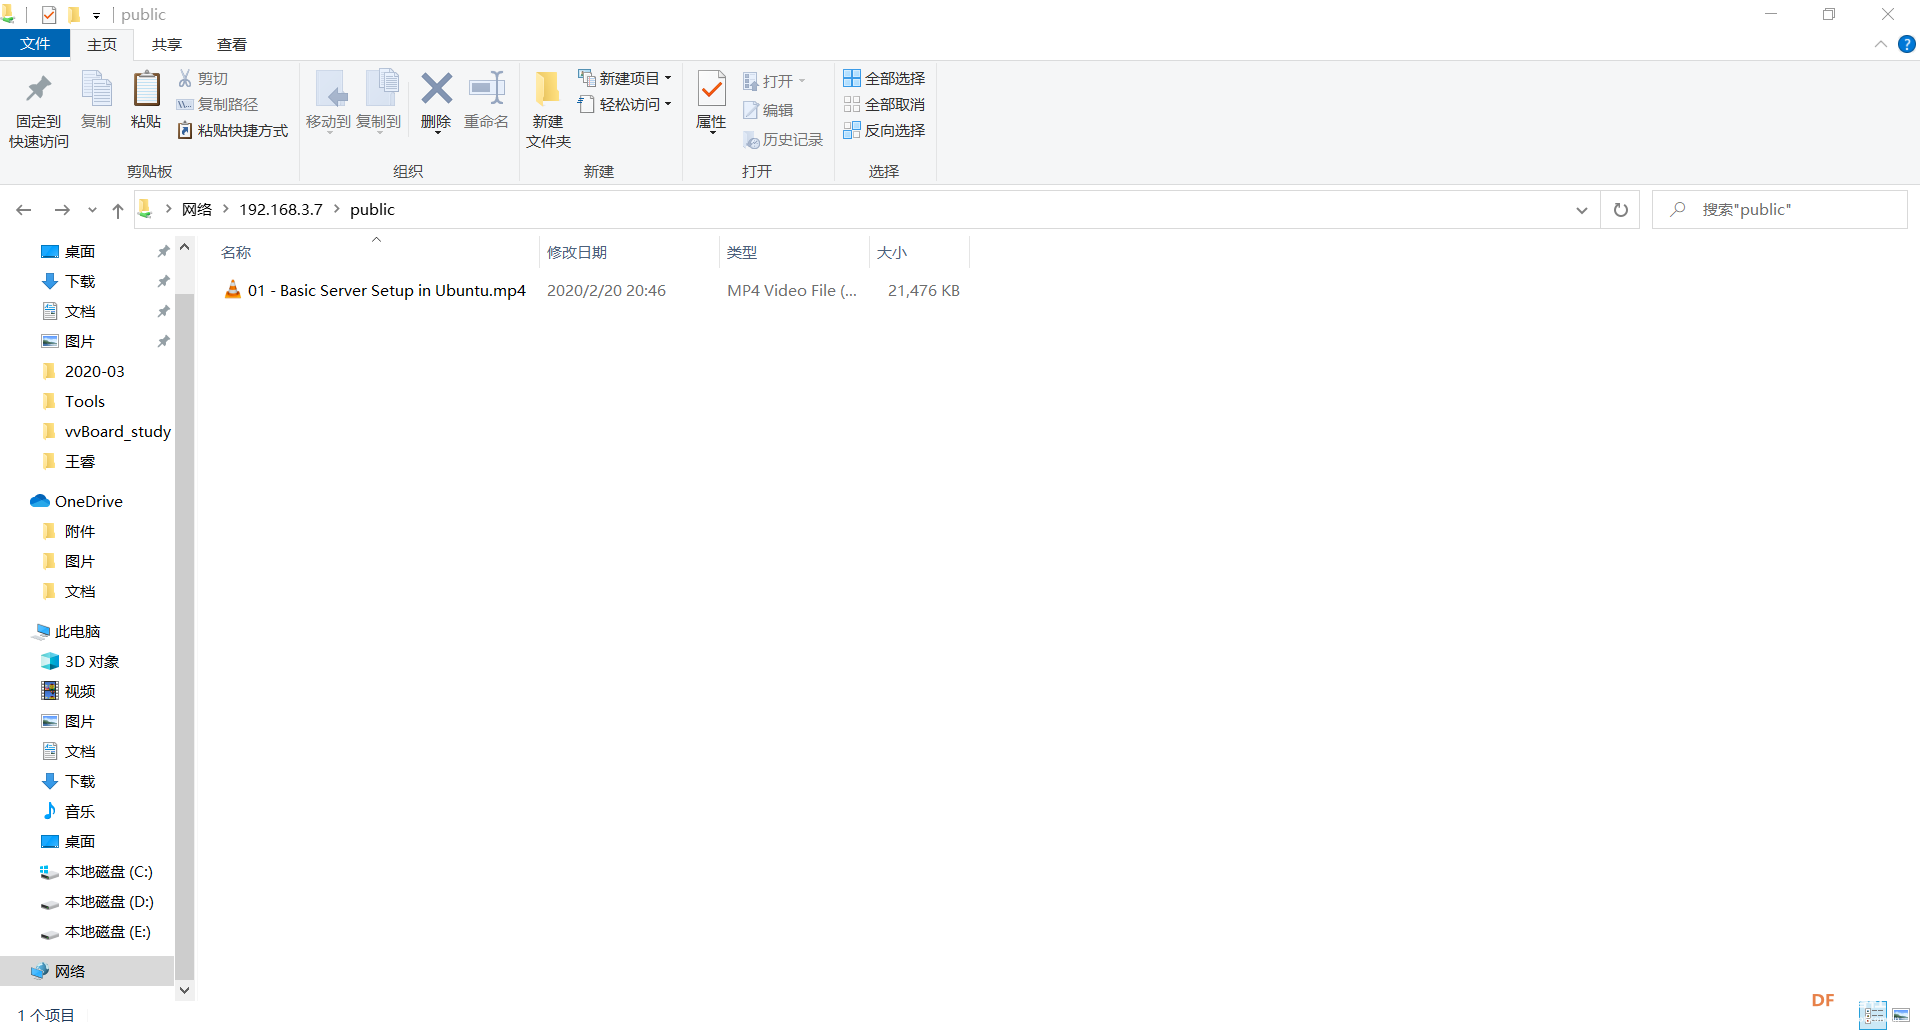
public 是我们在配置文件中新创建的,share 为虚谷号系统本身创建的。打开共享的文件夹,用户名、密码为虚谷号的scope 用户名、密码。可以利用这个共享文件夹,与Windows系统下的文件进行互相传输。
三、KODI
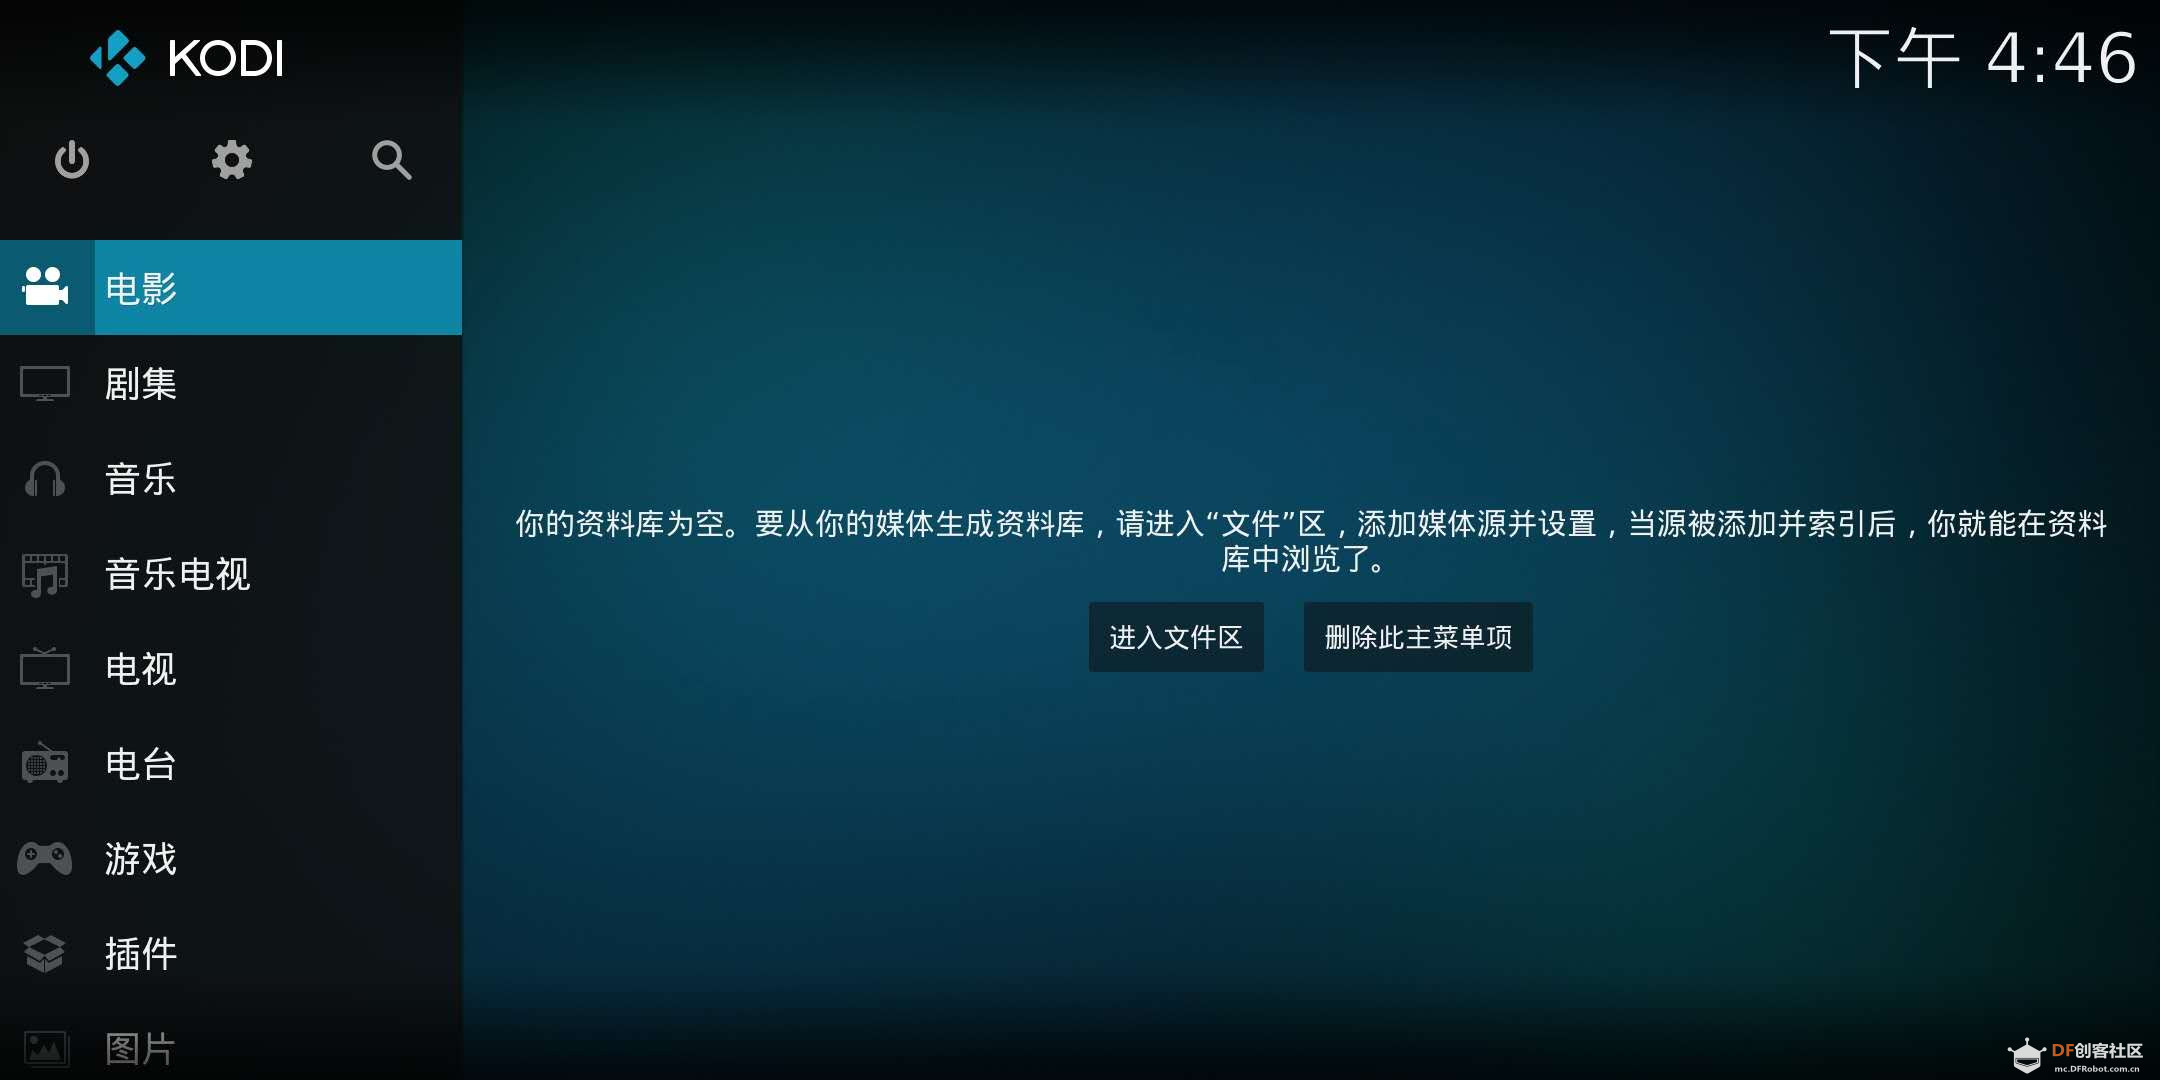
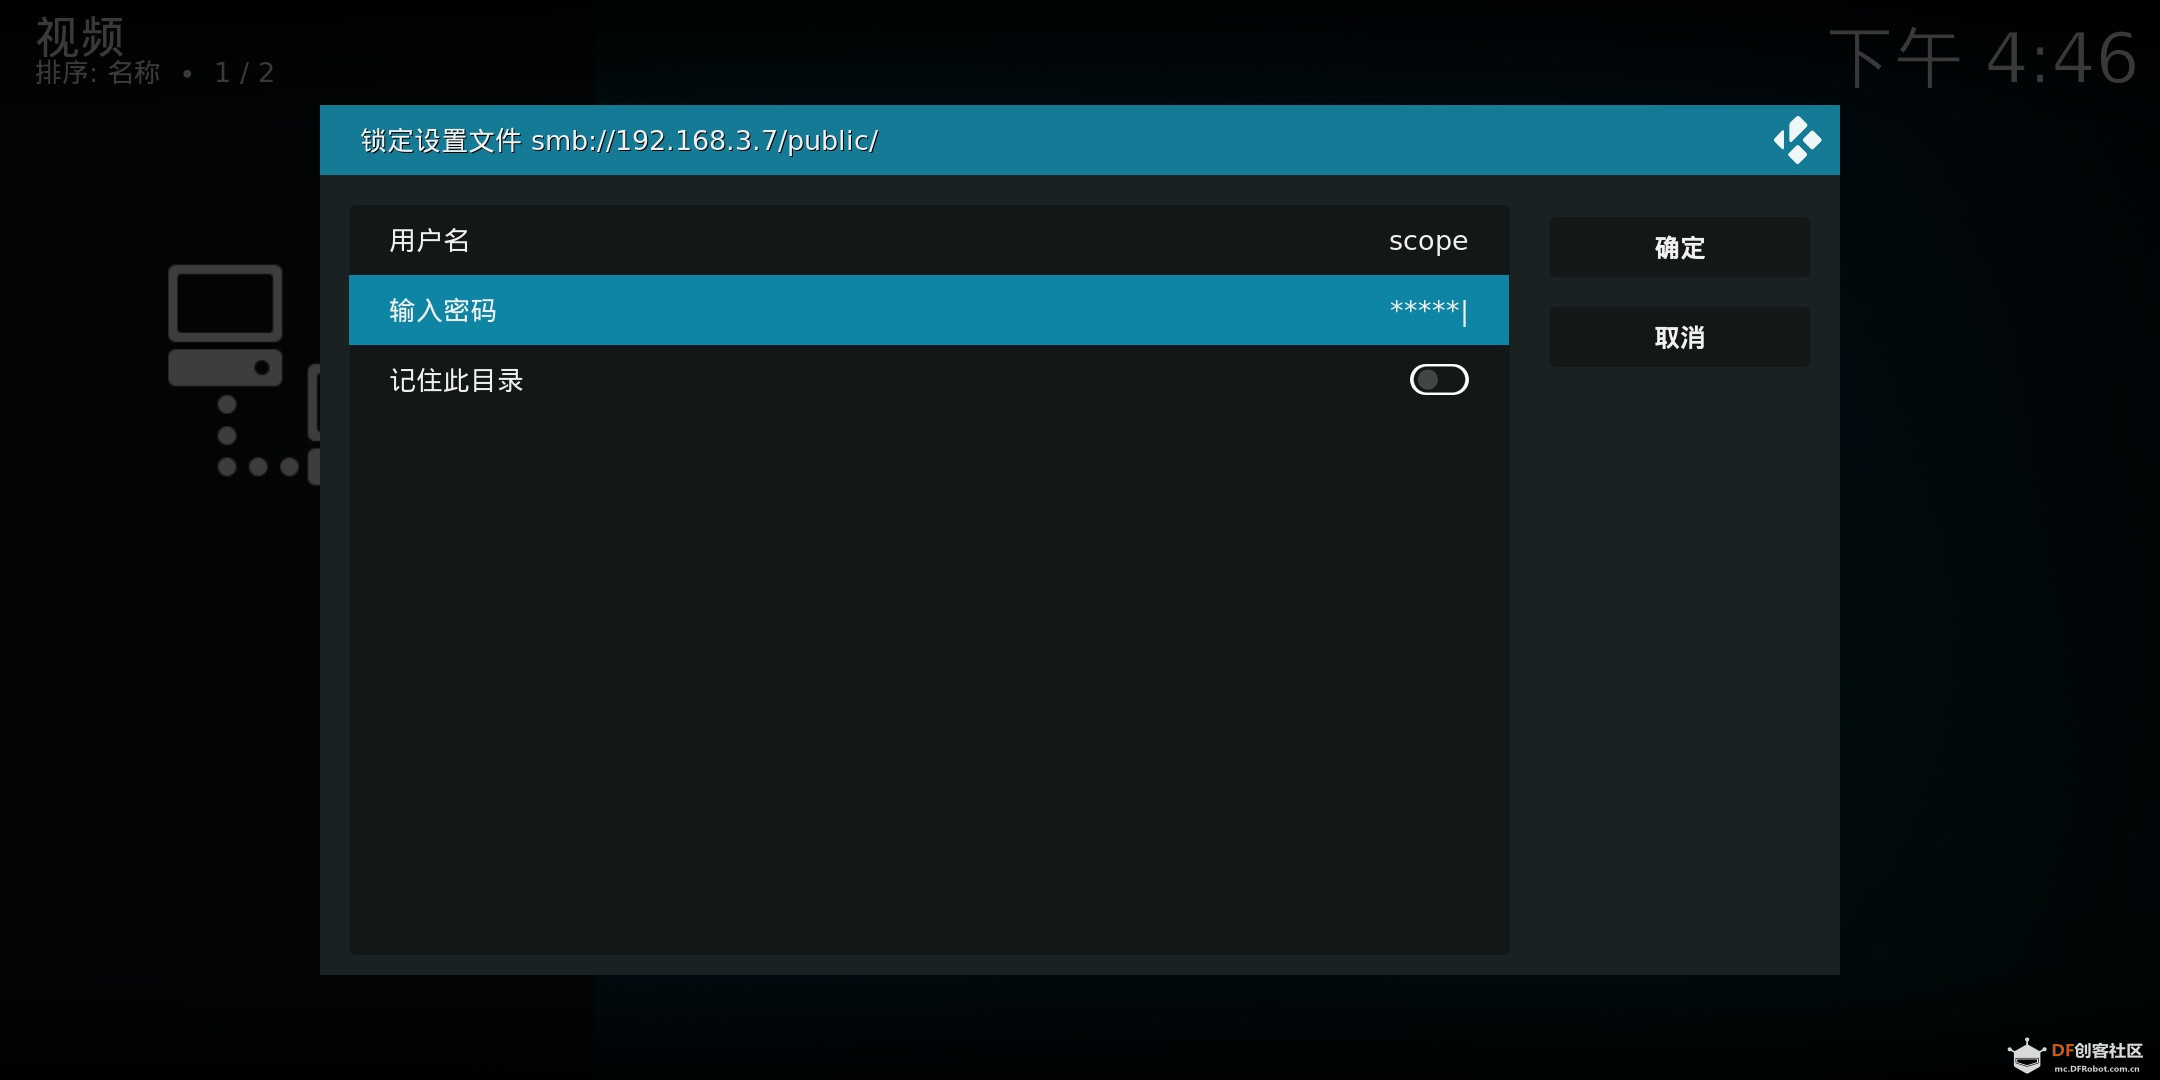
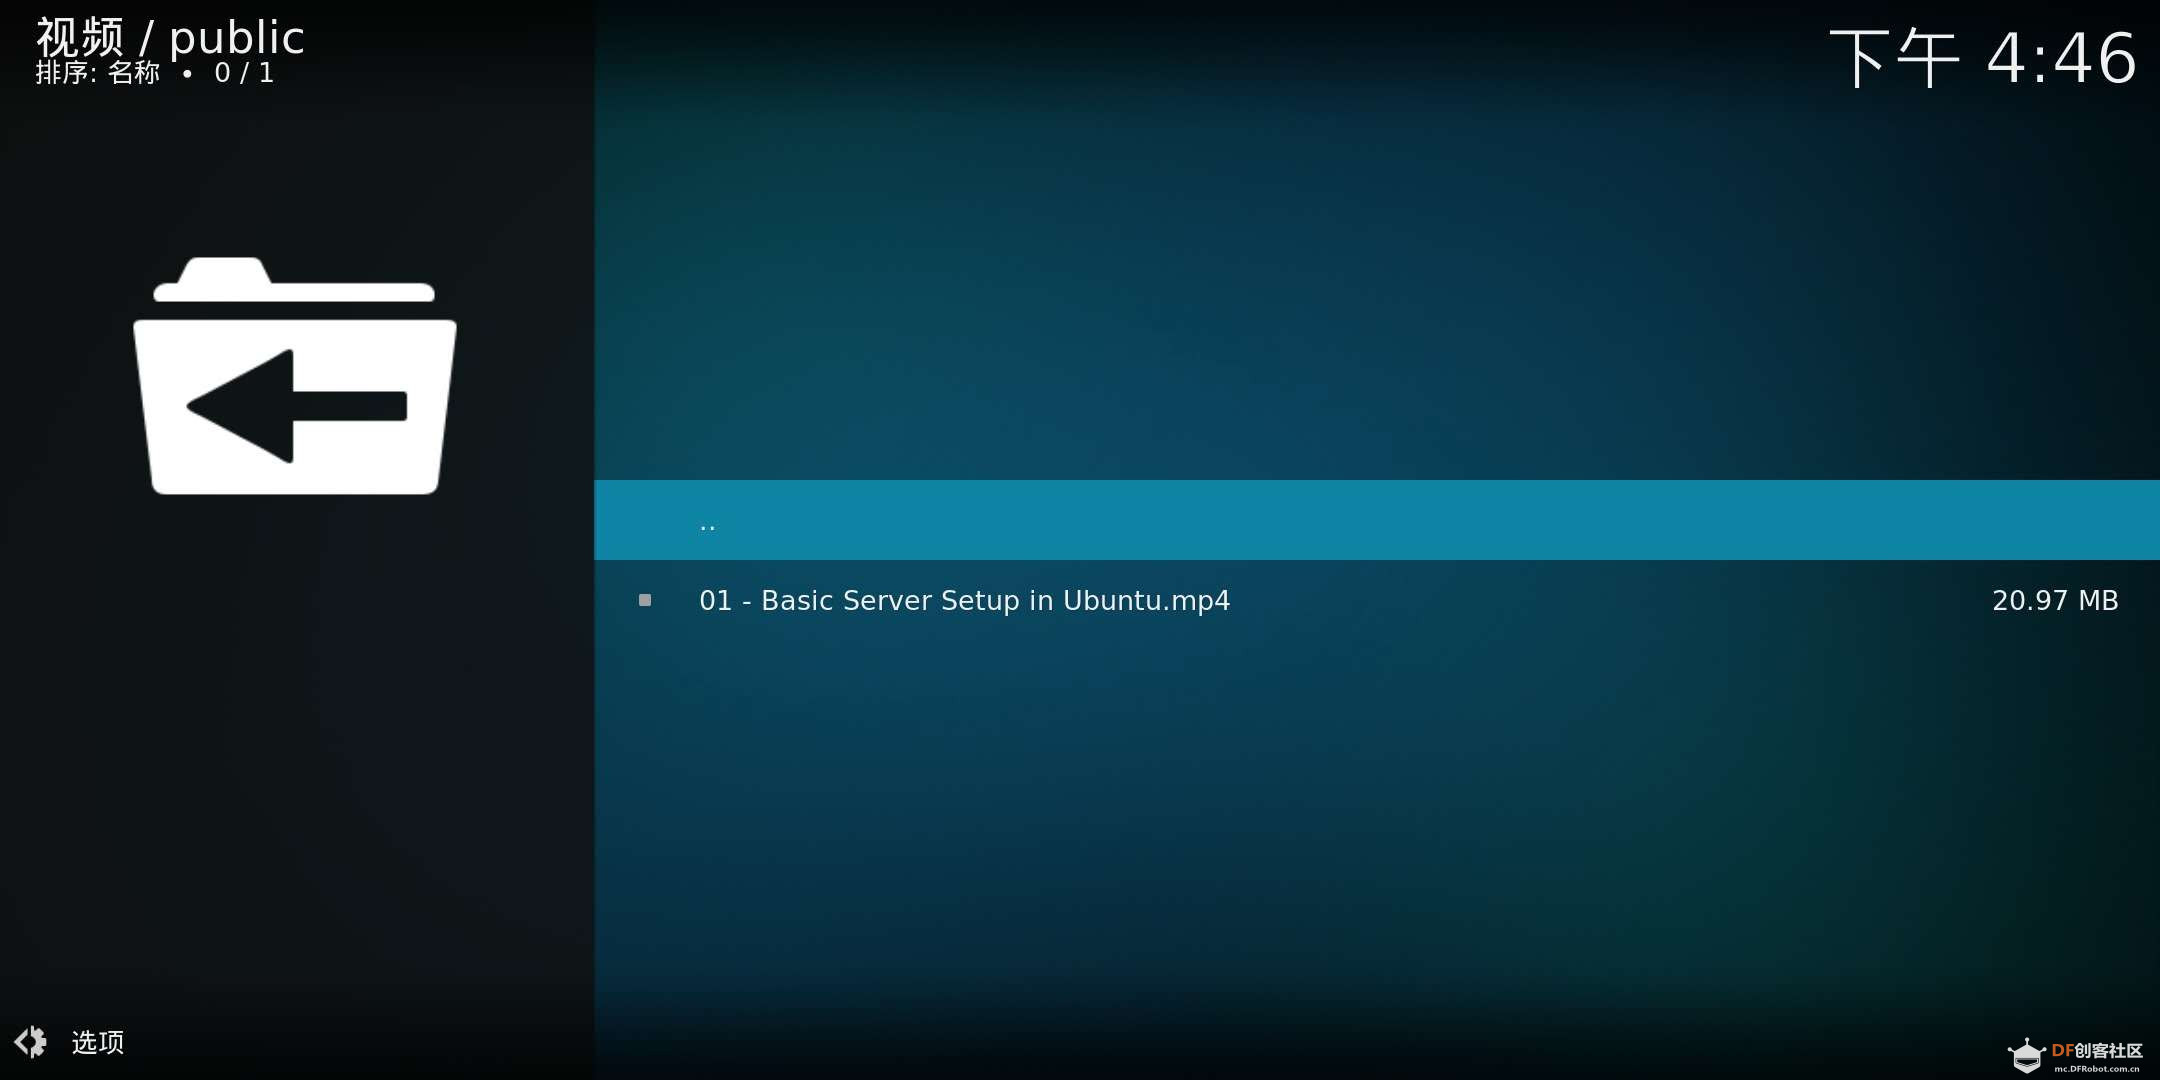
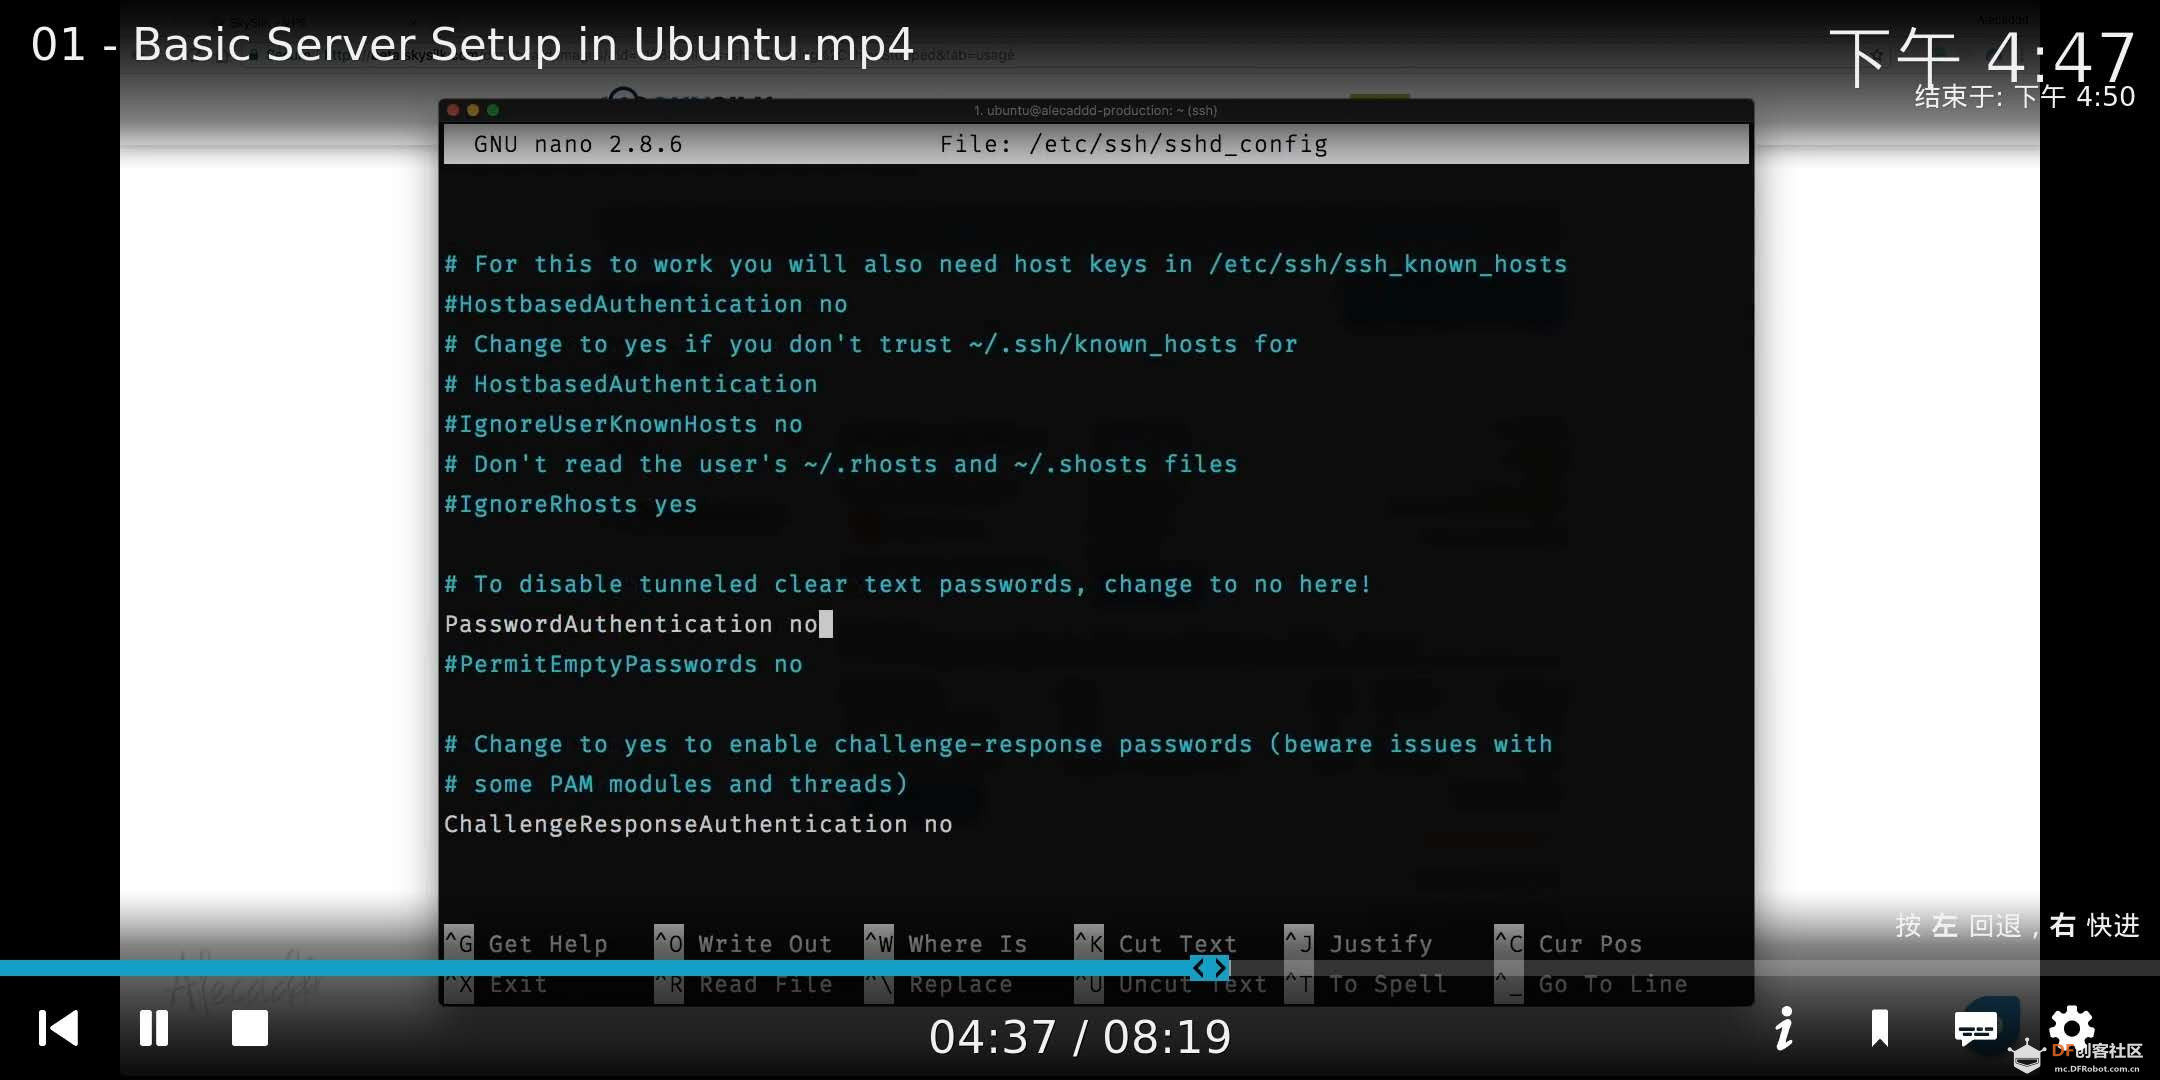
电视端、手机端安装KODI,创建 SMB 链接即可播放存储在虚谷号挂载的 U 盘上的音频、视频、图片数据。
四、Transmission
1. 创建文件夹
创建用于 Transmission 下载的文件夹
scope@localhost:~$ sudo mkdir -p /mnt/data/transmission/incomplete  # 存放下载中的数据
scope@localhost:~$ sudo mkdir -p /mnt/data/transmission/completed  # 存放下载完成的数据
2. 安装 Transmission
scope@localhost:~$ sudo apt install transmission-daemon
1). 添加用户组
把 scope 用户添加到 Transmission 的 debian-transmission 用户组中
scope@localhost:~$ sudo usermod -a -G debian-transmission scope
2.) 修改文件夹用户组
scope@localhost:~$ sudo chgrp debian-transmission /mnt/data/transmission/incomplete/
scope@localhost:~$ sudo chgrp debian-transmission /mnt/data/transmission/completed/

scope@localhost:~$ ls -l /mnt/data/transmission/
总用量 8
drwxr-xr-x 2 root debian-transmission 4096 3月  22 18:16 completed
drwxr-xr-x 2 root debian-transmission 4096 3月  22 18:15 incomplete
3.) 修改文件夹权限
scope@localhost:~$ sudo chmod 770 /mnt/data/transmission/incomplete/
scope@localhost:~$ sudo chmod 777 /mnt/data/transmission/completed/

scope@localhost:~$ ls -l /mnt/data/transmission/
总用量 8
drwxrwxrwx 2 root debian-transmission 4096 3月  22 18:16 completed
drwxrwx--- 2 root debian-transmission 4096 3月  22 18:15 incomplete
4.) 修改配置文件
scope@localhost:~$ sudo vim /etc/transmission-daemon/settings.json
我这边修改了下载的文件夹路径、IP 白名单
"download-dir": "/mnt/data/transmission/completed",
"incomplete-dir": "/mnt/data/transmission/incomplete",
"incomplete-dir-enabled": true,
"rpc-whitelist": "127.0.0.1, 192.168.3.*",
配置文件生效
scope@localhost:~$ sudo service transmission-daemon reload
3. 访问 Transmission
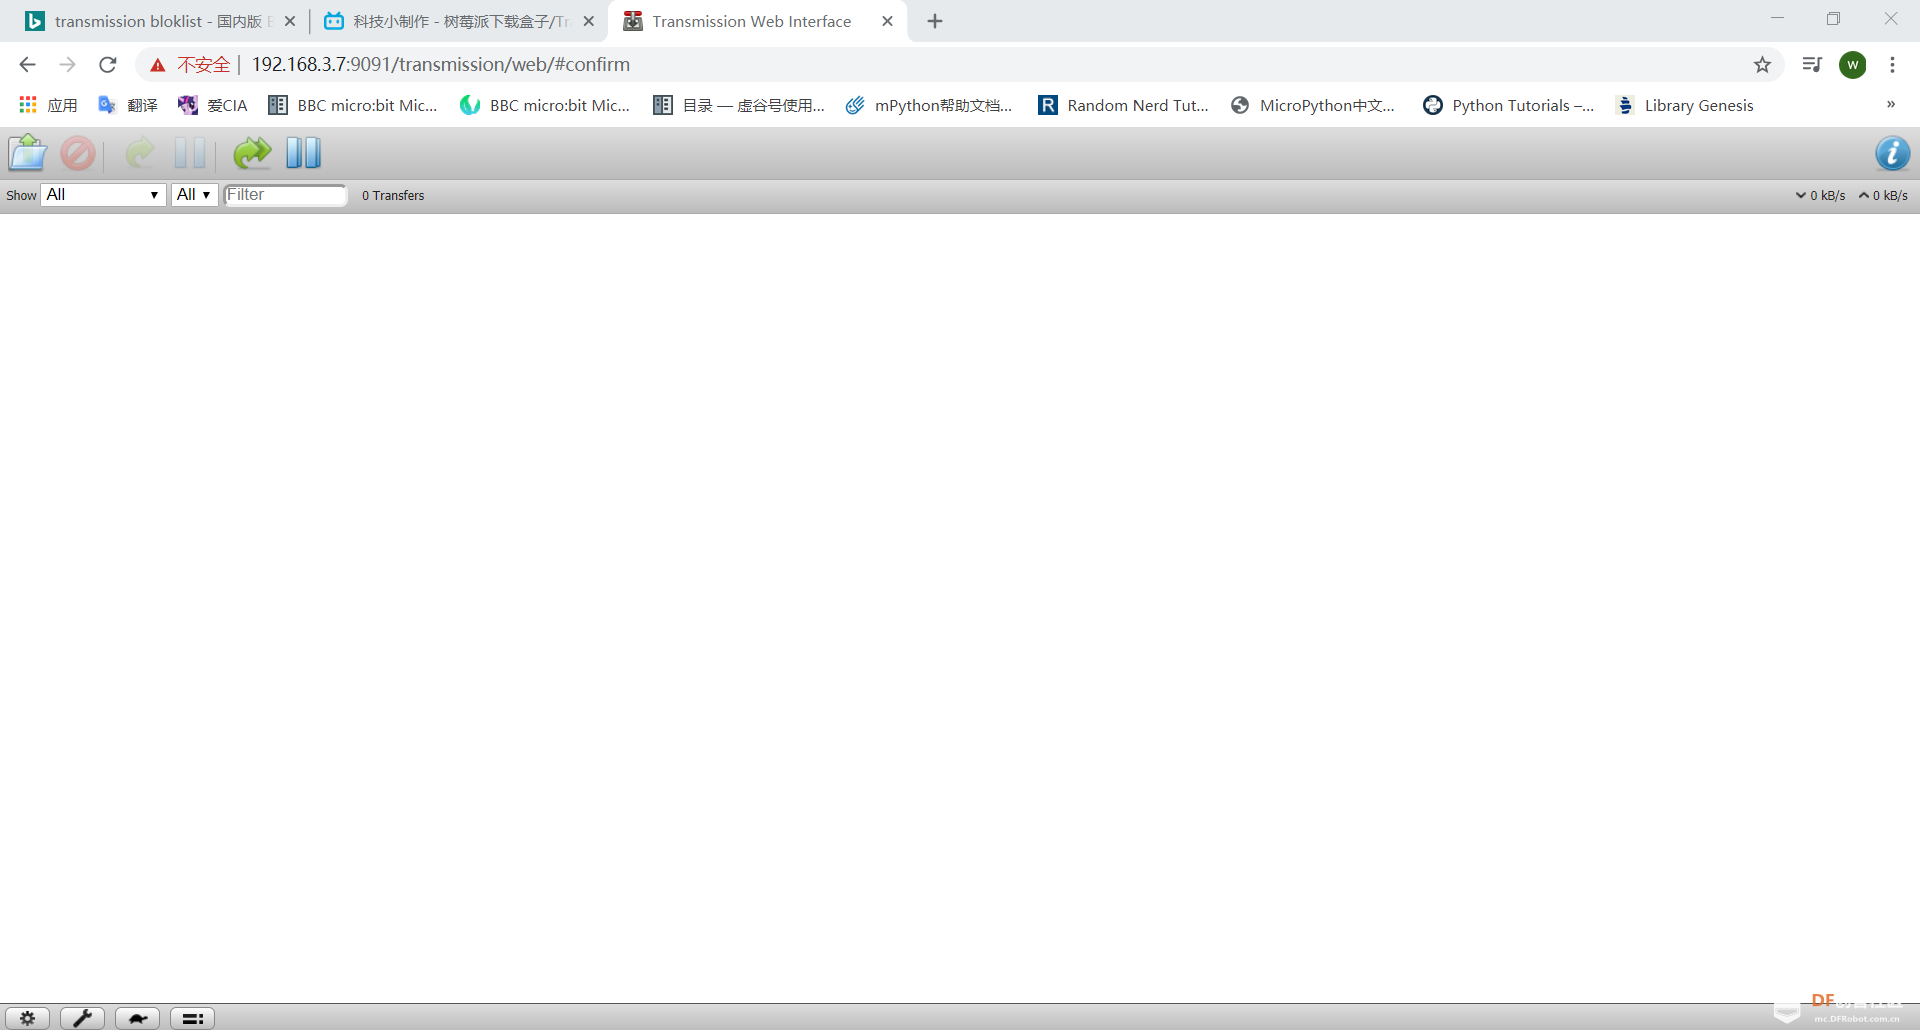
浏览器访问 Transmission,xxx.xxx.xxx:9091( 虚谷号 IP 地址 : 端口号[9091])
默认的用户名和密码均为 transmission
总结
最终,在虚谷号上搭建了 BT 下载器,下载好的视频,可以在电视端、手机端用 KODI 来进行播放。
附录
1. 参考资料
 沪公网安备31011502402448