本帖最后由 gada888 于 2022-4-19 14:32 编辑
做了个小车。游戏手柄控制,远距离遥控。除了能用遥杆控制小车的左右转和前进,停止外,还能通过遥控扩展板上的那四个按钮控制一个伺服,一个镭射灯和额外两个马达。这个小车是外表和普通小车差不多,但是本意是做个Tank的。之所以还不是Tank。是因为炮塔因为各种原因还没到货。而代码是写来驱动Tank的。这个贴文讲小车的基本功能。遥杆的上是前进,下是停止,左是左转,右是右转。而开炮部分不做解释。有兴趣的可以看看代码。里面都涵盖了。
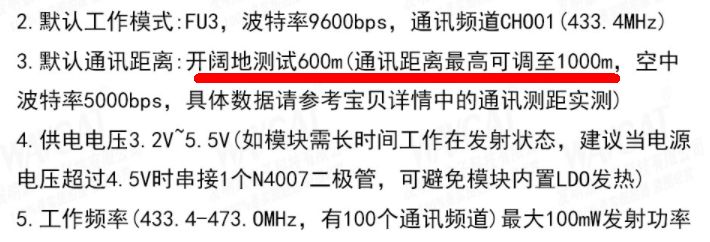
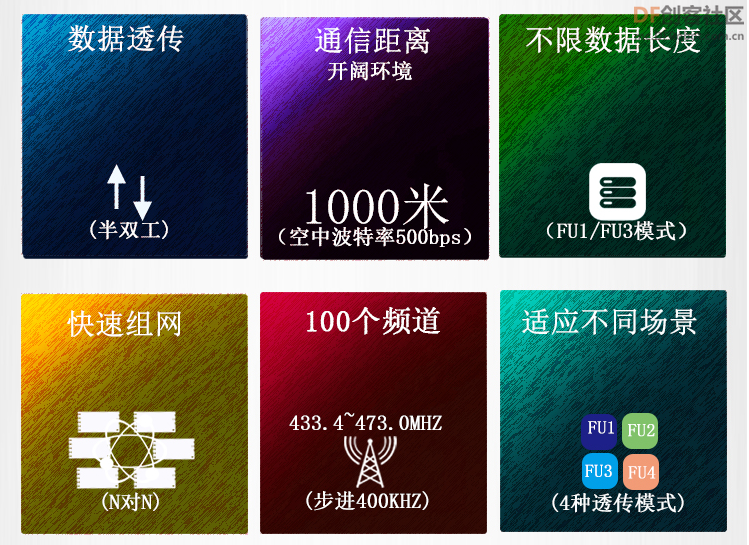
问:为什么用HC12遥控模块。
因为这个模块控制的距离远达1KM.
问:为什么用遥控扩展模块而不是蓝牙什么的
因为1.不用担心掉在地上摔坏,2,提供了足够多的8个按键。
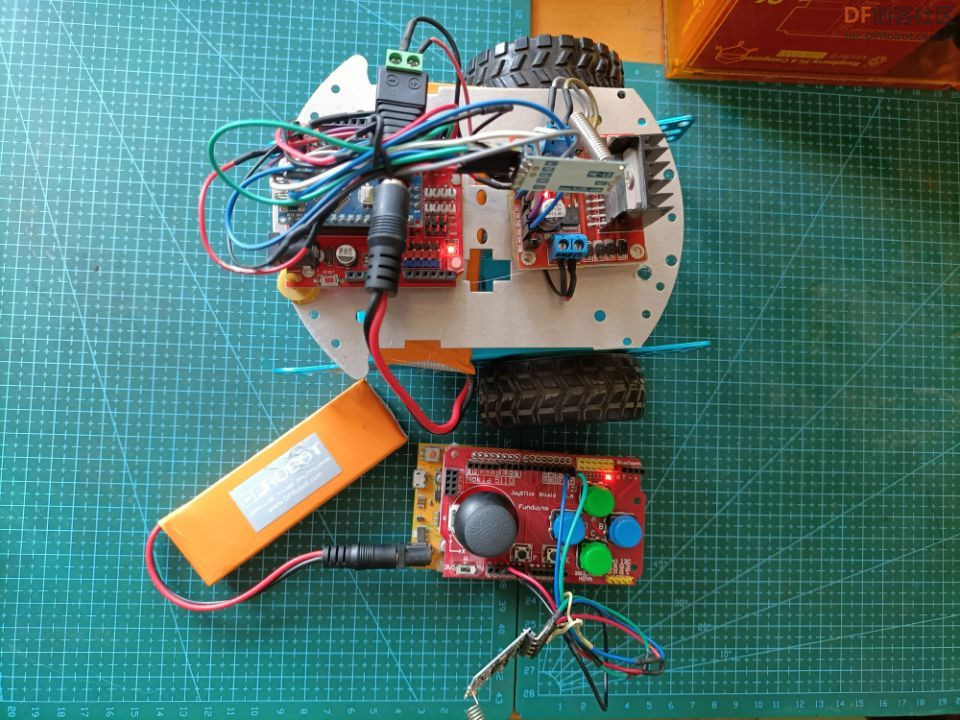
一-先奉上照片一览
全家福
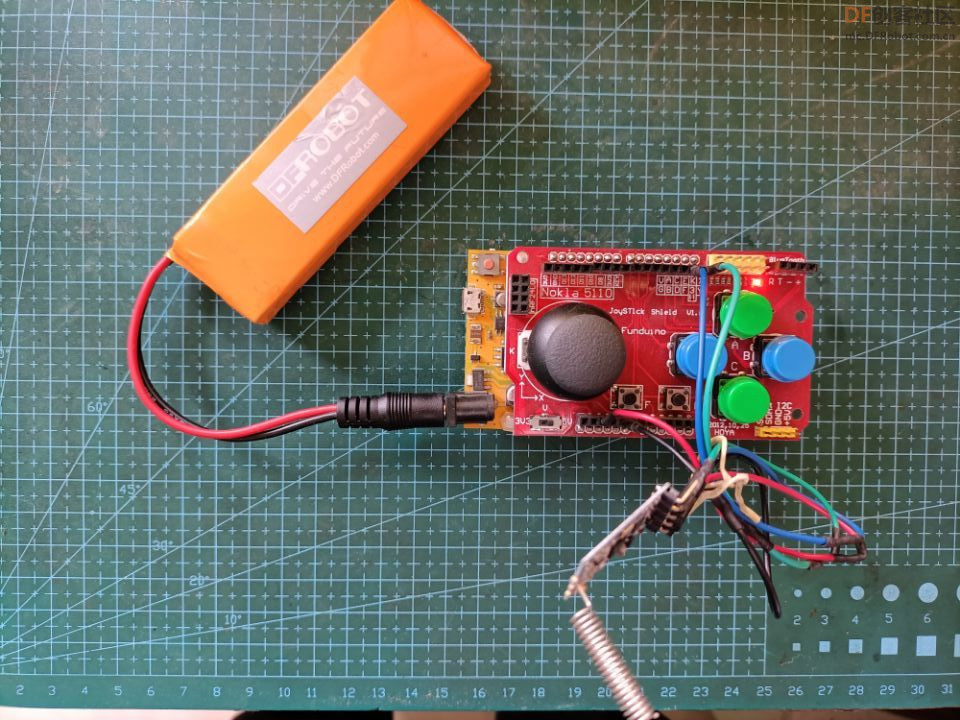
发射端的帅照
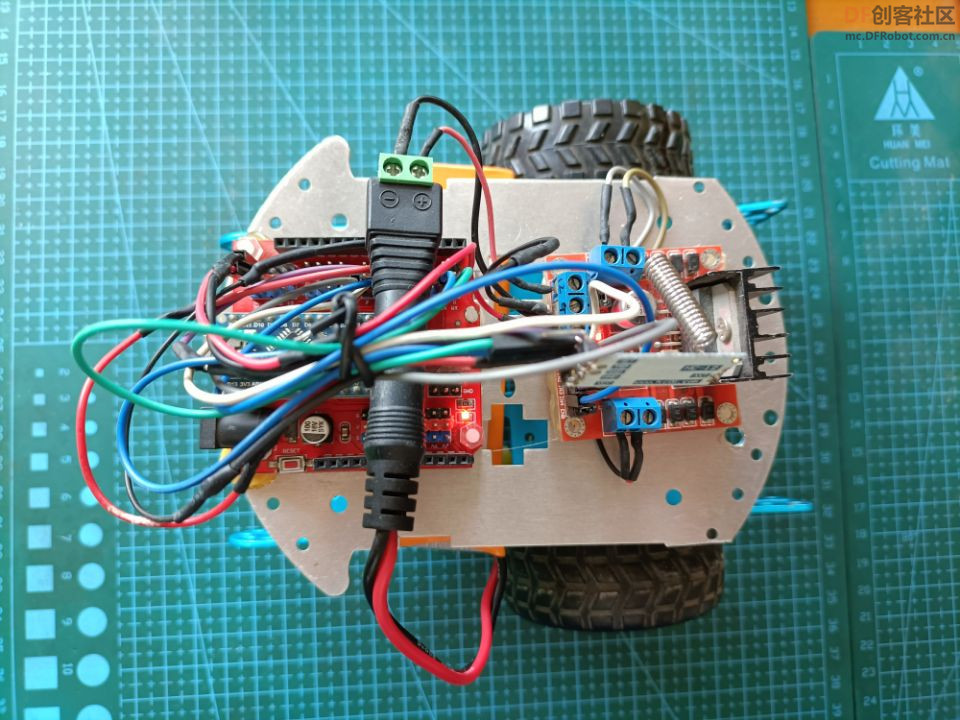
接收端的帅照
二-硬件清单
| 序号 | 产品名称 | 数量 | 备注和链接 | | 1 | Arduino uno | 1 | 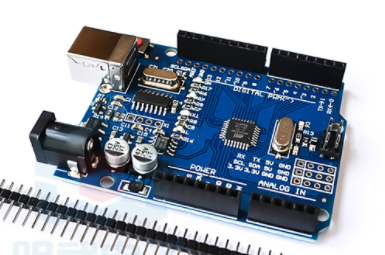 | | 2 | arduuino nano | 1 | 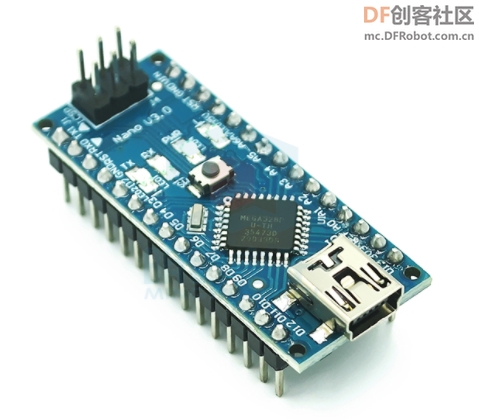 | | 3 | nano扩展板 | 1 |  | | 4 | HC12 | 2 | 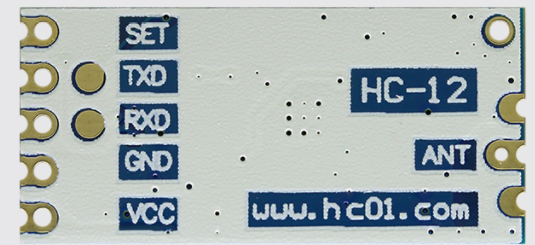 | | 5 | 小车底盘 | 1 | 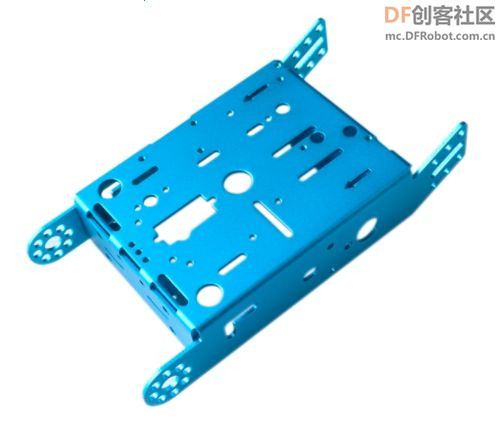 | | 6 | L298N电机驱动 | 1 | 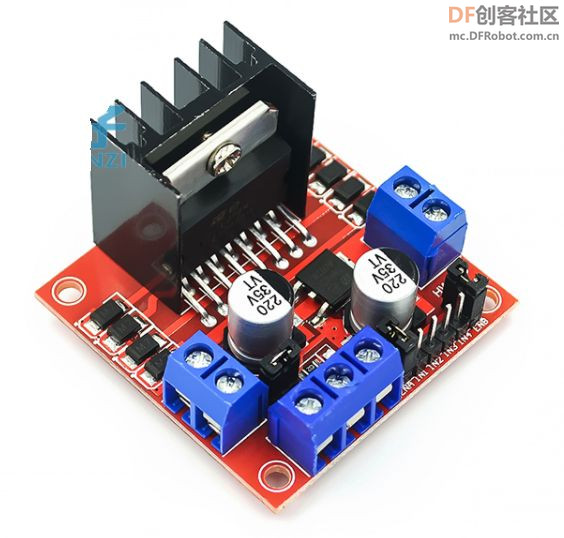 | | 7 | joystick module | 1 | 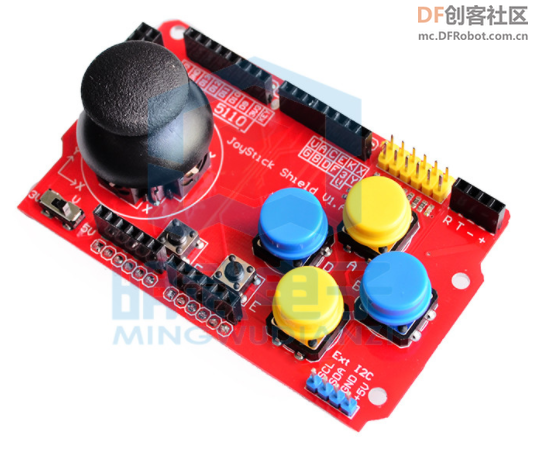 | | 8 | 36CM车轮 | 2 | 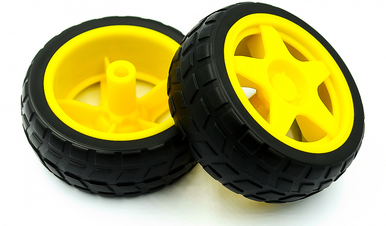 | | 9 | 小车前轮 | 1 | 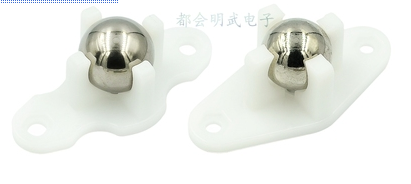 | | 10 | 直流电机 | 2 | 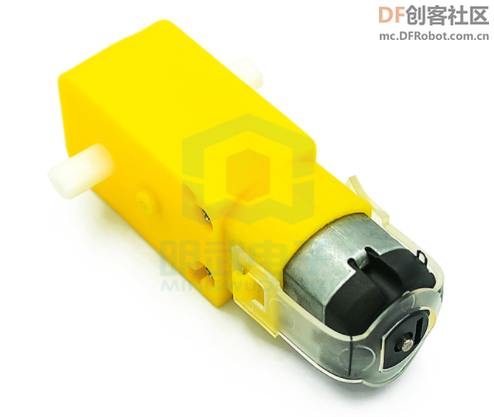 | | 11 | 7.4V锂电池 | 2 | 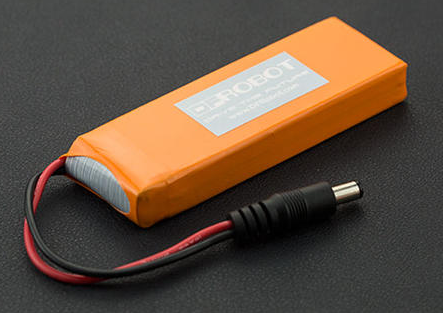 |
三-下面重点说一下无线模块
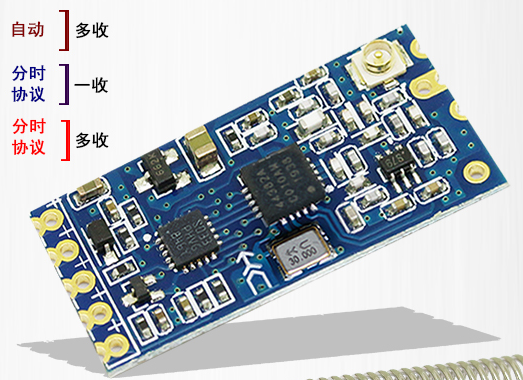
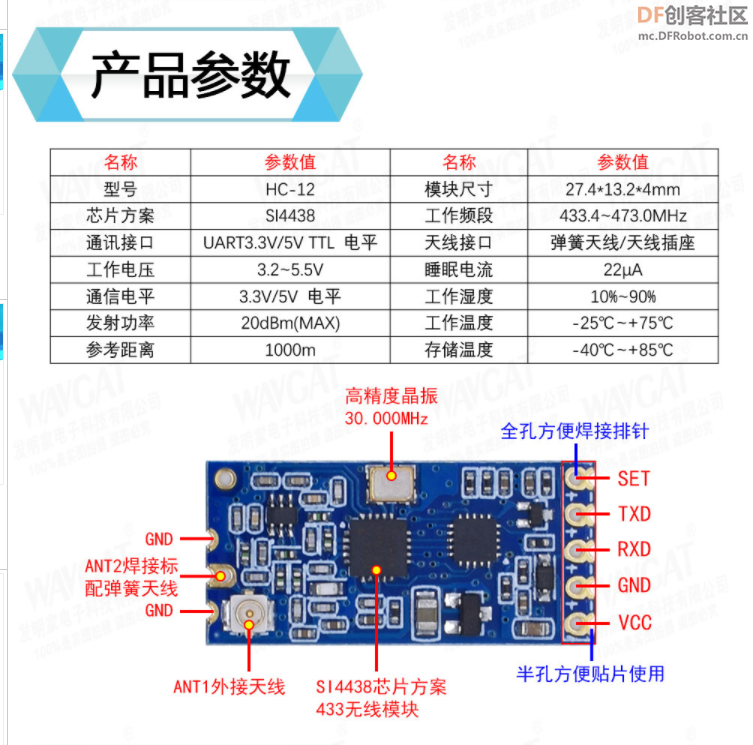
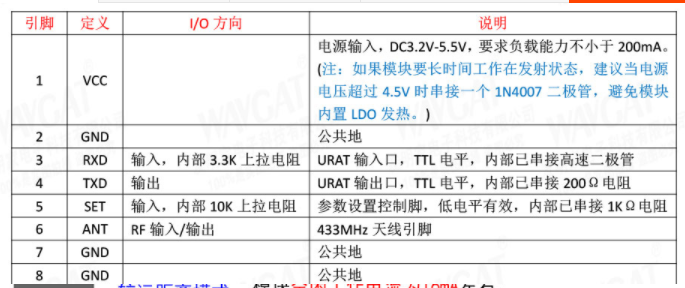
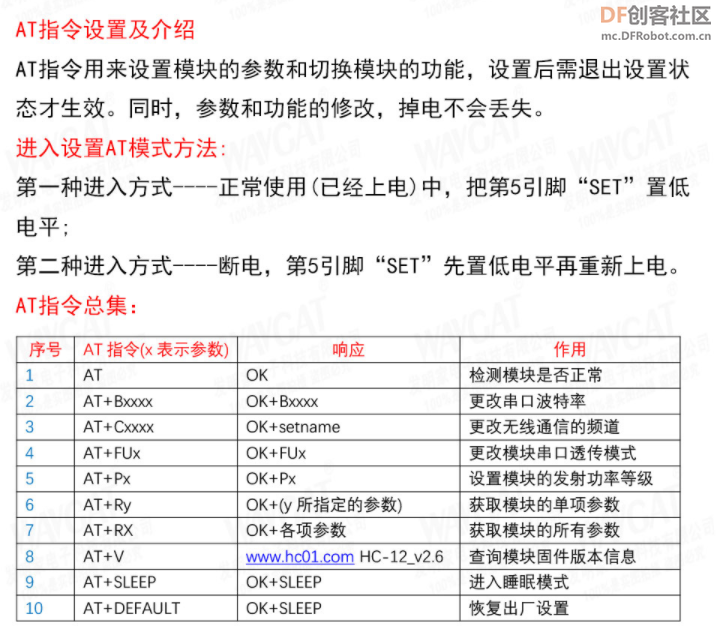
重点:HC12因为是串口模块。调试其实很方便。发射端手动发射信号时候,你观察接收端主控,我这里是arduino nano。主控的信号led会亮。这就表示接受到了信号。我没使用AT指令,嫌麻烦。
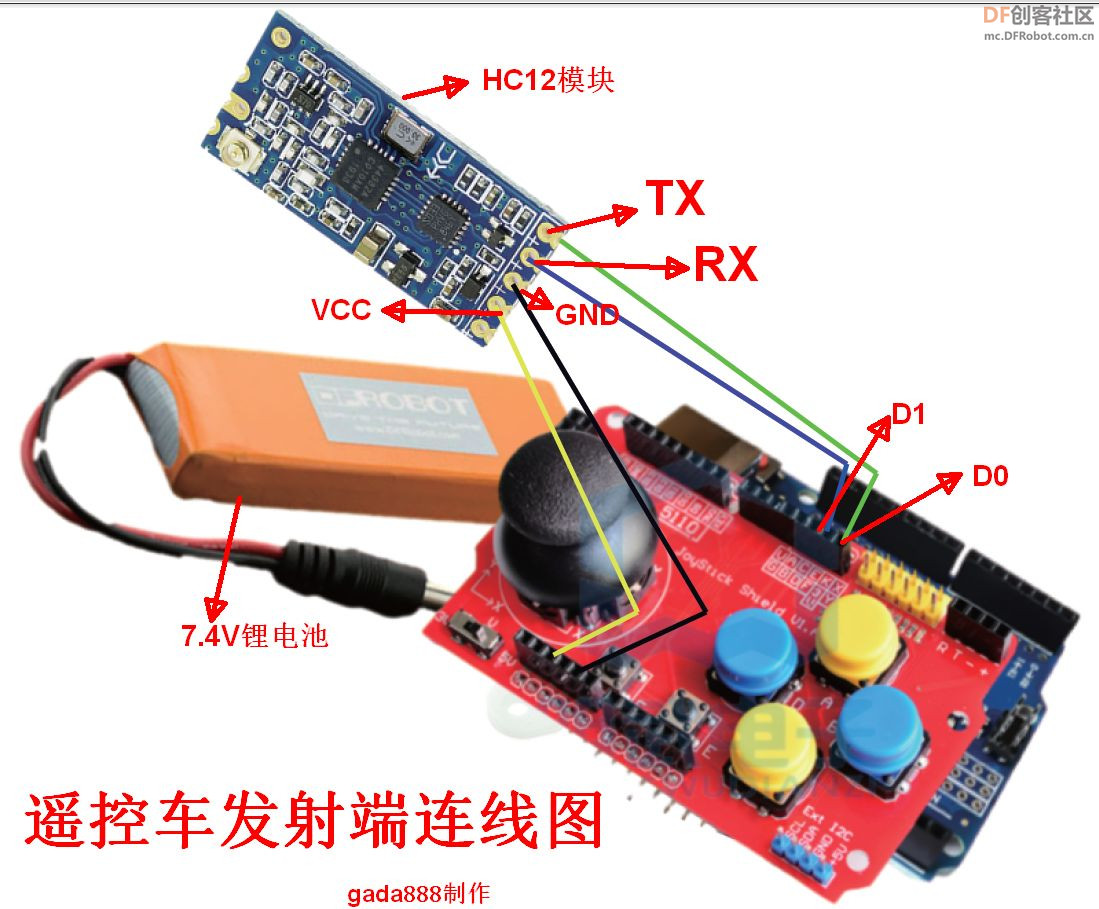
四-接线图
1.发射端接线图
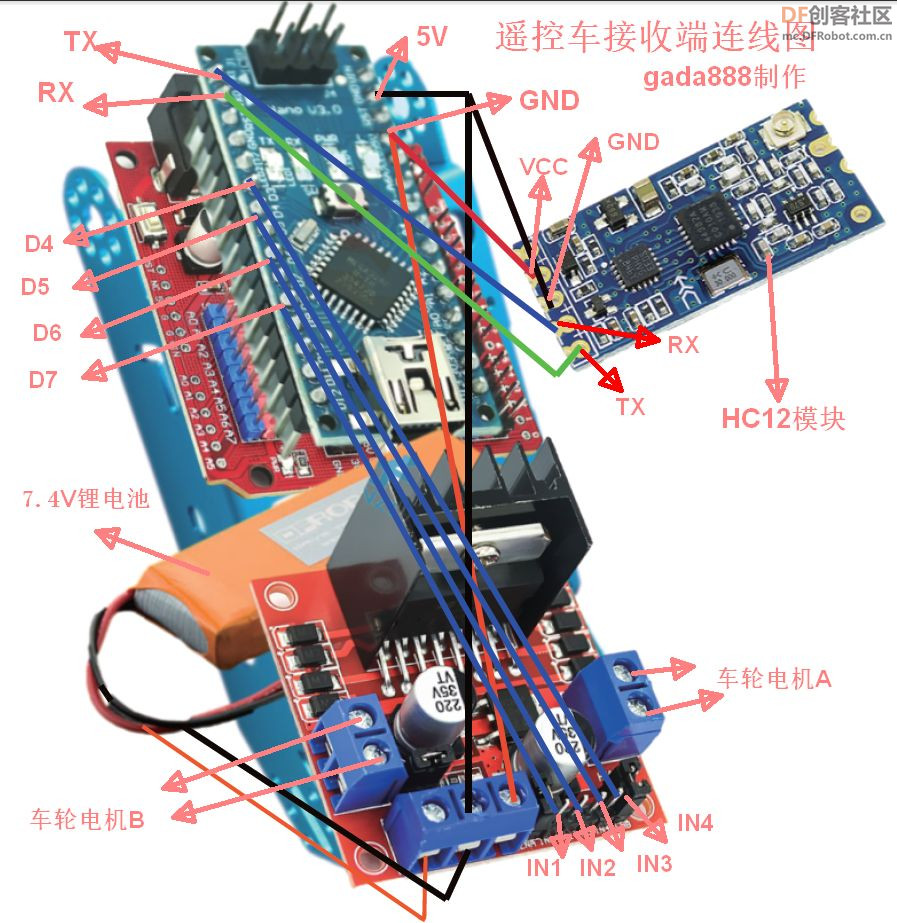
2.接收端接线图
五,代码部分。
代码内容只是对重点部分有做了注释,虽然两段代码一共200多行。但其实涵盖很多基础内容。堪称一个项目半本书。

发射端代码
- /*这个炮车程序由gada888于2022-04-18原创首发于DFRobot论坛,如需转载请注明来源。谢谢*/
-
- #define joyX A0
- #define joyY A2
- int up_button = 2; // btn- A
- int down_button = 4; // btn - C
- int left_button = 5; // btn - D
- int right_button = 3; // btn - B
- int xValue = 0;
- int yValue = 0;
- int Value = 0;
- int buttons[]={up_button, down_button,left_button,right_button};
- //=============RUN ONCE AREA==========
- void setup()
- {
- for(int i; i <4 ; i++)
- {
- pinMode(buttons[i],INPUT);
- digitalWrite(buttons[i],HIGH);
- }
-
- Serial.begin(9600);
- }
- //==========LOOPING AREA==============
- void loop()
- {
- int xValue = analogRead(joyX);
- int yValue = analogRead(joyY);
-
- if (xValue < 10)
- {
- Serial.write(45);
- delay(500);
- }
- if (xValue > 1000)
- {
- Serial.write(46);
- delay(500);
- }
- if (yValue < 10)
- {
- Serial.write(47);
- delay(500);
- }
- if (yValue > 1000)
- {
- Serial.write(48);
- delay(500);
- }
- if(digitalRead(up_button)==LOW){
- Serial.write(49);
- delay(500);
- }
- if(digitalRead(down_button)==LOW)
- {
- Serial.write(50);
- delay(500);
- }
- if(digitalRead(left_button)==LOW)
- {
- Serial.write(51);
- delay(500);
- }
- if(digitalRead(right_button)==LOW)
- {
- Serial.write(52);
- delay(500);
- }
- }
接收端代码
- /*这个炮车程序由gada888于2022-04-18原创首发于DFRobot论坛,如需转载请注明来源。谢谢*/
-
- #include<Servo.h>
- //定义用于控制引脚的引脚,IN_1,IN_2以及IN_3,IN_4分别是电机1和电机2的正反转脚。
- int IN_1 = 4;
- int IN_2 = 5;
- int IN_3 = 6;
- int IN_4 = 7;
- const int laserPin = 8;
- const int gun1Pin = 10;
- const int gun2Pin = 11;
-
- Servo esc;
- int byteRead;
- //==========RUN ONCE AREA=========
- void setup() {
- esc.attach(9);
- pinMode(IN_1, OUTPUT);
- pinMode(IN_2, OUTPUT);
- pinMode(IN_3, OUTPUT);
- pinMode(IN_4, OUTPUT);
- pinMode(laserPin, OUTPUT);
- pinMode(gun1Pin, OUTPUT);
- pinMode(gun2Pin, OUTPUT);
-
- Serial.begin(9600); // start Serial
- //delay(3000);
- }
- //==========RUN FOREVER AREA============
- void loop() {
- while(Serial.available()) { // If Serial module has data
- byteRead = Serial.read();
- Serial.print(byteRead); //data to Serial monitor
- if (byteRead==45) { //received number 1
- motorB('L');
- }else if (byteRead==46){
- motorB('R');
- }else if (byteRead==47){
- motorB('P');
- }else if (byteRead==48){
- motorB('F');
- }else if (byteRead==49){
- esc.write(90);
- delay(500);
- }else if (byteRead==50){
- digitalWrite(laserPin, HIGH);
- }else if (byteRead==51){
- digitalWrite(laserPin, LOW);
- }else if (byteRead==52){
- digitalWrite(gun1Pin, HIGH);
- digitalWrite(gun2Pin, HIGH);
- delay(500);
- }
- }
- }
- //==========FUNCTION AREA=================
- void motorB(char d){
- if(d =='L'){
- // Turn left motor on
- digitalWrite(IN_1, HIGH);
- digitalWrite(IN_2, LOW);
- }
- else if(d =='R'){
- // Turn right motor on,这里实际应该用电机2做右转的,但因为电机2转的慢。改用了电机1来完成。
- digitalWrite(IN_1, LOW);
- digitalWrite(IN_2, HIGH);
- }
- else if(d =='P'){
- // Turn both motors OFF
- digitalWrite(IN_1, LOW);
- digitalWrite(IN_2, LOW);
- digitalWrite(IN_3, LOW);
- digitalWrite(IN_4, LOW);
- }
- else if(d =='F'){
- // Turn both motors Forward
- digitalWrite(IN_1, HIGH);
- digitalWrite(IN_4, HIGH);
- }
- }
| 


 沪公网安备31011502402448

 置顶卡
置顶卡 变色卡
变色卡 千斤顶
千斤顶


 ,,,
,,,
 老版主限定
老版主限定
 创作达人
创作达人
 创客造
创客造
 编辑选择奖
编辑选择奖


