20936浏览
查看: 20936|回复: 4

FireBeelte 显示环境声音频谱

[复制链接]
本帖最后由 zoologist 于 2022-10-12 09:58 编辑

前一段入手了Fermion:全向MEMS麦克风模块(SEN0487),这款模块非常简单能够直接输出模拟信号。简单之处在于无需外部元件进行放大,当没有检测到声音时,输出电压在1.5V左右浮动,在说话时通过ADC采样可以很容易看到声音的波形。
FireBeelte  显示环境声音频谱图2

首先跑了一下WIKI给出的示例文件,使用 Arduino 自带的串口绘图工具查看了一下波形:


可以看到内部自带了滤波,敏感度也不错。
接下来,配合之前多次使用的 12864 OLED制作一个频谱显示装置。代码参考 https://github.com/s-marley/ESP32_FFT_VU了。硬件部分除了供电的 VCCGND, 只需要将模块输出连接到A0IO36)即可。

FireBeelte  显示环境声音频谱图3


  1. #include <arduinoFFT.h>
  2. #include "DFRobot_OLED12864.h"
  3. // 12864 OLED 配置
  4. #define I2C_addr 0x3c
  5. #define pin_SPI_cs D2
  6. #define SAMPLES         1024          // Must be a power of 2
  7. #define SAMPLING_FREQ   40000         // Hz, must be 40000 or less due to ADC conversion time. Determines maximum frequency that can be analysed by the FFT Fmax=sampleF/2.
  8. #define AMPLITUDE       1000          // Depending on your audio source level, you may need to alter this value. Can be used as a 'sensitivity' control.
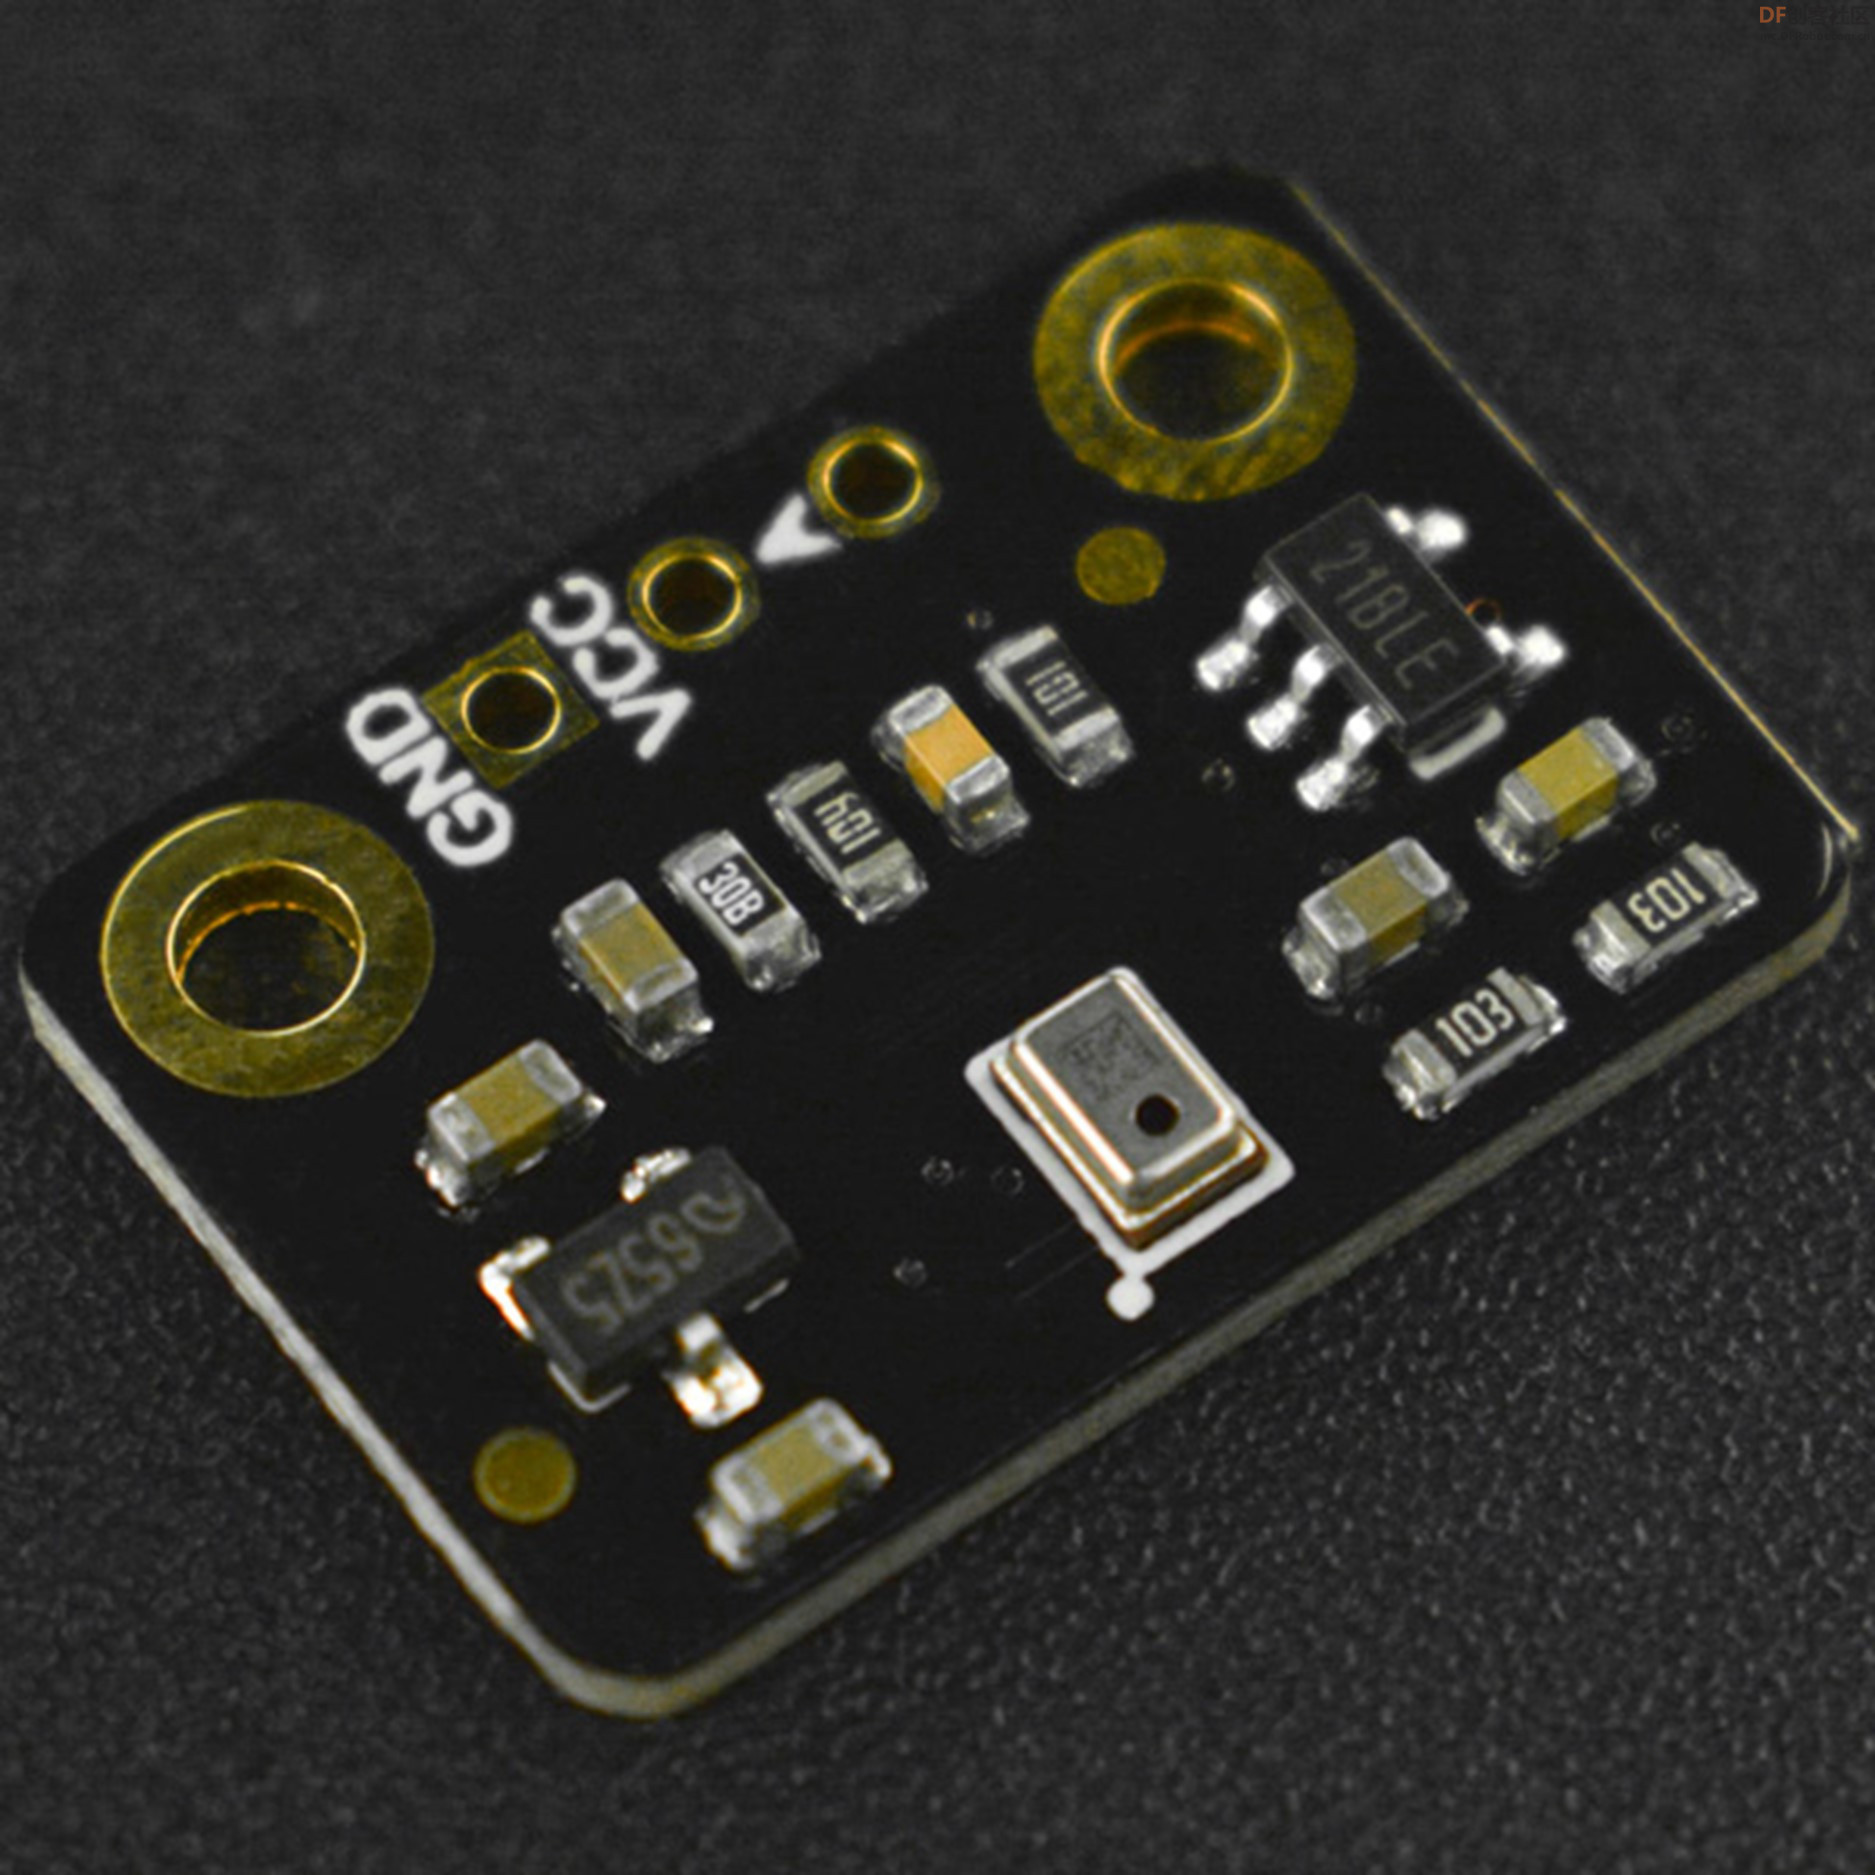
  9. #define AUDIO_IN_PIN    A0            // Signal in on this pin
  10. #define NOISE           500           // Used as a crude noise filter, values below this are ignored
  11. const uint8_t kMatrixWidth = 16;                          // Matrix width
  12. const uint8_t kMatrixHeight = 16;                         // Matrix height
  13. #define NUM_BANDS       16            // To change this, you will need to change the bunch of if statements describing the mapping from bins to bands
  14. #define BAR_WIDTH      (kMatrixWidth  / (NUM_BANDS - 1))  // If width >= 8 light 1 LED width per bar, >= 16 light 2 LEDs width bar etc
  15. #define TOP            (kMatrixHeight - 0)                // Don't allow the bars to go offscreen
  16. DFRobot_OLED12864 OLED(I2C_addr, pin_SPI_cs);
  17. // Sampling and FFT stuff
  18. unsigned int sampling_period_us;
  19. byte peak[] = {0, 0, 0, 0, 0, 0, 0, 0, 0, 0, 0, 0, 0, 0, 0, 0}; // The length of these arrays must be >= NUM_BANDS
  20. int oldBarHeights[] = {0, 0, 0, 0, 0, 0, 0, 0, 0, 0, 0, 0, 0, 0, 0, 0};
  21. int bandValues[] = {0, 0, 0, 0, 0, 0, 0, 0, 0, 0, 0, 0, 0, 0, 0, 0};
  22. double vReal[SAMPLES];
  23. double vImag[SAMPLES];
  24. unsigned long newTime;
  25. arduinoFFT FFT = arduinoFFT(vReal, vImag, SAMPLES, SAMPLING_FREQ);
  26. void setup() {
  27.   Serial.begin(115200);
  28.   OLED.init();
  29. // OLED.flipScreenVertically();
  30.   sampling_period_us = round(1000000 * (1.0 / SAMPLING_FREQ));
  31. }
  32. unsigned long int Elsp1;
  33. int h[16];
  34. void loop() {
  35.   // Reset bandValues[]
  36.   for (int i = 0; i < NUM_BANDS; i++) {
  37.     bandValues[i] = 0;
  38.   }
  39.   // Sample the audio pin
  40.   for (int i = 0; i < SAMPLES; i++) {
  41.     newTime = micros();
  42.     vReal[i] = analogRead(AUDIO_IN_PIN); // A conversion takes about 9.7uS on an ESP32
  43.     vImag[i] = 0;
  44.     while ((micros() - newTime) < sampling_period_us) {
  45.       /* chill */
  46.     }
  47.   }
  48.   // Compute FFT
  49.   FFT.DCRemoval();
  50.   FFT.Windowing(FFT_WIN_TYP_HAMMING, FFT_FORWARD);
  51.   FFT.Compute(FFT_FORWARD);
  52.   FFT.ComplexToMagnitude();
  53.   // Analyse FFT results
  54.   for (int i = 2; i < (SAMPLES / 2); i++) {    // Don't use sample 0 and only first SAMPLES/2 are usable. Each array element represents a frequency bin and its value the amplitude.
  55.     if (vReal[i] > NOISE) {                    // Add a crude noise filter
  56.       //16 bands, 12kHz top band
  57.       if (i <= 2 )           bandValues[0]  += (int)vReal[i];
  58.       if (i > 2   && i <= 3  ) bandValues[1]  += (int)vReal[i];
  59.       if (i > 3   && i <= 5  ) bandValues[2]  += (int)vReal[i];
  60.       if (i > 5   && i <= 7  ) bandValues[3]  += (int)vReal[i];
  61.       if (i > 7   && i <= 9  ) bandValues[4]  += (int)vReal[i];
  62.       if (i > 9   && i <= 13 ) bandValues[5]  += (int)vReal[i];
  63.       if (i > 13  && i <= 18 ) bandValues[6]  += (int)vReal[i];
  64.       if (i > 18  && i <= 25 ) bandValues[7]  += (int)vReal[i];
  65.       if (i > 25  && i <= 36 ) bandValues[8]  += (int)vReal[i];
  66.       if (i > 36  && i <= 50 ) bandValues[9]  += (int)vReal[i];
  67.       if (i > 50  && i <= 69 ) bandValues[10] += (int)vReal[i];
  68.       if (i > 69  && i <= 97 ) bandValues[11] += (int)vReal[i];
  69.       if (i > 97  && i <= 135) bandValues[12] += (int)vReal[i];
  70.       if (i > 135 && i <= 189) bandValues[13] += (int)vReal[i];
  71.       if (i > 189 && i <= 264) bandValues[14] += (int)vReal[i];
  72.       if (i > 264          ) bandValues[15] += (int)vReal[i];
  73.     }
  74.   }
  75.   // Process the FFT data into bar heights
  76.   for (byte band = 0; band < NUM_BANDS; band++) {
  77.     // Scale the bars for the display
  78.     int barHeight = bandValues[band] / AMPLITUDE;
  79.     if (barHeight > TOP) barHeight = TOP;
  80.     // Small amount of averaging between frames
  81.     barHeight = ((oldBarHeights[band] * 1) + barHeight) / 2;
  82.     // Move peak up
  83.     if (barHeight > peak[band]) {
  84.       peak[band] = min(TOP, barHeight);
  85.     }
  86.     h[band] = barHeight;
  87.     // Save oldBarHeights for averaging later
  88.     oldBarHeights[band] = barHeight;
  89.   }
  90.   if (millis() - Elsp1 > 60) {
  91.     for (byte band = 0; band < NUM_BANDS; band++)
  92.       if (peak[band] > 0) peak[band] -= 1;
  93.       
  94.     Elsp1 = millis();
  95.   }
  96.   /*
  97.        //直接输出 FFT 结果
  98.        for (int i=0;i<16;i++) {
  99.          if (bandValues[i]<16) {Serial.print(" ");}
  100.          Serial.print(bandValues[i],HEX);
  101.          Serial.print(" ");
  102.        }
  103.        Serial.println("");
  104.   */
  105.   // 擦除上一次
  106.   OLED.clear();  
  107.   for (int i = 0; i < 16; i++) {
  108.    OLED.fillRect(8 * (16-i), 0, 8, 4 * h[i]);
  109.    OLED.fillRect(8 * (16-i), peak[i]*4, 8, 3);
  110.   }
  111.   
  112.   for (int i = 0; i < 16; i++) {  
  113.     Serial.print(h[i], HEX);
  114.     Serial.print("");
  115.   }
  116.   Serial.println("");
  117.   /*
  118.   for (int i = 0; i < 16; i++) {  
  119.     Serial.print(peak[i], HEX);
  120.     Serial.print("");
  121.   }
  122.   Serial.println("");
  123.   */
  124.   // 显示当前
  125.   OLED.display();
  126. }
复制代码
最终成品的测试视频:

参考:


FireBeelte  显示环境声音频谱图1

花生编程  中级技匠

发表于 2023-1-25 17:53:52

厉害厉害
回复

使用道具 举报

花生编程  中级技匠

发表于 2023-1-25 17:58:17

赞赞赞赞赞
回复

使用道具 举报

三春牛-创客  初级技神

发表于 2023-8-12 12:10:40

厉害厉害
回复

使用道具 举报

三春牛-创客  初级技神

发表于 2023-8-12 12:11:50

不错不错
回复

使用道具 举报

高级模式
B Color Image Link Quote Code Smilies |上传

本版积分规则

为本项目制作心愿单
购买心愿单
心愿单 编辑
[[wsData.name]]

硬件清单

  • [[d.name]]
btnicon
我也要做!
点击进入购买页面
上海智位机器人股份有限公司 沪ICP备09038501号-4

© 2013-2024 Comsenz Inc. Powered by Discuz! X3.4 Licensed

mail