本帖最后由 aramy 于 2023-12-14 09:19 编辑
2021年1月底的时候,树莓派基金会推出了树莓派Pico。功能强劲,价格便宜。 手头这块开发板,核心使用RP2040,在这里就假装是块树莓派来做个拼图游戏。
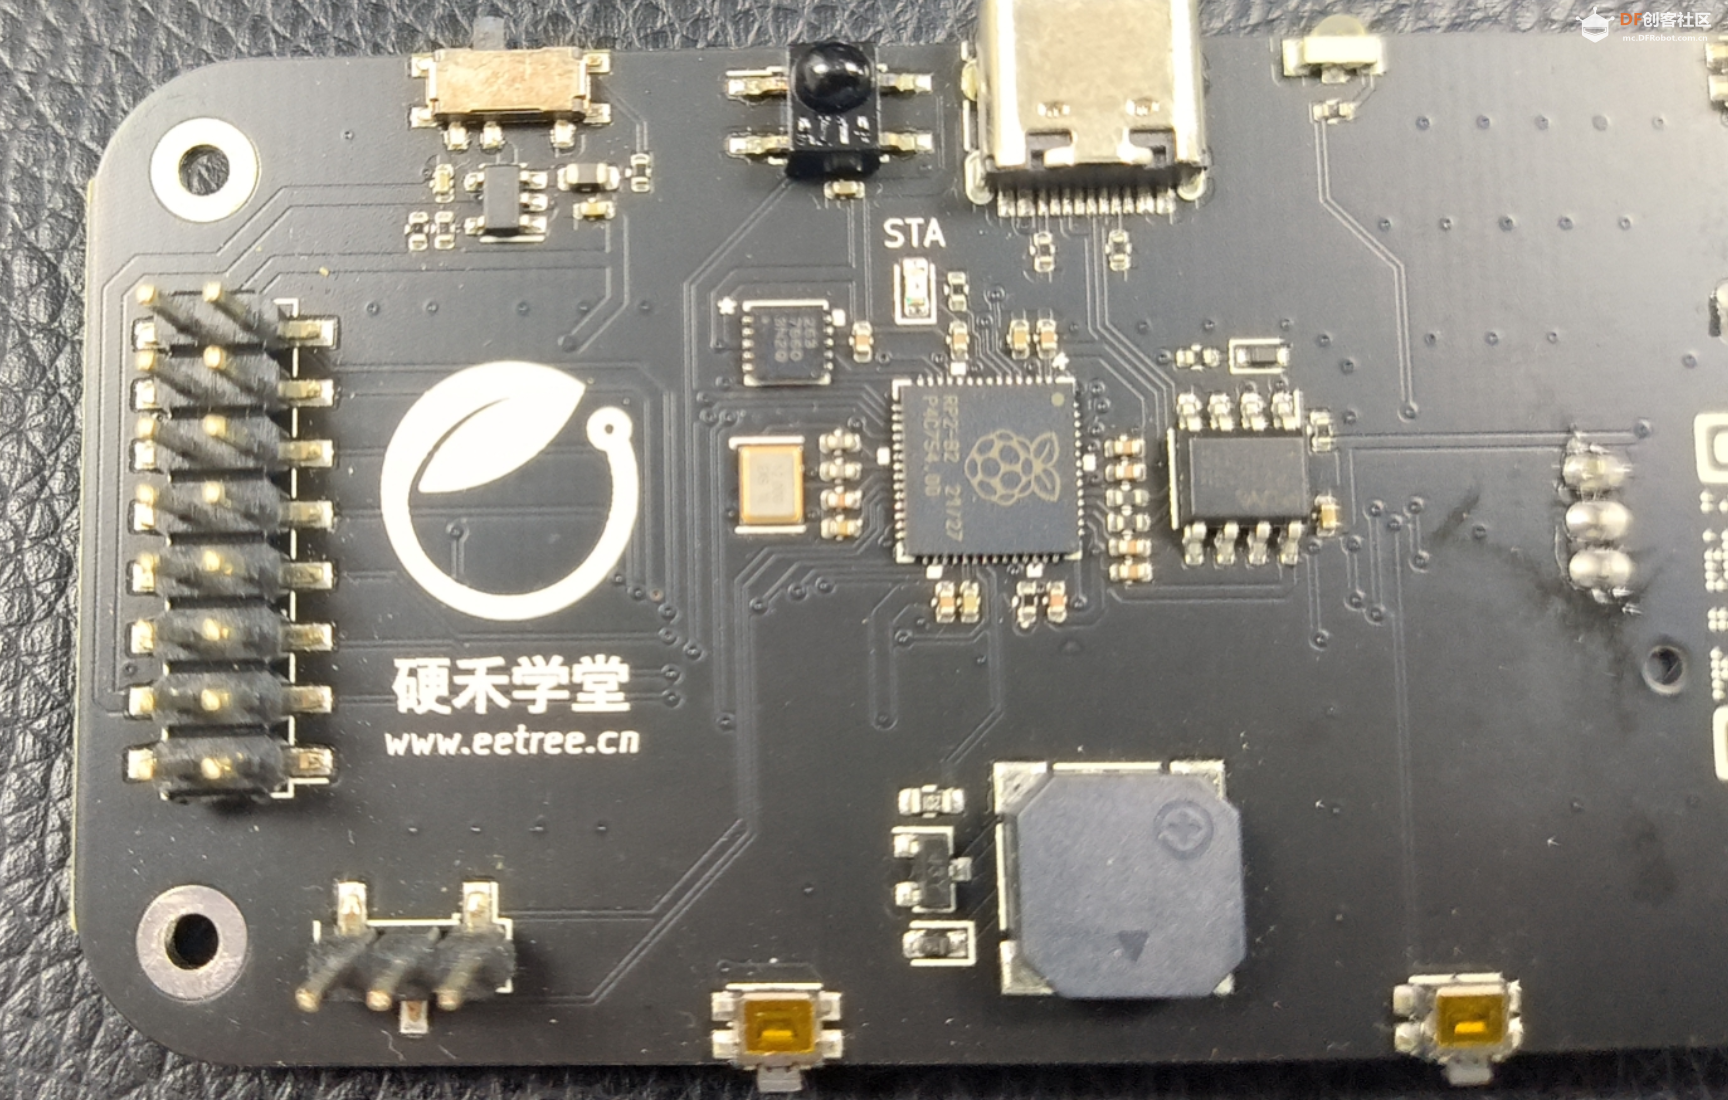
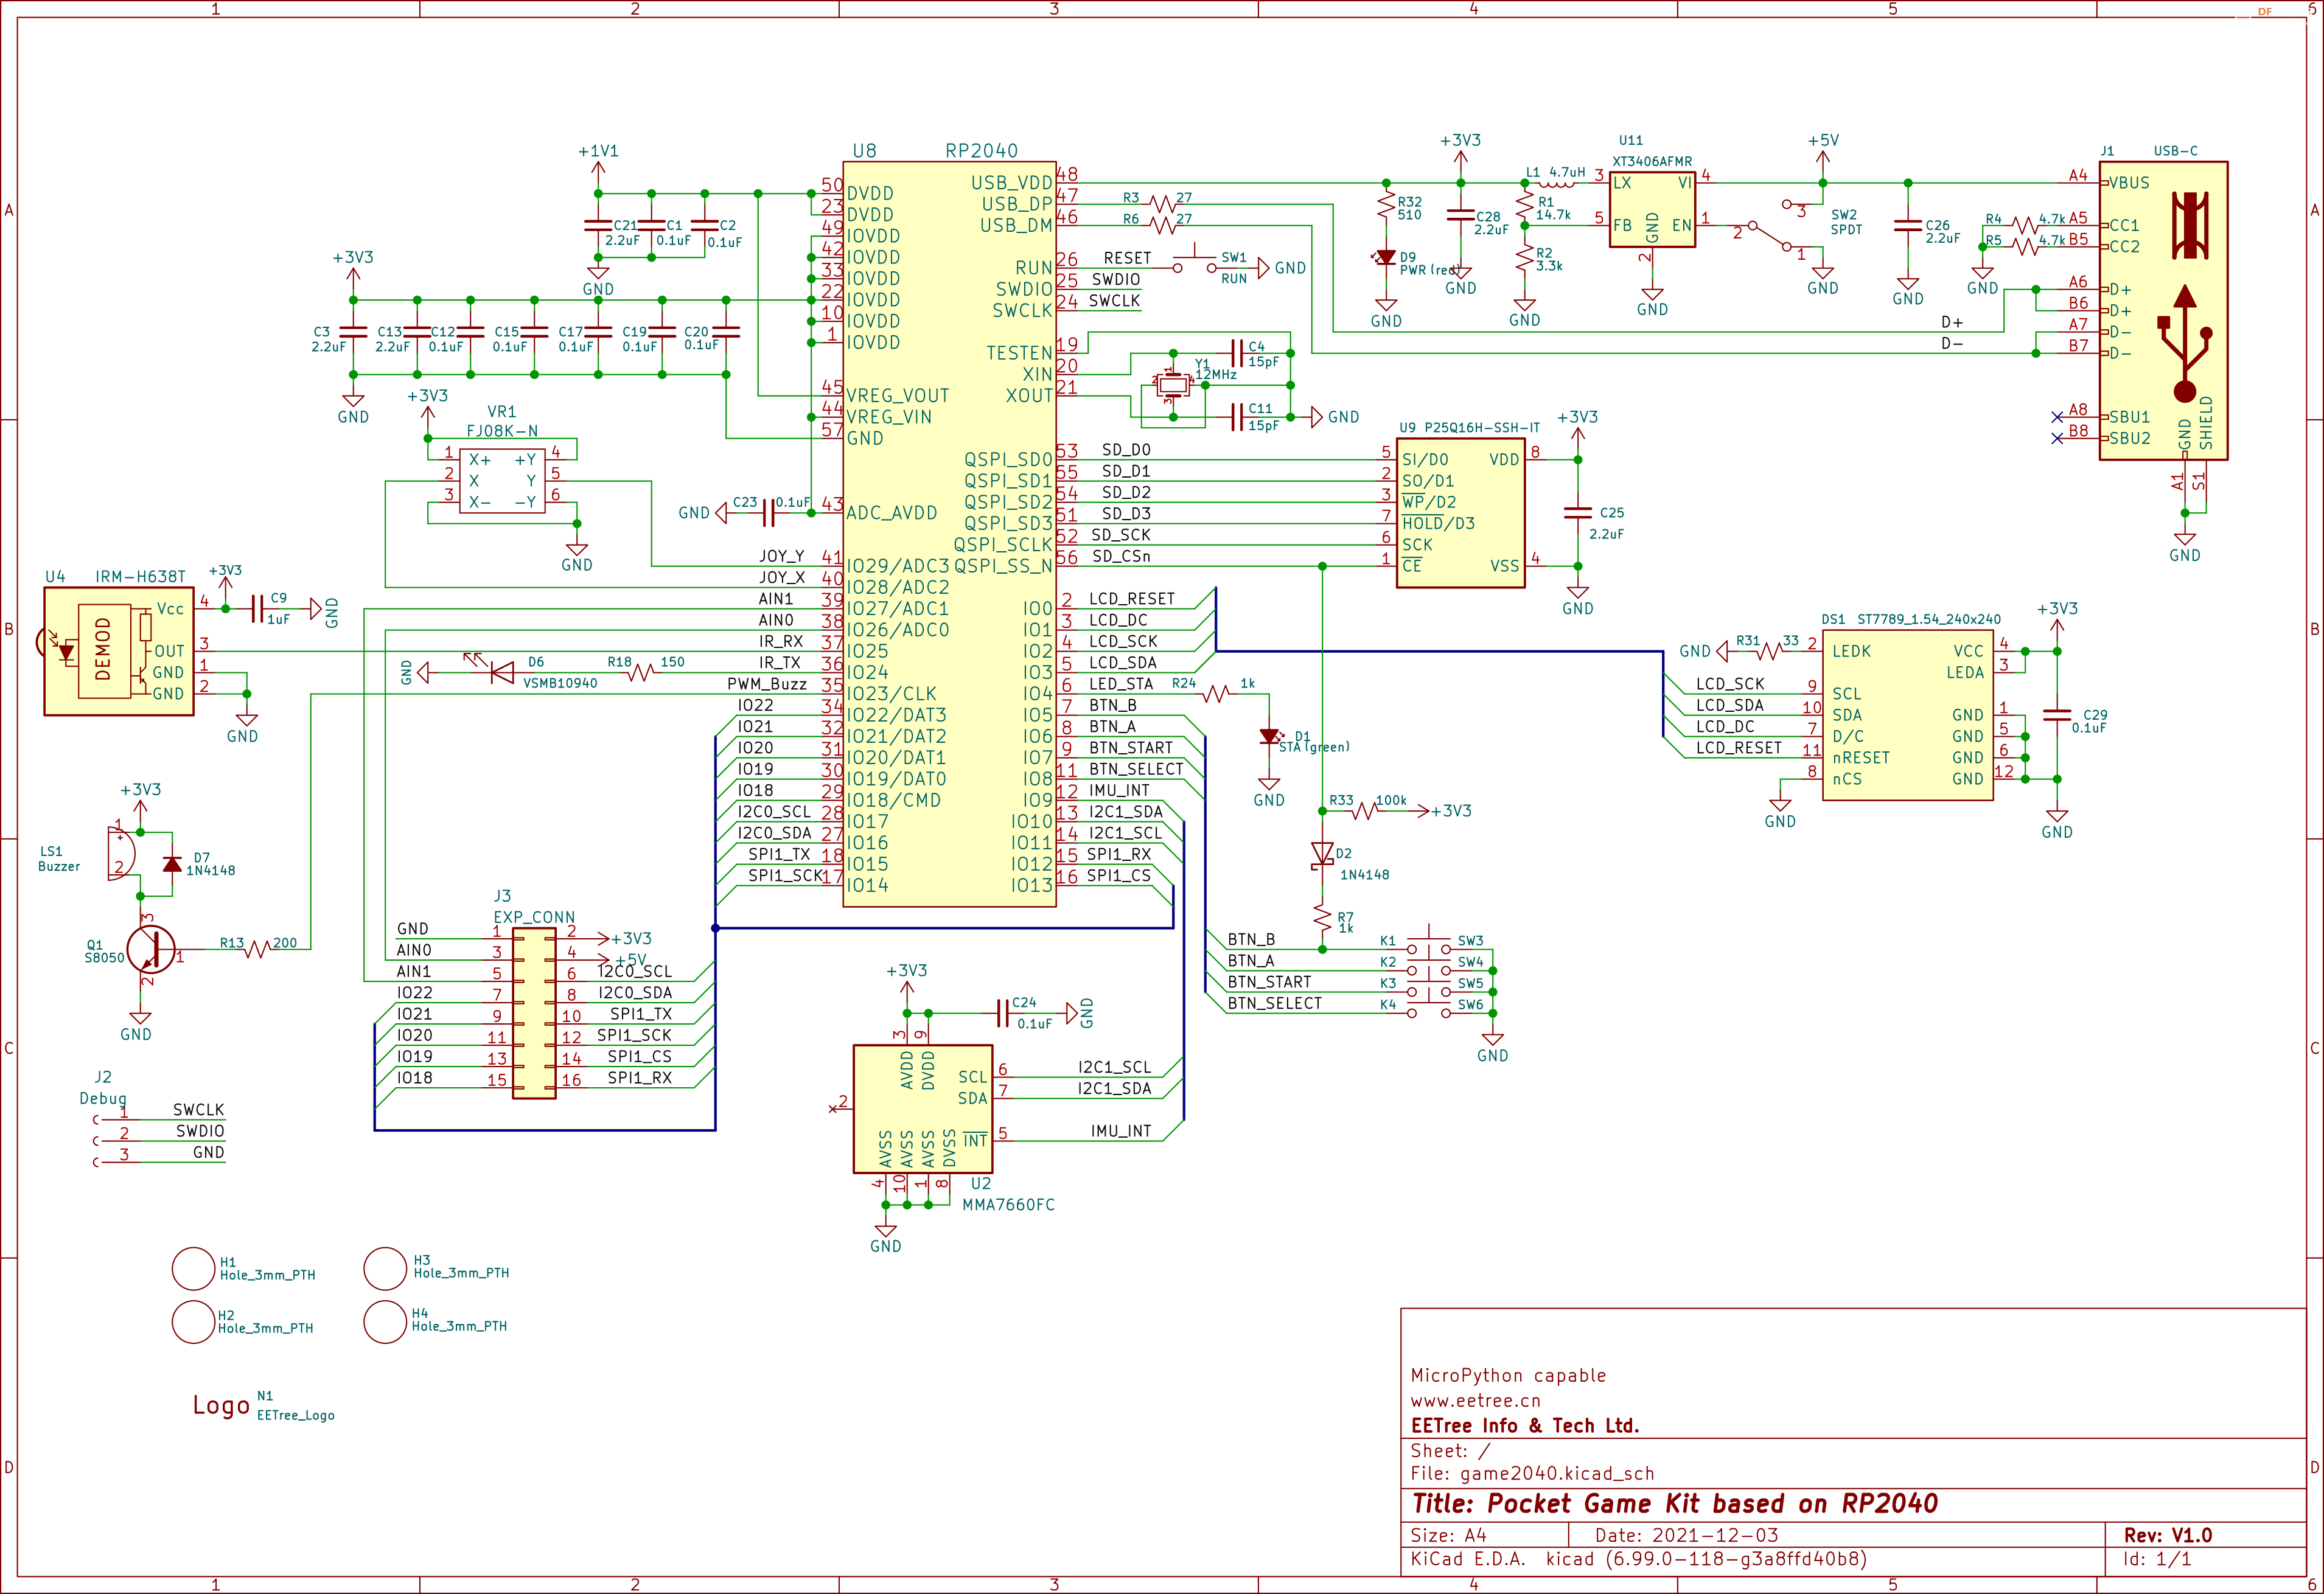
- 采用树莓派Pico核心芯片RP2040:
- 双核Arm Cortex M0+内核,可以运行到133MHz
- 264KB内存
- 性能强大、高度灵活的可编程IO可用于高速数字接口
- 片内温度传感器、并支持外部4路模拟信号输入,内部ADC采样率高达500Ksps、12位精度
- 支持MicroPython、C、C++编程
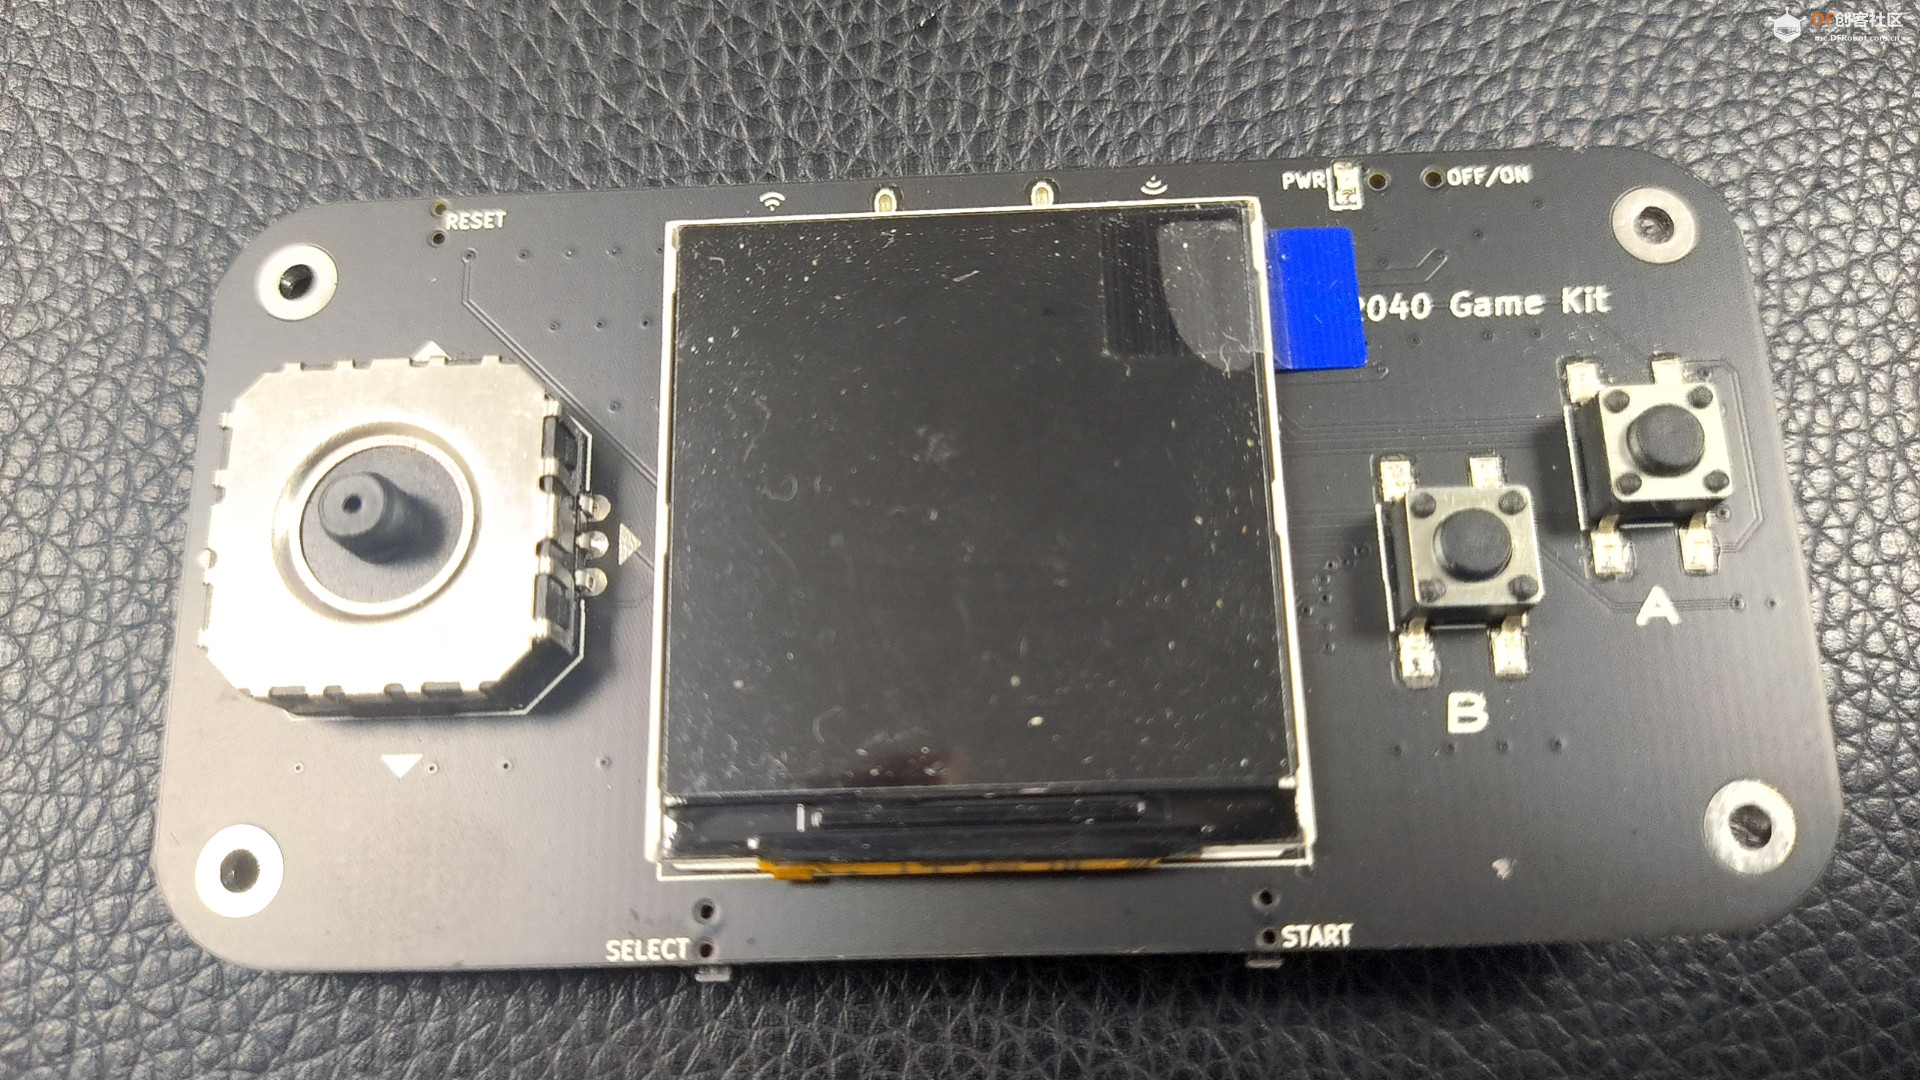
- 板上功能:
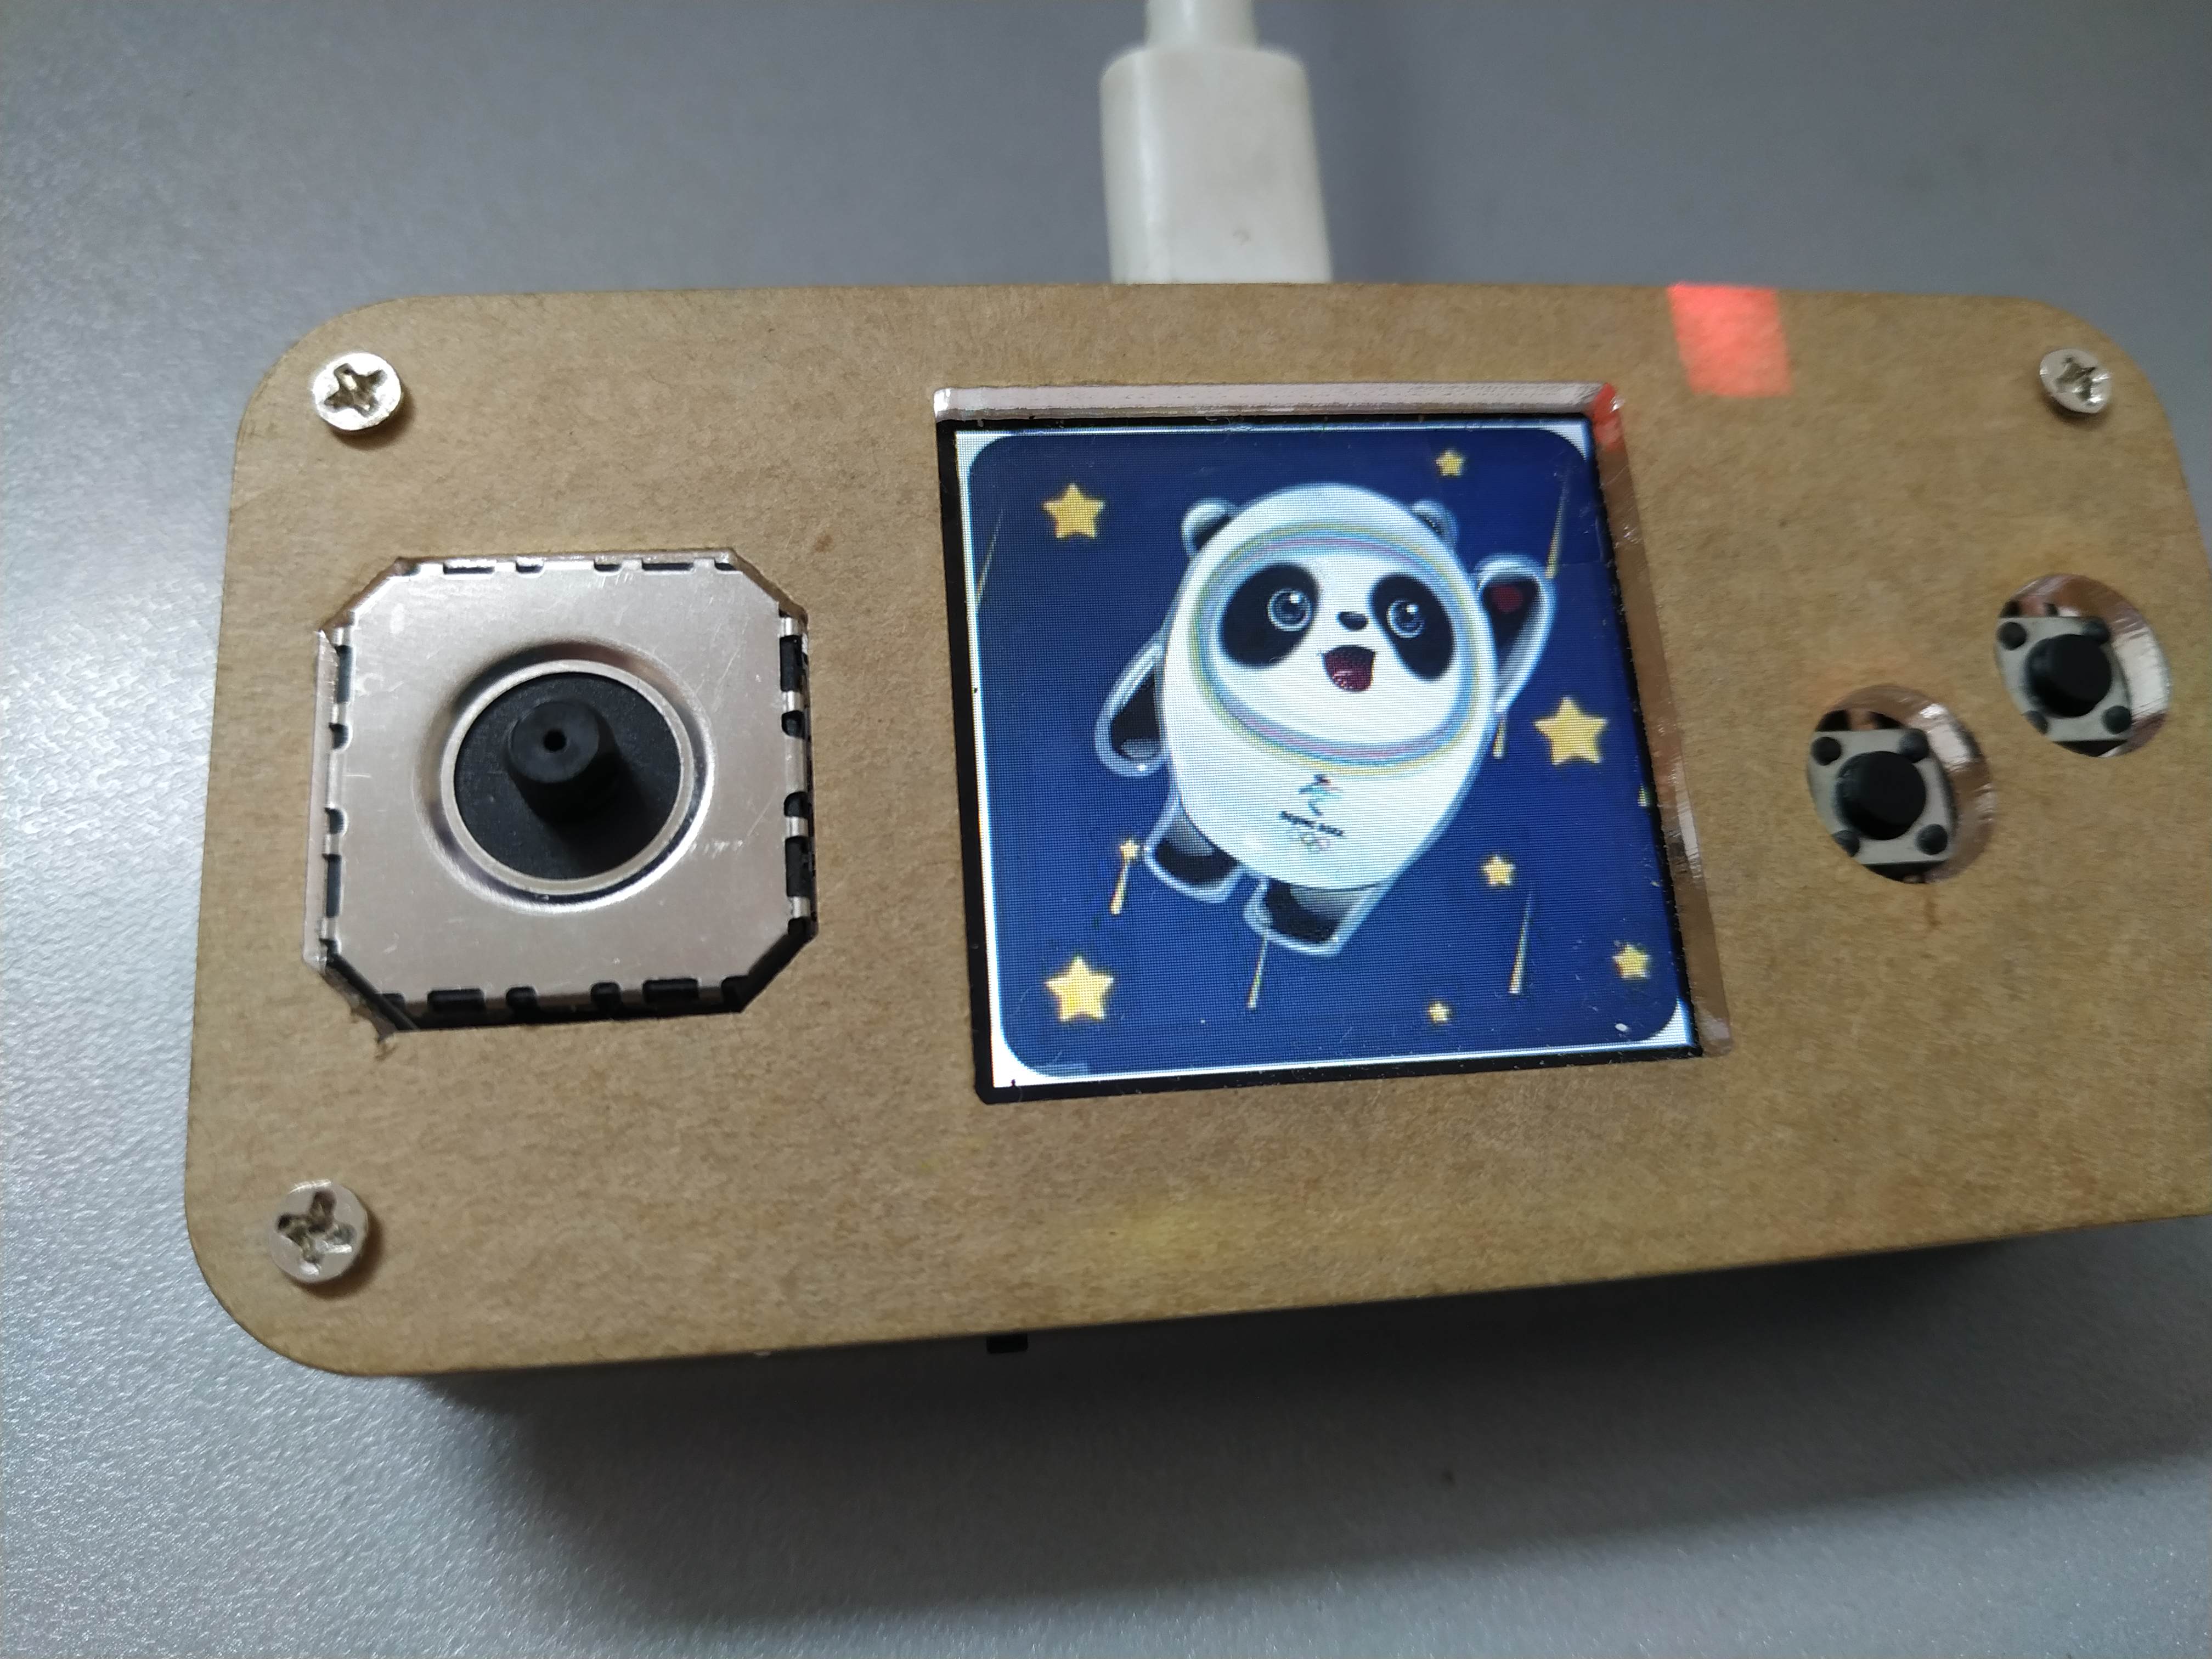
- 240*240分辨率的彩色IPS LCD,SPI接口,控制器为ST7789
- 四向摇杆 + 2个轻触按键 + 一个三轴姿态传感器MMA7660用做输入控制
- 板上外扩2MB Flash,预刷MicroPython的UF2固件
- 一个红外接收管 + 一个红外发射管
- 一个三轴姿态传感器MMA7660
- 一个蜂鸣器
- 双排16Pin连接器,有SPI、I2C以及2路模拟信号输入
- 可以使用MicroPython、C、C++编程
- USB Type C连接器用于供电、程序下载
游戏实现过程:
拼图游戏,就是对一幅图片进行切割,隐藏其中一个切片,剩下的进行打乱处理,然后将打乱的图片进行还原的过程。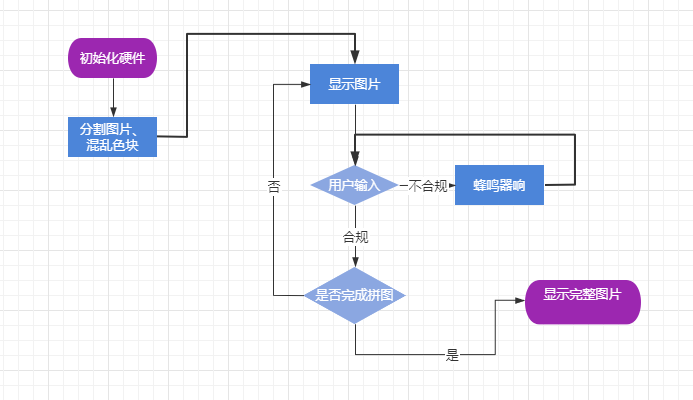
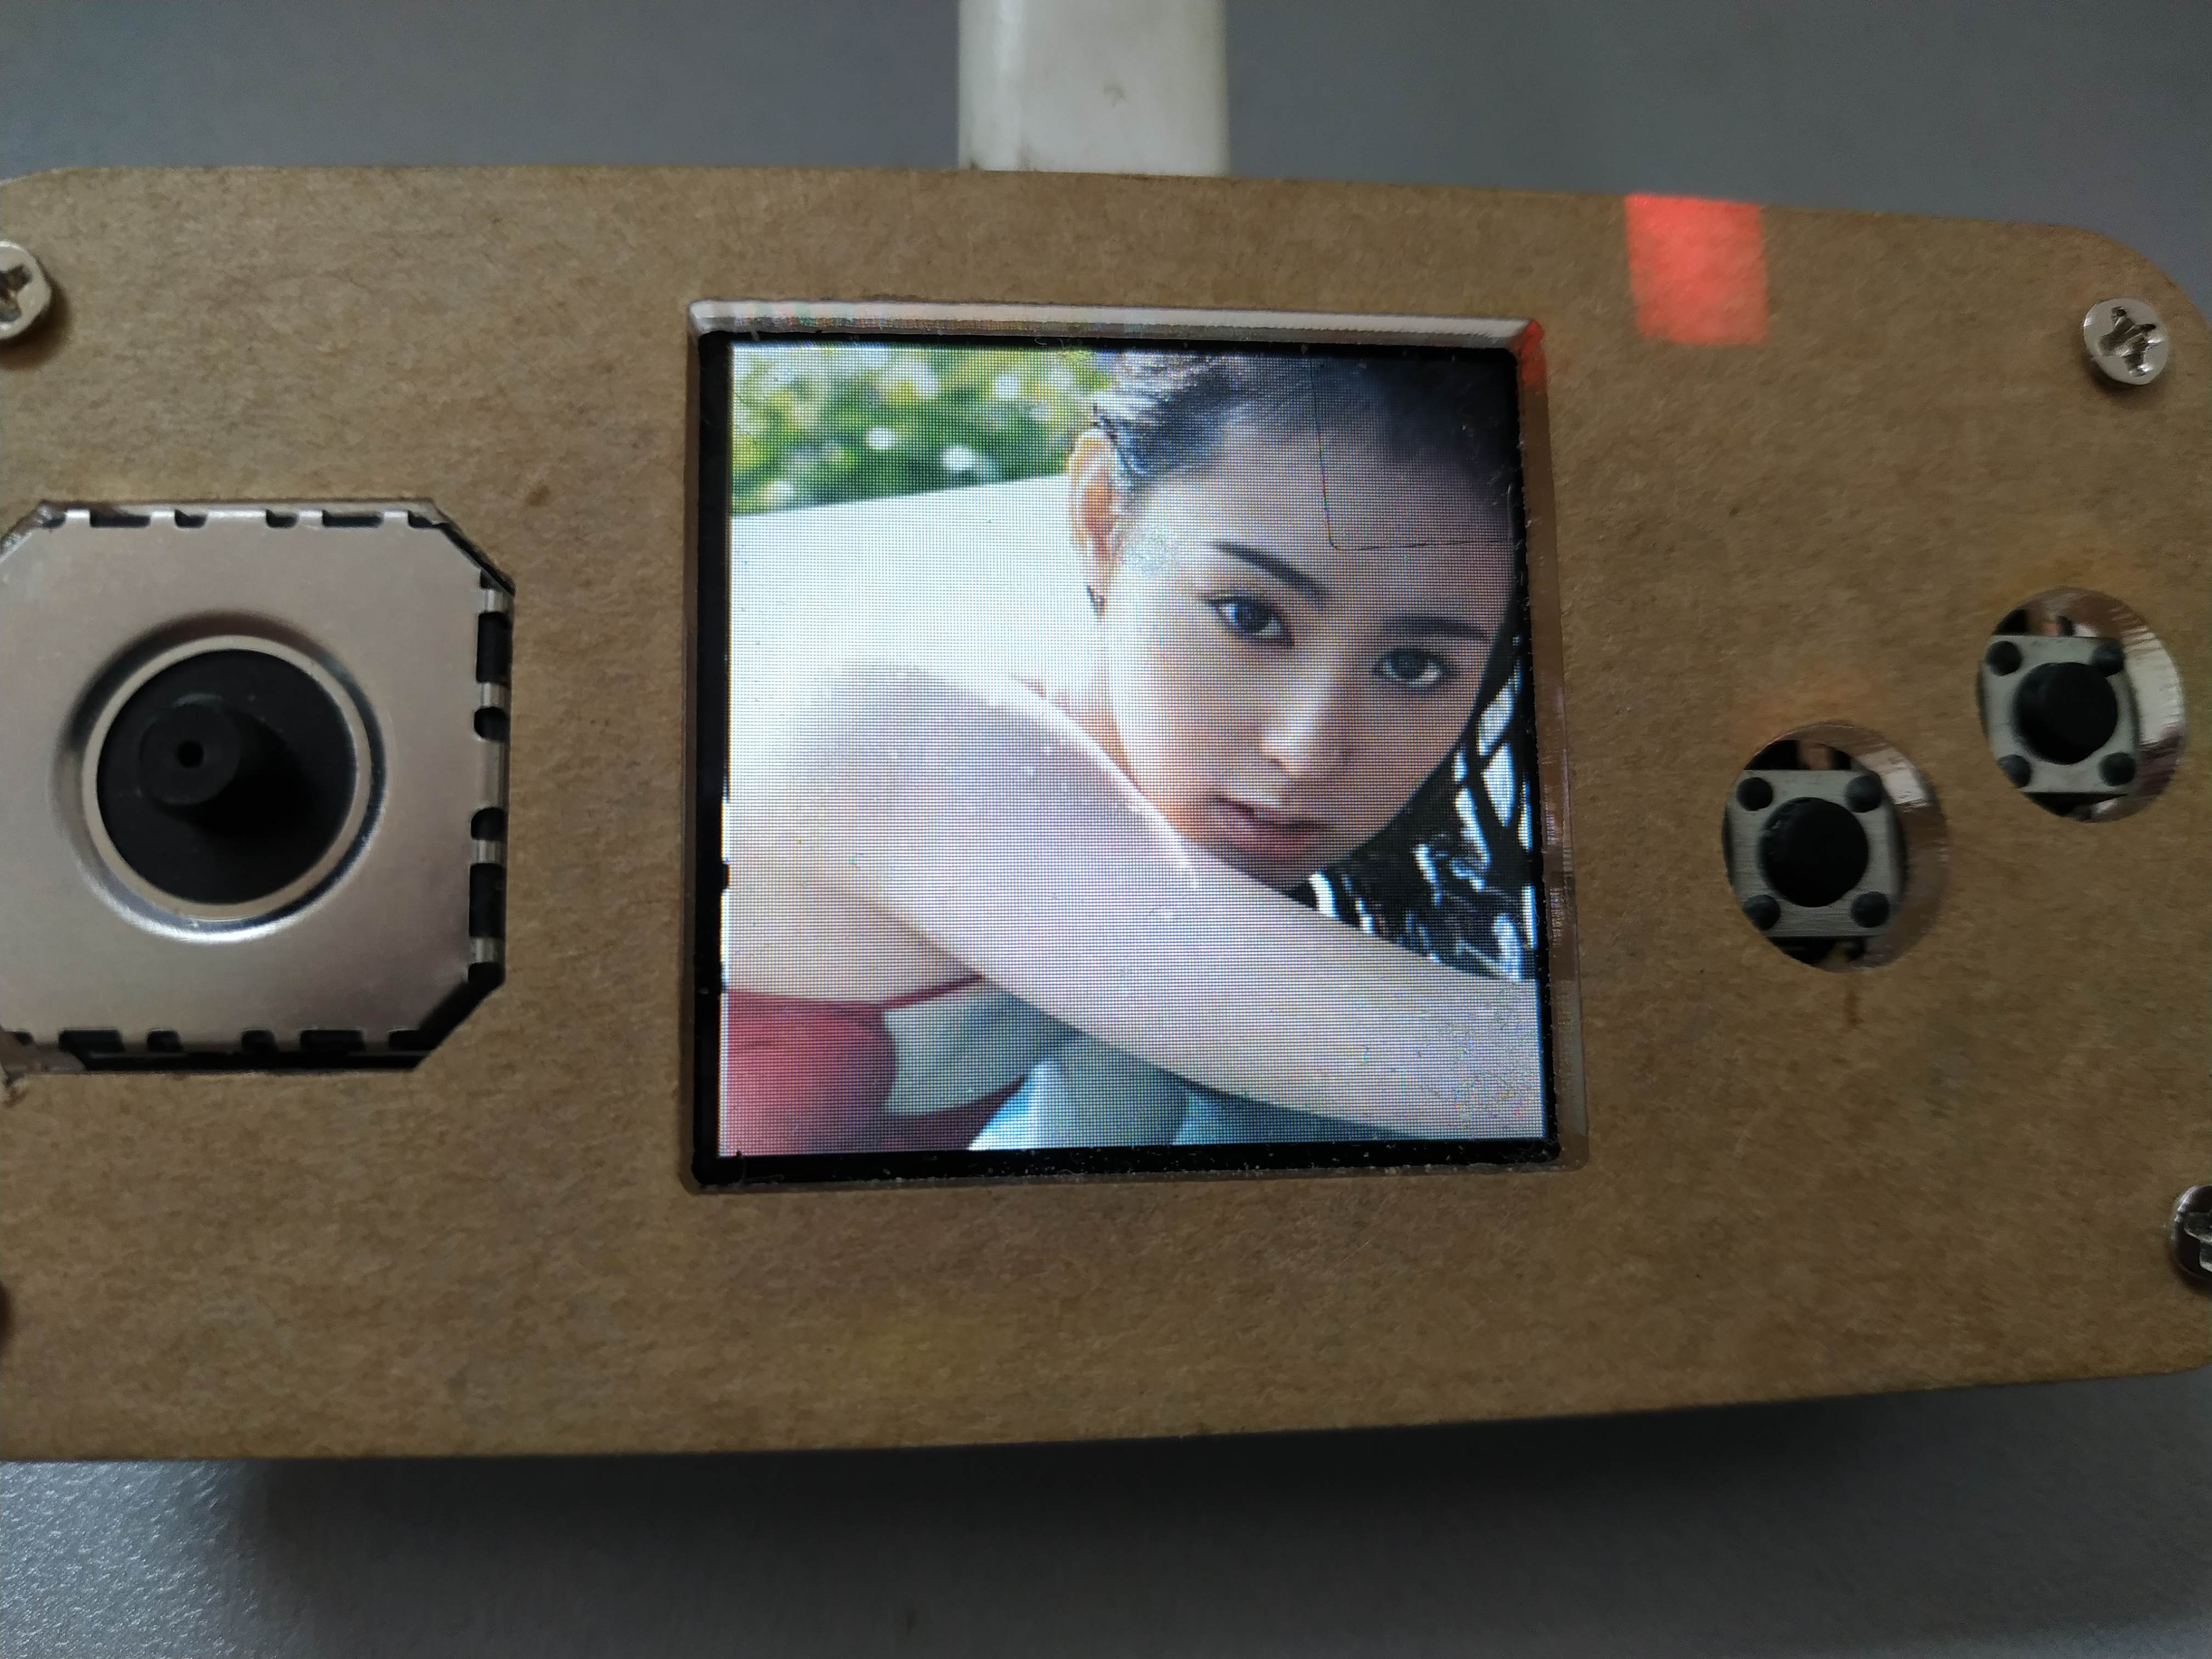
板子的显示屏为240X240的屏幕;从网上寻找图片,图片不能有大面积的留白,尽可能保证切割后,每一小片都不相同。网上的图片缩小尺寸到240X240,然后将图片格式转换为RGB565格式,因为在mpy的库中,使用的是RGB565的图片格式。
  图片被分割,需要保证分割的份数是240的因子,这样才保证图片的完整。游戏开始时,在屏幕上显示被分割的行数和列数,分割越多,难度越大。每个被分割后的图片,都需要被记录当前的位置,和应该处的位置。这里我使用一个队列来存放每个切割后的色块信息。队列的长度,就是纵横被切割的块数。队列每个节点的序列,就是该节点在图片中正确的位置;节点的内容,为节点当前所处图片的位置。队列最后一个元素显示做隐藏,作为可以移动的隐藏色块。 图片被分割,需要保证分割的份数是240的因子,这样才保证图片的完整。游戏开始时,在屏幕上显示被分割的行数和列数,分割越多,难度越大。每个被分割后的图片,都需要被记录当前的位置,和应该处的位置。这里我使用一个队列来存放每个切割后的色块信息。队列的长度,就是纵横被切割的块数。队列每个节点的序列,就是该节点在图片中正确的位置;节点的内容,为节点当前所处图片的位置。队列最后一个元素显示做隐藏,作为可以移动的隐藏色块。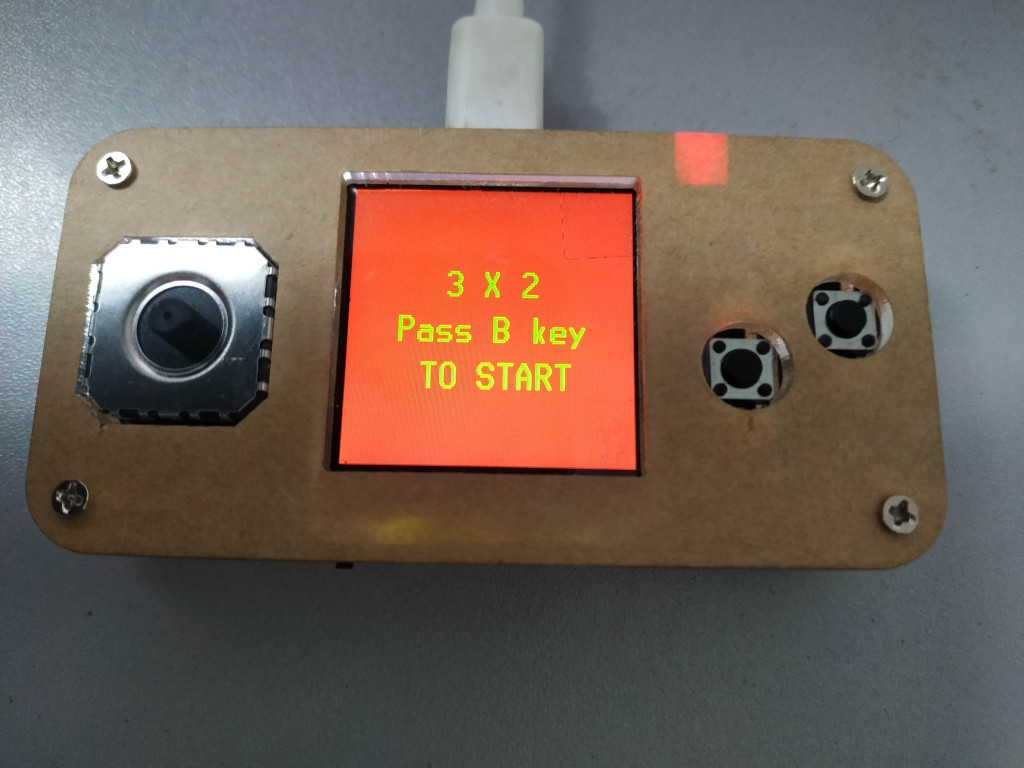
- class ImgSplit:# 图片分割的块
- maxX=2
- maxY=2
-
-
- width = 240
- height = 240
- res = 0
- dc = 1
- spi_sck = machine.Pin(2)
- spi_tx = machine.Pin(3)
- keyA=machine.Pin(5,machine.Pin.IN)
-
- class ImgIterm():
- def __init__(self, pos):
- self.pos = pos # 当前位置
- self.disp = True # 是否显示
-
-
- class HRDGame():
- # 初始化
- def __init__(self):
- spi0 = machine.SPI(0, baudrate=4000000, phase=1, polarity=1, sck=spi_sck, mosi=spi_tx)
- self.disp = st7789.ST7789(spi0, width, height, reset=machine.Pin(res, machine.Pin.OUT),
- dc=machine.Pin(dc, machine.Pin.OUT), xstart=0, ystart=0, rotation=0)
- self.disp.fill(st7789.RED)
- self.step = 0 # 移动了的步骤
- self.image = open('bdd.bmp', 'rb')
- self.imagesplit_X = int(240 / ImgSplit.maxX)
- self.imagesplit_Y = int(240 / ImgSplit.maxY)
- self.imglist = [] # 图片列表
- for i in range(0, ImgSplit.maxX * ImgSplit.maxY):
- node = ImgIterm(i)
- self.imglist.append(node)
- node.disp = False
- self.disp.text(font2,str(ImgSplit.maxX)+' X '+str(ImgSplit.maxY),80,70,color=st7789.GREEN, background=st7789.RED)
- self.disp.text(font2,"Pass B key ",40,110,color=st7789.GREEN, background=st7789.RED)
- self.disp.text(font2,"TO START ",60,150,color=st7789.GREEN, background=st7789.RED)
- while keyA.value():
- pass
-
- def readImgAndDraw(self, nodepos): # 绘制指定节点 输入为 队列的号
- # 读取指定位置图像,然后在指定位置绘制图像
- x = int(nodepos % ImgSplit.maxX)
- y = int(nodepos / ImgSplit.maxX)
- node = self.imglist[nodepos]
- t_x = int(node.pos % ImgSplit.maxX)
- t_y = int(node.pos / ImgSplit.maxX)
- if node.disp:
- offset = y * self.imagesplit_Y * 480
- self.image.seek(offset)
- for column in range(0, self.imagesplit_Y):
- buf = self.image.read(480)
- buf = buf[x * self.imagesplit_X * 2:(x + 1) * self.imagesplit_X * 2]
- self.disp.blit_buffer(buf, t_x * self.imagesplit_X, t_y * self.imagesplit_Y + column, self.imagesplit_X,
- 1)
- else:
- self.disp.fill_rect(t_x * self.imagesplit_X, t_y * self.imagesplit_Y, self.imagesplit_X, self.imagesplit_Y,
- st7789.CYAN)
-
- def reset(self):
- self._messimg()
- self.step = 0
- self.imglist[-1].disp = False
- self.rander()
-
- def rander(self, changeblock=None): # 绘制图片
- if self.step == 0:
- for i in range(ImgSplit.maxX * ImgSplit.maxY):
- self.readImgAndDraw(i)
- else:
- self.readImgAndDraw(ImgSplit.maxX * ImgSplit.maxY - 1)
- self.readImgAndDraw(changeblock)
因为单片机内存容量的限制,每次移动都需要从原图中切割出各个色块,然后在对应位置进行绘制。每次移动仅仅为两个色块图片的交换,为保障速度,除开首次绘制,每次移动都仅仅绘制交换的两个色块。
游戏中移动依赖摇杆实现。摇杆是两个电位器,分别连接两个AD,用来接收横向、纵向两个方向的摇杆信号。通过AD读取摇杆位置,控制游戏中隐藏色块上下左右移动,当隐藏色块在边缘时,对应移除屏幕的动作就无效,会有蜂鸣器“滴”提示动作无效。
- controlH = machine.ADC(3) # 横向控制
- controlV = machine.ADC(2) # 纵向控制
- def keyaction(): # 通过摇杆判断动作
- adc = controlH.read_u16()
- if adc < 12000: # 左
- return 2
- if adc > 50000: # 右
- return 3
- adc = controlV.read_u16()
- if adc < 12000: # 上
- return 0
- if adc > 50000: # 下
- return 1
- return 5
- def action(self, deal): # 移动 入口:0,1,2,3 代表上下左右
- '''
- 单步移动步骤,1 找到不显示的色块
- 2 按动作寻找 相邻的色块
- 3 如果能找到 则进行移动,返回True,否则返回False
- 4 返回值为 是否允许移动,移动的色块
- '''
- self.step += 1 # 移动步骤增加
- cave = self.imglist[-1]
- tpos = cave.pos # 黑洞坐标
- hx = int(tpos % ImgSplit.maxX)
- hy = int(tpos / ImgSplit.maxX)
- newtpos = None
- if deal == 0: # 上移
- if hy == 0: # 禁止上移
- return False, None, False
- else: # 允许移动
- hy = hy - 1
- newtpos = hy * ImgSplit.maxX + hx
- if deal == 1: # 下移
- if hy + 1 == ImgSplit.maxY: # 禁止下移
- return False, None, False
- else: # 允许移动
- hy = hy + 1
- newtpos = hy * ImgSplit.maxX + hx
-
- if deal == 2: # 左移
- if hx == 0: # 禁止左移
- return False, None, False
- else: # 允许移动
- hx = hx - 1
- newtpos = hy * ImgSplit.maxX + hx
- if deal == 3: # 右移
- if hx + 1 == ImgSplit.maxX: # 禁止右移
- return False, None, False
- else: # 允许移动
- hx = hx + 1
- newtpos = hy * ImgSplit.maxX + hx
- # 允许移动,交换坐标
- offset = 0
- for iterm in self.imglist:
- if iterm.pos == newtpos:
- break
- offset += 1
- cave.pos = newtpos
- iterm.pos = tpos
- done = self.checkover()
- return True, offset, done
-
当所有的色块都移动到正确的位置时,游戏结束。将隐藏色块进行显示,显示出完整的图片来。
- def checkover(self): # 检查是否拼完
- i = 0
- for node in self.imglist:
- if node.pos != i:
- return False
- i += 1
- #拼图完成
- self.imglist[-1].disp=True
- return True
为了防止题目无解,图片打乱的顺序是使用随机数按规则进行移动。这样既保证了一定有解,又保障了图片的混乱性。
- def _messimg(self): # 游戏开始时,对图像进行打乱
- maxstep=ImgSplit.maxX*ImgSplit.maxY*8
- for i in range(maxstep):
- #for i in range(10):
- act = random.randint(0, 3)
- self.action(act)
最后写一个main.py文件,用来调用游戏。这样就可以脱离电脑,只需要供电即可启动游戏啦!可是发现自己搞不定这个游戏了,连3X3都拼不出来了,记得小时候拼的挺溜:(。上一幅8x8的图片,看看混乱程度!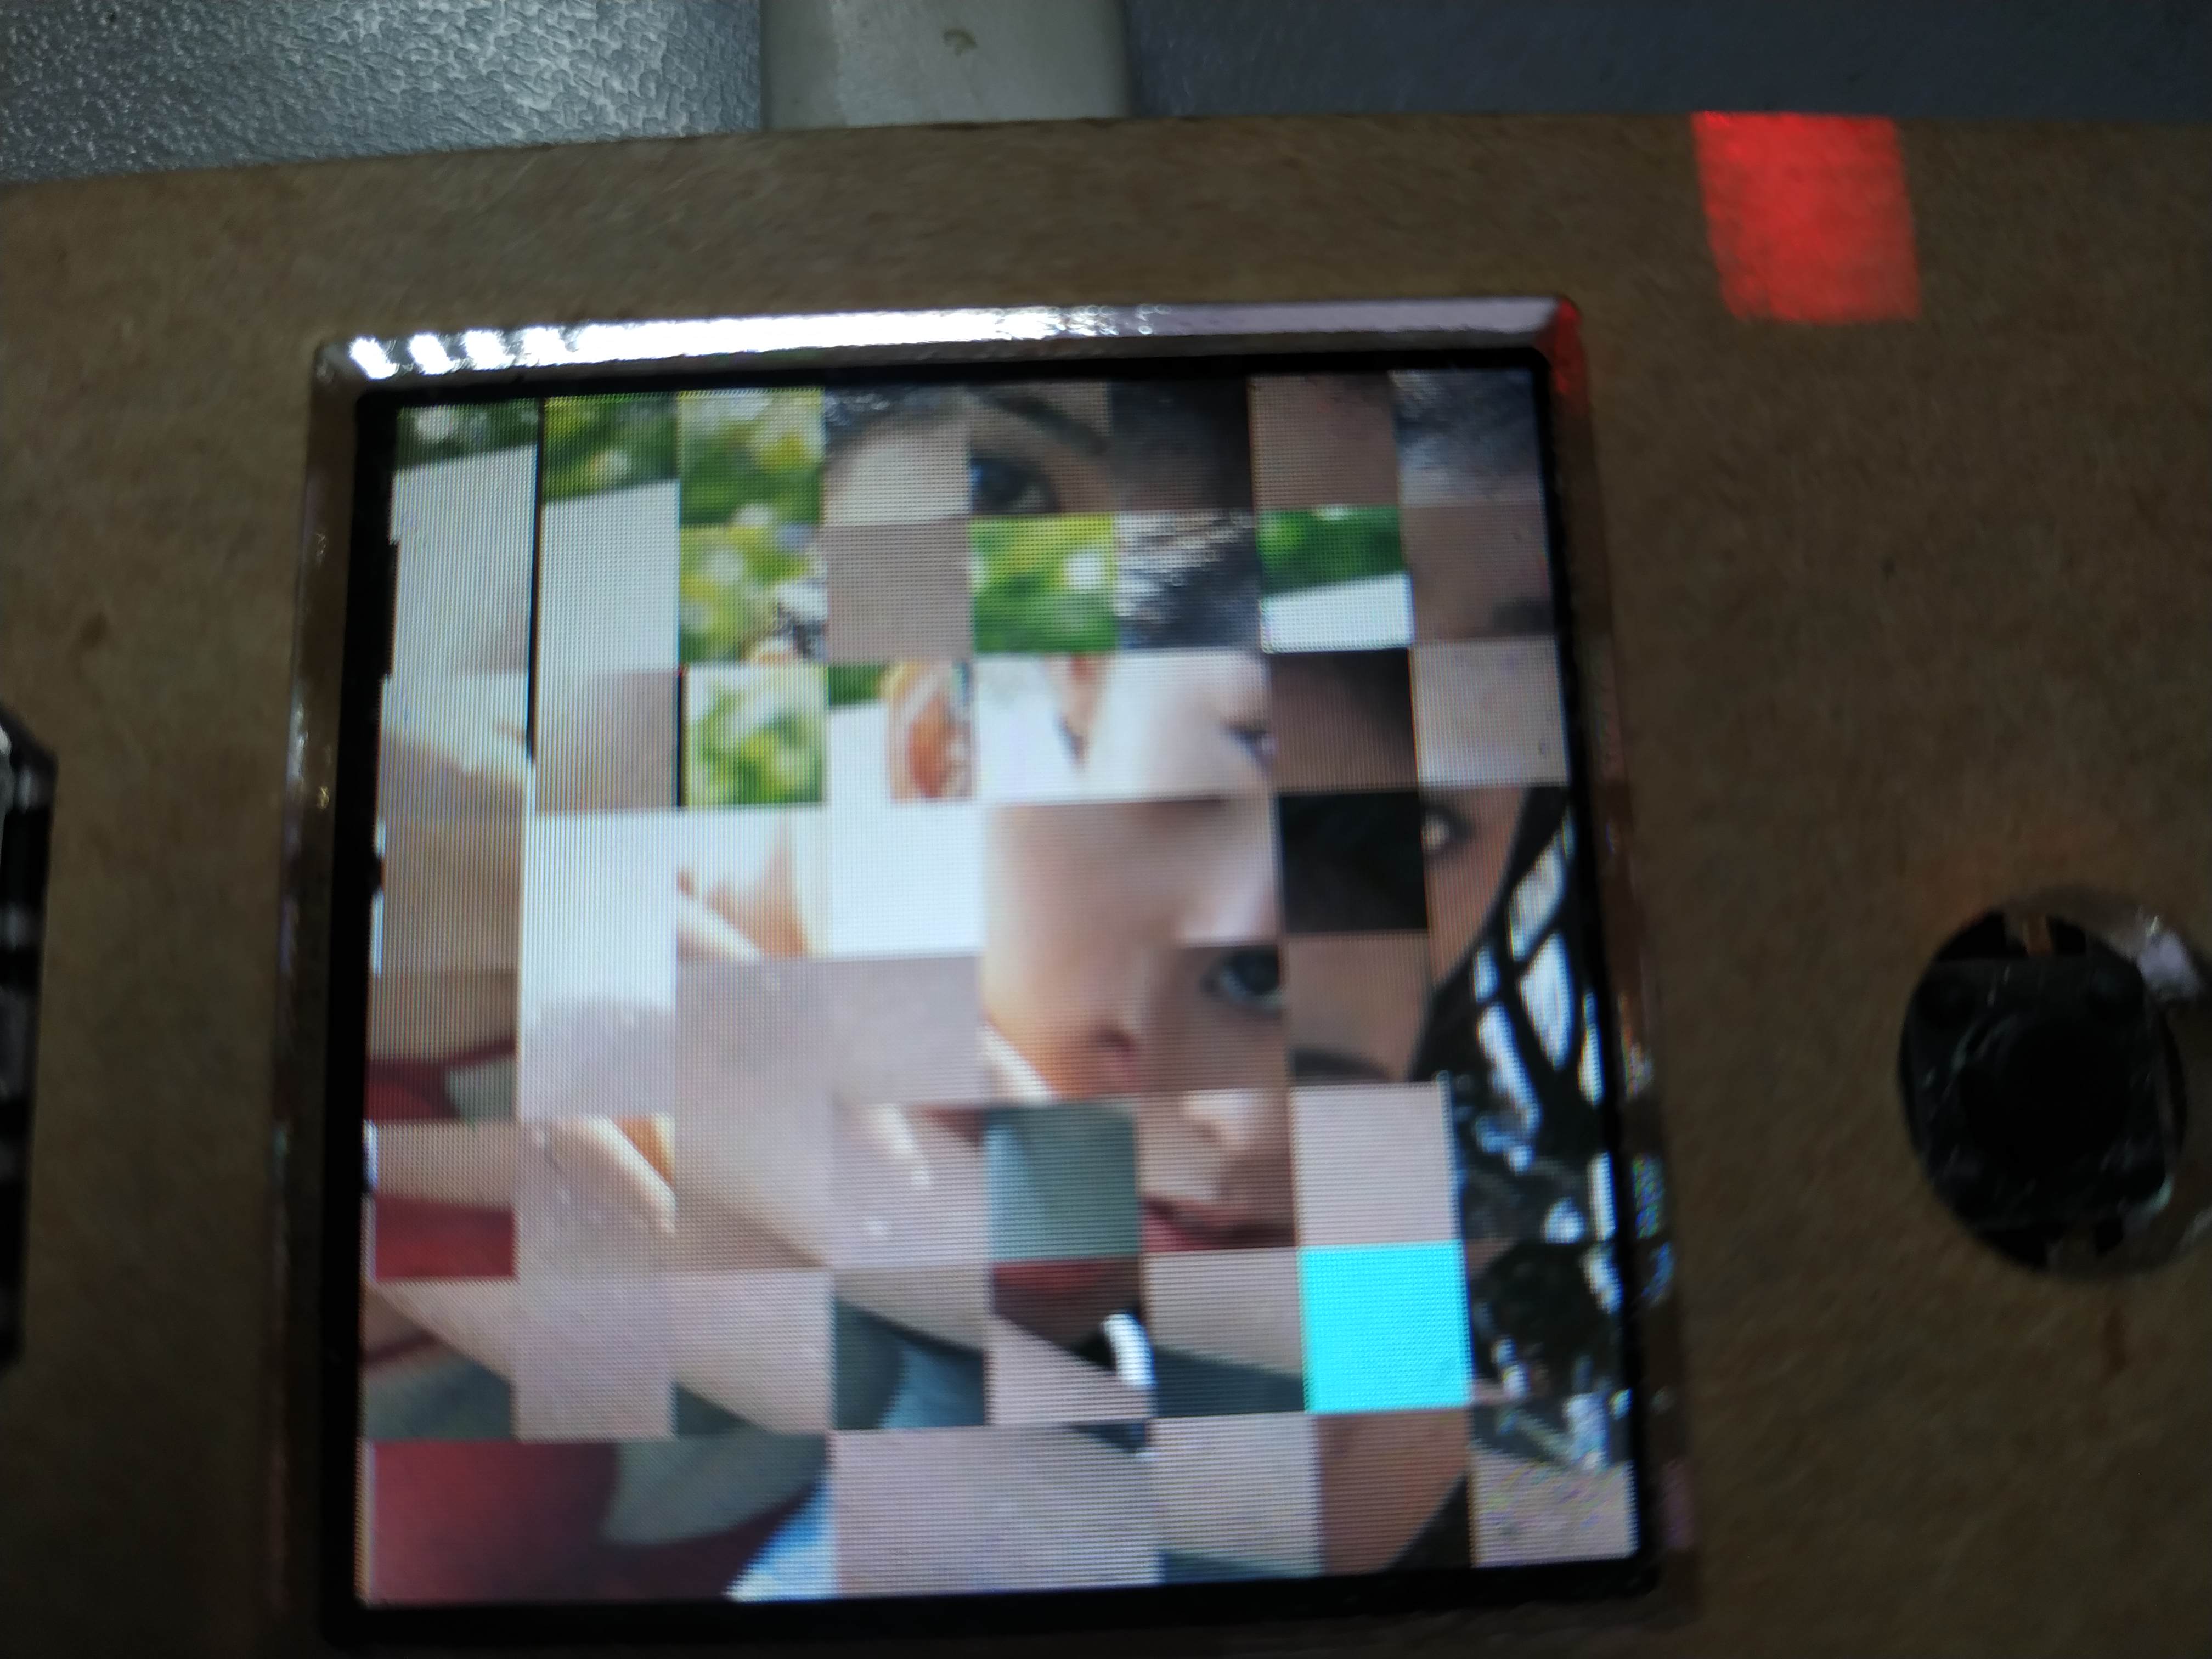 
 华容道.zip 华容道.zip
| 


 沪公网安备31011502402448
 置顶卡
置顶卡 变色卡
变色卡 千斤顶
千斤顶


