本帖最后由 派大星ym 于 2024-4-14 21:47 编辑
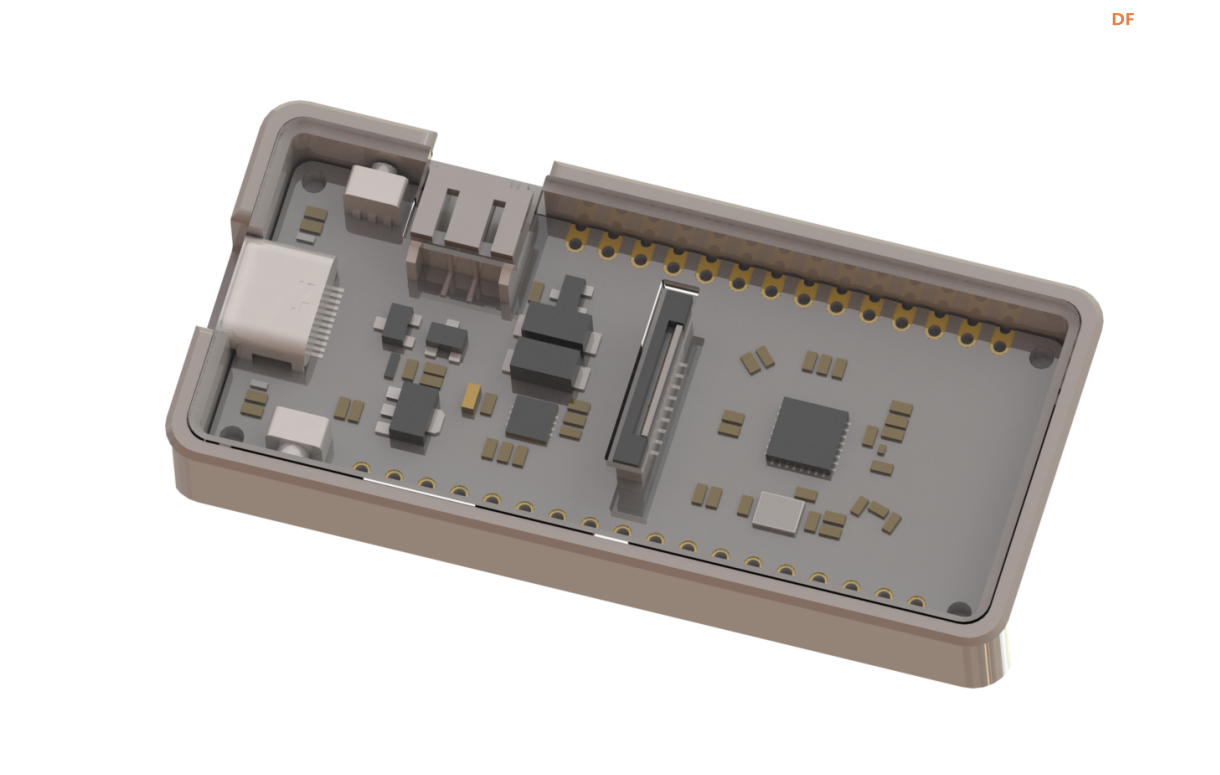
最近参加了DF发布的ESP32C6的试用活动,很幸运获得了试用资格,
收到板子后,用卡尺测量尺寸画了个模型。
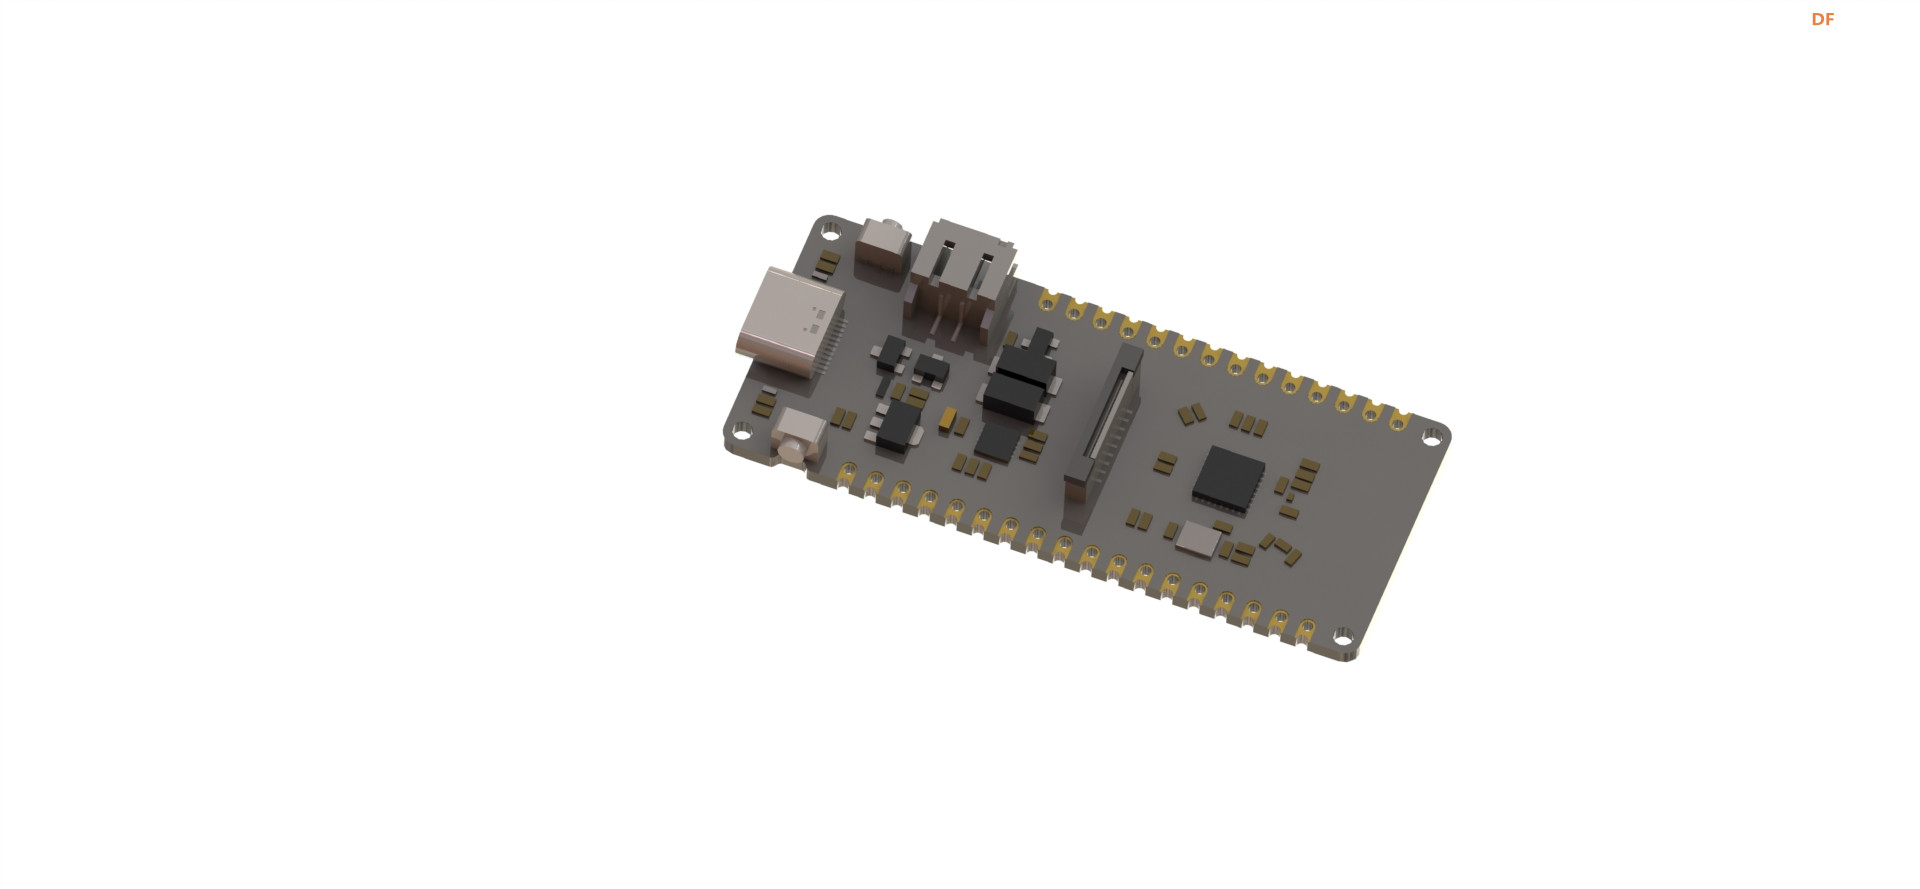
ESP32-C6简介
FireBeetle 2 ESP32-C6是一款基于ESP32-C6芯片设计的低功耗物联网开发板,适用于智能家居项目。ESP32-C6搭载160MHz的高性能RISC-V 32位处理器,支持Wi-Fi 6、Bluetooth 5、Zigbee 3.0、Thread 1.3通讯协议,可接入多种通讯协议的物联网网络。FireBeetle 2 ESP32-C6支持Type-C、5V DC、太阳能对锂电池进行充电,部署时有更多的供电方式选择。
首次使用
C6驱动显示屏(透明屏)
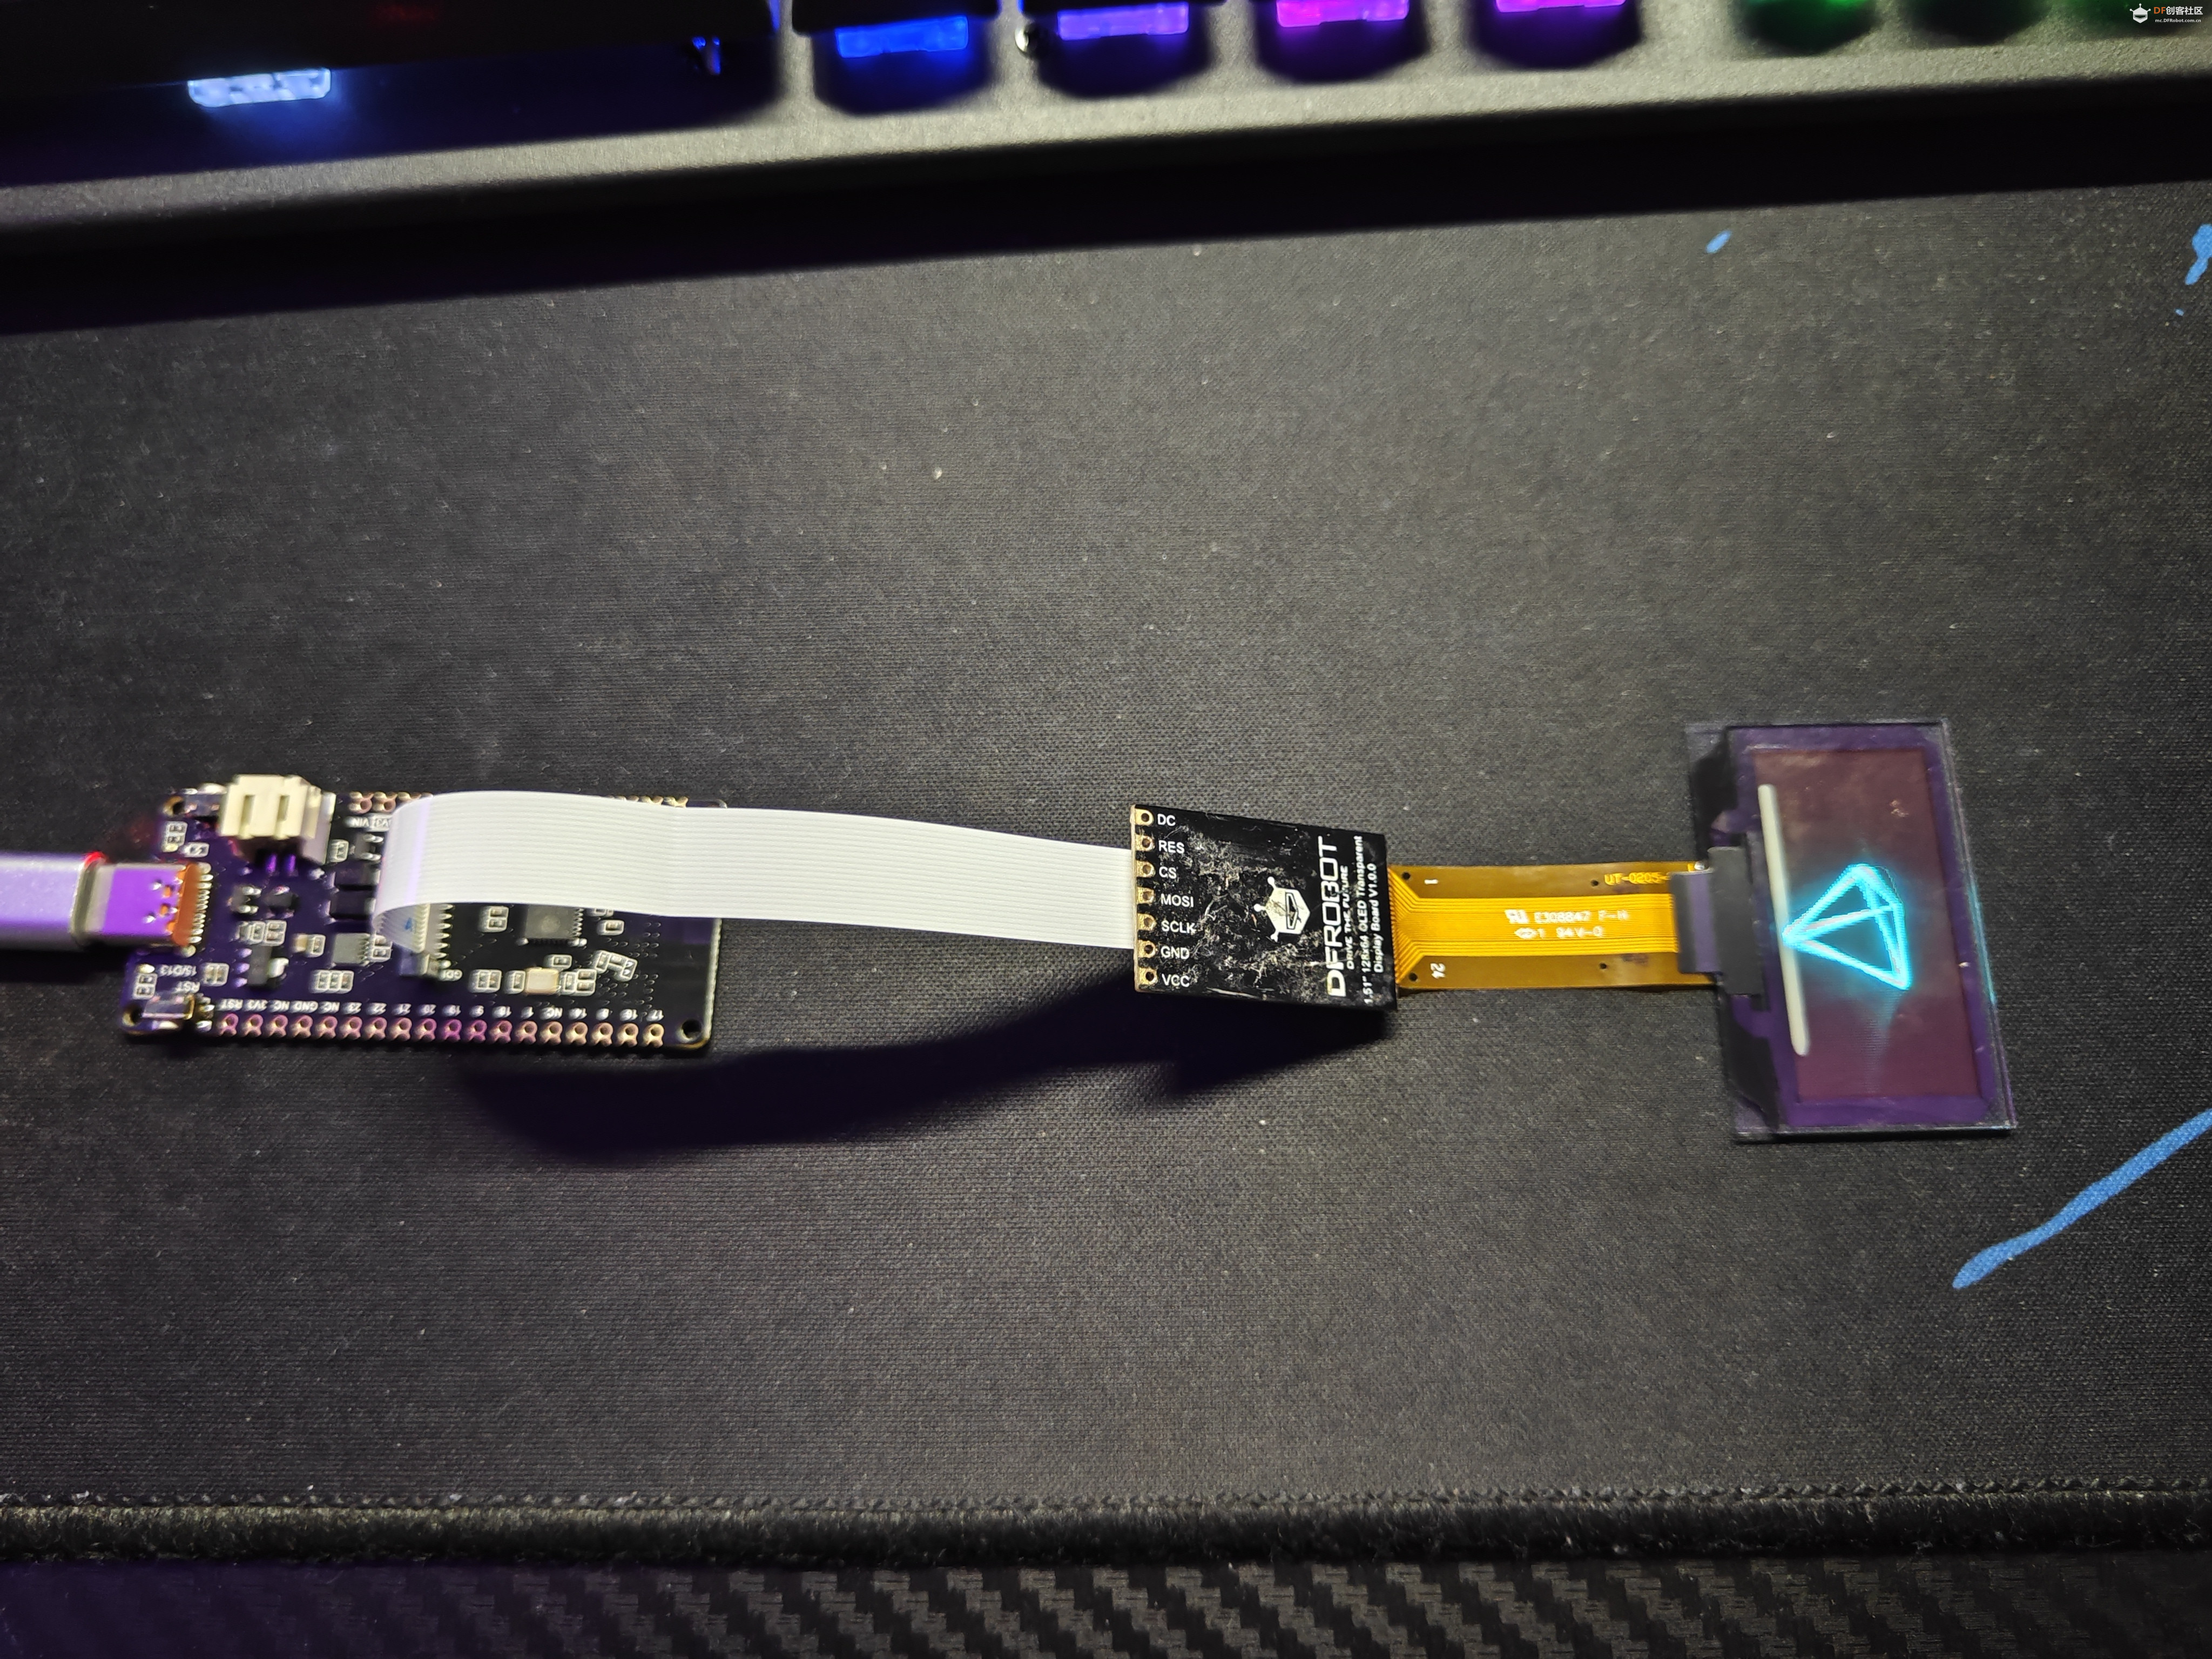
这里的板载GDI接口可以轻松的连接屏幕,(非常方便nice)
- /*!
- * @file Cube.ino
- * @brief Rotating 3D stereoscopic graphics
- * @n This is a simple rotating tetrahexon
- *
- * @copyright Copyright (c) 2010 DFRobot Co.Ltd (http://www.dfrobot.com)
- * @licence The MIT License (MIT)
- * @author [Ivey](Ivey.lu@dfrobot.com)
- * @maintainer [Fary](feng.yang@dfrobot.com)
- * @version V1.0
- * @maintainer [Fary](feng.yang@dfrobot.com)
- * @version V1.0
- * @date 2019-10-15
- * @url https://github.com/DFRobot/U8g2_Arduino
- */
-
- #include <Arduino.h>
- #include <U8g2lib.h>
-
- #include <SPI.h>
-
-
- /*
- * Display hardware IIC interface constructor
- *@param rotation:U8G2_R0 Not rotate, horizontally, draw direction from left to right
- U8G2_R1 Rotate clockwise 90 degrees, drawing direction from top to bottom
- U8G2_R2 Rotate 180 degrees clockwise, drawing in right-to-left directions
- U8G2_R3 Rotate clockwise 270 degrees, drawing direction from bottom to top
- U8G2_MIRROR Normal display of mirror content (v2.6.x version used above)
- Note: U8G2_MIRROR need to be used with setFlipMode().
- *@param reset:U8x8_PIN_NONE Indicates that the pin is empty and no reset pin is used
- * Display hardware SPI interface constructor
- *@param Just connect the CS pin (pins are optional)
- *@param Just connect the DC pin (pins are optional)
- *
- */
- #if defined ARDUINO_SAM_ZERO
- #define OLED_DC 7
- #define OLED_CS 5
- #define OLED_RST 6
- /*ESP32 */
- #elif defined(ESP32)
- #define OLED_DC D2
- #define OLED_CS D6
- #define OLED_RST D3
- /*ESP8266*/
- #elif defined(ESP8266)
- #define OLED_DC D4
- #define OLED_CS D6
- #define OLED_RST D5
- /*AVR series board*/
- #else
- #define OLED_DC 2
- #define OLED_CS 3
- #define OLED_RST 4
- #endif
- U8G2_SSD1309_128X64_NONAME2_1_4W_HW_SPI u8g2(/* rotation=*/U8G2_R0, /* cs=*/ OLED_CS, /* dc=*/ OLED_DC,/* reset=*/OLED_RST);
-
-
- //2D array: The coordinates of all vertices of the tetrahesome are stored
- double tetrahedron[4][3] = {{0,20,-20},{-20,-20,-20},{20,-20,-20},{0,0,20}};
- void setup(void) {
- u8g2.begin();
- }
-
- void loop(void) {
- /*
- * firstPage will change the current page number position to 0
- * When modifications are between firstpage and nextPage, they will be re-rendered at each time.
- * This method consumes less ram space than sendBuffer
- */
- u8g2.firstPage();
- do {
- //Connect the corresponding points inside the tetrahethal together
- u8g2.drawLine(OxyzToOu(tetrahedron[0][0], tetrahedron[0][2]), OxyzToOv(tetrahedron[0][1], tetrahedron[0][2]), OxyzToOu(tetrahedron[1][0], tetrahedron[1][2]), OxyzToOv(tetrahedron[1][1], tetrahedron[1][2]));
- u8g2.drawLine(OxyzToOu(tetrahedron[1][0], tetrahedron[1][2]), OxyzToOv(tetrahedron[1][1], tetrahedron[1][2]), OxyzToOu(tetrahedron[2][0], tetrahedron[2][2]), OxyzToOv(tetrahedron[2][1], tetrahedron[2][2]));
- u8g2.drawLine(OxyzToOu(tetrahedron[0][0], tetrahedron[0][2]), OxyzToOv(tetrahedron[0][1], tetrahedron[0][2]), OxyzToOu(tetrahedron[2][0], tetrahedron[2][2]), OxyzToOv(tetrahedron[2][1], tetrahedron[2][2]));
- u8g2.drawLine(OxyzToOu(tetrahedron[0][0], tetrahedron[0][2]), OxyzToOv(tetrahedron[0][1], tetrahedron[0][2]), OxyzToOu(tetrahedron[3][0], tetrahedron[3][2]), OxyzToOv(tetrahedron[3][1], tetrahedron[3][2]));
- u8g2.drawLine(OxyzToOu(tetrahedron[1][0], tetrahedron[1][2]), OxyzToOv(tetrahedron[1][1], tetrahedron[1][2]), OxyzToOu(tetrahedron[3][0], tetrahedron[3][2]), OxyzToOv(tetrahedron[3][1], tetrahedron[3][2]));
- u8g2.drawLine(OxyzToOu(tetrahedron[2][0], tetrahedron[2][2]), OxyzToOv(tetrahedron[2][1], tetrahedron[2][2]), OxyzToOu(tetrahedron[3][0], tetrahedron[3][2]), OxyzToOv(tetrahedron[3][1], tetrahedron[3][2]));
- // Rotate 0.1°
- rotate(0.1);
-
- } while ( u8g2.nextPage() );
- //delay(50);
- }
- /*!
- * @brief Convert xz in the three-dimensional coordinate system Oxyz
- * into the u coordinate inside the two-dimensional coordinate system Ouv
- * @param x in Oxyz
- * @param z in Oxyz
- * @return u in Ouv
- */
- int OxyzToOu(double x,double z){
-
- return (int)((x + 64) - z*0.35);
- }
-
-
- /*!
- * @brief Convert the yz in the three-dimensional coordinate system Oxyz into the v coordinate inside
- * the two-dimensional coordinate system Ouv
- * @param y in Oxyz
- * @param z in Oxyz
- * @return v in Ouv
- */
- int OxyzToOv(double y,double z){
- return (int)((y + 26) - z*0.35);
- }
-
-
- /*!
- * @brief Rotate the coordinates of all points of the entire 3D graphic around the Z axis
- * @param angle represents the angle to rotate
- *
- * z rotation (z unchanged)
- x3 = x2 * cosb - y1 * sinb
- y3 = y1 * cosb + x2 * sinb
- z3 = z2
- */
- void rotate(double angle)
- {
- double rad, cosa, sina, Xn, Yn;
-
- rad = angle * PI / 180;
- cosa = cos(rad);
- sina = sin(rad);
- for (int i = 0; i < 4; i++)
- {
- Xn = (tetrahedron[i][0] * cosa) - (tetrahedron[i][1] * sina);
- Yn = (tetrahedron[i][0] * sina) + (tetrahedron[i][1] * cosa);
-
- //Store converted coordinates into an array of coordinates
- //Because it rotates around the Z-axis, the coordinates of the point z-axis remain unchanged
- tetrahedron[i][0] = Xn;
- tetrahedron[i][1] = Yn;
- }
- }
不得不说透明屏的显示效果-厉害
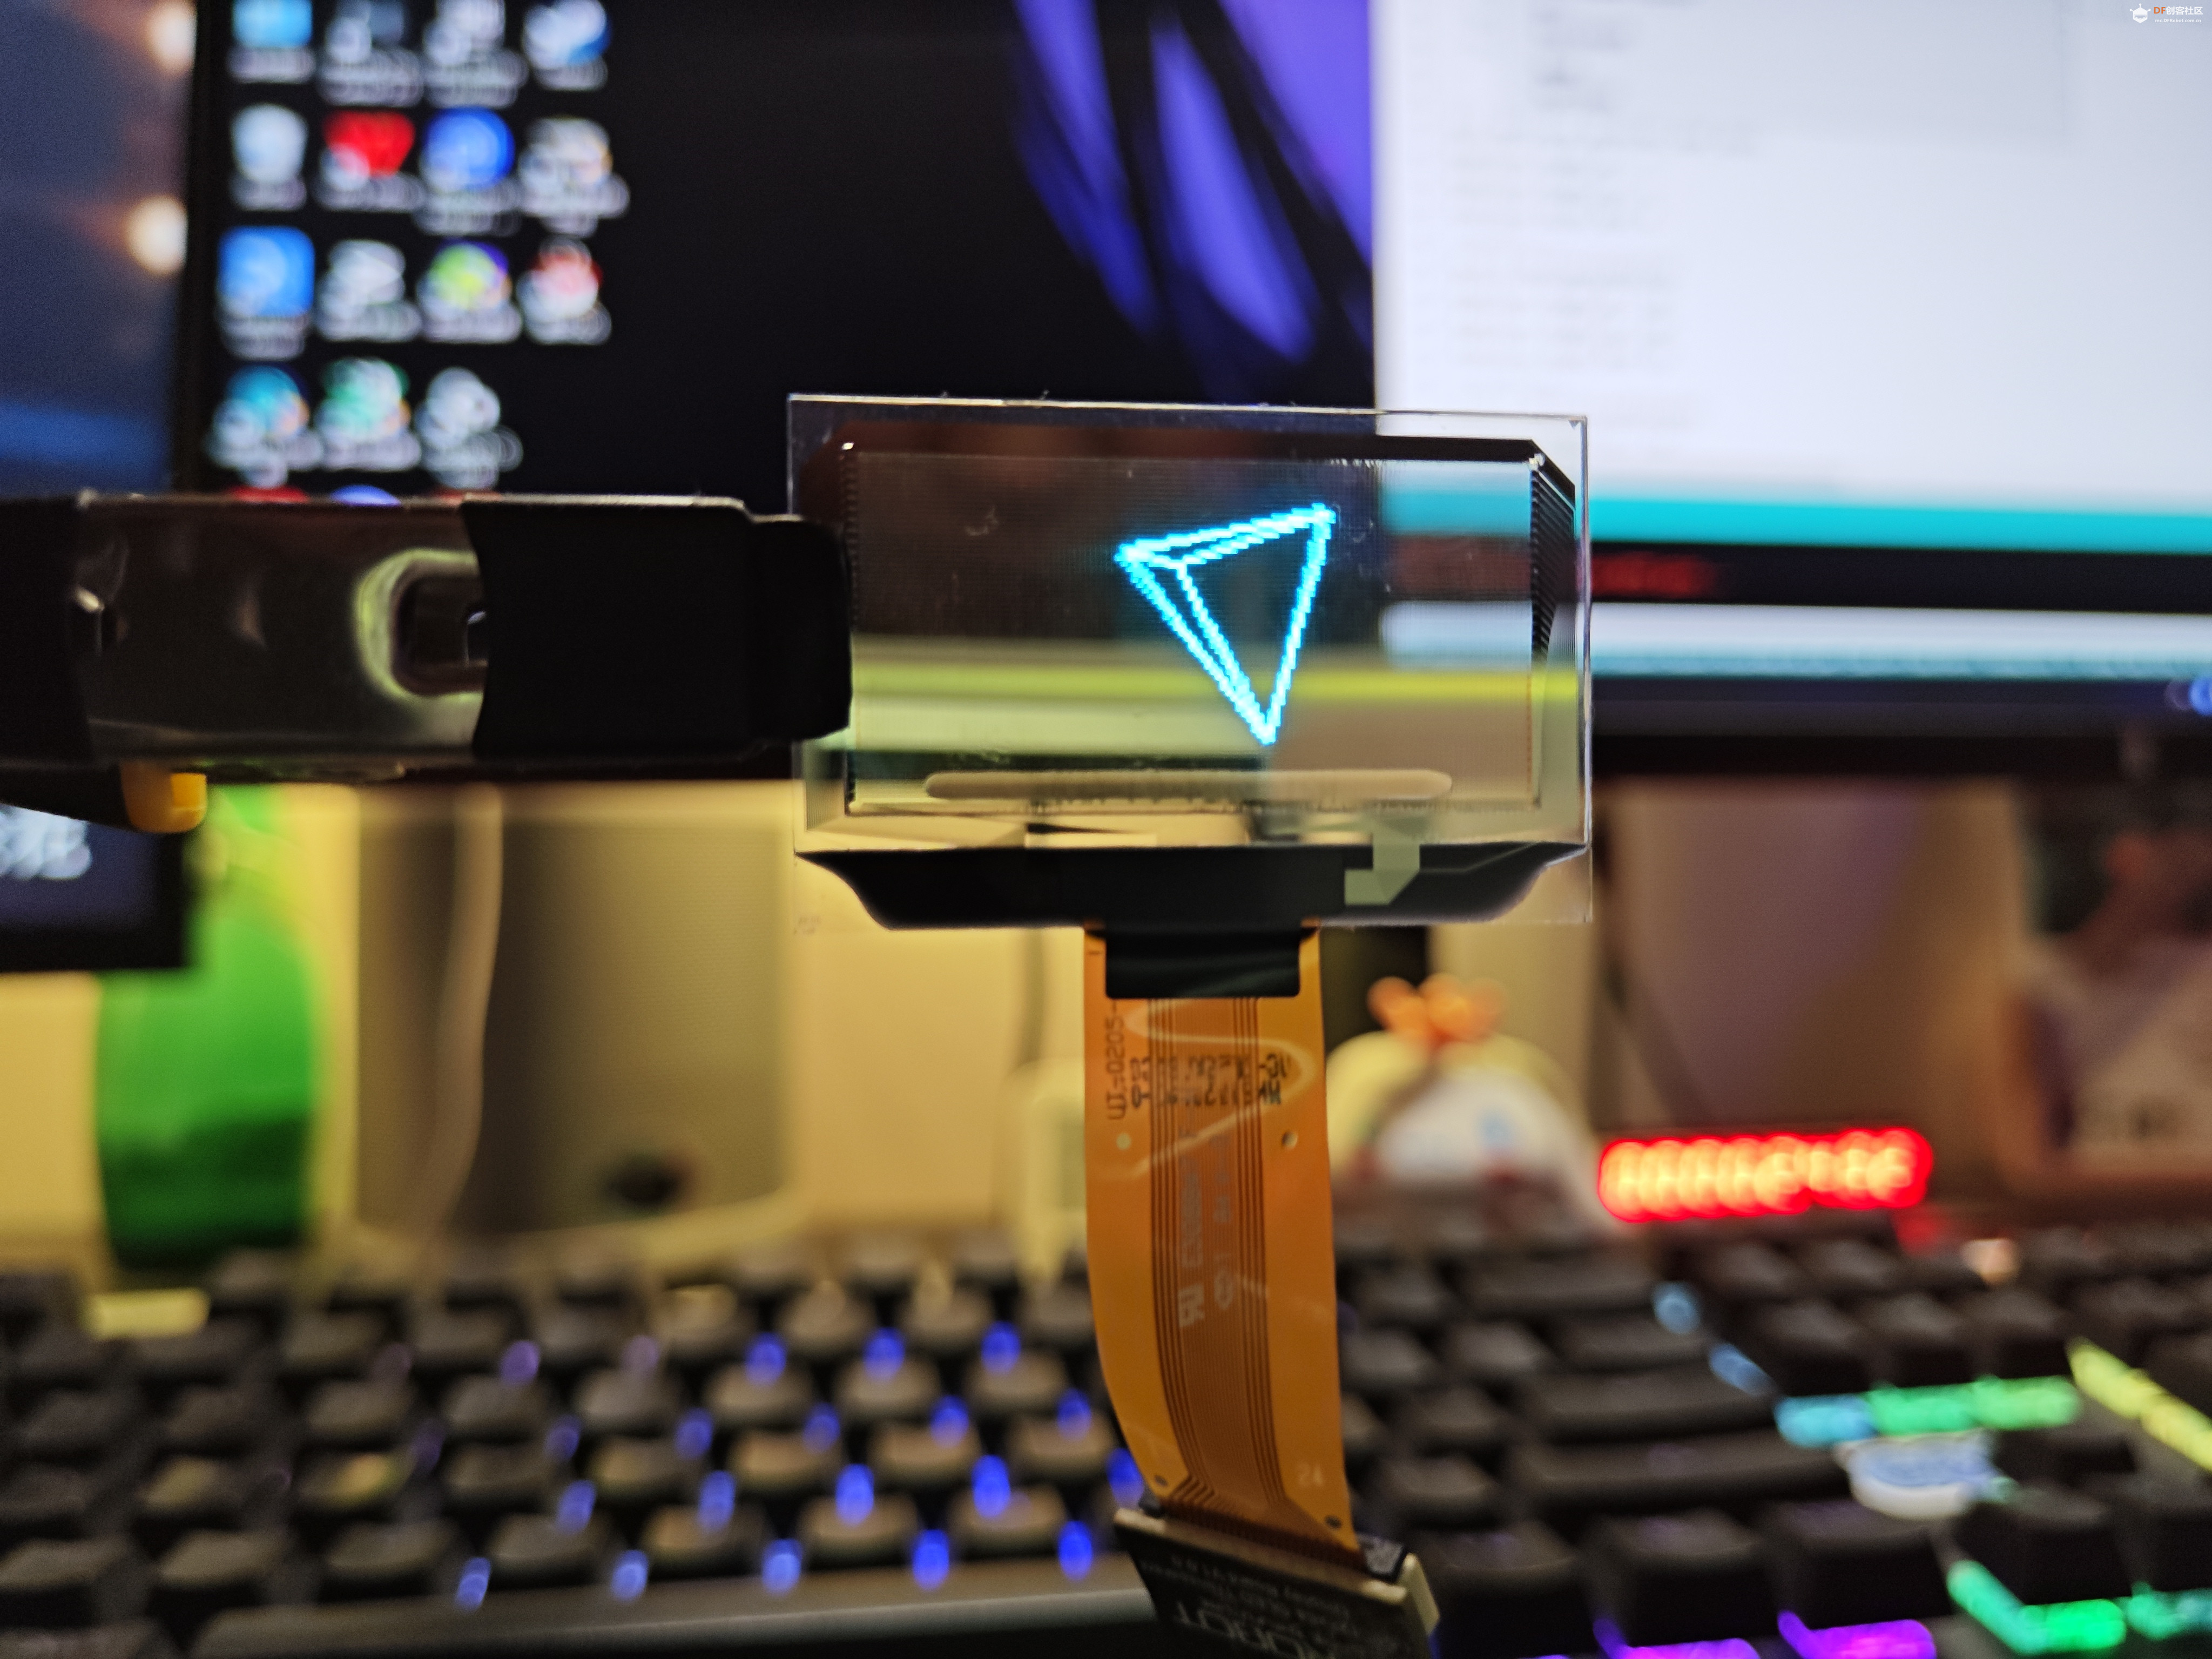
OK点亮完炫酷的透明屏,接下来实现一个实用的应用
WOL网络唤醒
当你出门在外需要远程开机电脑,你会采用什么方法来实现需求啦。拆开机箱安装开机卡;购买智能插座设置电脑为来电启动。可我并不想对电脑硬件有任何的改动以及不想额外花销去购买智能插座,目前似乎能满足我需求的就是WOL网络唤醒技术。
网络唤醒(Wake-on-LAN,WOL)是一种计算机局域网唤醒技术,使局域网内处于关机或休眠状态的计算机,将状态转换成引导(Boot Loader)或运行状态
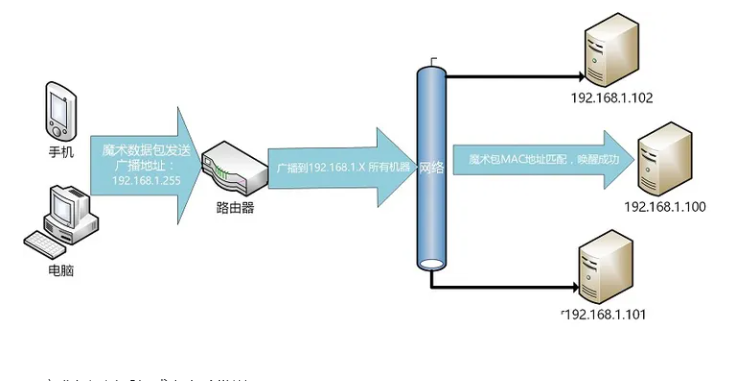
将C6连接在电脑同一局域网上,当按键按下时C6执行向局域网内9号端口广播带有要开机电脑网卡MAC地址的幻数据包来激活电脑
(当电脑开启了网络唤醒后,网卡会在关机的时候用非常低的功耗来接收数据并激活电脑)
- #include <WiFi.h>
- #include <WiFiUdp.h>
-
- #ifndef STASSID
- #define STASSID "***"
- #define STAPSK "***"
- #endif
-
- #define port 9
-
- const char* ssid = STASSID;
- const char* password = STAPSK;
-
- WiFiUDP Udp;
- bool isWarn=false;
-
-
- void setup() {
- pinMode(D2,INPUT_PULLUP);
- Serial.begin(115200);
- Serial.println();
- Serial.println();
- Serial.print("Connecting to ");
- Serial.println(ssid);
- WiFi.mode(WIFI_STA);
- WiFi.begin(ssid, password);
- while (WiFi.status() != WL_CONNECTED) {
- delay(500);
- Serial.print(".");
- }
- Serial.println("");
- Serial.println("WiFi connected");
- Serial.println("IP address: ");
- Serial.println(WiFi.localIP());
- }
-
- void loop() {
- if(!digitalRead(D2)){
- if(!isWarn){
-
- int i=0;
- char mac[6]={0x04,0x7C,0x16,0x5A,0xD5,0x8C};
- char pac[102];
- char * Address = "192.168.1.255";
- int Port = 3333;
-
- for(i=0;i<6;i++)
- {
- pac[i]=0xFF;
- }
- for(i=6;i<102;i+=6)
- {
- memcpy(pac+i,mac,6);
- }
- Udp.beginPacket(Address, Port);
- Udp.write((byte*)pac, 102);
- Udp.endPacket();
- }
- delay(500);
- }
- }
将C6的D2与GND引脚短接,电脑响应开机(这里的延时非常小最多1秒左右)如果唤醒失败,首先确保自己的电脑主板支持唤醒(现在的主板一般都是支持唤醒功能的),其次确保UDP广播端口/MAC地址正确,其次电脑的BIOS设置允许唤醒开启/网卡的魔术包唤醒功能开启。
这里C6需要和电脑在同一局域网下,如果再将C6接入物联网平台例如阿里云/Blynk等即可实现远程唤醒电脑
本来外壳模型计划用莫嘉的1元CNC活动加工的 ,但模型不符合活动的要求,~~在修改修改吧
ESP32 C6模型
 ESP32C6.zip ESP32C6.zip
|


 ESP32C6.zip
 编辑选择奖
编辑选择奖
 编辑选择奖
编辑选择奖
 沪公网安备31011502402448