本帖最后由 hello创客 于 2024-9-29 22:21 编辑
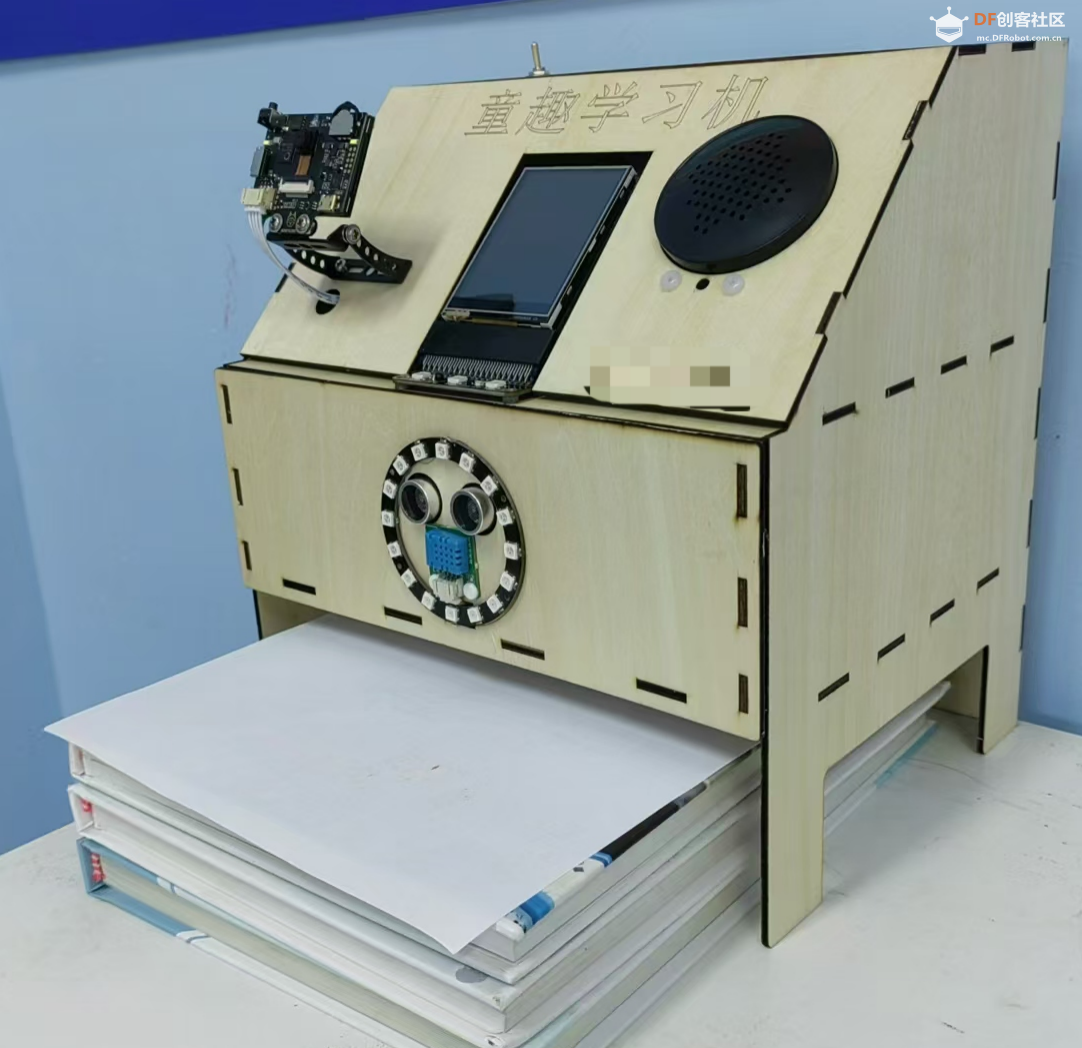
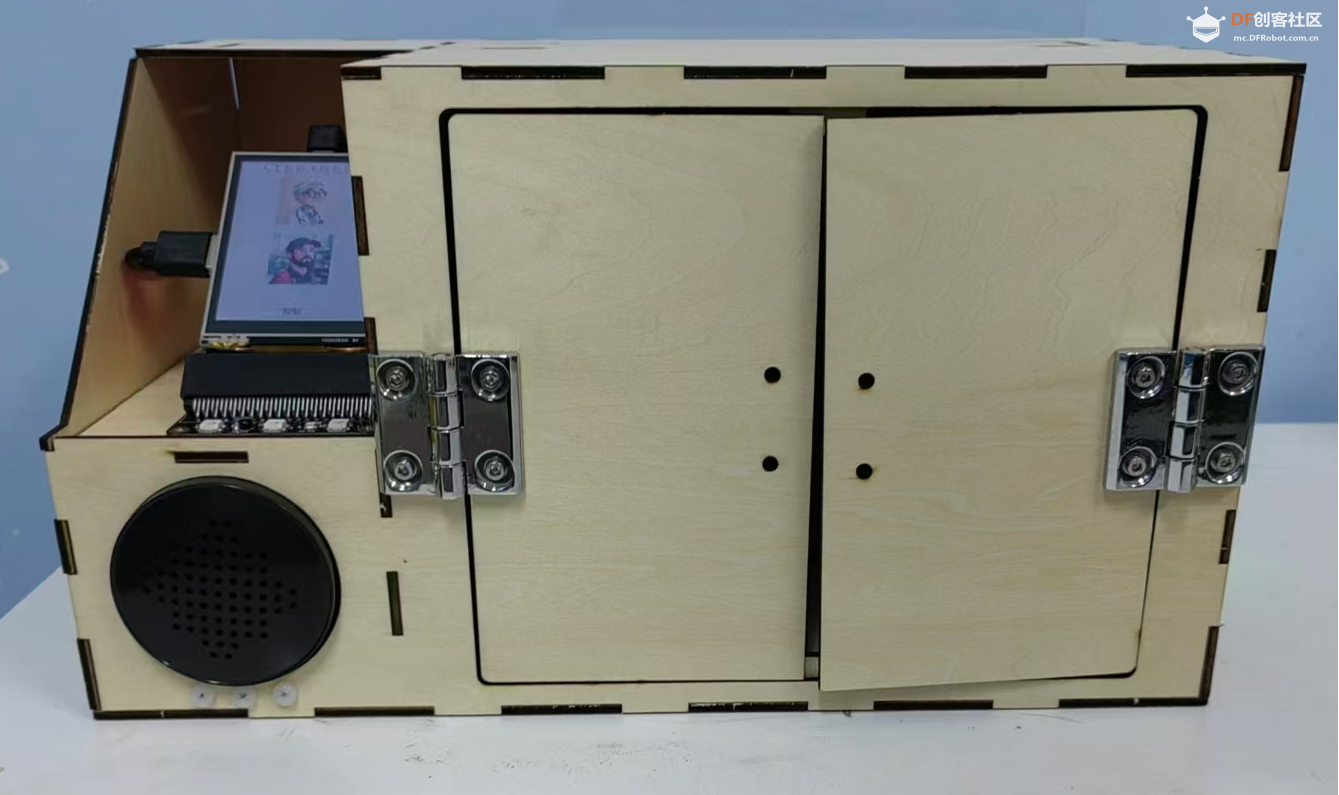
【前言】 非常荣幸能参与本次活动,原本单独制作一个作品完成本次帖子的内容,但由于比赛内容安排比较多,没有时间完成作品内容,但是指导学生利用行空板与扩展板完成两个相关作品,作品处于比赛阶段,因此只能公开部分照片,之后征求同意后也会考虑开源出来。拓展板非常好用,之后也会让更多孩子使用
【项目背景】 由于行空板内置的Python版本比较低,常见的大模型的Python库无法兼容低版本的Python,于是有了想要封装讯飞星火认知大模型的想法,参考mind+官网的讯飞语音库的内容,很快就确定确定封装思路。 
 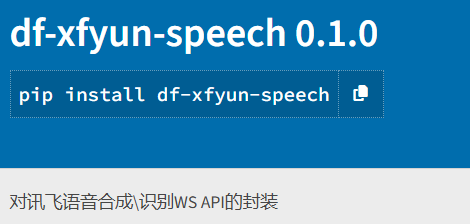
【封装思路】 通过讯飞星火认知大模型的调试中心,可以很方便实现了解Python的调用流程,我们需要做的是将websocket包含到里面,然后增加部分提示以及其他函数。 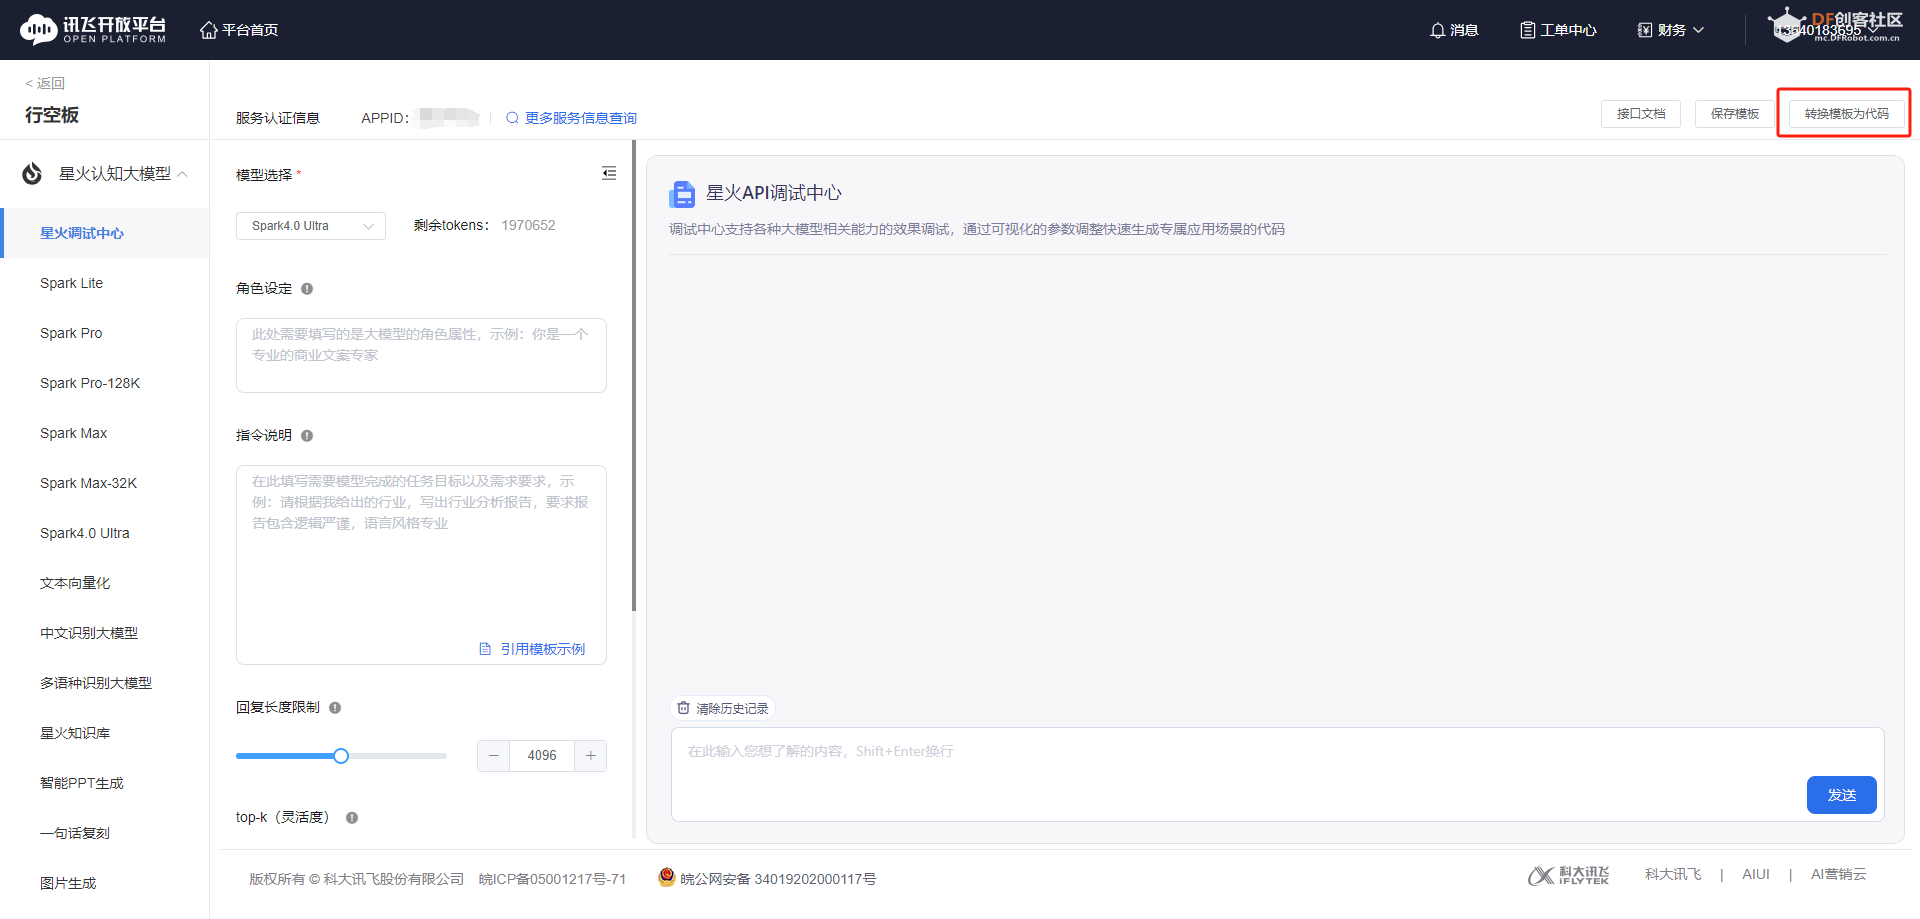 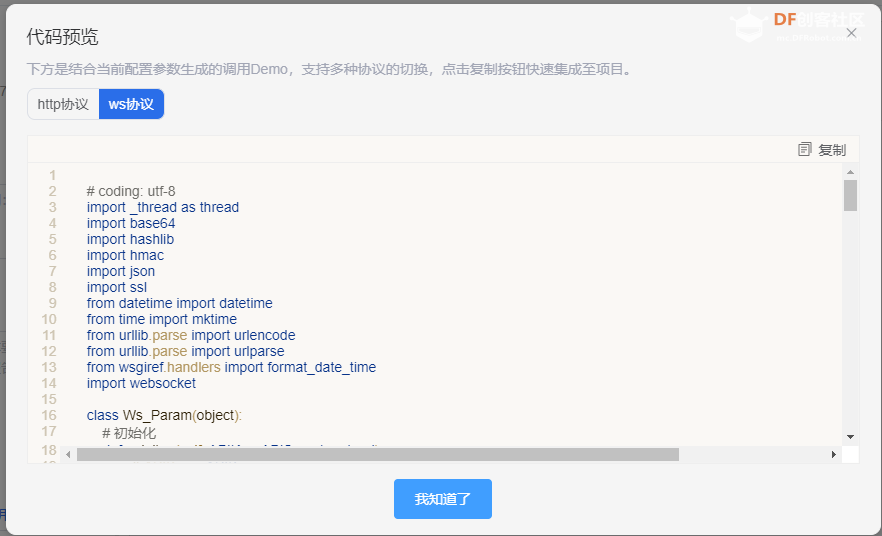
- import _thread as thread
- import base64
- import datetime
- import hashlib
- import hmac
- import json
- import time
- from urllib.parse import urlparse
- import ssl
- from datetime import datetime
- from time import mktime
- from urllib.parse import urlencode
- from wsgiref.handlers import format_date_time
-
- import websocket # 使用websocket_client
-
-
- #配置大模型版本
- domain_name = "4.0Ultra" # v4.0版本
-
- #云端环境的服务地址
- Spark_url = "wss://spark-api.xf-yun.com/v4.0/chat" # v4.0环境的地址
-
- class Ws_Param(object):
- # 是否空闲
- STATE_IDLE = "Idle"
- STATE_RUNNING = "Running"
- STATE_COMPLETED = "Completed"
- STATE_ERROR = "Error"
- # 初始化
- def __init__(self, APPID, APIKey, APISecret):
- global Spark_url
- self.APPID = APPID
- self.APIKey = APIKey
- self.APISecret = APISecret
- self.host = urlparse(Spark_url).netloc
- self.path = urlparse(Spark_url).path
- self.Spark_url = Spark_url
- # 是否运行结束、结果如何标识符
- self.state = self.STATE_IDLE
- # 完整内容
- self.answer = ''
- # 对话内容
- self.data = None
-
- # 生成url
- def create_url(self):
- # 生成RFC1123格式的时间戳
- now = datetime.now()
- date = format_date_time(mktime(now.timetuple()))
-
- # 拼接字符串
- signature_origin = "host: " + self.host + "\n"
- signature_origin += "date: " + date + "\n"
- signature_origin += "GET " + self.path + " HTTP/1.1"
-
- # 进行hmac-sha256进行加密
- signature_sha = hmac.new(self.APISecret.encode('utf-8'), signature_origin.encode('utf-8'),
- digestmod=hashlib.sha256).digest()
-
- signature_sha_base64 = base64.b64encode(signature_sha).decode(encoding='utf-8')
-
- authorization_origin = f'api_key="{self.APIKey}", algorithm="hmac-sha256", headers="host date request-line", signature="{signature_sha_base64}"'
-
- authorization = base64.b64encode(authorization_origin.encode('utf-8')).decode(encoding='utf-8')
-
- # 将请求的鉴权参数组合为字典
- v = {
- "authorization": authorization,
- "date": date,
- "host": self.host
- }
- # 拼接鉴权参数,生成url
- url = self.Spark_url + '?' + urlencode(v)
- # 此处打印出建立连接时候的url,参考本demo的时候可取消上方打印的注释,比对相同参数时生成的url与自己代码生成的url是否一致
- return url
-
-
- # 收到websocket错误的处理
- def on_error(self,ws, error):
- print("### error:", error)
-
-
-
- # 收到websocket关闭的处理
- def on_close(self,ws,one,two):
- print(" ")
-
-
- # 收到websocket连接建立的处理
- def on_open(self,ws):
- self.state = self.STATE_RUNNING
- thread.start_new_thread(self.run, (ws,))
-
-
- def run(self,ws, *args):
- global domain_name
- data = json.dumps(self.gen_params(appid=ws.appid, domain= domain_name,question=ws.question))
- ws.send(data)
-
- # 询问函数
- def ask(self,question):
- if self.state == self.STATE_RUNNING:
- print("spark process is already running.")
- return
- self.answer = ''
- websocket.enableTrace(False)
- ws = websocket.WebSocketApp(self.create_url(), on_message=self.on_message, on_error=self.on_error, on_close=self.on_close, on_open=self.on_open)
- ws.appid = self.APPID
- ws.question = question
- ws.run_forever(sslopt={"cert_reqs": ssl.CERT_NONE})
-
- # 收到websocket消息的处理
- def on_message(self,ws, message):
- data = json.loads(message)
- code = data['header']['code']
- if code != 0:
- self.state = self.STATE_ERROR
- print(f'请求错误: {code}, {data}')
- ws.close()
- else:
- choices = data["payload"]["choices"]
- status = choices["status"]
- content = choices["text"][0]["content"]
- # print(content,end ="")
- self.answer += content
- if status == 2:
- if choices["text"][0].get("function_call") is not None:
- # print("调用函数",end='')
- # print(choices["text"][0]["function_call"])
- self.answer = choices["text"][0]["function_call"]
- else:
- self.data['payload']['message']['text'].append({"role":"assistant","content":self.answer})
- ws.close()
- self.state = self.STATE_COMPLETED
-
- def get_full_answer(self):
- while True:
- if self.state == self.STATE_COMPLETED:
- return self.answer
-
- def gen_params(self,appid, domain,question):
- """
- 通过appid和用户的提问来生成请参数
- """
- if self.data is None:
- self.data = {
- "payload": {
- "functions": {
- "text": [
- {
- "name": "天气查询",
- "description": "天气插件可以提供天气相关信息。你可以提供指定的地点信息、指定的时间点或者时间段信息,来精准检索到天气信息。",
- "parameters": {
- "type": "object",
- "properties": {
- "date": {
- "description": "日期。",
- "type": "string"
- },
- "location": {
- "description": "地点,比如北京。",
- "type": "string"
- }
- },
- "required": [
- "location"
- ]
- }
- },
- {
- "name": "ws2812",
- "description": "点亮ws2812灯光或控制灯光,通过调整红色、绿色、蓝色调整ws2812灯的颜色,如果是紫色或橙色灯,需要同时修改红绿蓝三个颜色的值,使用亮度去调整灯光的亮度",
- "parameters": {
- "type": "object",
- "properties": {
- "red": {
- "description": "红光数值",
- "type": "number"
- },
- "green": {
- "description": "绿光数值",
- "type": "number"
- },
- "blue":{
- "description":"蓝光数值",
- "type":"number"
- },
- "light":{
- "description":"亮度,数字范围0~255,255最亮,0熄灭",
- "type":"number"
- }
- },
- "required": [
- "red","green","blue","light"
- ]
- }
- }
- ]
- },
- "message": {
- "text": [
- {
- "role": "system",
- "content": "你是一名非常厉害的创客老师,带领许多孩子打过许多比赛,积极帮助老师与同学解答各种问题。,但是要求回答简短,中文回答,控制80字以内,同时回答完后加一个语气词,如了、啦、嗯"
- },
- {
- "role": "user",
- "content": question
- }
- ]
- }
- },
- "parameter": {
- "chat": {
- "max_tokens": 4096,
- "domain": domain,
- "top_k": 3,
- "temperature": 0.5
- }
- },
- "header": {
- "app_id": appid
- }
- }
- else:
- self.data['payload']['message']['text'].append({"role":"user","content":question})
- return self.data
-
- def get_status(self):
- return self.state
-
【代码测试】 将库文件放在同一个文件下,使用import spark的方式即可调用大模型使用到的方法,以下为实例代码内容。
- from spark import Ws_Param
-
- from pinpong.board import Board
- from pinpong.board import NeoPixel
- from pinpong.board import Board,Pin
- from pinpong.extension.unihiker import *
- import json
- import time
-
-
- APPID = ''
- APISecret = ''
- APIKey = ''
-
- options = {}
- business_args = {"aue":"raw","vcn":"xiaoyan","tte":"utf8","speed":50,"volume":50,"pitch":50,"bgs":0}
- options["business_args"] = business_args
-
- Board().begin()
- np1 = NeoPixel(Pin((Pin.P13)),3)
-
- xf = Ws_Param(APPID,APIKey,APISecret)
-
-
- def RGB(red,green,blue,light):
- np1.brightness(light)
- np1[0] = (red,green,blue)
-
-
- while True:
- try:
- asw = input("输入你的问题:")
- except:
- print("输入有误")
- continue
- xf.ask(asw)
- result = xf.get_full_answer()
- print(result)
-
-
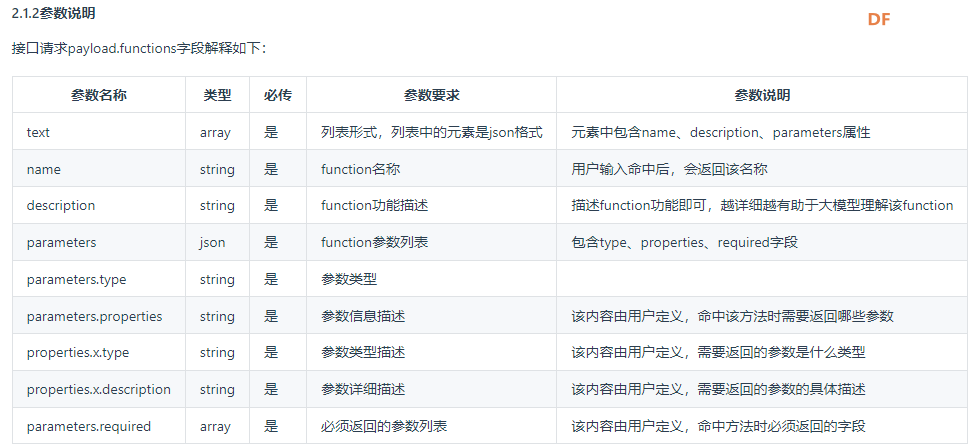
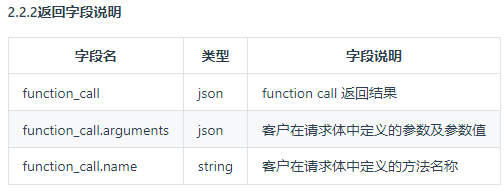
【函数调用说明】 Function call 作为大模型能力扩展的核心,支持大模型在交互过程中识别出需要调度的外部接口: 注:当前Spark Max/4.0 Ultra 支持了该功能;需要请求参数payload.functions中申明大模型需要辨别的外部接口。 通过参考说明,以及示例程序,我们可以尝试完成其中一个案例,案例演示对一个灯颜色的调整和亮度的改变。
1、自定义函数内容
- {
- "name": "ws2812",
- "description": "点亮ws2812灯光或控制灯光,通过调整红色、绿色、蓝色调整ws2812灯的颜色,如果是紫色或橙色灯,需要同时修改红绿蓝三个颜色的值,使用亮度去调整灯光的亮度",
- "parameters": {
- "type": "object",
- "properties": {
- "red": {
- "description": "红光数值",
- "type": "number"
- },
- "green": {
- "description": "绿光数值",
- "type": "number"
- },
- "blue":{
- "description":"蓝光数值",
- "type":"number"
- },
- "light":{
- "description":"亮度,数字范围0~255,255最亮,0熄灭",
- "type":"number"
- }
- },
- "required": [
- "red","green","blue","light"
- ]
- }
- }
2、在主程序中进行测试调用
- from spark import Ws_Param
-
- from pinpong.board import Board
- from pinpong.board import NeoPixel
- from pinpong.board import Board,Pin
- from pinpong.extension.unihiker import *
- import json
- import time
-
-
- APPID = ''
- APISecret = ''
- APIKey = ''
-
- options = {}
- business_args = {"aue":"raw","vcn":"xiaoyan","tte":"utf8","speed":50,"volume":50,"pitch":50,"bgs":0}
- options["business_args"] = business_args
-
- Board().begin()
- np1 = NeoPixel(Pin((Pin.P13)),3)
-
- xf = Ws_Param(APPID,APIKey,APISecret)
-
-
- def RGB(red,green,blue,light):
- np1.brightness(light)
- np1[0] = (red,green,blue)
-
-
- while True:
- try:
- asw = input("输入你的问题:")
- except:
- print("输入有误")
- continue
- xf.ask(asw)
- result = xf.get_full_answer()
- if type(result) is dict:
- if result.get("name") == 'ws2812':
- print(result)
- color = json.loads(result["arguments"])
- RGB(color["red"],color["green"],color["blue"],color["light"])
- else:
- print(result)
-
-
【程序进阶】 利用讯飞语音以及讯飞星火认知大模型完成对程序的控制,程序执行效果没有使用流式,整体反应会比较慢,但程序效果基本实现完成的语音交互。
- from spark import Ws_Param
-
- from pinpong.board import Board
- from pinpong.board import NeoPixel
- from pinpong.board import Board,Pin
- from pinpong.extension.unihiker import *
- import json
- import time
-
- from unihiker import Audio
- from df_xfyun_speech import XfIat
- from df_xfyun_speech import XfTts
-
-
- APPID = ''
- APISecret = ''
- APIKey = ''
-
- options = {}
- business_args = {"aue":"raw","vcn":"xiaoyan","tte":"utf8","speed":50,"volume":50,"pitch":50,"bgs":0}
- options["business_args"] = business_args
-
- Board().begin()
- np1 = NeoPixel(Pin((Pin.P13)),3)
-
- u_audio = Audio()
- xf = Ws_Param(APPID,APIKey,APISecret)
- iat = XfIat(APPID, APIKey, APISecret)
- tts = XfTts(APPID, APIKey, APISecret, options)
-
- def RGB(red,green,blue,light):
- np1.brightness(light)
- np1[0] = (red,green,blue)
-
-
- while True:
- if (button_a.is_pressed()==True):
- print("开始录音")
- u_audio.record("record.wav",5)
- asw = iat.recognition("record.wav")
- # try:
- # asw = input("输入你的问题:")
- # except:
- # print("输入有误")
- # continue
- print(asw)
- xf.ask(asw)
- result = xf.get_full_answer()
-
- if type(result) is dict:
- if result.get("name") == 'ws2812':
- tts.synthesis("执行自定义函数了", "speech.wav")
- print(result)
- color = json.loads(result["arguments"])
- RGB(color["red"],color["green"],color["blue"],color["light"])
- u_audio.play("speech.wav")
- time.sleep(1)
- else:
- tts.synthesis(result, "speech.wav")
- print(result)
- u_audio.play("speech.wav")
- time.sleep(1)
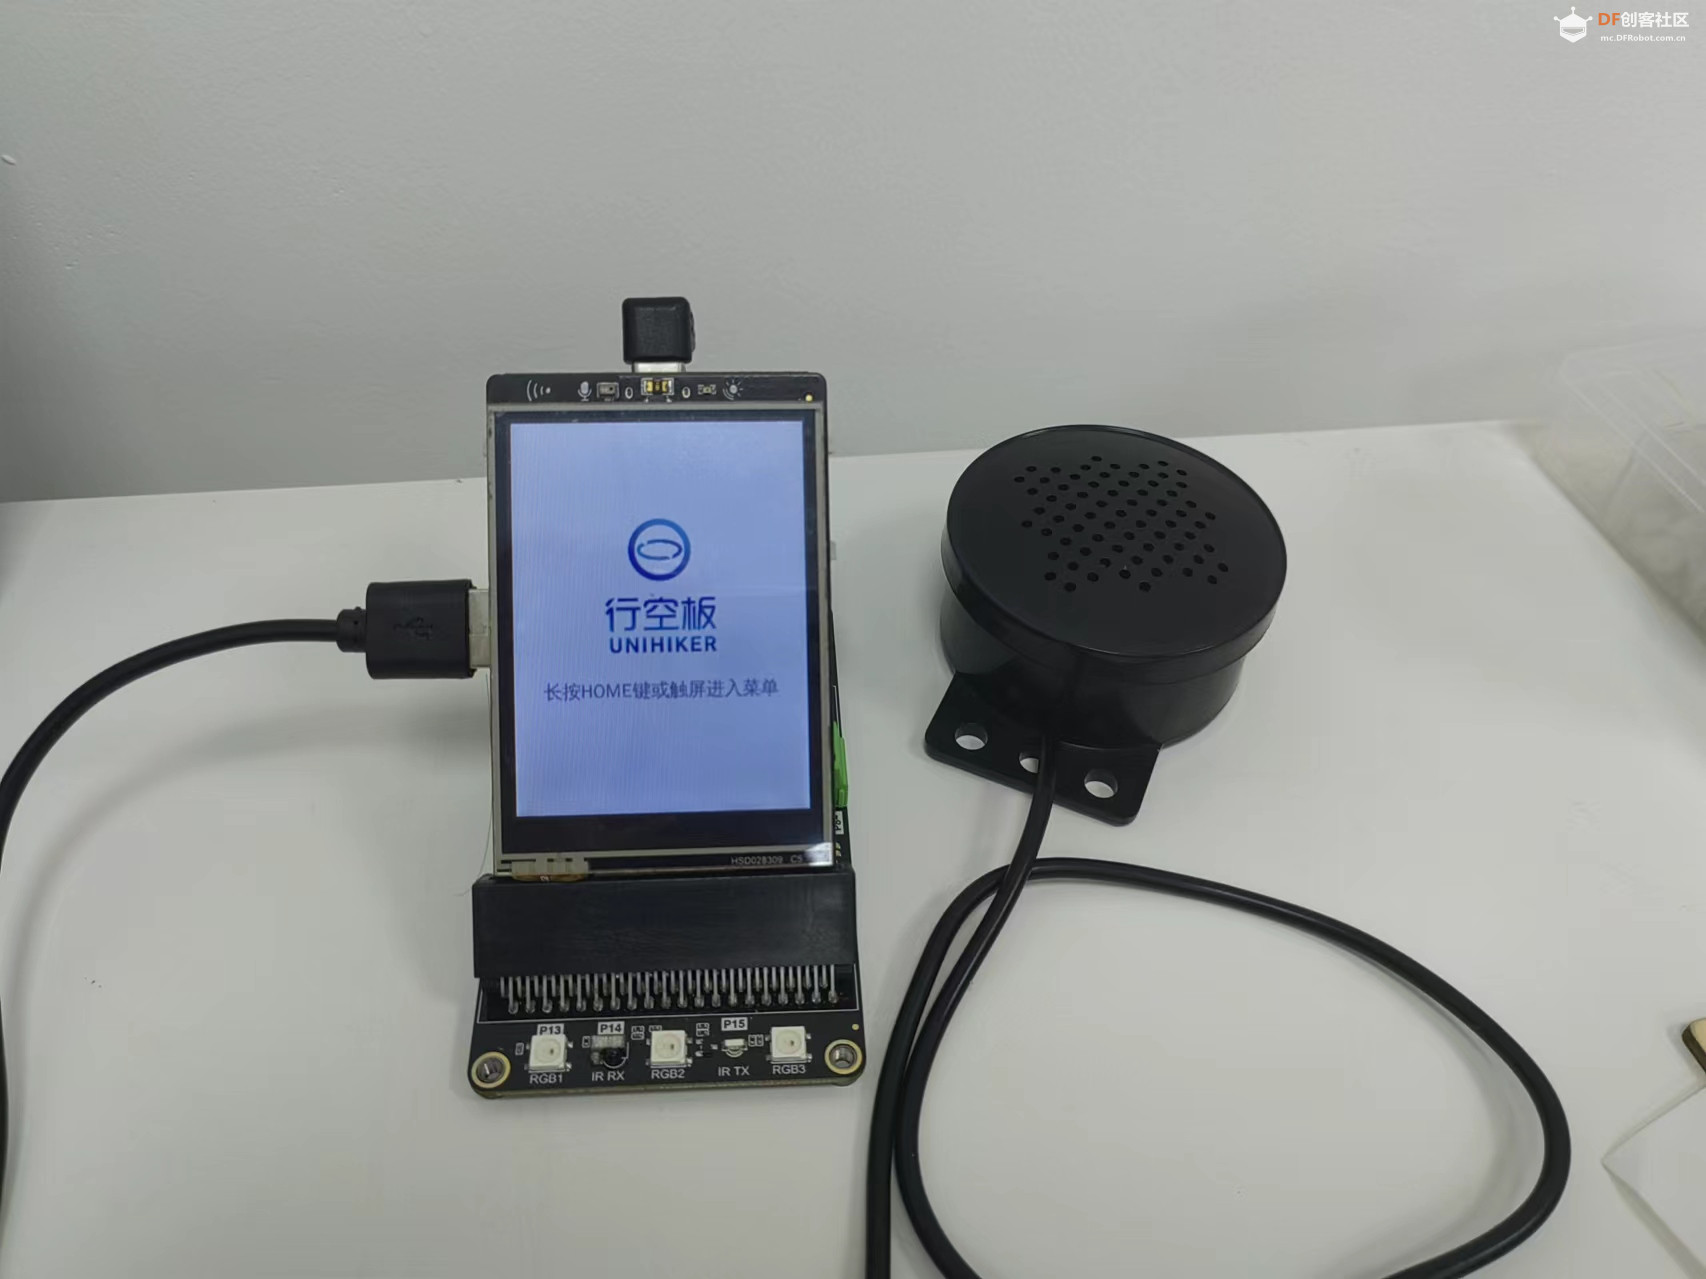 电路图
【项目总结】
第一次发帖,请多多包涵。在使用过程中,对话还需要更加优化,比如当下使用websocket流式,还有远程部署到,但想到给学生使用足矣,后面也会继续优化。
|



 沪公网安备31011502402448