ARCADE MakeCode Pi 蒙特卡洛游戏代码解读
这是一个使用蒙特卡洛方法估算π值的游戏程序。代码结构分析:
1. 自定义精灵类型
python
- class SpriteKind:
-
- Square = SpriteKind.create()
-
- Circle = SpriteKind.create()
定义两种精灵类型:方形和圆形,用于表示蒙特卡洛模拟中的方形区域和圆形区域。
2. 全局变量初始化
python
- # 各种变量初始化
-
- delay2 = 0
-
- simulate = False
-
- j = 0
-
- yy = 0
-
- xx = 0
-
- squareDots = 0 # 方形内的点数
-
- circleDots = 0 # 圆形内的点数
-
- mCircle: Sprite = None
-
- mSquare: Sprite = None
-
- cirImage: Image = None
-
- dots = 0
-
- r = 0
-
-
-
- # 设置形状的半径和边长
-
- r = scene.screen_height() / 4 # 半径为屏幕高度的1/4
-
- l = r * 2 + 1 # 方形边长
-
-
-
- # 总点数(样本数量)
-
- dots = 1000000
-
-
-
- # 虚拟半径长度(用于计算)
-
- r2 = 5000
-
-
-
- # 实际半径与虚拟半径的比例
-
- scale = (r + 1) / r2
3. 图像和精灵创建
python
- # 创建方形图像
-
- sqImage = image.create(l, l)
-
- sqImage.fill(0)
-
- sqImage.draw_rect(0, 0, l, l, 1)
-
-
-
- # 创建圆形图像
-
- cirImage = image.create(l, l)
-
- cirImage.fill(0)
-
-
-
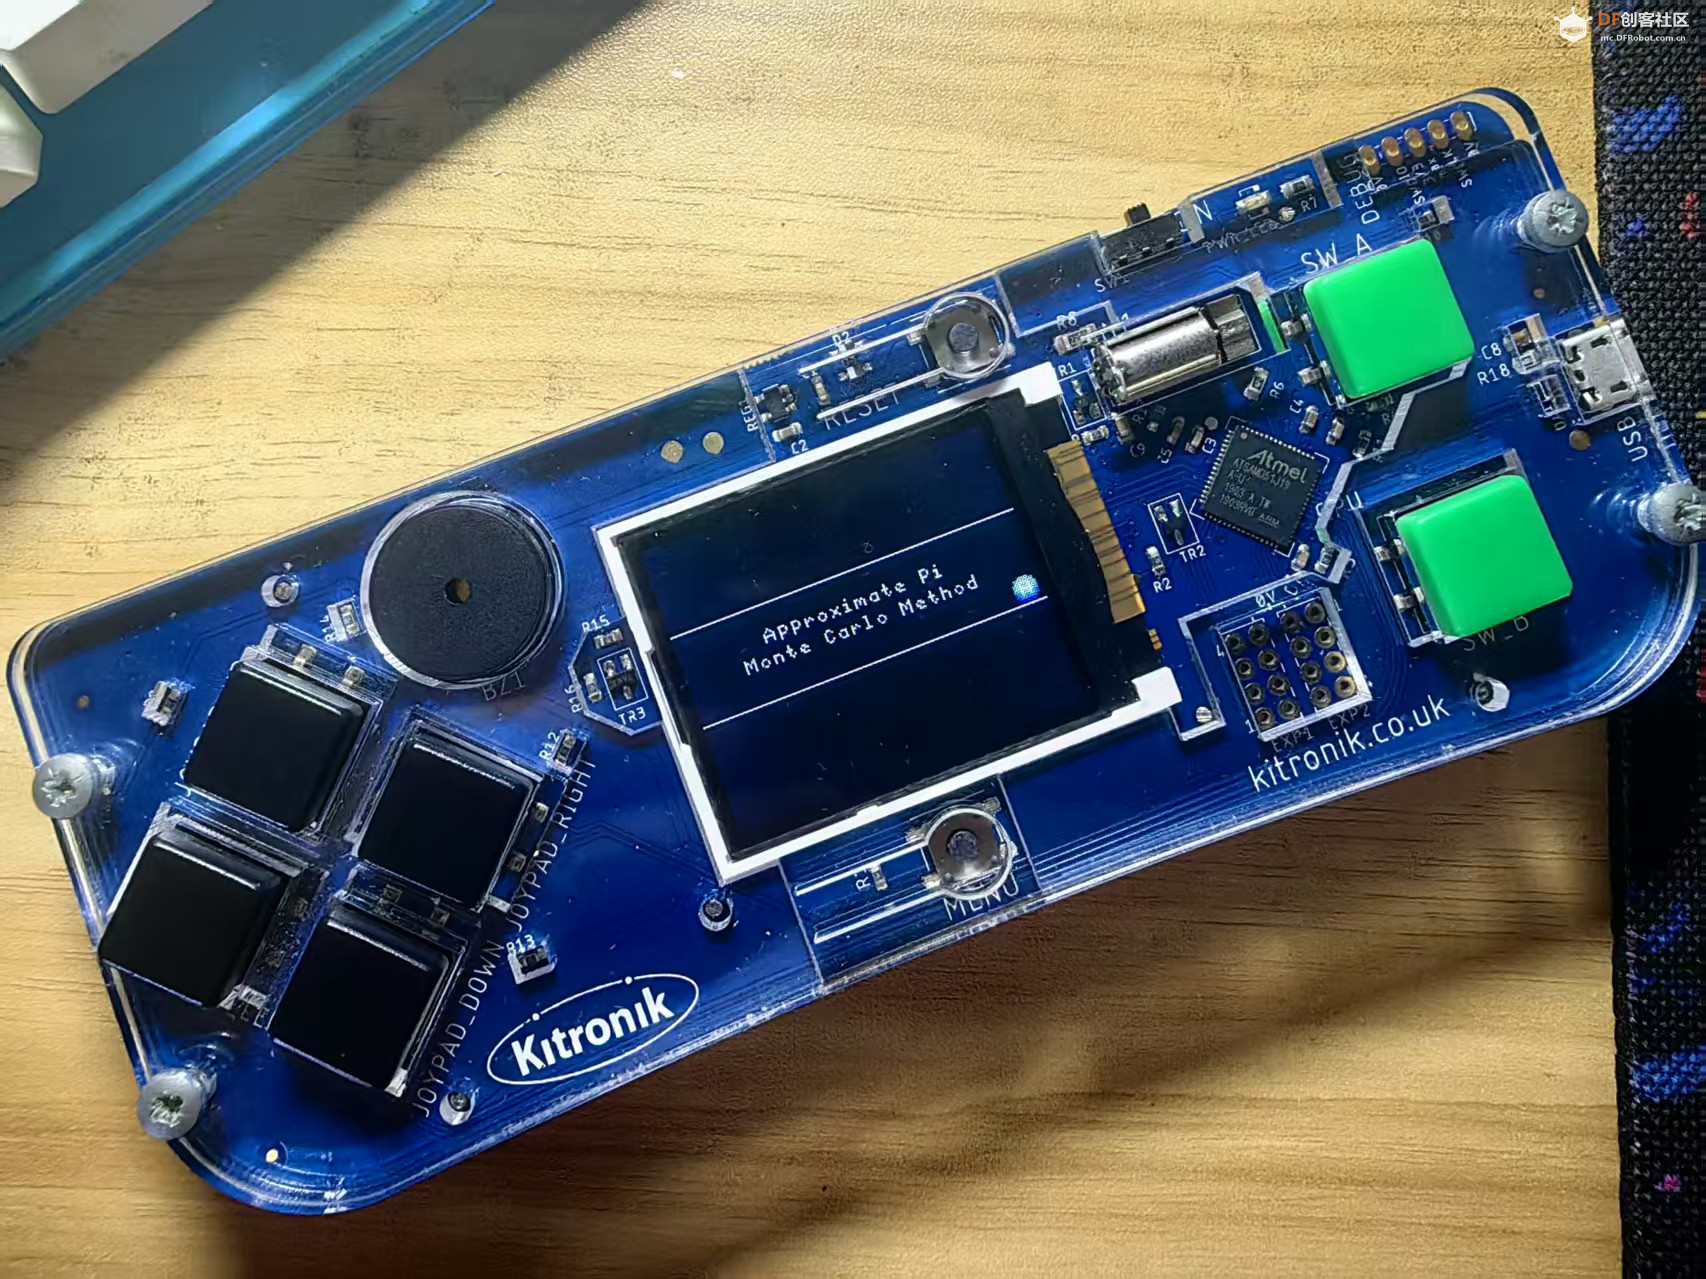
- # 显示游戏介绍
-
- game.splash("Approximate Pi", "Monte Carlo Method")
-
-
-
- # 创建方形精灵
-
- mSquare = sprites.create(sqImage, SpriteKind.Square)
-
- mSquare.set_flag(SpriteFlag.AUTO_DESTROY, True)
-
-
-
- # 绘制圆形轮廓
-
- drawCircle()
-
-
-
- # 创建圆形精灵
-
- mCircle = sprites.create(cirImage, SpriteKind.Circle)
4. 绘制圆形函数
python
- def drawCircle():
-
- global xx, yy
-
- # 使用随机点绘制圆形轮廓
-
- for index in range(dots):
-
- xx = randint(0, 2 * r) - r
-
- yy = randint(0, 2 * r) - r
-
- # 测试点是否在圆形轮廓上
-
- if xx * xx + yy * yy >= r ** 2 and xx * xx + yy * yy < (r + 1) ** 2:
-
- cirImage.set_pixel(xx + r, yy + r, 1)
5. 蒙特卡洛模拟主循环
python
- def on_forever():
-
- global xx, yy, squareDots, circleDots, j
-
- # 简单的蒙特卡洛模拟来估算π值
-
- while j < dots and simulate:
-
- # 在方形内生成随机点
-
- xx = randint(0, 2 * r2) - r2
-
- yy = randint(0, 2 * r2) - r2
-
- sqImage.set_pixel(xx * scale + r, yy * scale + r, 7)
-
- squareDots += 1
-
-
-
- # 测试点是否在圆形内
-
- if xx * xx + yy * yy <= r2 ** 2:
-
- circleDots += 1
-
- # 缩放到屏幕坐标
-
- xx = xx * scale
-
- yy = yy * scale
-
- # 调整x或y为0的位置
-
- if xx < 0:
-
- xx += 1
-
- if yy < 0:
-
- yy += 1
-
- cirImage.set_pixel(xx + r, yy + r, 2)
-
-
-
- # 定期更新显示
-
- if squareDots < dots / 50 and squareDots % 100 == 0:
-
- info.set_score(circleDots)
-
- pause(100)
-
-
-
- j += 1
-
-
-
- # 完成模拟
-
- if j >= dots:
-
- info.set_score(circleDots)
-
- info.set_life(0)
6. 更新间隔函数
python
- def on_update_interval():
-
- global simulate, delay2
-
- if delay2 > 10:
-
- # 开始模拟
-
- simulate = True
-
- if delay2 > 20:
-
- # 将形状分开
-
- if mCircle.x < scene.screen_width() - 3 * r / 2:
-
- mSquare.x += -1
-
- mCircle.x += 1
-
- delay2 += 1
7. 事件处理函数
python
- # B按钮按下事件:显示π值估算结果
-
- def on_b_pressed():
-
- game.show_long_text("Pi: " + ("" + str(4 * circleDots / squareDots)) + " using " + ("" + str(circleDots)) + " dots",
-
- DialogLayout.BOTTOM)
-
- controller.B.on_event(ControllerButtonEvent.PRESSED, on_b_pressed)
-
-
-
- # 生命值为零事件:显示最终结果
-
- def on_life_zero():
-
- info.set_score(circleDots)
-
- game.show_long_text("Pi: " + ("" + str(4 * circleDots / squareDots)),
-
- DialogLayout.BOTTOM)
-
- mCircle.say("Bye..")
-
- mCircle.vx = 1000
-
- mSquare.say("..we have Pi")
-
- mSquare.ax = 50
-
- info.on_life_zero(on_life_zero)
-
-
-
- # 方形精灵销毁事件:重置游戏
-
- def on_on_destroyed(sprite):
-
- game.reset()
-
- sprites.on_destroyed(SpriteKind.Square, on_on_destroyed)
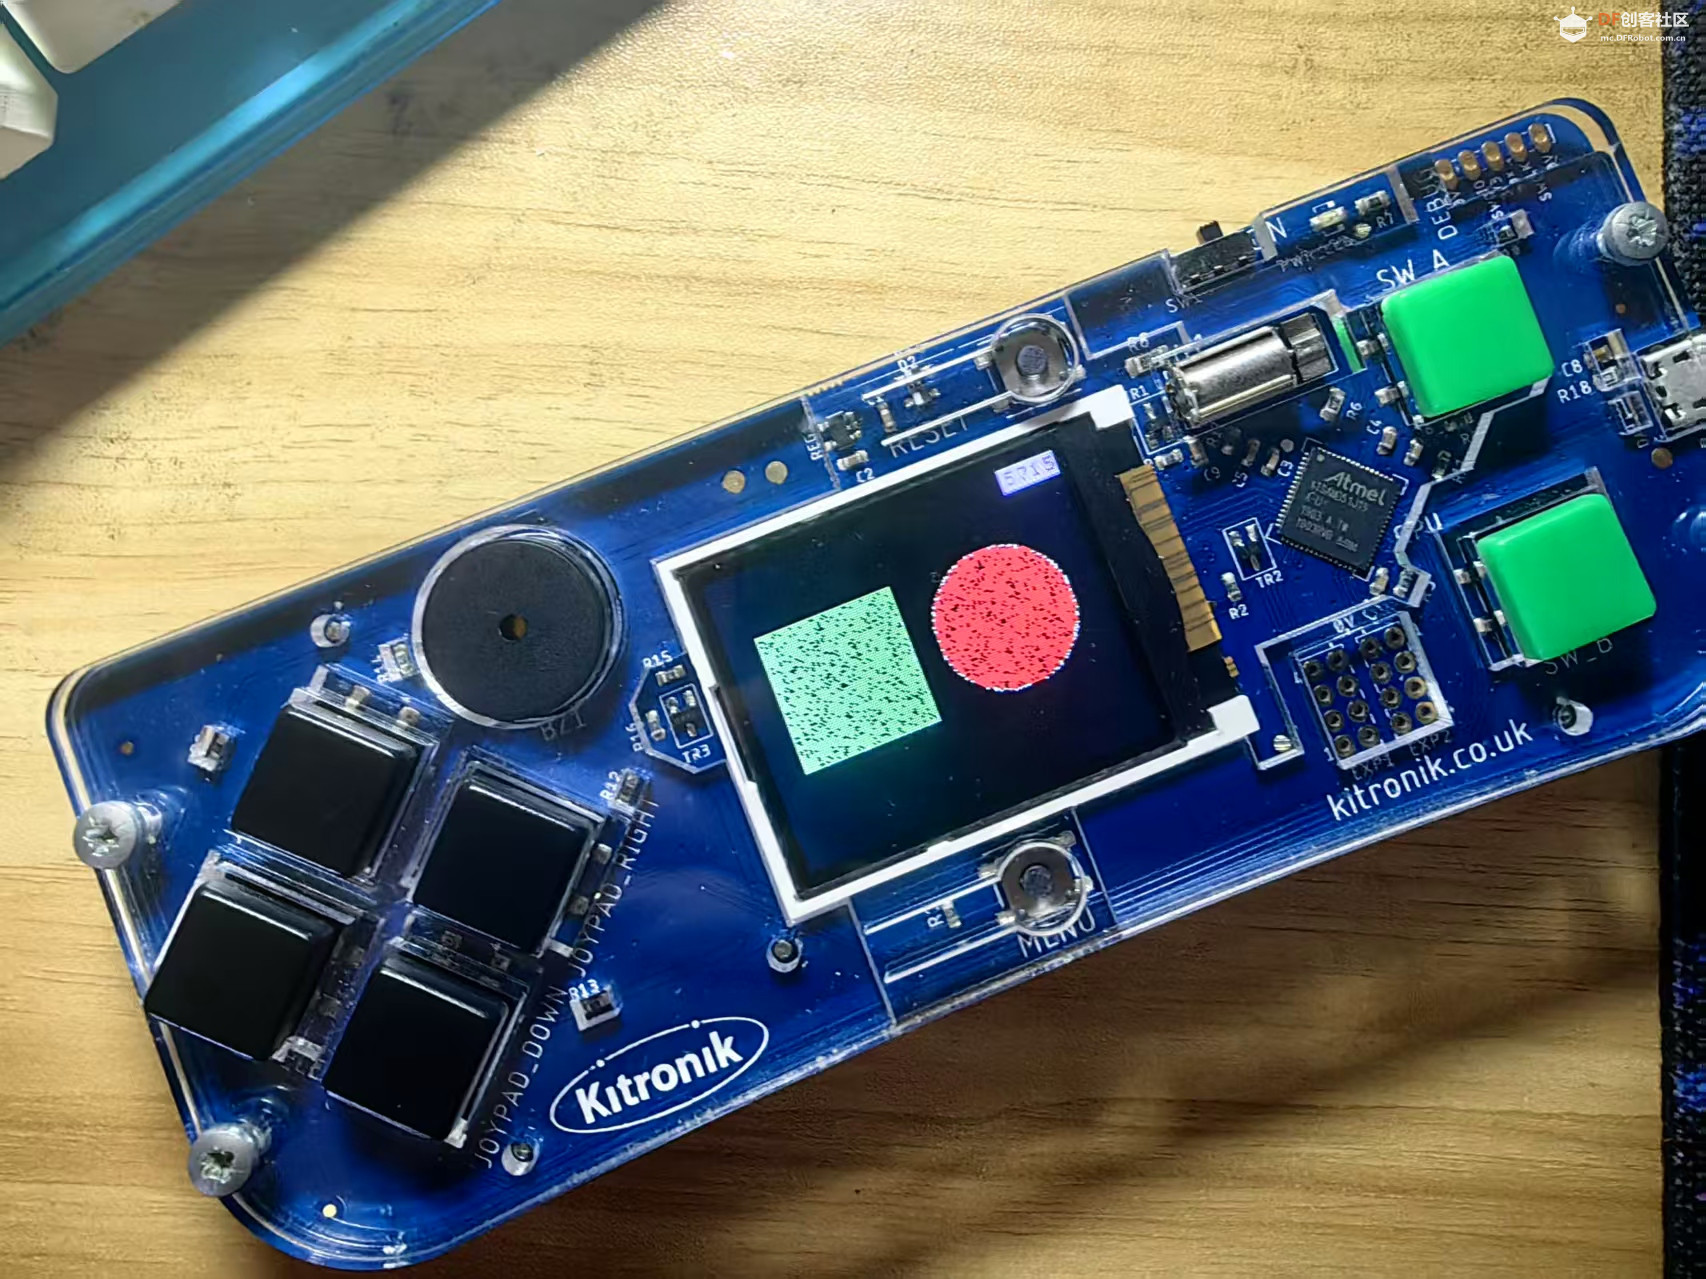
蒙特卡洛方法原理
这个程序使用蒙特卡洛方法估算π值,原理如下:
在一个正方形内随机生成大量点
统计落在内切圆内的点的数量
根据公式 π ≈ 4 × (圆内点数 / 总点数) 估算π值
这种方法通过随机抽样和概率统计来近似计算数学常数,是蒙特卡洛方法的经典应用。
这个程序通过可视化方式展示了这一过程,使抽象的数学概念变得更加直观和有趣。
| 


 沪公网安备31011502402448
 置顶卡
置顶卡 变色卡
变色卡 千斤顶
千斤顶


 萌萌哒新人
萌萌哒新人
 活跃会员
活跃会员
 宣传大使
宣传大使
 牛X认证
牛X认证
 创作达人
创作达人
 ARD DAY
 摸鱼团员
摸鱼团员
 志“童”道合
 编辑选择奖
编辑选择奖


