|
27816| 13
|
[项目] NFC|近场通讯模块|制作门禁 |

|
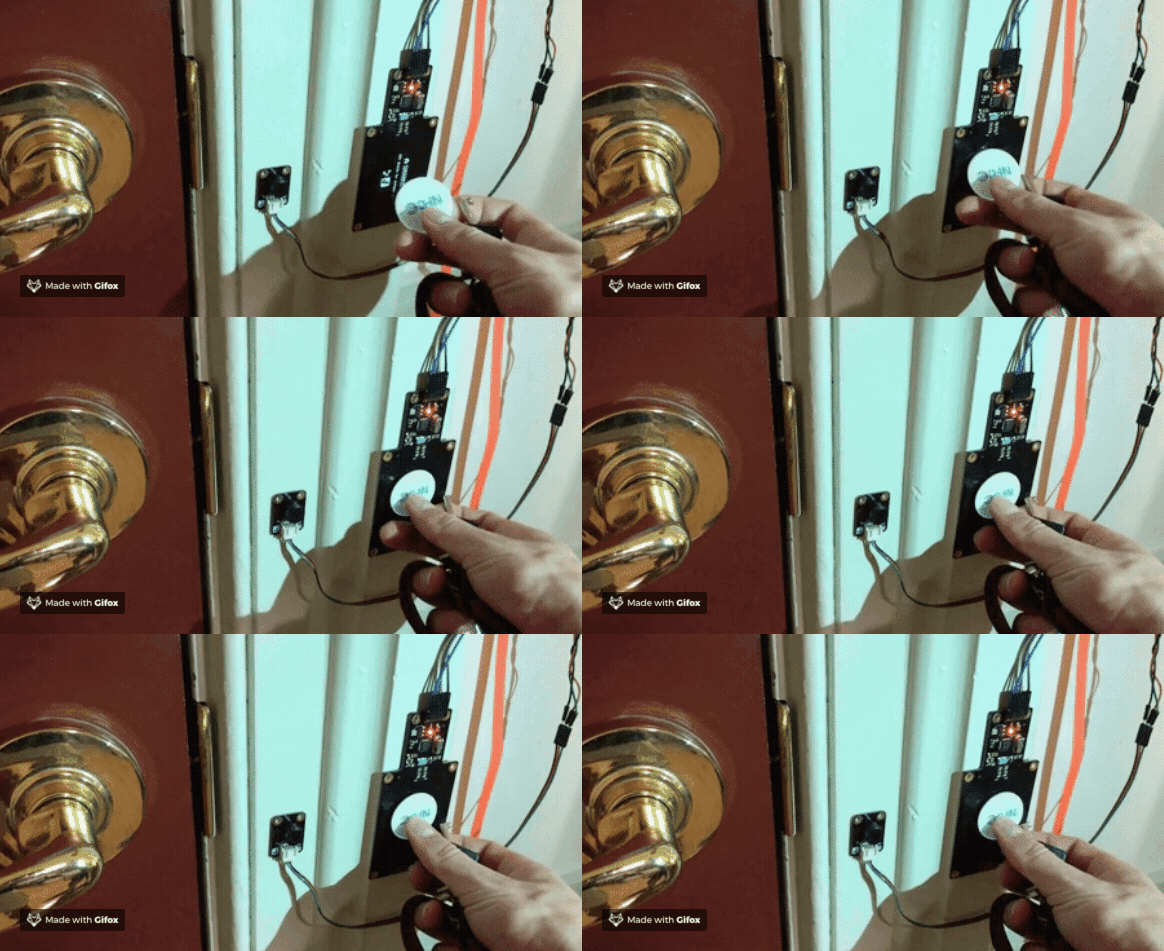
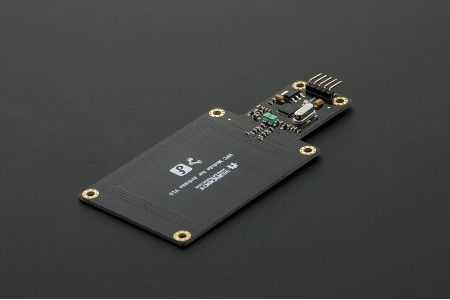
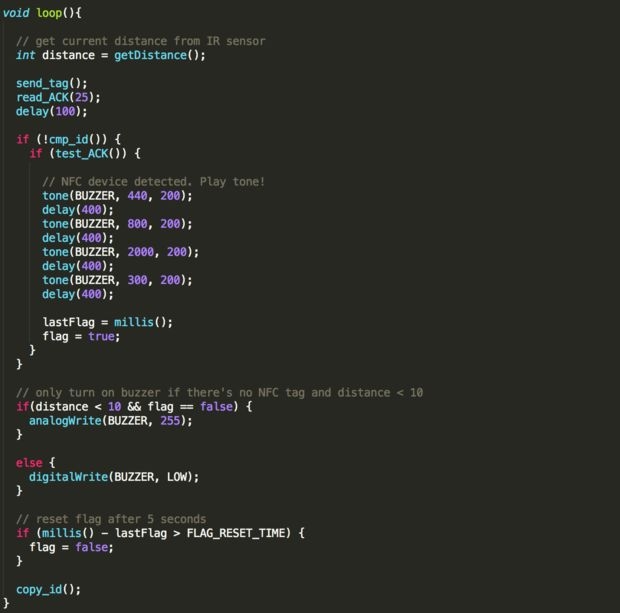
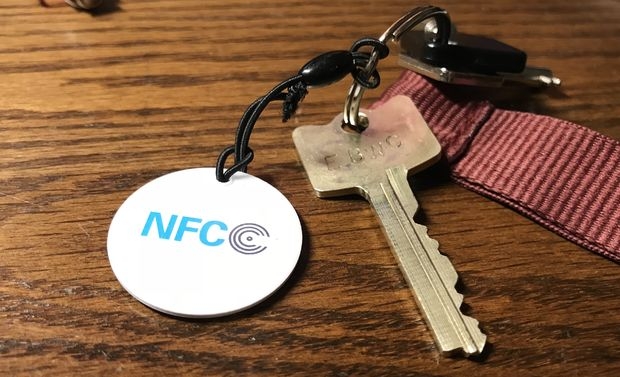
Never Forget Your Keys: NFC Door Reminder NFC近场通讯模块:制作门禁 翻译中涉及某些专业用语,我尽力了·····(我把原文也一起贴了上来,以免看不懂我翻译的什么) 个人认为可以把文中的装置改进一下把手机让手机来代替钥匙  I recently moved into my dorm room at Harvard--among the many changes I've encountered is having to remember my keys each and every time I leave the room. Rather than just try and remember the normal way I decided to have technology do the remembering for me! 我最近搬进了哈佛大学的宿舍,初到宿舍有很多地方都不太熟悉,我也遇到了很多的变化,在这些变化中包括了一件事,每当我准备离开房间的时候,我都得记得带上我的钥匙。但我总是忘记,所以我决定用一些硬核的科技的方式来帮助我记住这件事,而不是仅仅用一些比较正常的方式来记住(这里我认为正常的方式可能是在脑海里不停的告诉自己要记住带钥匙,或者写个便签在门上之类的)。This project is essentially an NFC reader that you stick on your door. Every time you approach the door the circuit makes noise; the only way to stop the noise is to scan an NFC tag affixed to your keys against the reader. Thus, the noise means you won't ever forget your keys again! Let's dive in. 实际上,这个项目就是将一个NFC近场通讯模块粘在门上。每当你走进门的时候,就会发出一种无法形容的“电子音”;唯一能让这个声音停止的办法就是扫描原先系在钥匙上的NFC标签。因此,这些“电子音”意味着你永远不会再忘记带上钥匙。现在,让我们开始吧。 Step 1: The Parts 第一步:组件  Every component required for this project can be purchased from DFRobot.com. The links are below: 这个项目中所需的每个组件都可以从官方商城购买。链接如下: Arduino Leonardo Sharp IR Analog Distance Sensor GP2Y0A21 距离传感器 NFC Reader NFC近场通讯模块 Arduino兼容 NFC Tags (order as many as you want to have to put on key rings) NFC标签 圆形挂件(数量取决于你有多少钥匙需要它) Micro USB Cable 高品质 micro USB数据线 Piezo Buzzer 数字蜂鸣器模块(Arduino兼容) You're also going to need a few male-to-male jumper wires and female-to-male jumper wires to connect everything together. In addition, you should have your key ring handy. 你还需要一些公对公杜邦线和母对公杜邦线来连接所有东西。此外,好用的钥匙圈是必不可少的。 The purpose of the distance sensor in this project is to determine when you start to approach the door. When a certain threshold is met the buzzer will start making noise until an NFC tag is scanned. 在这个项目中距离传感器的目的是当你临近门的时候装置可以察觉到你。当达到某个阈值时,也就是当你走进了设定的距离范围内,距离传感器会检测到你,这时候蜂鸣器将开始发出”电子音“,直到扫描到NFC标签声音才会停止。 Step 2: Connecting the Components 第2步:连接组件 No soldering is required, so connection time is minimal. 无需焊接,所以操作起来很简单,时间也很短。 The IR sensor needs 5V power, so plug the red connection wire into Leonardo's 5V pin. The black wire goes to GND, and the remaining data wire goes to A0. 距离传感器需要5V电源,因此将红色连接线插入Leonardo的5V引脚。黑线连接到GND,剩余的数据线连接到A0。 The NFC reader's 3.3V pin should be plugged into 3V, and the GND pin into GND. The RX pin gets plugged into the Leonardo's TX pin and the TX pin into the RX pin on the Leonardo. NFC近场通讯模块的3.3V引脚应插入3V,GND引脚插入GND。RX(接收)引脚插入Leonardo的TX(发送),TX(发送)引脚插入Leonardo的RX(接收)。 You can connect the red wire on the Gravity piezo buzzer to VIN, the black wire to GND, and the green wire to pin 10. 您可以将Gravity压电蜂鸣器上的红线连接到VIN,将黑线连接到GND,将绿线连接到引脚10。 There should be just enough power pins available that a breadboard isn't required. Please note that if you power your Leonardo from a source other than USB the VIN pin may not output a clean 5V. 这里只需要保证有足够数量的引脚,并且不需要面包板。请注意,如果您使用USB以外的电源为Leonardo供电,则VIN引脚可能无法输出干净的5V电压。 Step 3: the Code 第三步:代码  Upload the attached sketch to your Leonardo to begin. Don't worry if you don't understand some of the Serial communication code; the sole purpose of a lot of this program is communicating with the NFC reader. The portions that implement making noise and reading distance values are pretty simple. As soon as the distance reading from the IR sensor drops below a specific threshold the buzzer starts making noise until either an NFC tag is scanned or the distance threshold isn't met. Once a tag is scanned the buzzer won't make any noise for 5 seconds even if an object is within the threshold. 将附件传到您的Leonardo开始。如果您不了解某些串行通信代码,请不要担心; 这个程序的唯一目的是与NFC近场通讯模块通信。实现“电子音”和读取距离值的部分非常简单。一旦从距离传感器读取的距离低于原先设置的指定阈值,蜂鸣器就会开始产生“电子音”,直到扫描NFC标签或你走出了设定的距离。扫描标签后,蜂鸣器就会乖乖“闭嘴”5秒钟。 Obviously, there's the capability for much more. Right now the NFC reader checks to see if any tag is scanned - it doesn't care about the data on the tag. Different profiles could be created to gather analytics on when/how often a specific person enters and leaves the room. 显然,它的作用当然不仅限于此。到目前位置,NFC近场通讯模块可以检测到已经被扫描过的任何一个标签 - 它不关心标签上的数据。所以可以创建不同的配置文件来收集关于每个拥有标签的人员进入和离开房间的时间/频率的数据分析。 Step 4: Mounting 第四步:安装 经过反复试验后,我找到了我认为最佳的安装方法。将距离传感器放在门旁边。这减少了人们走过它的时候而导致的误报数据。NFC近场通讯模块的位置取决于个人喜好,而我把它放在了差不多我口袋的位置,这样当我走出门时我可以快速扫描我的标签。根据每个人家里插座的位置,也许您还需要一根电源延长线来为Arduino提供电源。 Double-sided sticky tape is probably the best way to ensure that components stay where they should be. 双面胶可能是确保组件保持原样的最佳方法。 Step 5: Going Further 第五步:走向未来  As I mentioned previously, there's much more you can do with this system. Incorporating some kind of analytics system would be an interesting experiment. Additionally, you could try and replace the distance sensor with some kind of capacitive system that detects when the doorknob is touched and responds accordingly. 正如我之前提到的,你可以用这个系统做更多的事情。结合某种分析系统将是一个有趣的实验。此外,您可以尝试用电容电路替换距离传感器,来让系统可以检测门把手何时被触摸,并让它做出相应的响应。 这个项目由Alex Wulff制作,一位非常有才华的电子工程师 |
KIKIYA 发表于 2019-1-24 16:21 赞 |
 沪公网安备31011502402448
© 2013-2026 Comsenz Inc. Powered by Discuz! X3.4 Licensed