|
8759| 9
|
[项目] 【2020】论如何让Arduino和树莓派配合进化为 复古游戏机 |
|
本项目更像是简单教程,因为涉及树莓派的部分不需要写代码,只是让Arduino成为手柄需要一点点代码 --> 项目目的:将Arduino做成手柄,树莓派做成游戏机,这样再添加上便携屏幕,就是一整套复古游戏设备了! --> 项目演示: 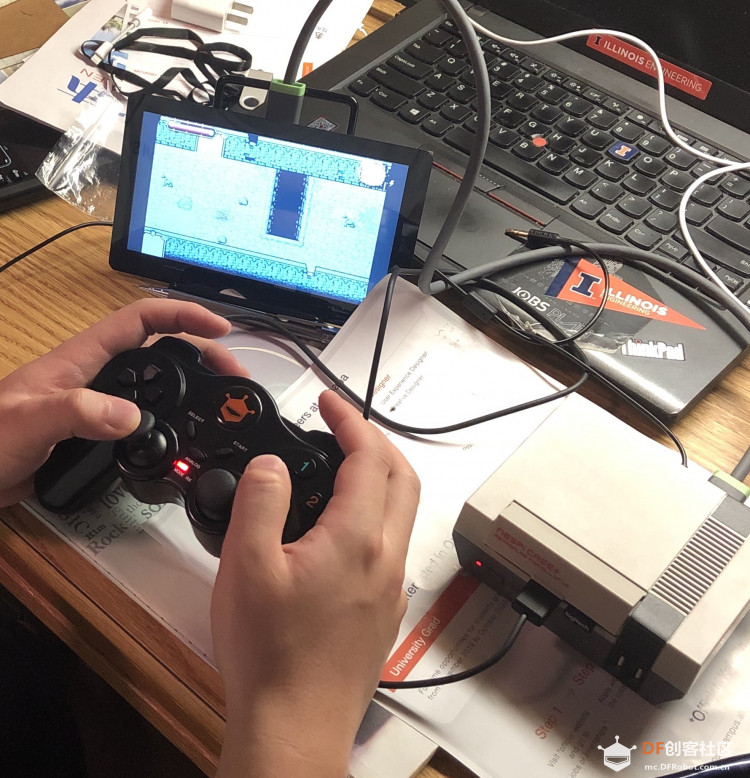 Part 1:论如何将Arduino进化为手柄 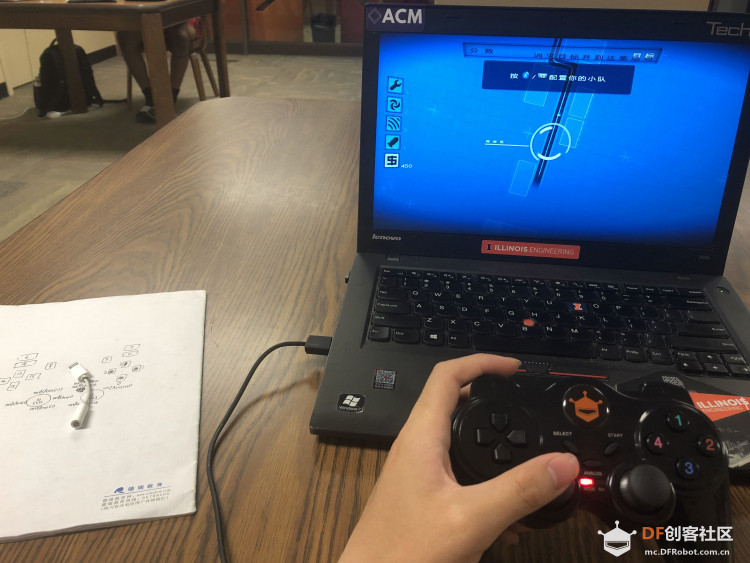 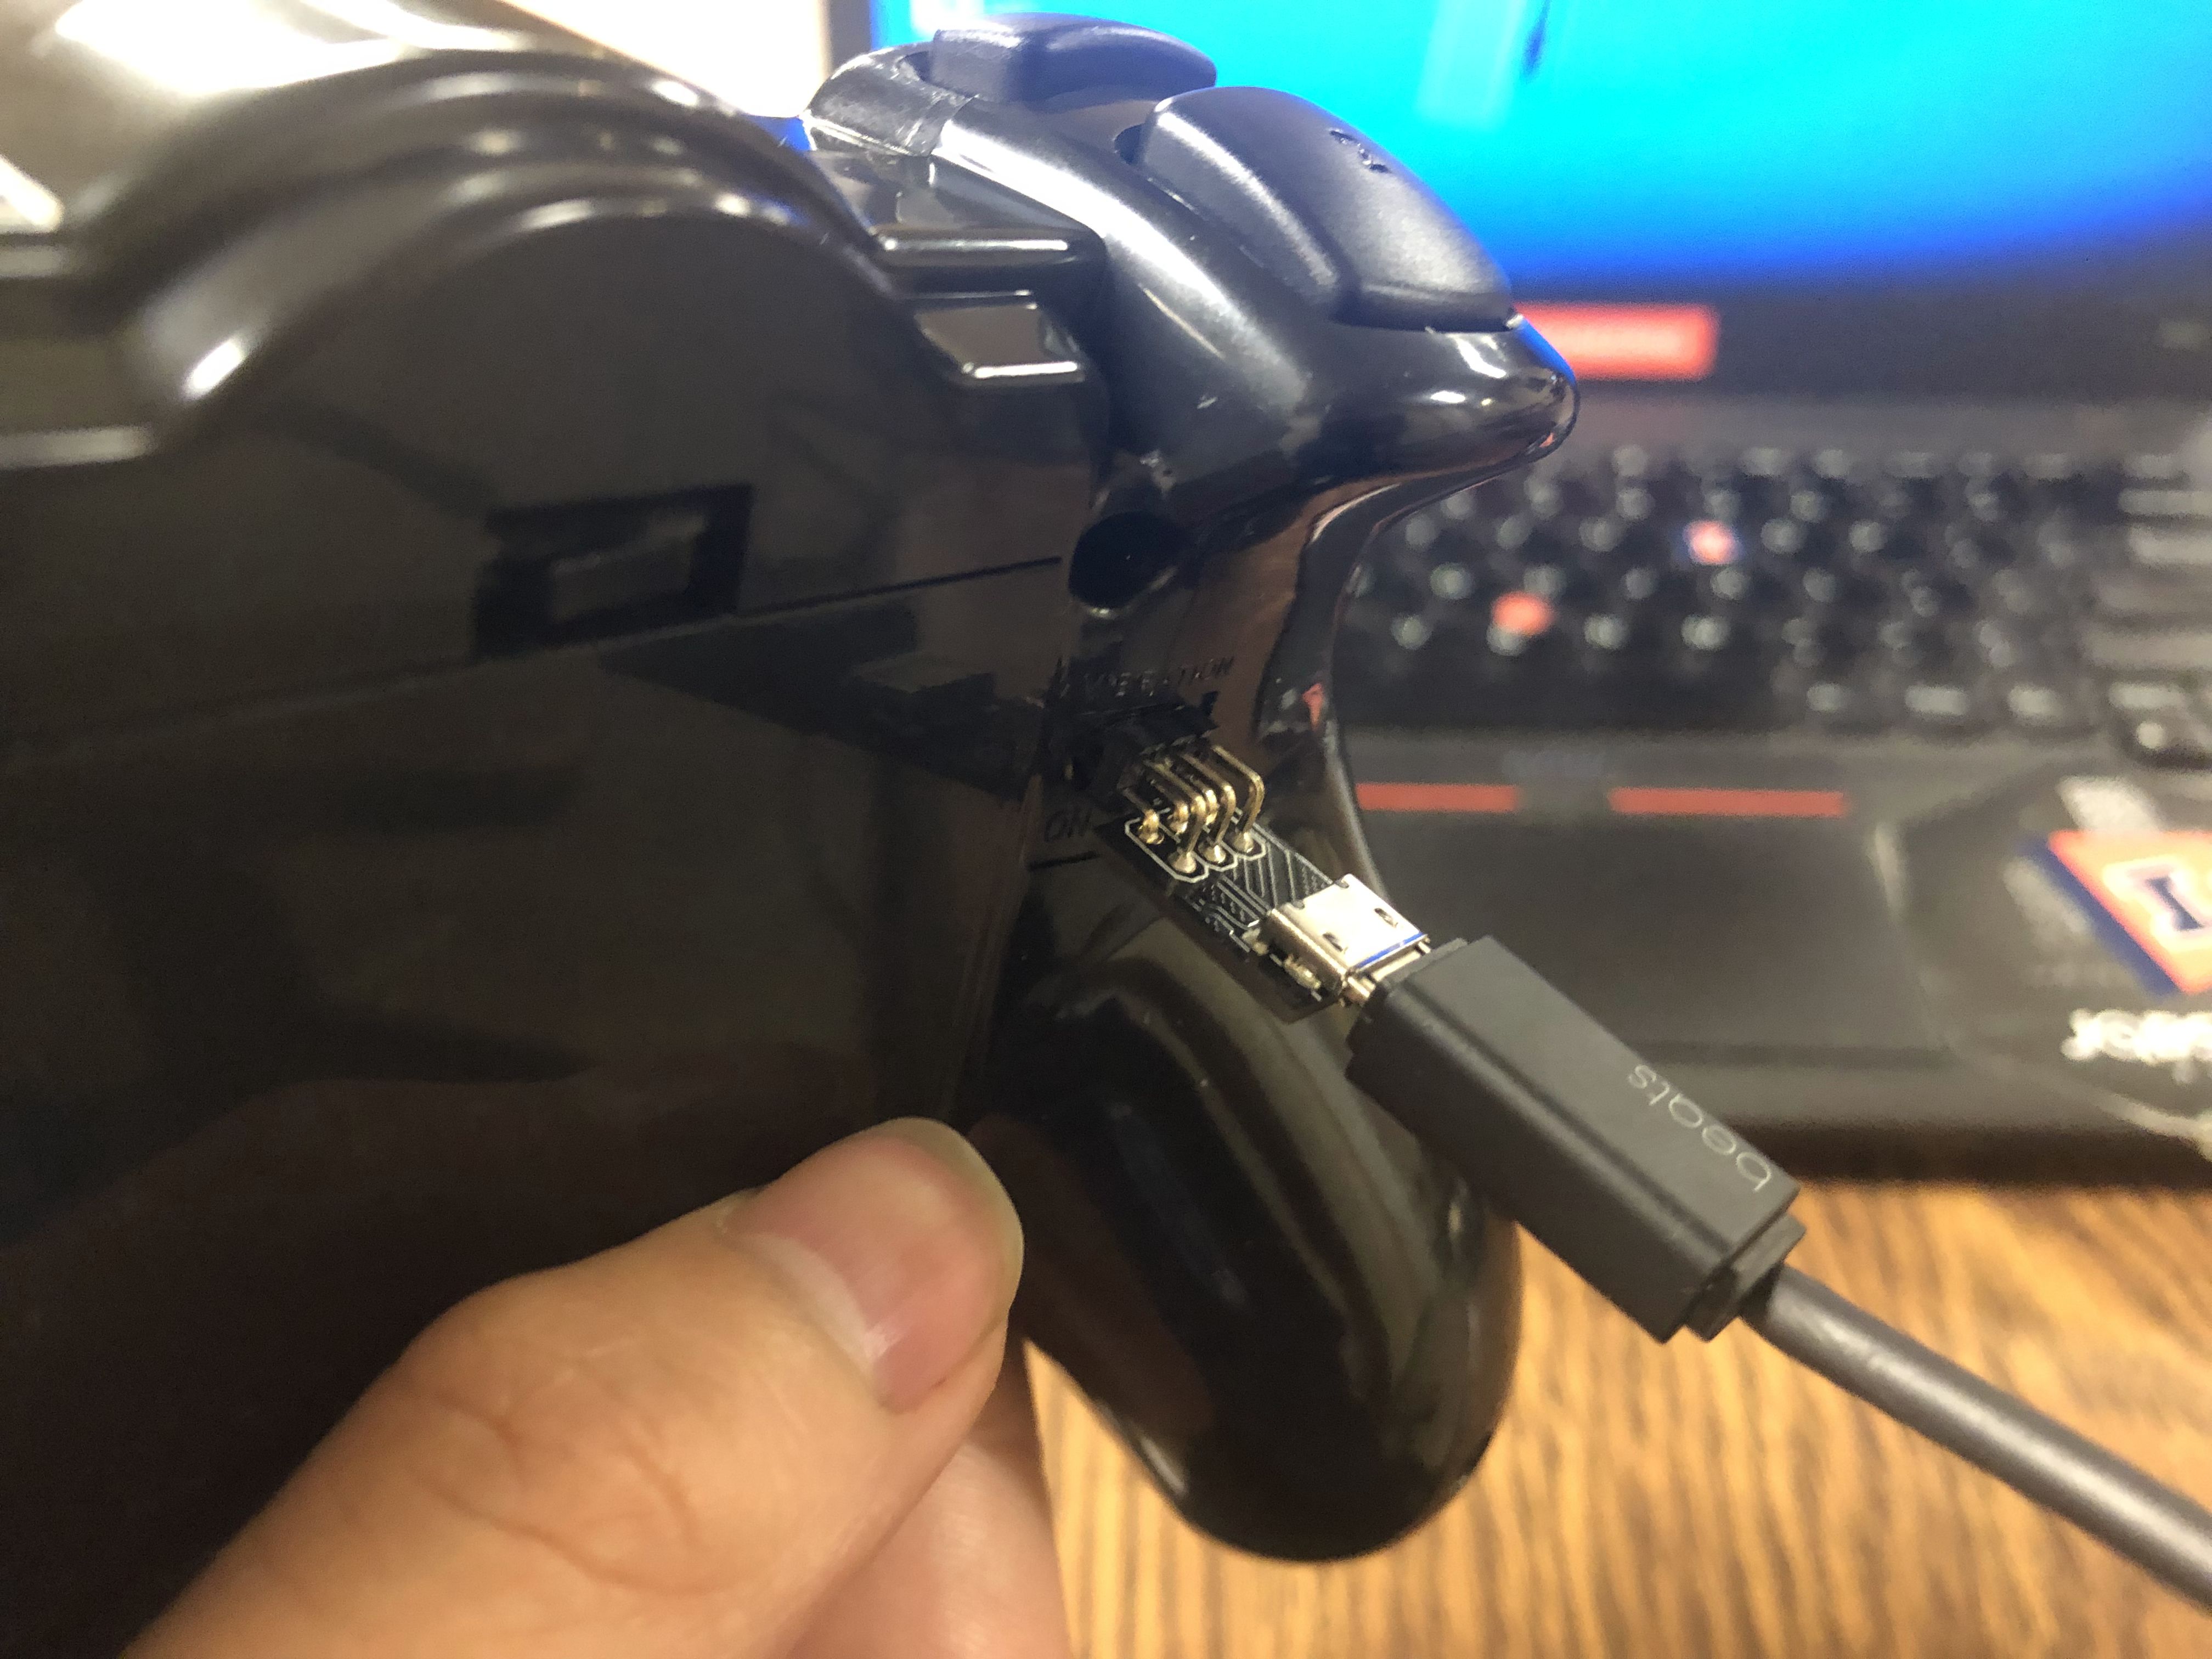 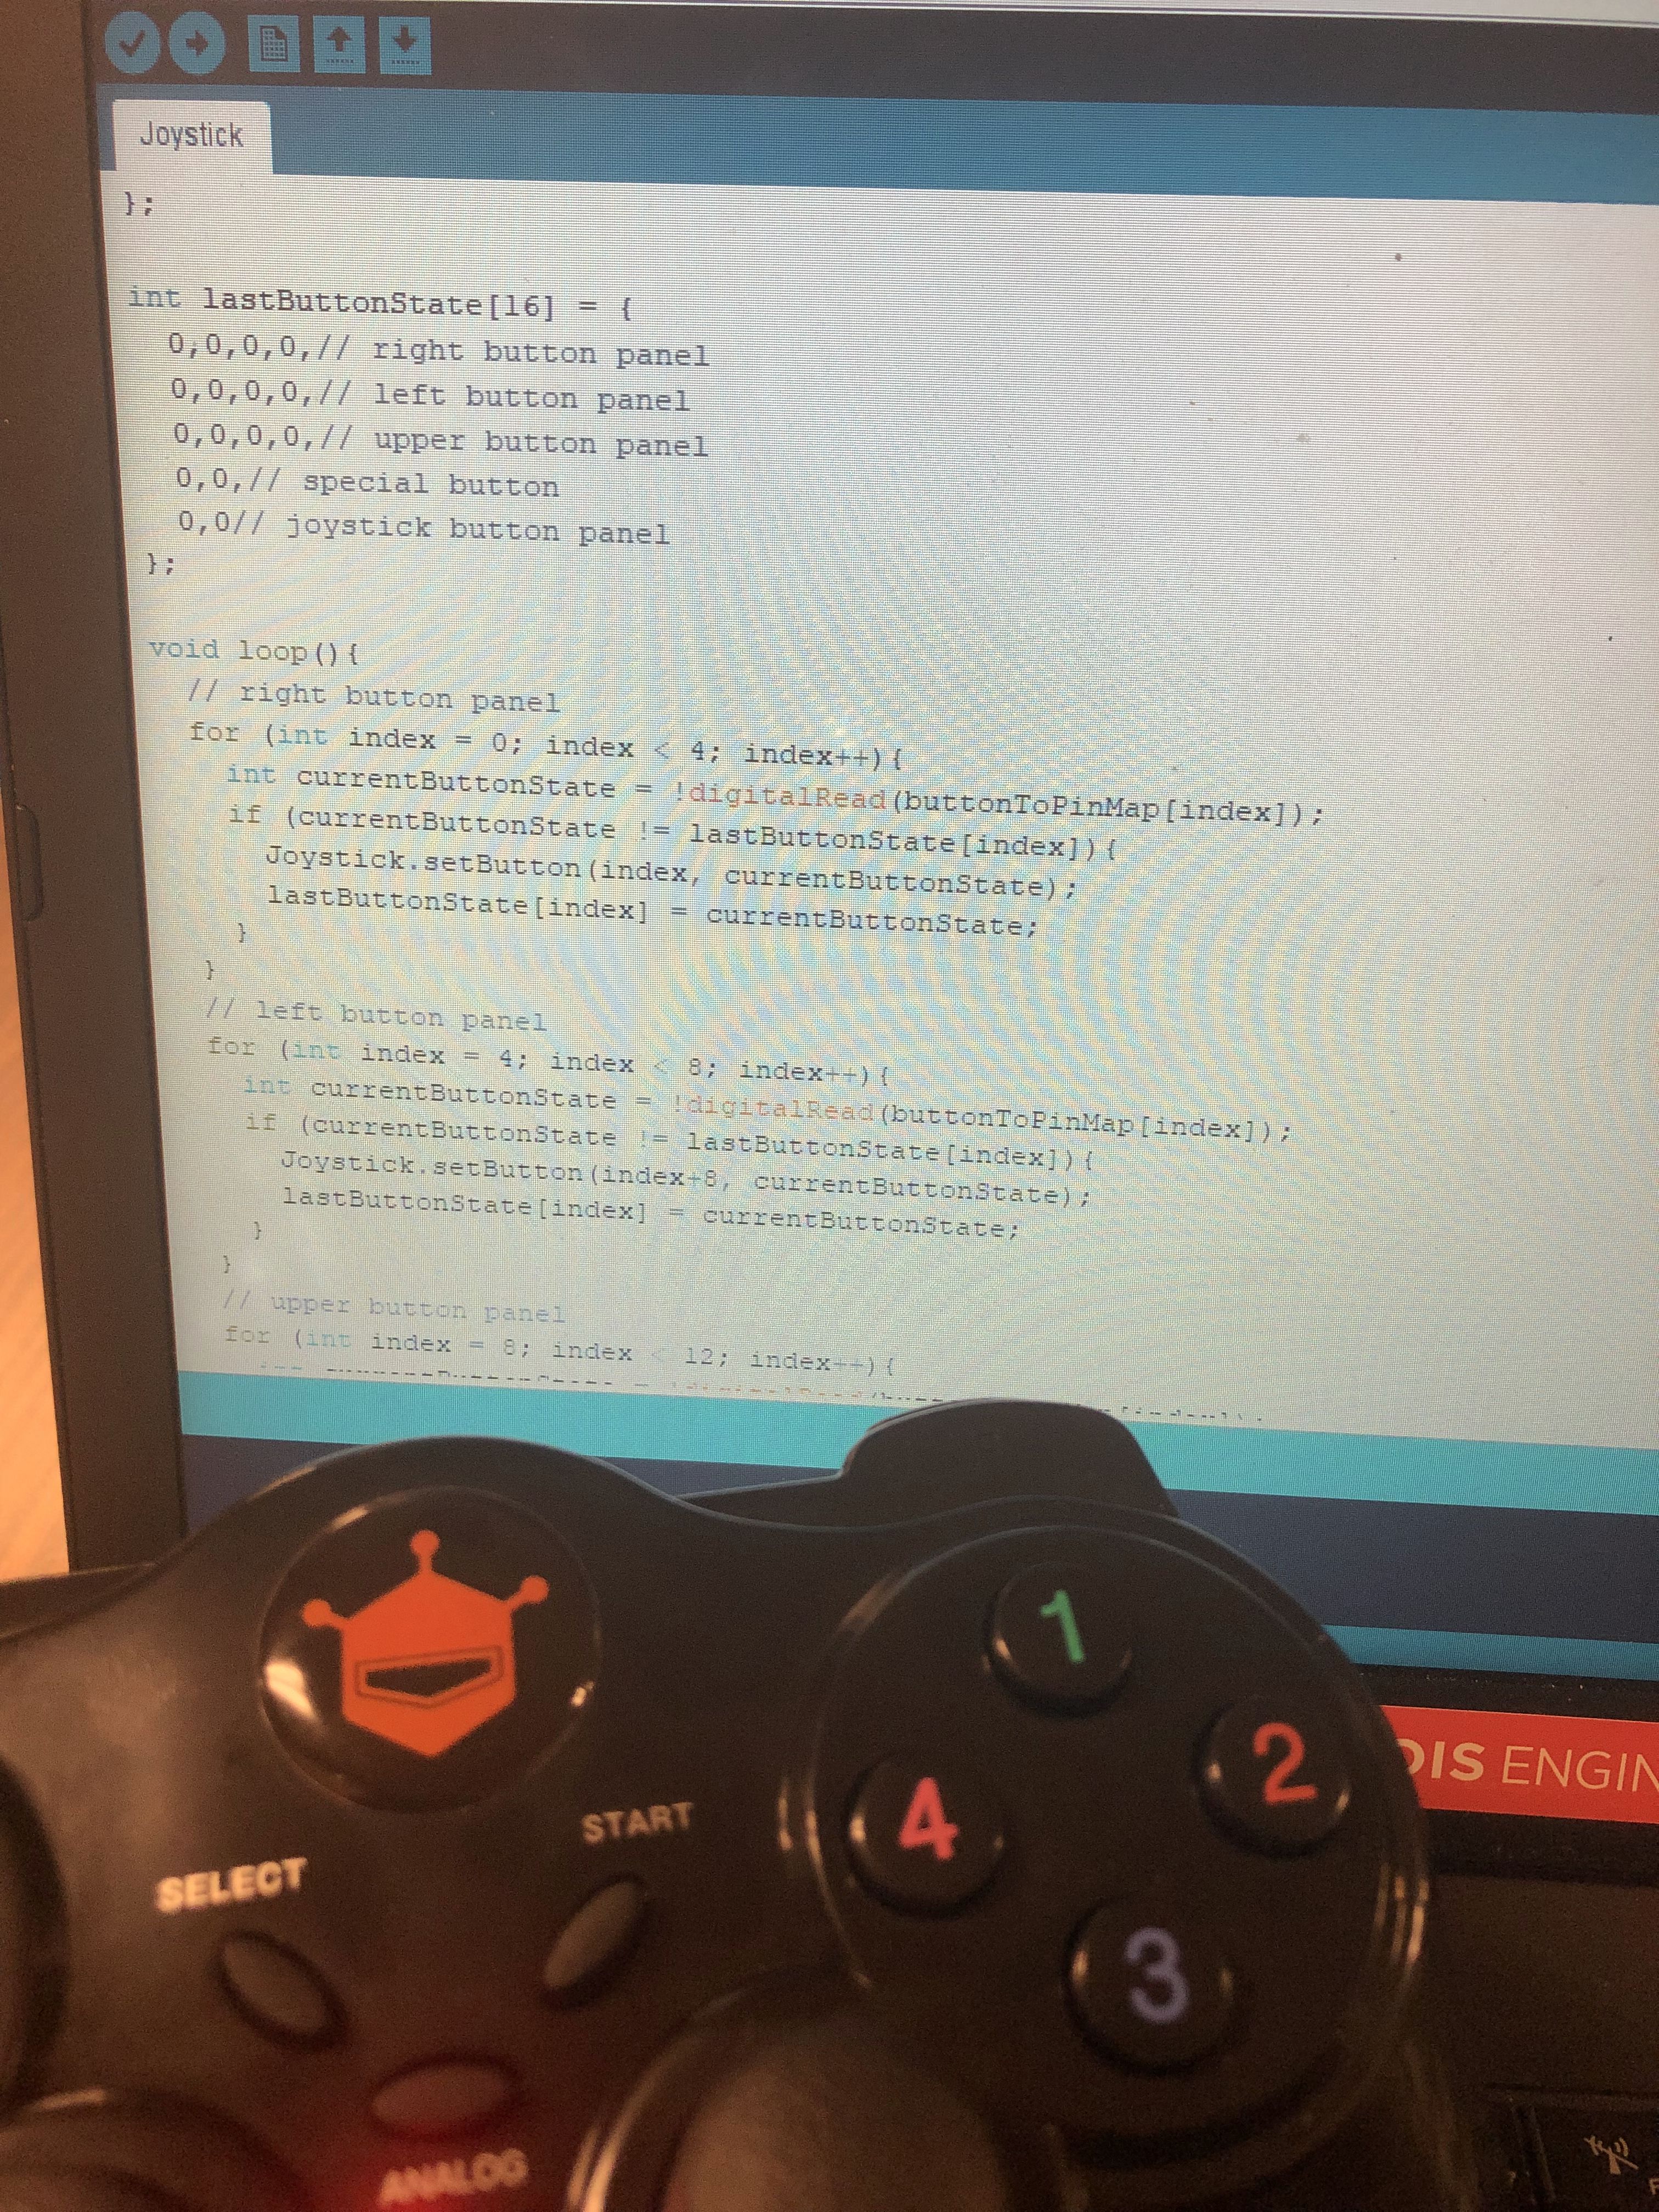 Arduino本身是没法直接作为USB设备来与PC直接通信的,只能通过串口来通信,但是,有一款Arduino非常特别,那就是Arduino Leonardo,其Atmega32u4原生支持USB,理论上可以模拟成任何输入输出设备 物料清单: 1×Arduino Leonardo 2×模拟量摇杆 14×按键/按钮模块 N×LED灯(如果你需要的话) 我本来已经准备好了所有硬件,都准备好开始焊接了,结果发现DFrobot有一款手柄套件是完全符合要求的,所以如果想自己从零开始做,就按照上面的清单购买,然后传感器连到Leonardo上,最后按照下面的教程写点代码,就能轻松搞定了。如果,想跳过硬件筹备这部分,买这个套件就行。 接下来又有问题了,这个套件的教程很明显完全没用心思写,没写如何利用Leonardo的USB原生支持特性,只是像个Uno一样用,过于简单,如果我买个手柄套件,可以拿来操控机器人,却不能拿来打游戏,着实是令人心寒。所以,我这里给大家写个补充教程,将Arduino变成真正的手柄! Library和手柄代码仓库:https://github.com/AlchemicRonin/Joystick 首先,需要在IDE中导入,我们需要的library,将Joystick.7z这个文件下载下来,然后解压,放到C:\Users\"用户名"\Documents\Arduino\libraries下面 文件里面已经包含了一些Demo,所以有什么不懂的可以看里面的样例,自己再动手试一试就都懂了,主要思路就是像JavaScript的React一样的面对对象编程,不停的更新对象状态,还是很简单的 Leonardo需要的代码,按需要更改拆解[mw_shl_code=c,false]#include <Joystick.h> Joystick_ Joystick; void setup(){ // Initialize Button Pins pinMode(3, INPUT_PULLUP);// SELECT / SHARE pinMode(4, INPUT_PULLUP);// START / OPTIONS pinMode(5, INPUT_PULLUP);// up pinMode(6, INPUT_PULLUP);// left pinMode(7, INPUT_PULLUP);// down pinMode(8, INPUT_PULLUP);// right pinMode(9, INPUT_PULLUP);// 1 / triangle pinMode(10, INPUT_PULLUP);// 4 / rectangle pinMode(11, INPUT_PULLUP);// 2 / circle pinMode(12, INPUT_PULLUP);// 3 / cross pinMode(13, INPUT_PULLUP);// R1 pinMode(14, INPUT_PULLUP);// R2 pinMode(15, INPUT_PULLUP);// L1 pinMode(16, INPUT_PULLUP);// L2 // Initialize Joystick Library Joystick.begin(); } int buttonToPinMap[16] = { 12,11,10,9,// right button panel 5,7,6,8,// left button panel 15,13,16,14,// upper button panel 3,4,// special button panel 1,0// joystick button panel }; int lastButtonState[16] = { 0,0,0,0,// right button panel 0,0,0,0,// left button panel 0,0,0,0,// upper button panel 0,0,// special button 0,0// joystick button panel }; void loop(){ // right button panel for (int index = 0; index < 4; index++){ int currentButtonState = !digitalRead(buttonToPinMap[index]); if (currentButtonState != lastButtonState[index]){ Joystick.setButton(index, currentButtonState); lastButtonState[index] = currentButtonState; } } // left button panel for (int index = 4; index < 8; index++){ int currentButtonState = !digitalRead(buttonToPinMap[index]); if (currentButtonState != lastButtonState[index]){ Joystick.setButton(index+8, currentButtonState); lastButtonState[index] = currentButtonState; } } // upper button panel for (int index = 8; index < 12; index++){ int currentButtonState = !digitalRead(buttonToPinMap[index]); if (currentButtonState != lastButtonState[index]){ Joystick.setButton(index-4, currentButtonState); lastButtonState[index] = currentButtonState; } } // special button panel for (int index = 12; index < 14; index++){ int currentButtonState = !digitalRead(buttonToPinMap[index]); if (currentButtonState != lastButtonState[index]){ Joystick.setButton(index-4, currentButtonState); lastButtonState[index] = currentButtonState; } } // joystick button panel for (int index = 14; index < 16; index++){ int currentButtonState = analogRead(buttonToPinMap[index]); if (currentButtonState <= 512){ currentButtonState = 1; } else { currentButtonState = 0; } if (currentButtonState != lastButtonState[index]){ Joystick.setButton(index-4, currentButtonState); lastButtonState[index] = currentButtonState; } } //two joystick panels Joystick.setRxAxis(1023-analogRead(2)); Joystick.setZAxis(1023-analogRead(3)); Joystick.setYAxis(1023-analogRead(4)); Joystick.setXAxis(1023-analogRead(5)); }[/mw_shl_code] 最后测试按键的时候,我建议在Gamepad Viewer上测试比较方便,Win10自带的手柄测试驱动很不直观,用起来很不顺手 Part 2:论如何将树莓派进化为游戏机 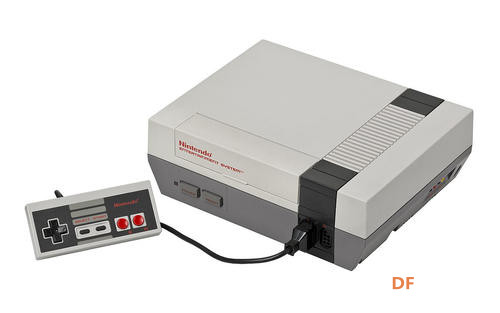 下载好专门给树莓派的镜像后,用Etcher来烧录镜像到树莓派【官网】 然后连接到屏幕上,将刚刚做好的Leonardo手柄接到树莓派上,配置一下屏幕,手柄,和基本设置,你就能完美体验上个世纪NES游戏机(俗称FC红白机)的感觉了! 最后,为了美观,可以买个DFrobot的NES游戏机外壳,更有感觉一些! 个人成长博客:https://alchemicronin.github.io/ 如果大家觉得项目有趣的话,就请在下方留言吧~ |
 编辑选择奖
编辑选择奖
 编辑选择奖
编辑选择奖


 沪公网安备31011502402448
© 2013-2026 Comsenz Inc. Powered by Discuz! X3.4 Licensed

 置顶卡
置顶卡 变色卡
变色卡 千斤顶
千斤顶 ,谢谢留言~
 大神,还有啥是您不能的?


