迟来的帖子,什么都别说了,直接上代码:
- /*
- author: lisper <<a href="mailto:931816770@qq.com" target="_blank">931816770@qq.com</a>>
- license: MIT
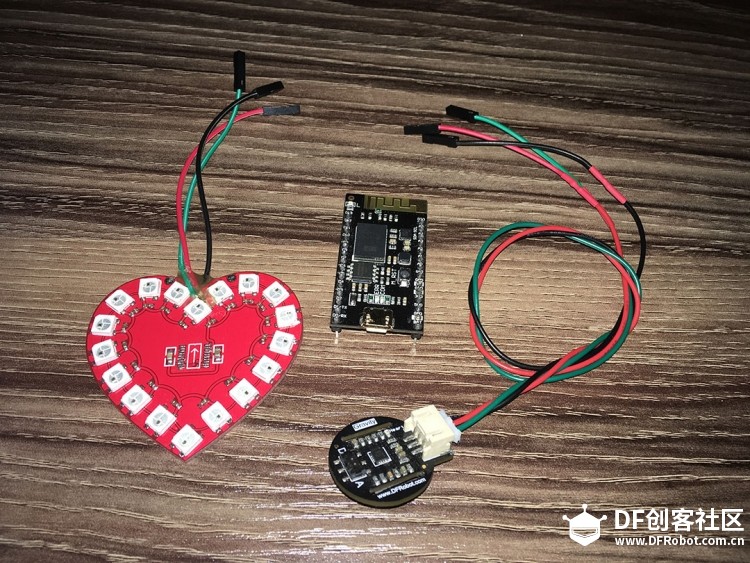
- 材料清单: ws2812 led strip, Curie Nano(DFRobot), heart rate sensor(DFRobot)
- */
-
- #include <Adafruit_NeoPixel.h>
- #ifdef __AVR__
- #include <avr/power.h>
- #endif
-
-
- #define LED_PIN 6 //定义led的引脚
- #define PIXELS_NUM 18 //定义led的数量
- #define HEART_PIN A0 //定义心跳传感器的引脚
-
- Adafruit_NeoPixel pixels = Adafruit_NeoPixel(PIXELS_NUM, LED_PIN, NEO_GRB + NEO_KHZ800);
-
- void setup() {
- Serial.begin(115200);
- pixels.begin();
- pixels.show();
- }
-
- void loop() {
- //读取心跳传感器数据
- int heartValue = analogRead(HEART_PIN);
-
- //滤波处理
- int filterValue = filter(heartValue);
-
- Serial.println(filterValue);
-
- //把血氧饱和度数据映射到led灯的亮度范围(0~255)
- int mapValue = map(constrain(filterValue, 940, 1024), 940, 1024, 0, 255);
-
- //根据计算得到的数值设置红色亮度
- setRedColor(mapValue);
- delay(20);
- }
-
- //设置红色亮度
- void setRedColor(int red) {
- for (int i = 0; i < PIXELS_NUM; i++) {
- pixels.setPixelColor(i, pixels.Color(red, 0, 0));
- }
- pixels.show();
- }
-
- //滤波
- int filter (int input) {
- #define FILTER_SIZE 10
- static int filterArray[FILTER_SIZE] = {0};
- static int fi = 0;
- filterArray[fi++] = input;
- if (fi >= FILTER_SIZE) {
- fi = 0;
- }
- int32_t output = 0;
- for (int i = 0; i < FILTER_SIZE; i++) {
- output += filterArray;
- }
- return int(output / FILTER_SIZE);
- }
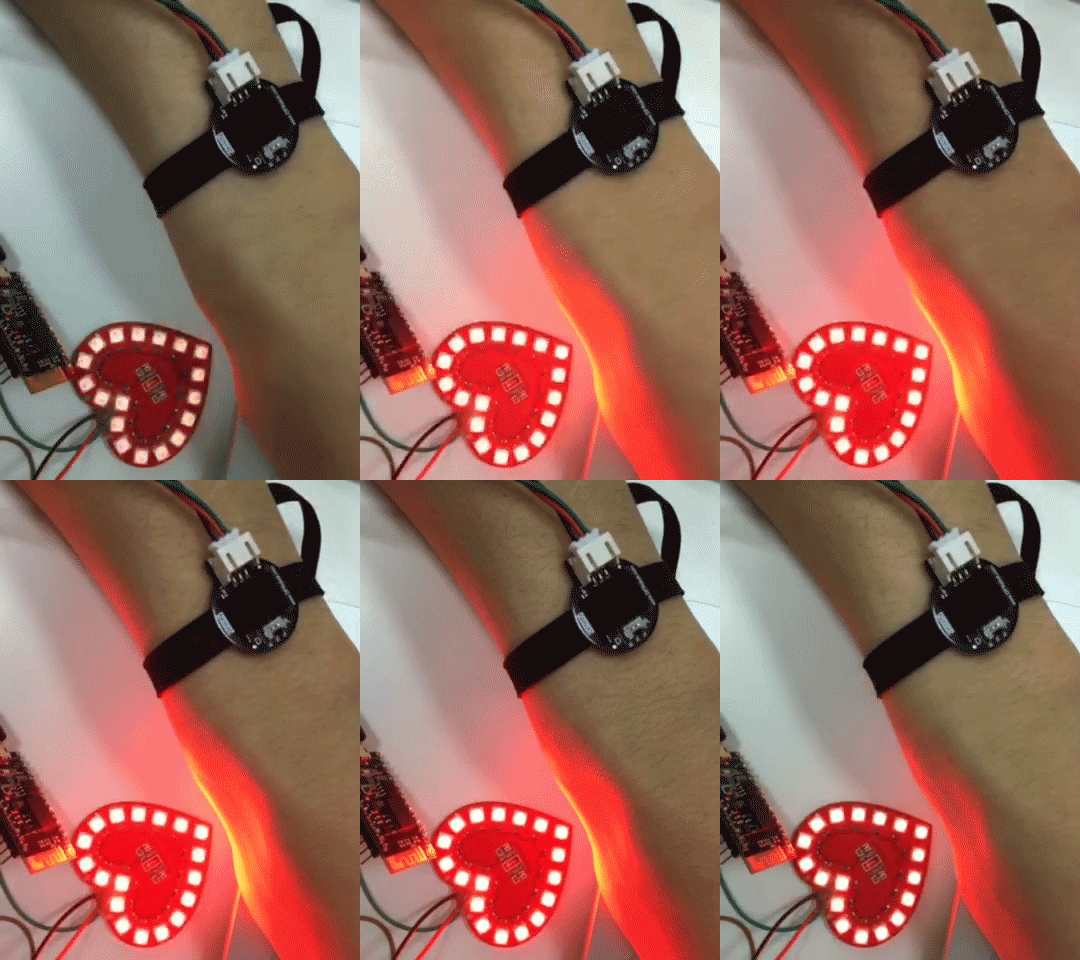
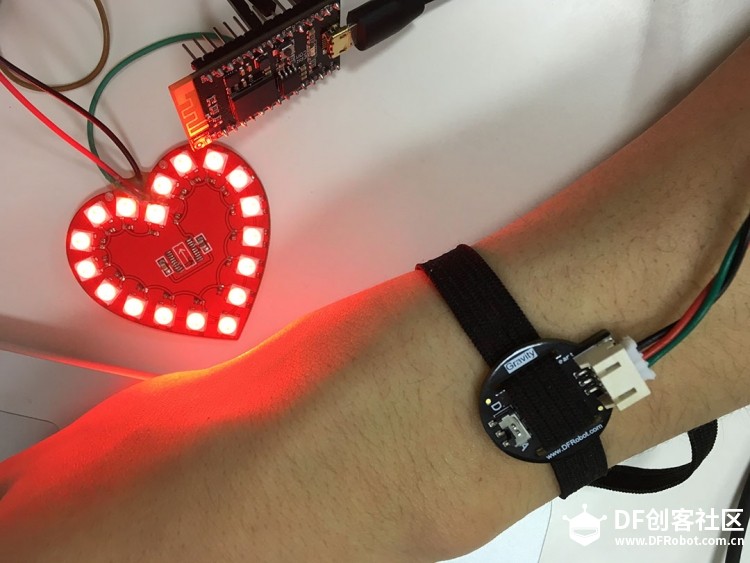
上图:

材料链接:
爱心led灯:https://item.taobao.com/item.htm?spm=a1z09.2.0.0.TSYI8y&id=529217131074&_u=e1kdiot10623
Curie Nano: https://www.dfrobot.com.cn/goods-1343.html
心跳传感器: https://www.dfrobot.com.cn/goods-1339.html
爱心led灯本来是在淘宝买的,并且自带了控制芯片,效果写在控制芯片里了,接上电就可以亮,这不是我想要的,于是就把板子上的芯片拆了,引出了几根线,接在Arduino上,方便自己编程控制,用起来还不错,可以跟着心跳闪烁
 
| 


 活跃会员
活跃会员
 老版主限定
老版主限定
 沪公网安备31011502402448