4403浏览
查看: 4403|回复: 0

DIY 8×8 LED点阵模块

[复制链接]
材料:
Max7219芯片(SOP-24贴片)  1片
10K电阻(0805贴片)  1个
瓷片电容(104pf)  1个
二极管1N4148 1个
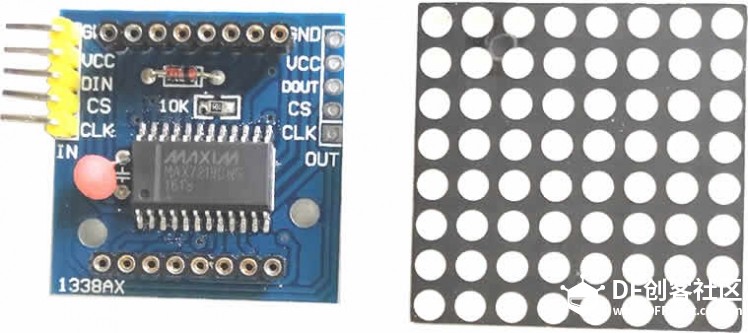
MAX7219 8*8点阵PCB板1片
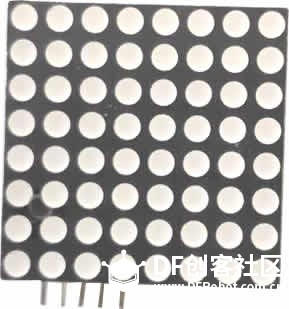
8×8共阴极LED点阵(3.2×3.2mm 1088AS)1个
插针若干
焊锡膏(低温 138°)
工具:
       热风枪
       电烙铁
制作步骤:
1、给PCB板中的Max7219芯片引脚,电阻引脚涂上一层焊锡膏,可以先将所有引脚区都涂上锡膏,然后仔细刮去非引脚部分的焊锡。
2、将热风枪温度调到300°左右,用镊子按住芯片,对引脚吹风加热。
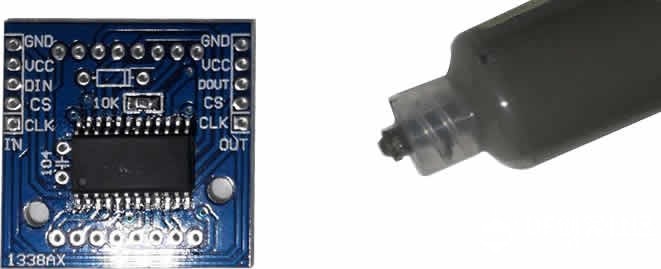
DIY 8×8 LED点阵模块图1
3、焊好芯片和电阻后,用电烙铁焊上剩余的元件及插针。
DIY 8×8 LED点阵模块图2
4、插入8×8共阴极LED点阵。
DIY 8×8 LED点阵模块图3
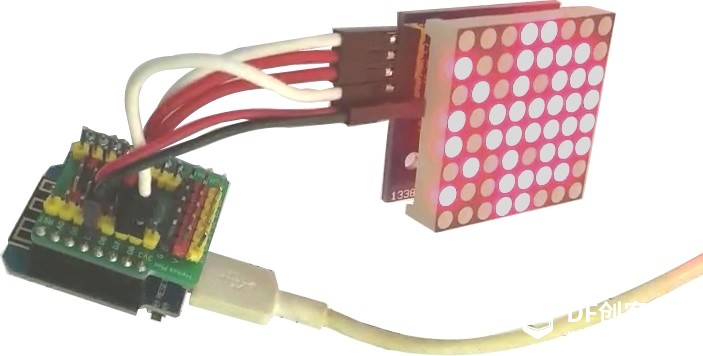
5、连接上WEMOS Mini D1芯片并写入程序测试。
DIY 8×8 LED点阵模块图4
  
[mw_shl_code=python,true]from machine import Pin,SPI
import time
DECODEMODE=const(9)
INTENSITY=const(10)
SCANLIMIT=const(11)
SHUTDOWN=const(12)
DISPLAYTEST=const(15)
sprite=(
  (0x30,0x7c,0xae,0x3e,0x3e,0xae,0x7c,0x30),
  (0x18,0xbe,0x57,0x1f,0x1f,0x57,0xbe,0x18),
  (0x30,0xbc,0x6e,0x3e,0x3e,0x6e,0xbc,0x30),
  (0x18,0x9e,0x57,0xbf,0xbf,0x57,0x9e,0x18)
)
def max7219(reg,data):
  cs.value(0)
  spi.write(bytes([reg,data]))
  cs.value(1)
def init():
  for reg,data in (
    (DISPLAYTEST,0),
    (SCANLIMIT,7),
    (INTENSITY,8),
    (DECODEMODE,0),
    (SHUTDOWN,1)
  ):
    max7219(reg,data)
def clear():
  for i in range(8):
    max7219(i+1,0)
def animate():
  for i in range(4):
    for j in range(8):
      max7219(j+1,sprite[j])
    time.sleep(0.3)
cs=Pin(15,Pin.OUT)
spi=SPI(1, baudrate=1000000) #若使用默认的baudrate,刷新太快
try:
  init()
  time.sleep(3)
  while True:
    animate()
finally:
  clear()
  spi.deinit()[/mw_shl_code]

您需要登录后才可以回帖 登录 | 立即注册

本版积分规则

为本项目制作心愿单
购买心愿单
心愿单 编辑
[[wsData.name]]

硬件清单

  • [[d.name]]
btnicon
我也要做!
点击进入购买页面
上海智位机器人股份有限公司 沪ICP备09038501号-4

© 2013-2024 Comsenz Inc. Powered by Discuz! X3.4 Licensed

mail