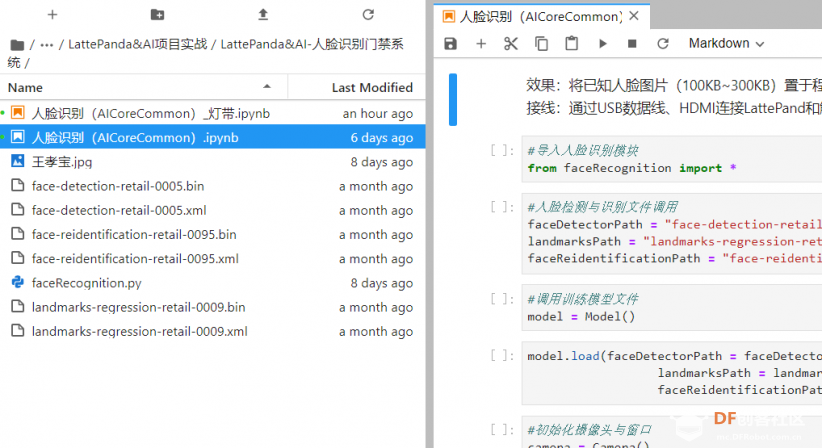
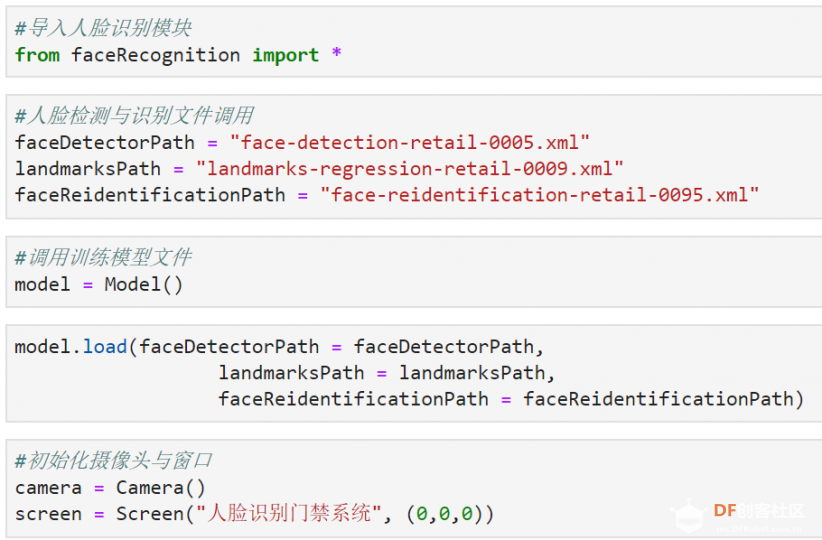
#导入人脸识别模块
from faceRecognition import *
#人脸检测与识别文件调用
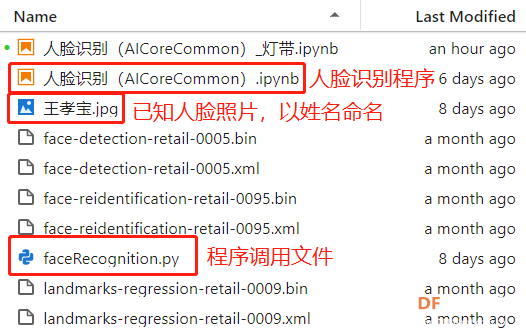
faceDetectorPath = "face-detection-retail-0005.xml"
landmarksPath = "landmarks-regression-retail-0009.xml"
faceReidentificationPath = "face-reidentification-retail-0095.xml"
#调用训练模型文件
model = Model()
model.load(faceDetectorPath = faceDetectorPath,
landmarksPath = landmarksPath,
faceReidentificationPath = faceReidentificationPath)
#初始化摄像头与窗口
camera = Camera()
screen = Screen("人脸识别门禁系统", (0,0,0))
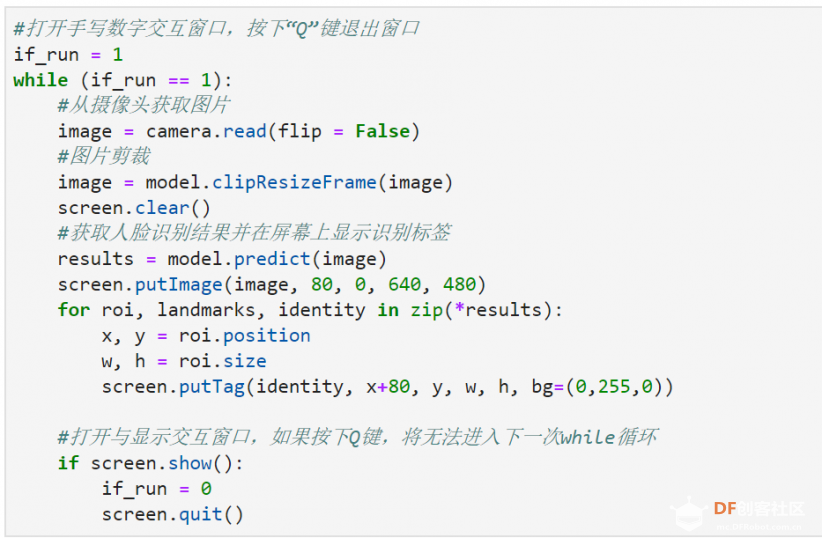
#打开手写数字交互窗口,按下“Q”键退出窗口
if_run = 1
while (if_run == 1):
#从摄像头获取图片
image = camera.read(flip = False)
#图片剪裁
image = model.clipResizeFrame(image)
screen.clear()
#获取人脸识别结果并在屏幕上显示识别标签
results = model.predict(image)
screen.putImage(image, 80, 0, 640, 480)
for roi, landmarks, identity in zip(*results):
x, y = roi.position
w, h = roi.size
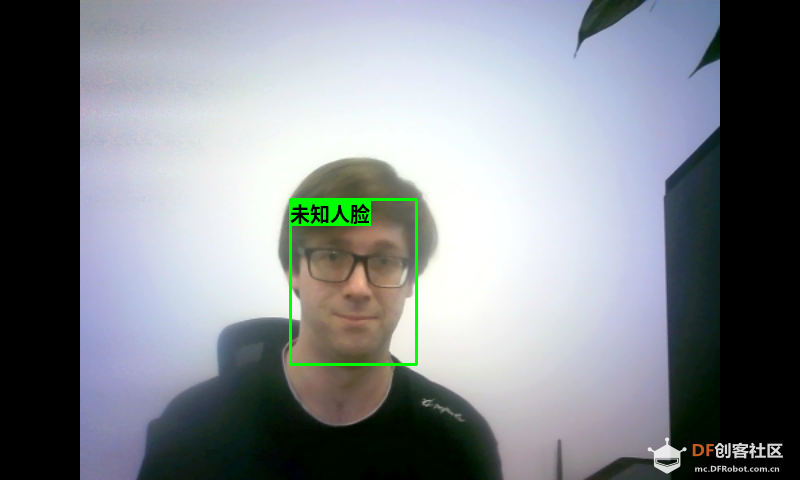
screen.putTag(identity, x+80, y, w, h, bg=(0,255,0))
#打开与显示交互窗口,如果按下Q键,将无法进入下一次while循环
if screen.show():
if_run = 0
screen.quit() 复制代码
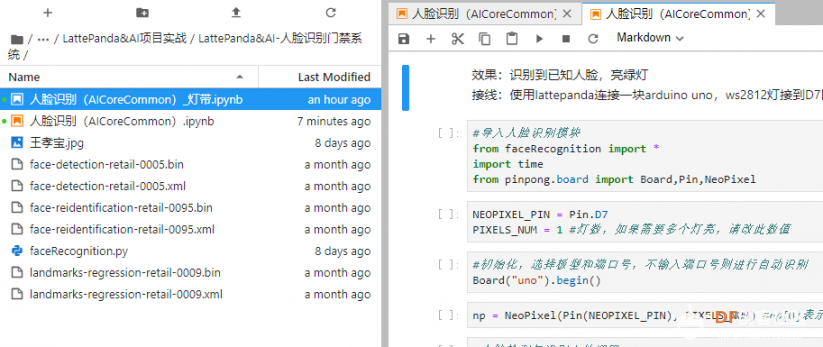
#导入人脸识别模块
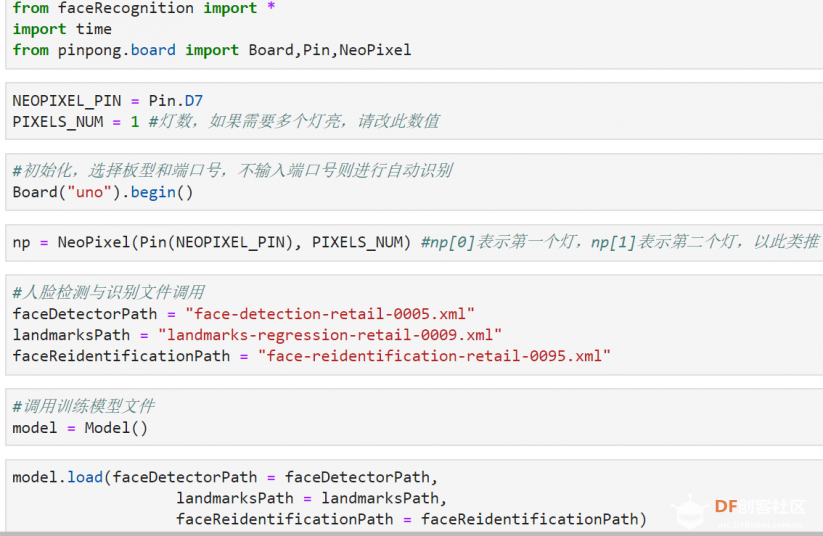
from faceRecognition import *
import time
from pinpong.board import Board,Pin,NeoPixel
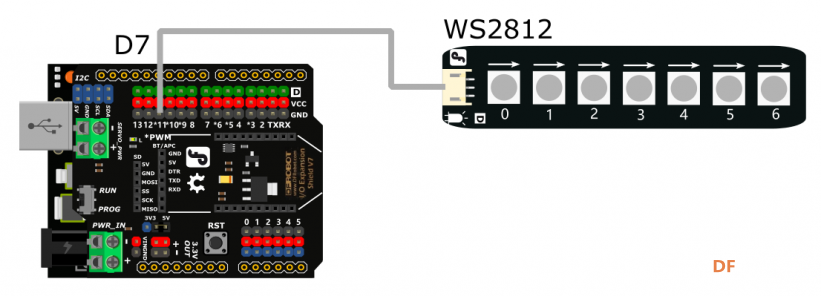
NEOPIXEL_PIN = Pin.D7
PIXELS_NUM = 1 #灯数,如果需要多个灯亮,请改此数值
#初始化,选择板型和端口号
Board("uno", "/dev/ttyUSB0").begin()
np = NeoPixel(Pin(NEOPIXEL_PIN), PIXELS_NUM) #np[0]表示第一个灯,np[1]表示第二个灯,以此类推
#人脸检测与识别文件调用
faceDetectorPath = "face-detection-retail-0005.xml"
landmarksPath = "landmarks-regression-retail-0009.xml"
faceReidentificationPath = "face-reidentification-retail-0095.xml"
#调用训练模型文件
model = Model()
model.load(faceDetectorPath = faceDetectorPath,
landmarksPath = landmarksPath,
faceReidentificationPath = faceReidentificationPath)
#初始化摄像头与窗口
camera = Camera()
screen = Screen("人脸识别门禁系统", (0,0,0))
#打开手写数字交互窗口,按下“Q”键退出窗口
if_run = 1
led = 0
count = 0
while (if_run == 1):
#从摄像头获取图片
image = camera.read(flip = False)
#图片剪裁
image = model.clipResizeFrame(image)
screen.clear()
#获取人脸识别结果并在屏幕上显示识别标签
results = model.predict(image)
screen.putImage(image, 80, 0, 640, 480)
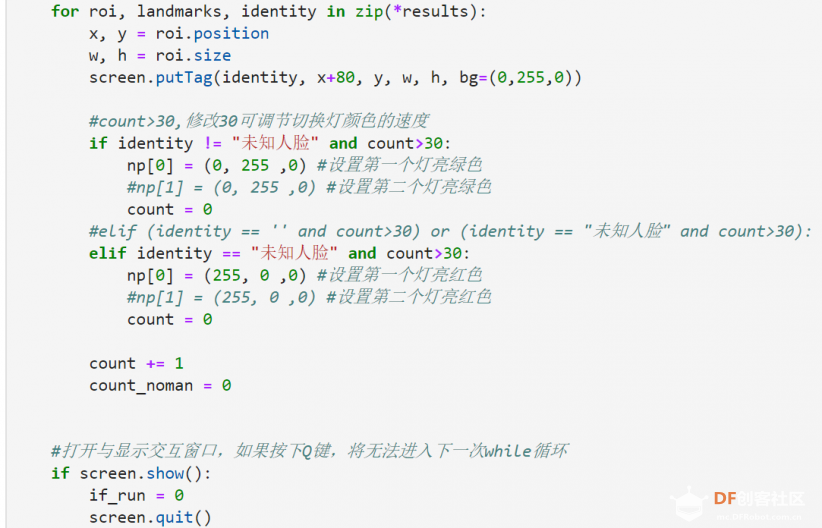
for roi, landmarks, identity in zip(*results):
x, y = roi.position
w, h = roi.size
screen.putTag(identity, x+80, y, w, h, bg=(0,255,0))
#count>30,修改30可调节切换灯颜色的速度
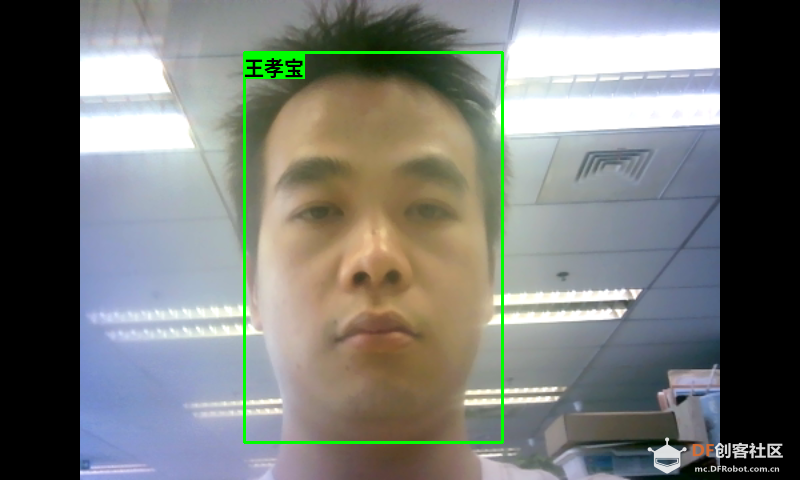
if identity != "未知人脸" and count>30:
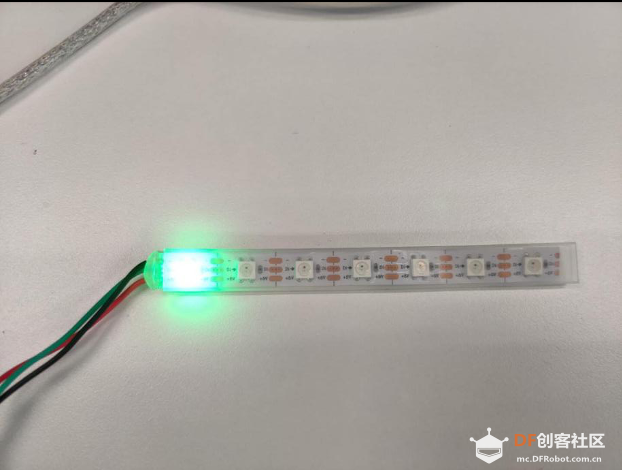
np[0] = (0, 255 ,0) #设置第一个灯亮绿色
#np[1] = (0, 255 ,0) #设置第二个灯亮绿色
count = 0
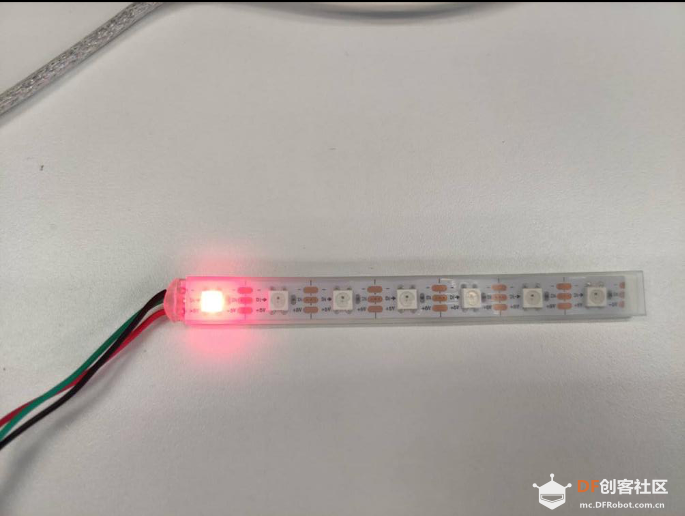
elif identity == "未知人脸" and count>30:
np[0] = (255, 0 ,0) #设置第一个灯亮红色
#np[1] = (255, 0 ,0) #设置第二个灯亮红色
count = 0
count+=1
#打开与显示交互窗口,如果按下Q键,将无法进入下一次while循环
if screen.show():
if_run = 0
screen.quit() 复制代码 运行效果:
当识别到已知人脸时,灯带的第一个灯亮绿色;


 沪公网安备31011502402448


 置顶卡
置顶卡 变色卡
变色卡 千斤顶
千斤顶