九、测试开环位置控制
实验注意:12V先不要上电,开环控制电机会发热,上电时间过久容易烧坏。最好等到程序编译上传后再上电,上电尽快操作。开环控制的目的主要是建立对电机控制的初步认识,以及验证电机和驱动板功能是否正常,不要停留太久!
【Arduino】168种传感器模块系列实验(资料代码+仿真编程+图形编程)
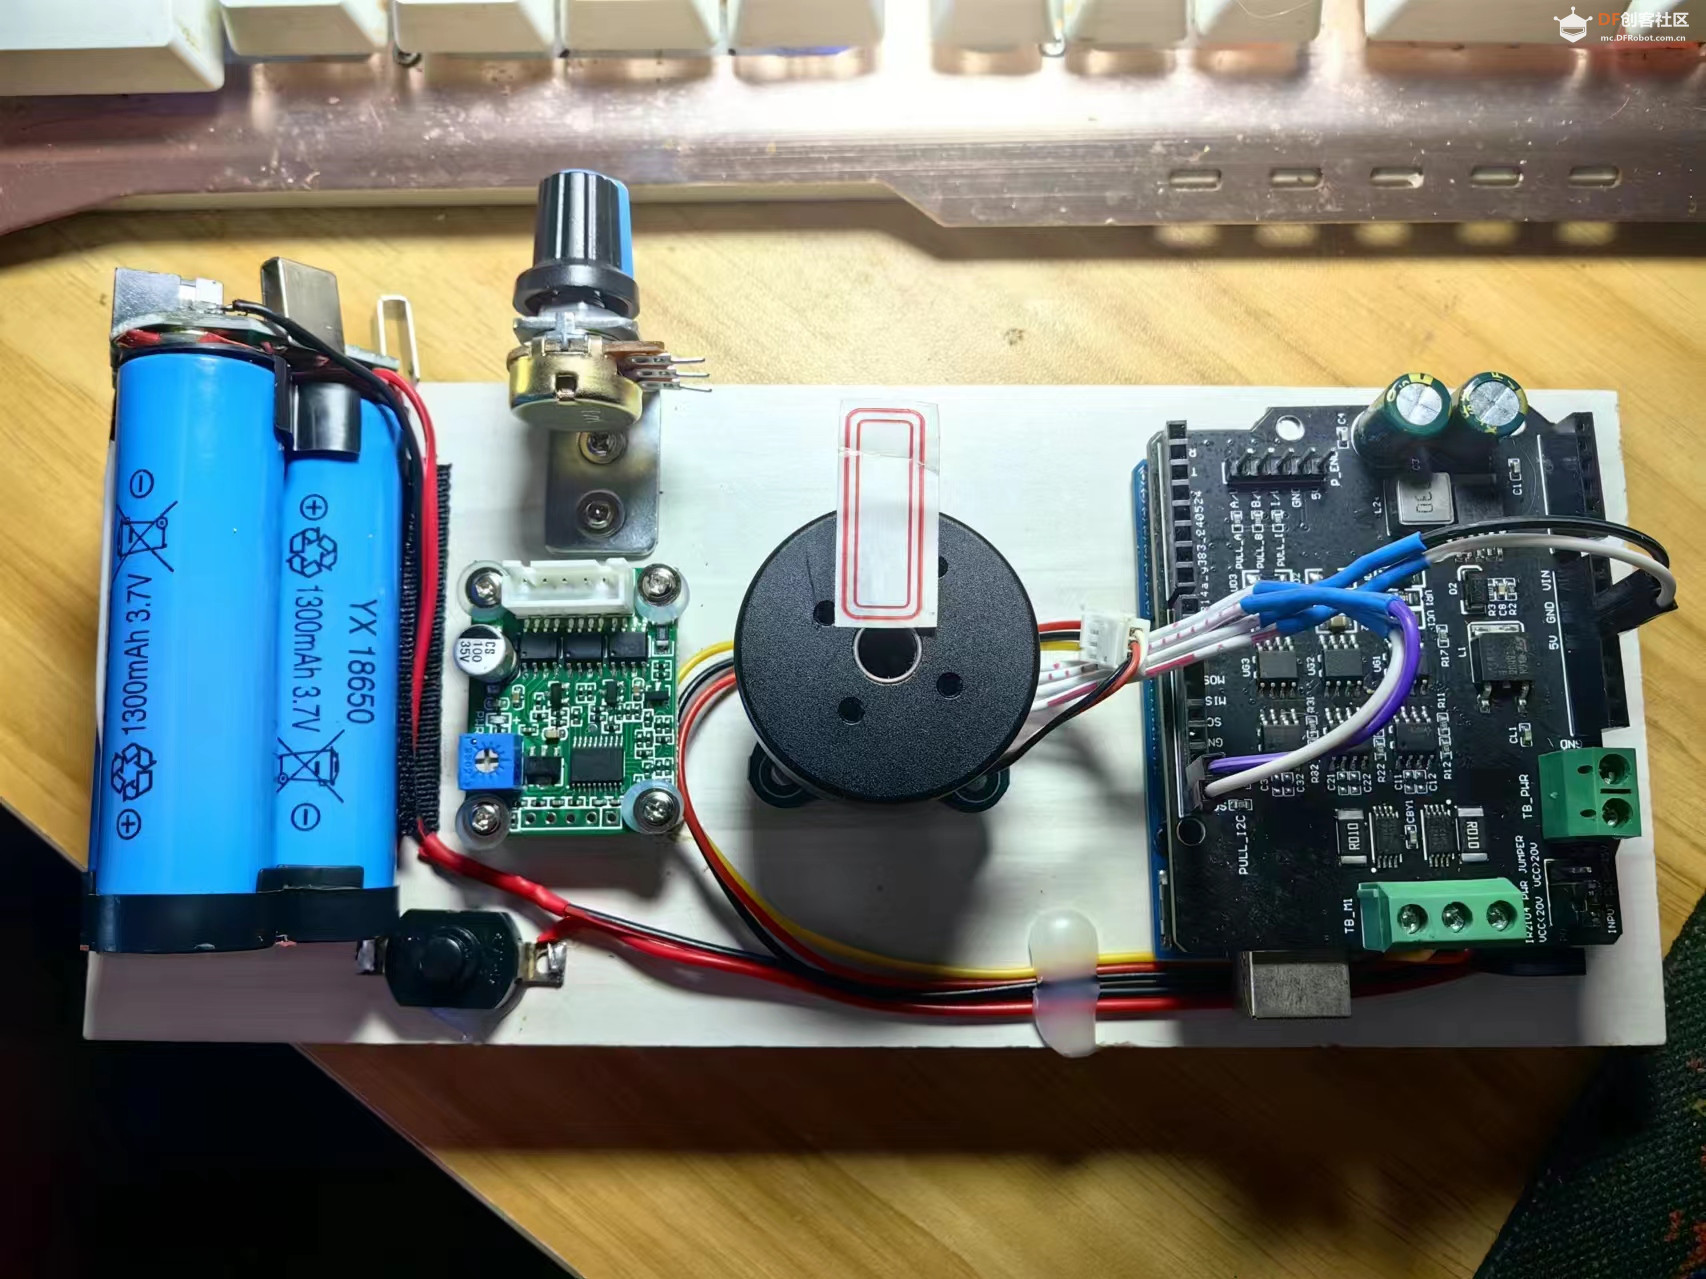
实验二百二十二:Arduino FOC无刷电机驱动板 兼容Simple FOC Shield V2.0.4(艾尔赛)
项目程序之四:测试开环位置控制
实验开源代码
- /*
- 【Arduino】168种传感器模块系列实验(资料代码+仿真编程+图形编程)
- 实验二百二十二:Arduino FOC无刷电机驱动板 兼容Simple FOC Shield V2.0.4(艾尔赛)
- 项目程序之四:测试开环位置控制
- */
-
- // Open loop motor control example
- #include <SimpleFOC.h>
-
-
- // BLDC motor & driver instance
- // BLDCMotor motor = BLDCMotor(pole pair number);
- BLDCMotor motor = BLDCMotor(7);
- // BLDCDriver3PWM driver = BLDCDriver3PWM(pwmA, pwmB, pwmC, Enable(optional));
- BLDCDriver3PWM driver = BLDCDriver3PWM(9, 5, 6, 8);
-
- // Stepper motor & driver instance
- //StepperMotor motor = StepperMotor(50);
- //StepperDriver4PWM driver = StepperDriver4PWM(9, 5, 10, 6, 8);
-
-
- //target variable
- float target_velocity = 0;
-
- // instantiate the commander
- Commander command = Commander(Serial);
- void doTarget(char* cmd) {
- command.scalar(&target_velocity, cmd);
- }
- void doLimit(char* cmd) {
- command.scalar(&motor.voltage_limit, cmd);
- }
-
- void setup() {
-
- // driver config
- // power supply voltage [V]
- driver.voltage_power_supply = 12;
- // limit the maximal dc voltage the driver can set
- // as a protection measure for the low-resistance motors
- // this value is fixed on startup
- driver.voltage_limit = 6;
- driver.init();
- // link the motor and the driver
- motor.linkDriver(&driver);
-
- // limiting motor movements
- // limit the voltage to be set to the motor
- // start very low for high resistance motors
- // current = voltage / resistance, so try to be well under 1Amp
- motor.voltage_limit = 2; // [V]
-
- // open loop control config
- motor.controller = MotionControlType::velocity_openloop;
-
- // init motor hardware
- motor.init();
-
- // add target command T
- command.add('T', doTarget, "target velocity");
- command.add('L', doLimit, "voltage limit");
-
- Serial.begin(115200);
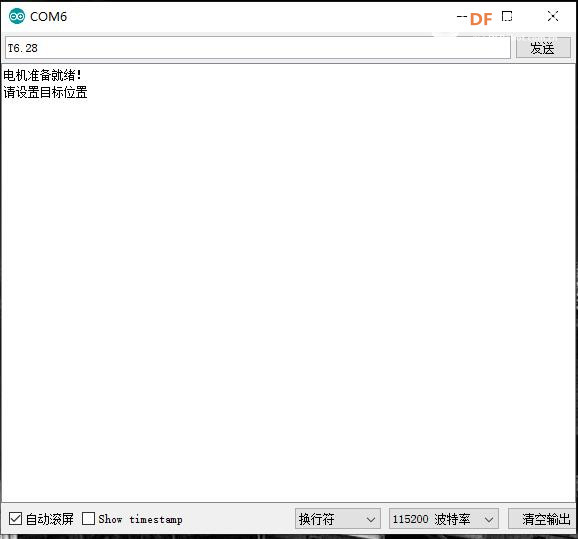
- Serial.println("电机准备就绪!");
- Serial.println("请设置目标位置");
- _delay(1000);
- }
-
- void loop() {
-
- // open loop velocity movement
- // using motor.voltage_limit and motor.velocity_limit
- // to turn the motor "backwards", just set a negative target_velocity
- motor.move(target_velocity);
-
- // user communication
- command.run();
- _delay(1000);
- }
| 


 沪公网安备31011502402448


 萌萌哒新人
萌萌哒新人
 活跃会员
活跃会员
 宣传大使
宣传大使
 牛X认证
牛X认证
 创作达人
创作达人
 ARD DAY
 摸鱼团员
摸鱼团员
 志“童”道合
 编辑选择奖
编辑选择奖


