|
5531| 26
|
[项目] 【花雕学编程】Arduino动手做(222)---Simple FOC Shield V2.0.4 |
|
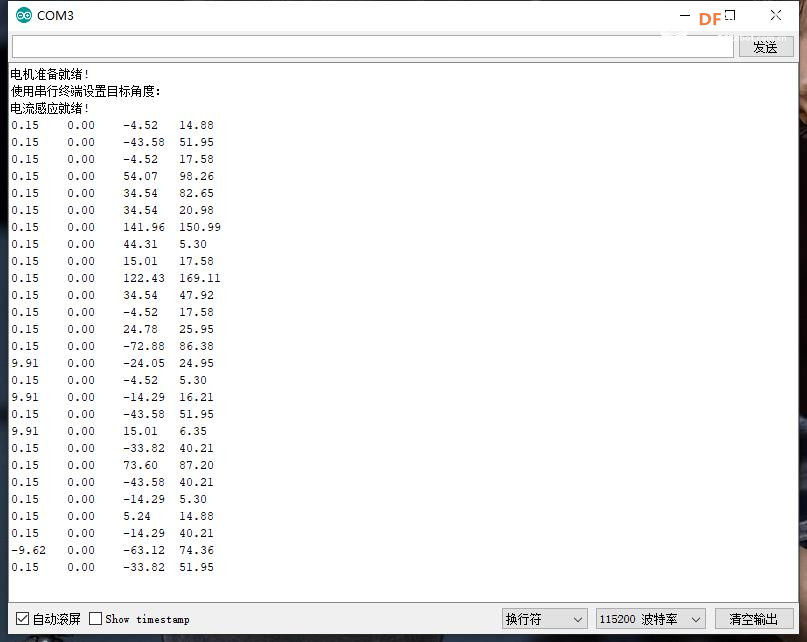
八、INA240电流传感器测试 ● 使用Arduino IDE打开资料里面的电流测试程序 ,“angle_control_current_sense_test”,点击“上传”。 位置/角度运动控制示例 *步骤: *1)配置电机和磁传感器 *2)运行代码 *3)从串行终端设置目标角度(弧度) 运行程序,电机会来回转动,打开串口监视器,可以监测电机的A相、B相的电流以及电流幅值。用手转动电机,电流值会发生改变。 【Arduino】168种传感器模块系列实验(资料代码+仿真编程+图形编程) 实验二百二十二:Arduino FOC无刷电机驱动板 兼容Simple FOC Shield V2.0.4(艾尔赛) 项目程序之三:INA240电流传感器测试,位置/角度运动控制 实验开源代码 |
实验开源代码 |
|
九、测试开环位置控制 实验注意:12V先不要上电,开环控制电机会发热,上电时间过久容易烧坏。最好等到程序编译上传后再上电,上电尽快操作。开环控制的目的主要是建立对电机控制的初步认识,以及验证电机和驱动板功能是否正常,不要停留太久! 【Arduino】168种传感器模块系列实验(资料代码+仿真编程+图形编程) 实验二百二十二:Arduino FOC无刷电机驱动板 兼容Simple FOC Shield V2.0.4(艾尔赛) 项目程序之四:测试开环位置控制 实验开源代码 |
|
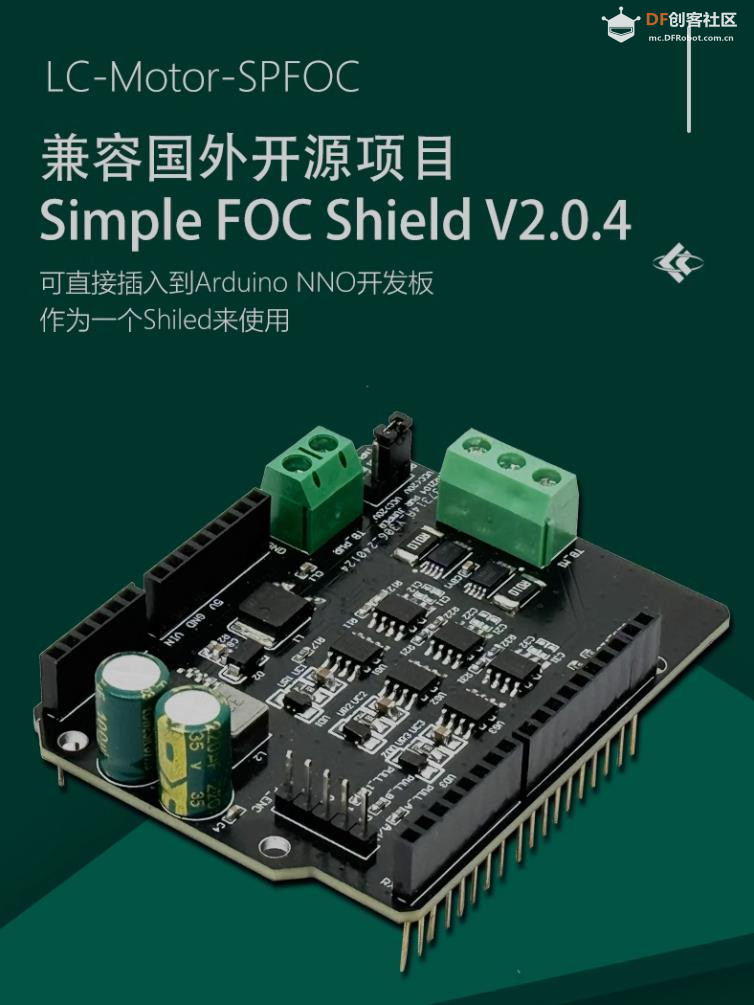
一、 概述 艾尔赛Arduino FOC无刷电机驱动板采用3个分立的高低边栅极驱动器和6个NMOS管组成1路BLDC驱动电路,兼容国外开源项目Simple FOC Shield V2.0.4,可直接插入到Arduino NNO开发板作为一个Shiled来使用,并支持多种传感器接口,用户可以使用Arduino环境下的Simple FOC库来控制BLDC无刷电机平稳高精度运行。 二、 功能特点 1,采用3路IR2104栅极驱动器和6个NMOS组成BLDC驱动部分,控制逻辑兼容官方原版Simple FOC的L6234PD方案; 2,接口兼容Arduino UNO、Arduino MEGA、STM32 Nucleo等; 3,板载2个INA240高精度电流传感器用于测量A B相电流; 4,用户可以通过0R电阻跳线的方式来配置GPIO控制管脚; 5,支持霍尔、磁传感器等多种编码器; 6,供电电压DC12-35V; 7,板载电源指示灯。 三、 硬件介绍和说明 1,板子尺寸:67.8*53mm 重量:26g 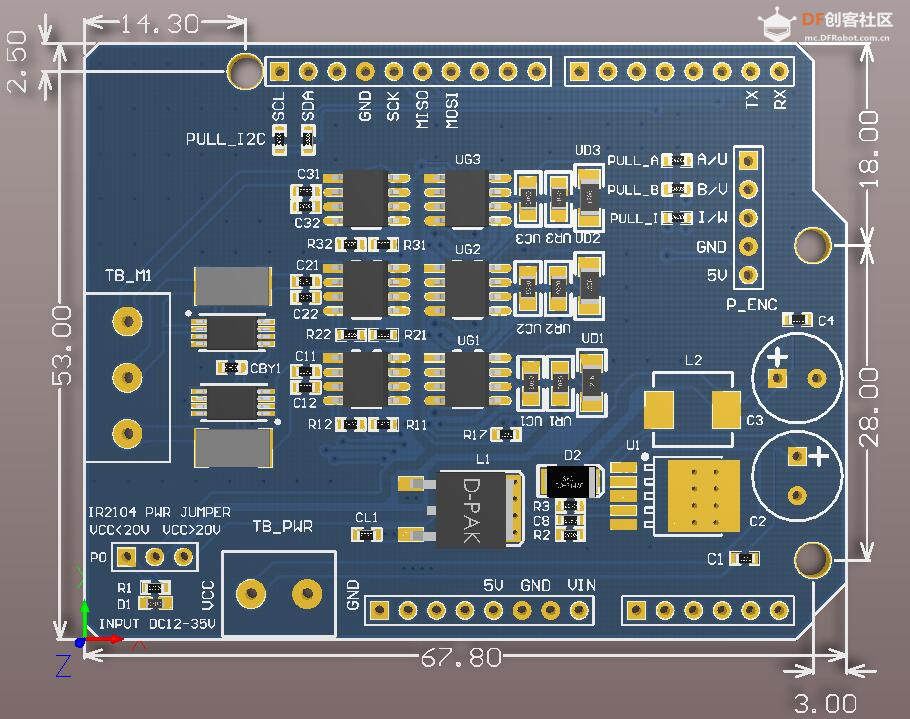 |
|
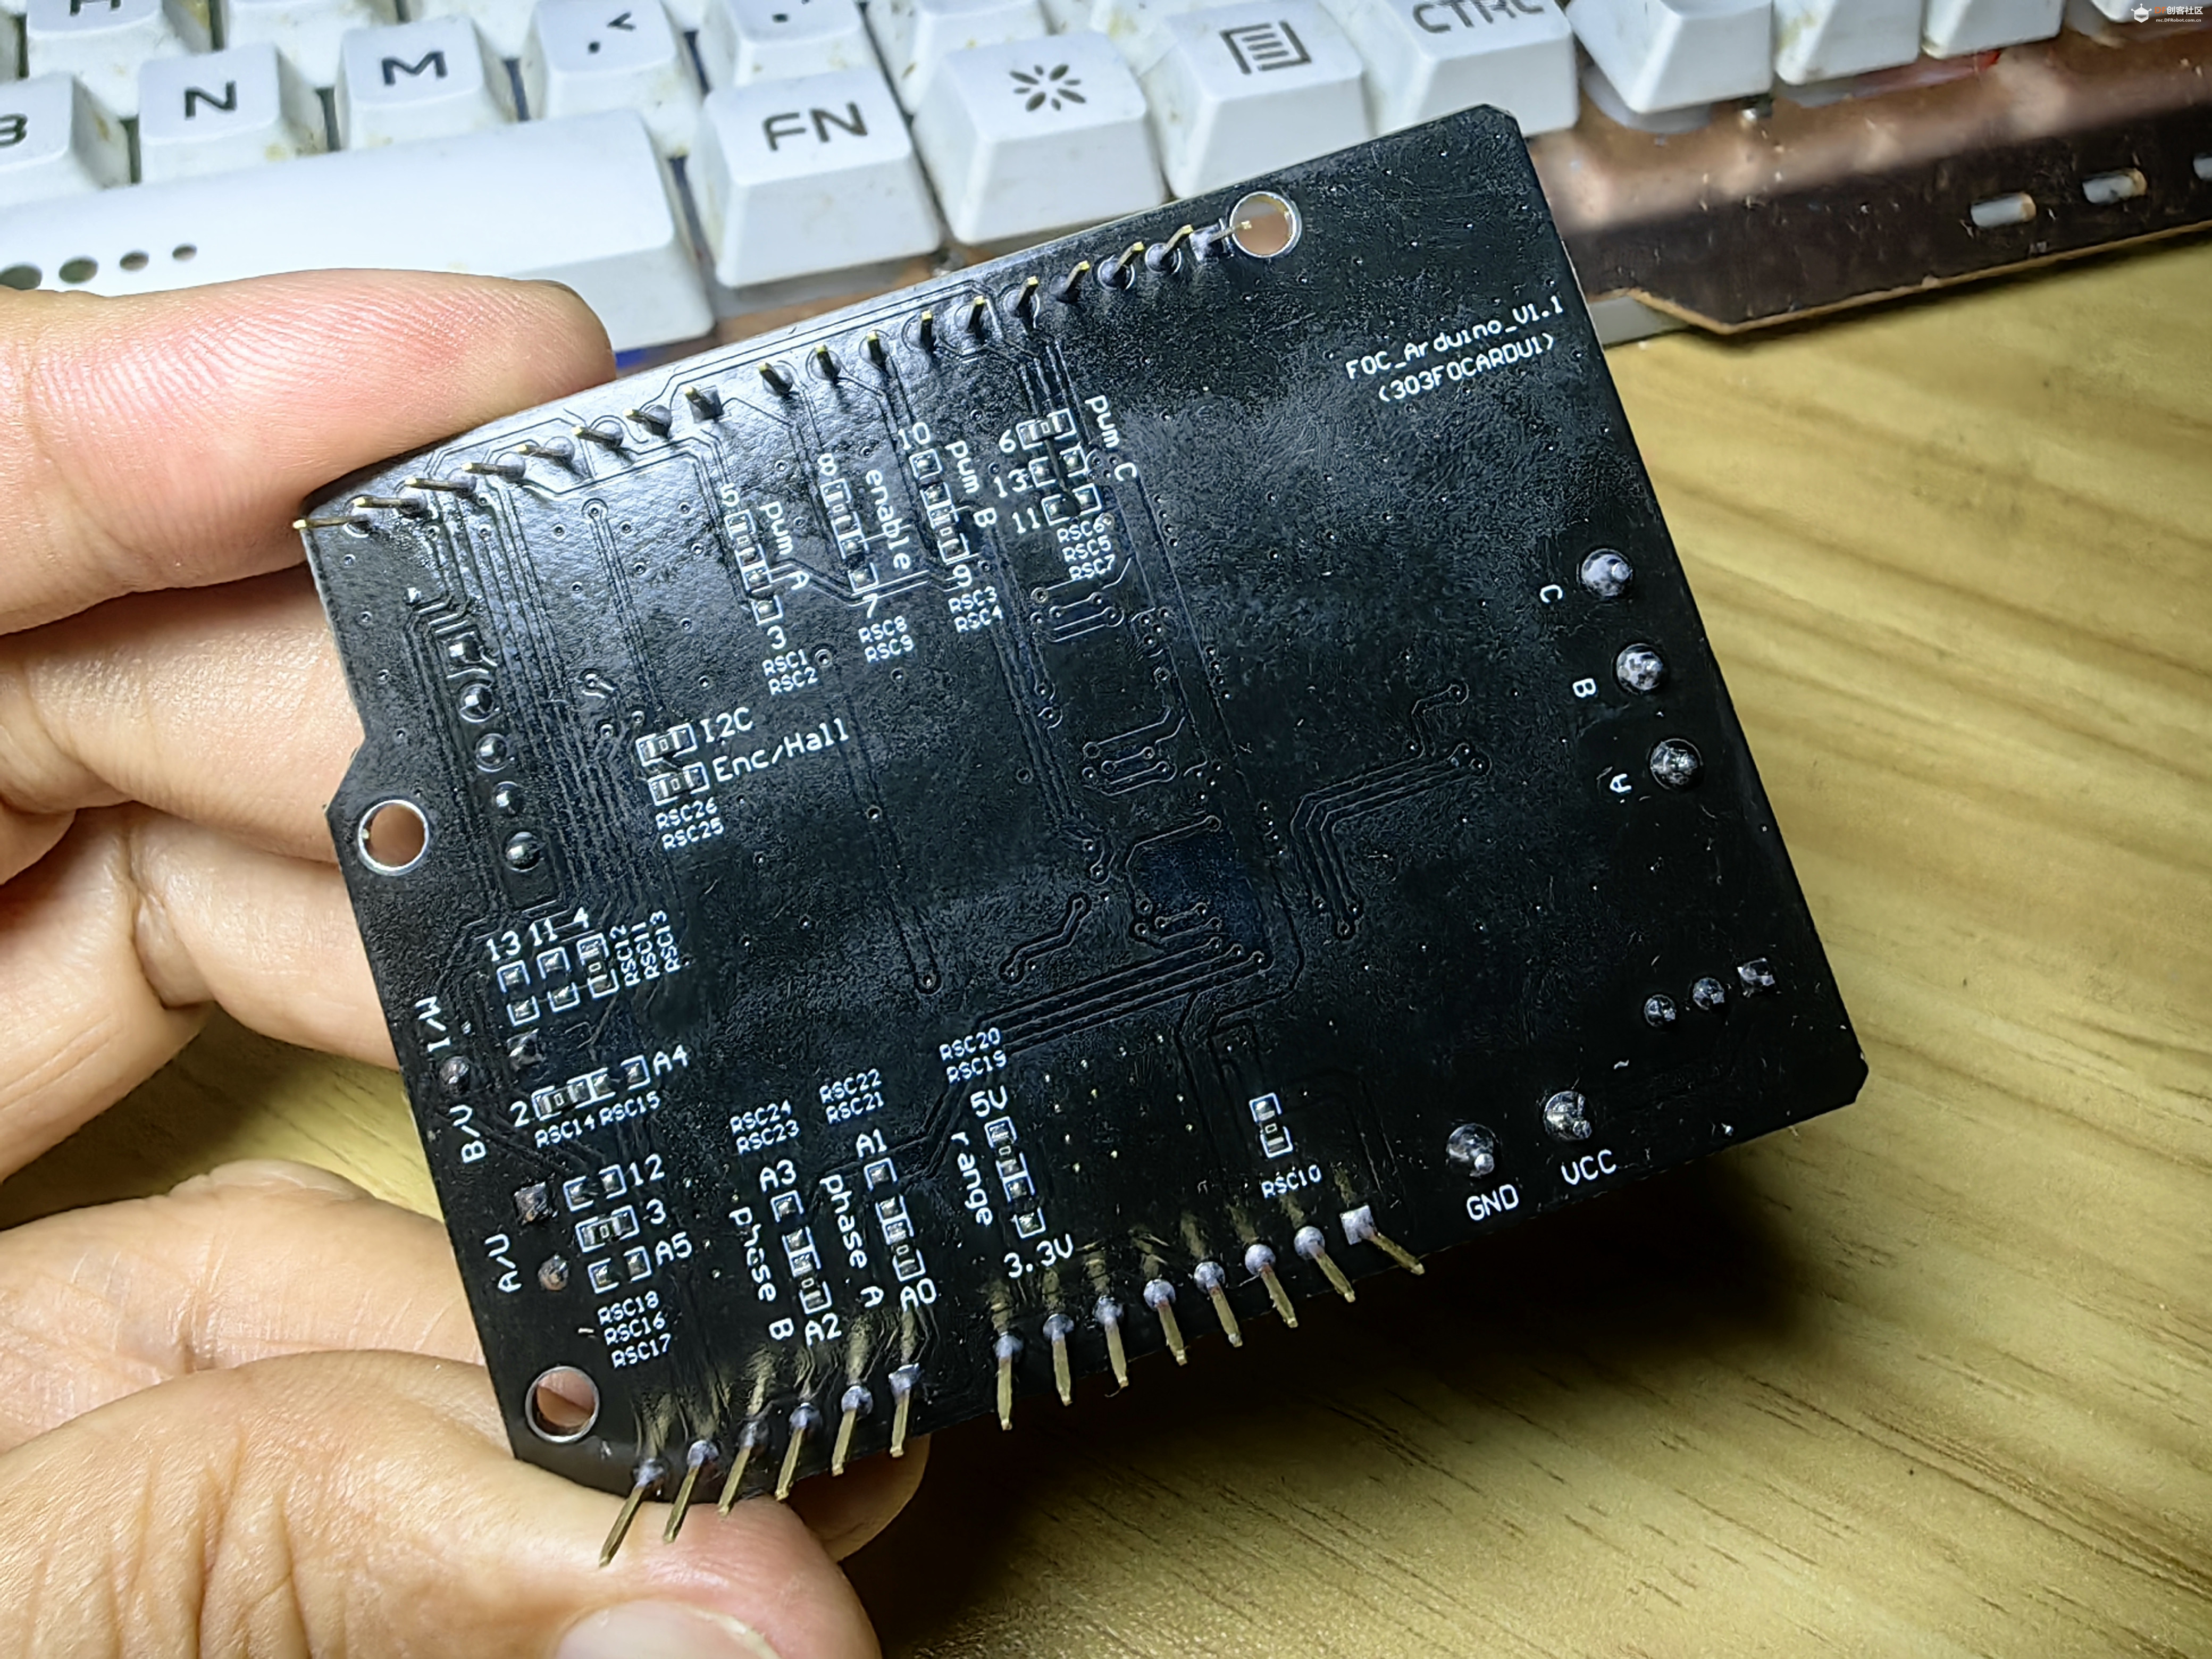
本帖最后由 驴友花雕 于 2024-7-3 05:03 编辑 2, 接口介绍  1,VCC,GND:DC12-35V供电; 2,A, B, C:无刷电机接口; 3,GPIO引出口,可直接插入到Arduino UNO等开发板; 4,IR2104供电跳线帽:因为IR2104最大只支持20V供电,故当VCC小于等于20V时此跳线帽插在左端,此时IR2104的电源电压等于VCC;当VCC大20V时此跳线帽插在右端,此时IR2104的电源电压等于16V。  板子背面为GPIO控制/供电 选择跳线电阻,具体的跳线方法可参考电路原理图(一般保持默认即可) 电原理图  插入Arduino uno开发板 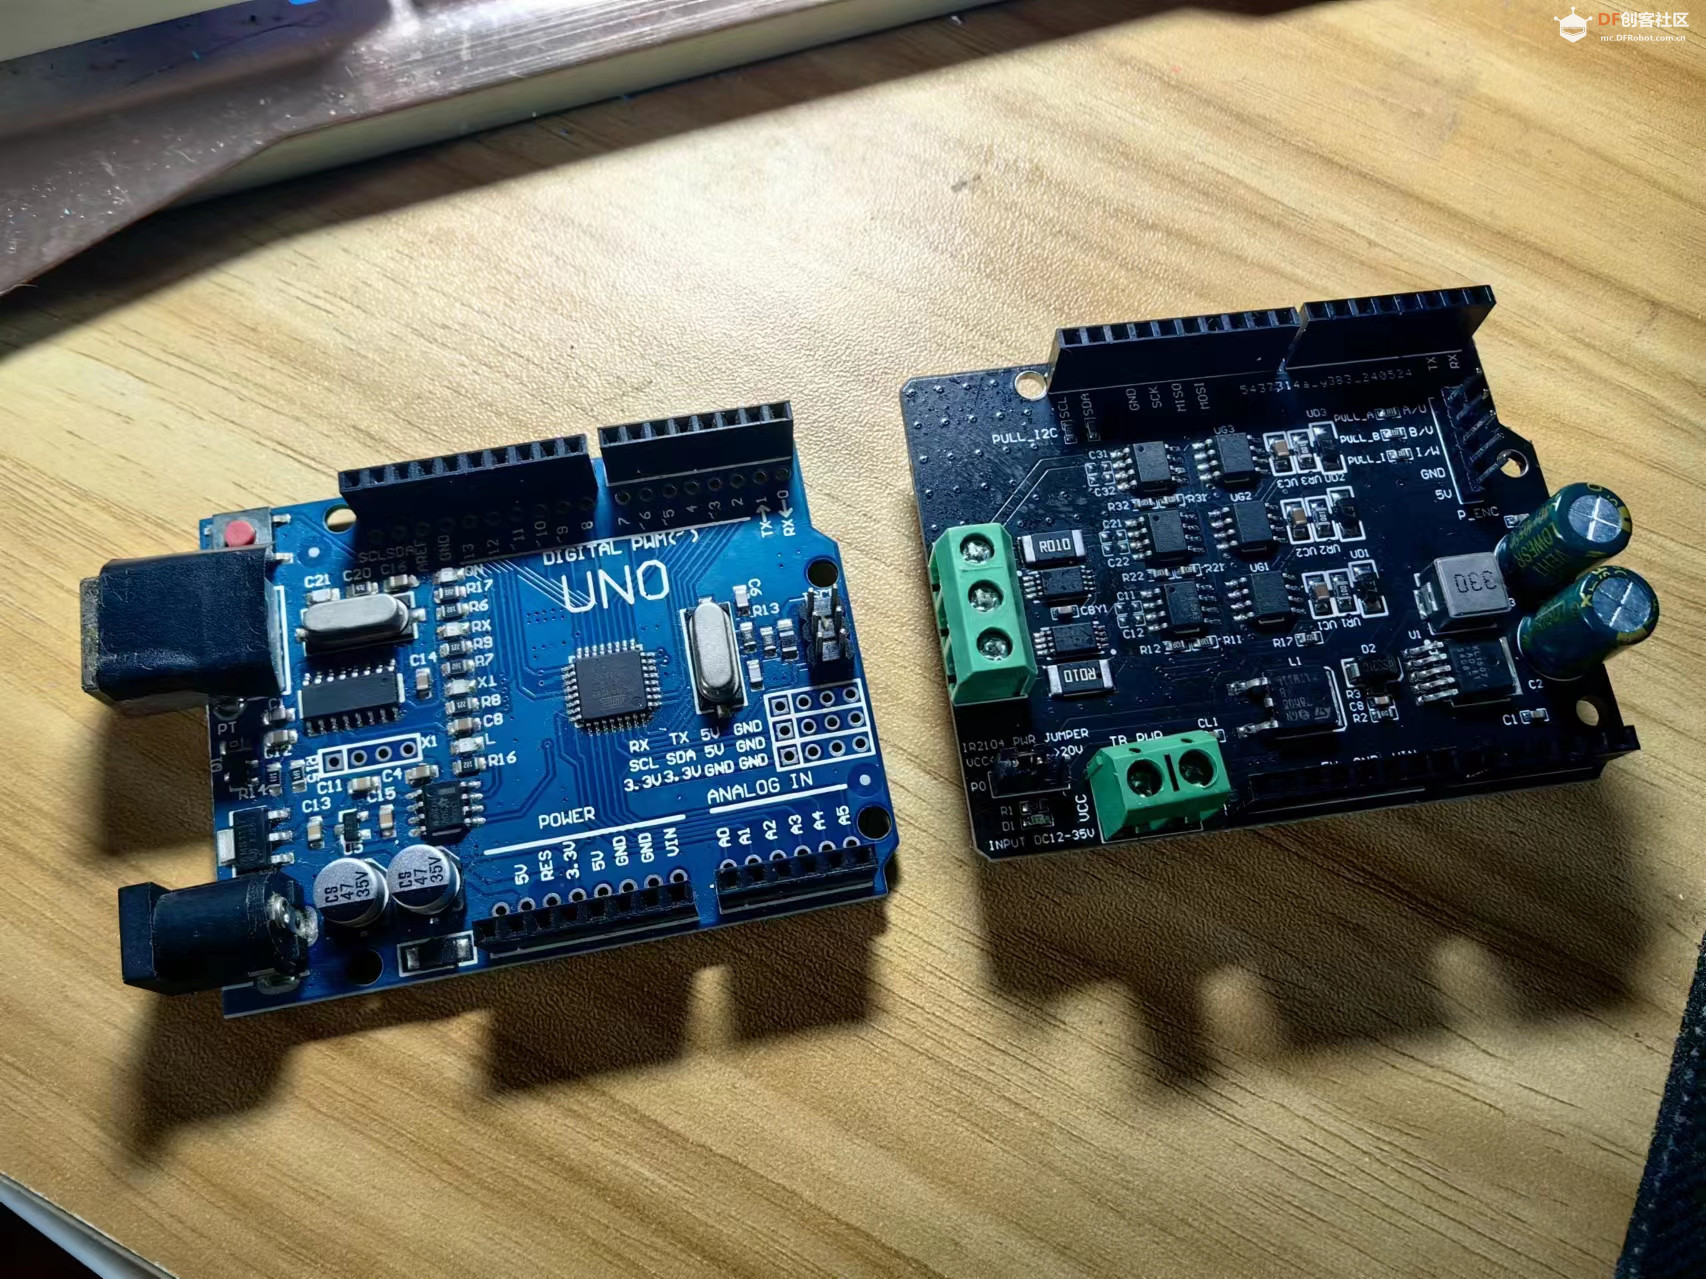 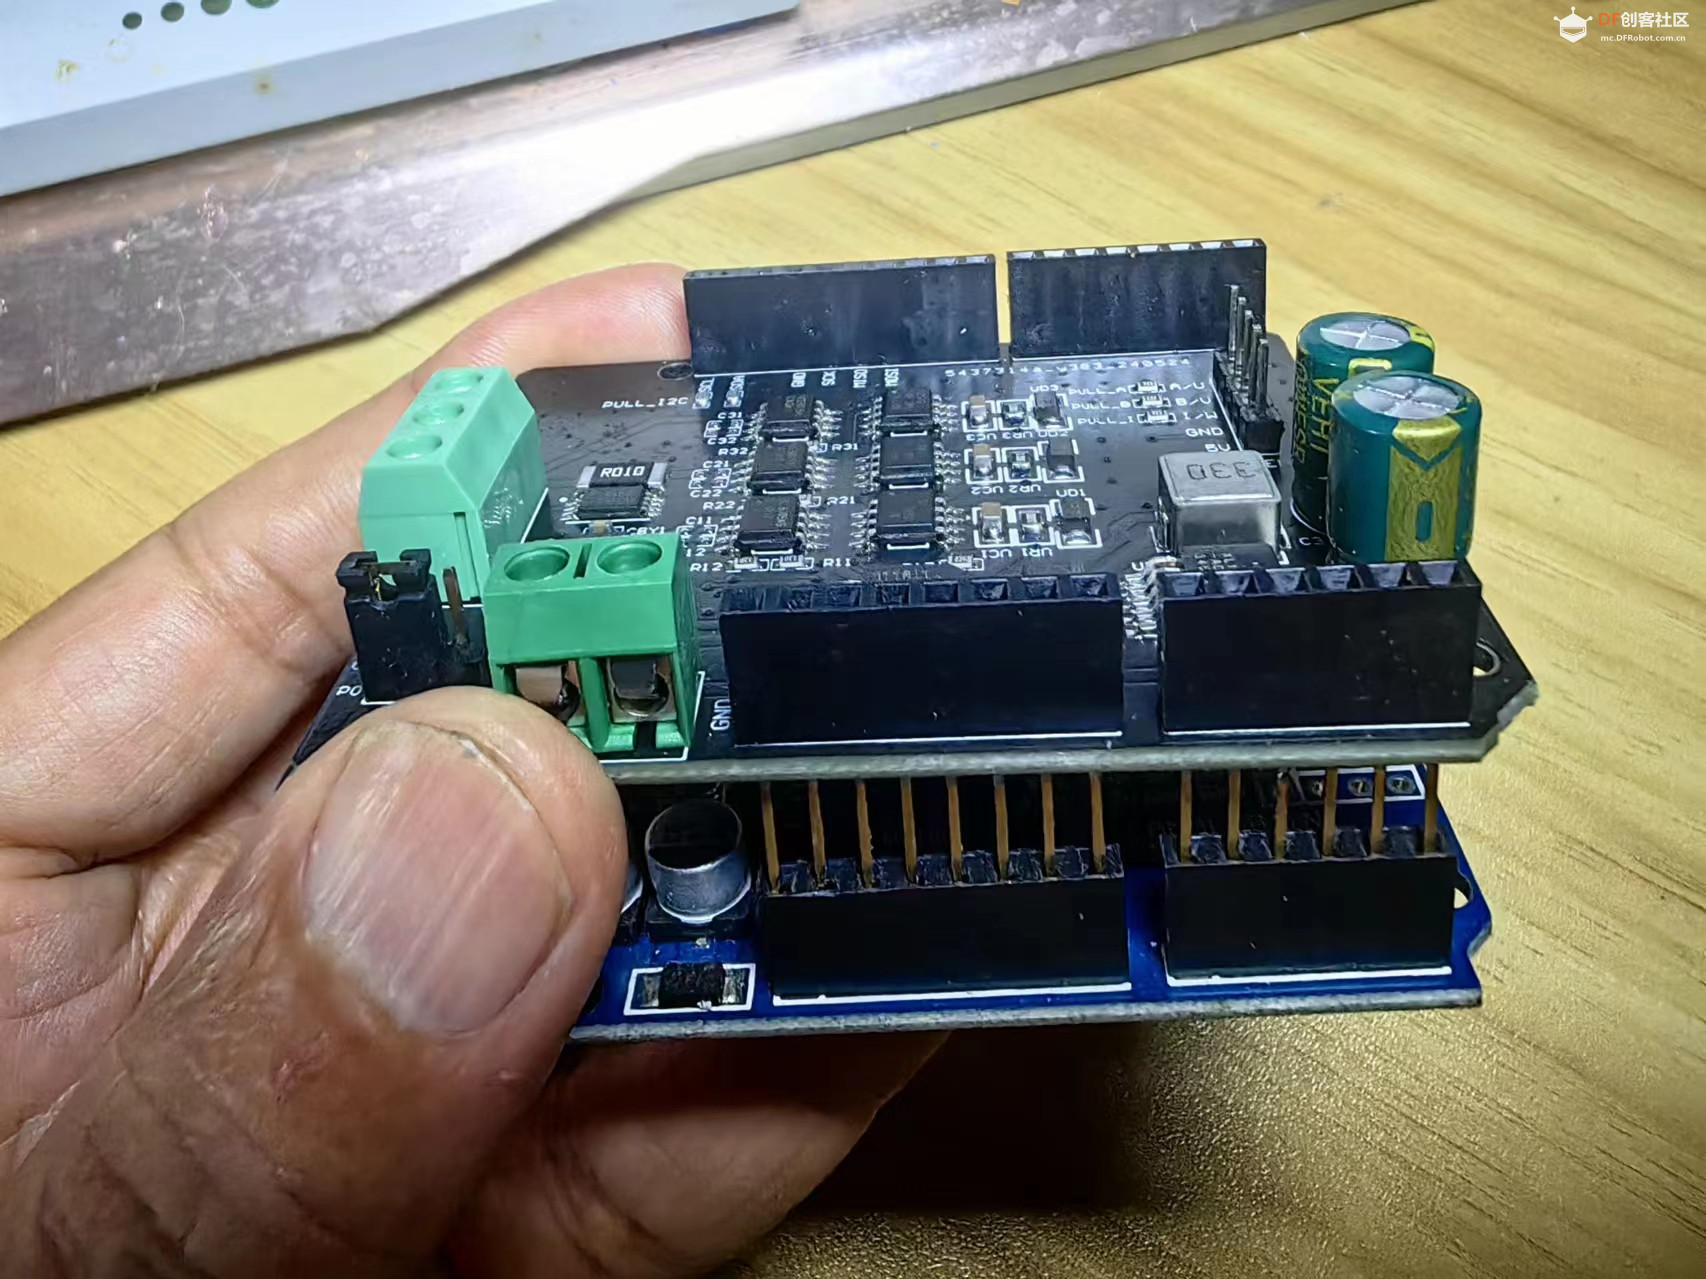 |
|
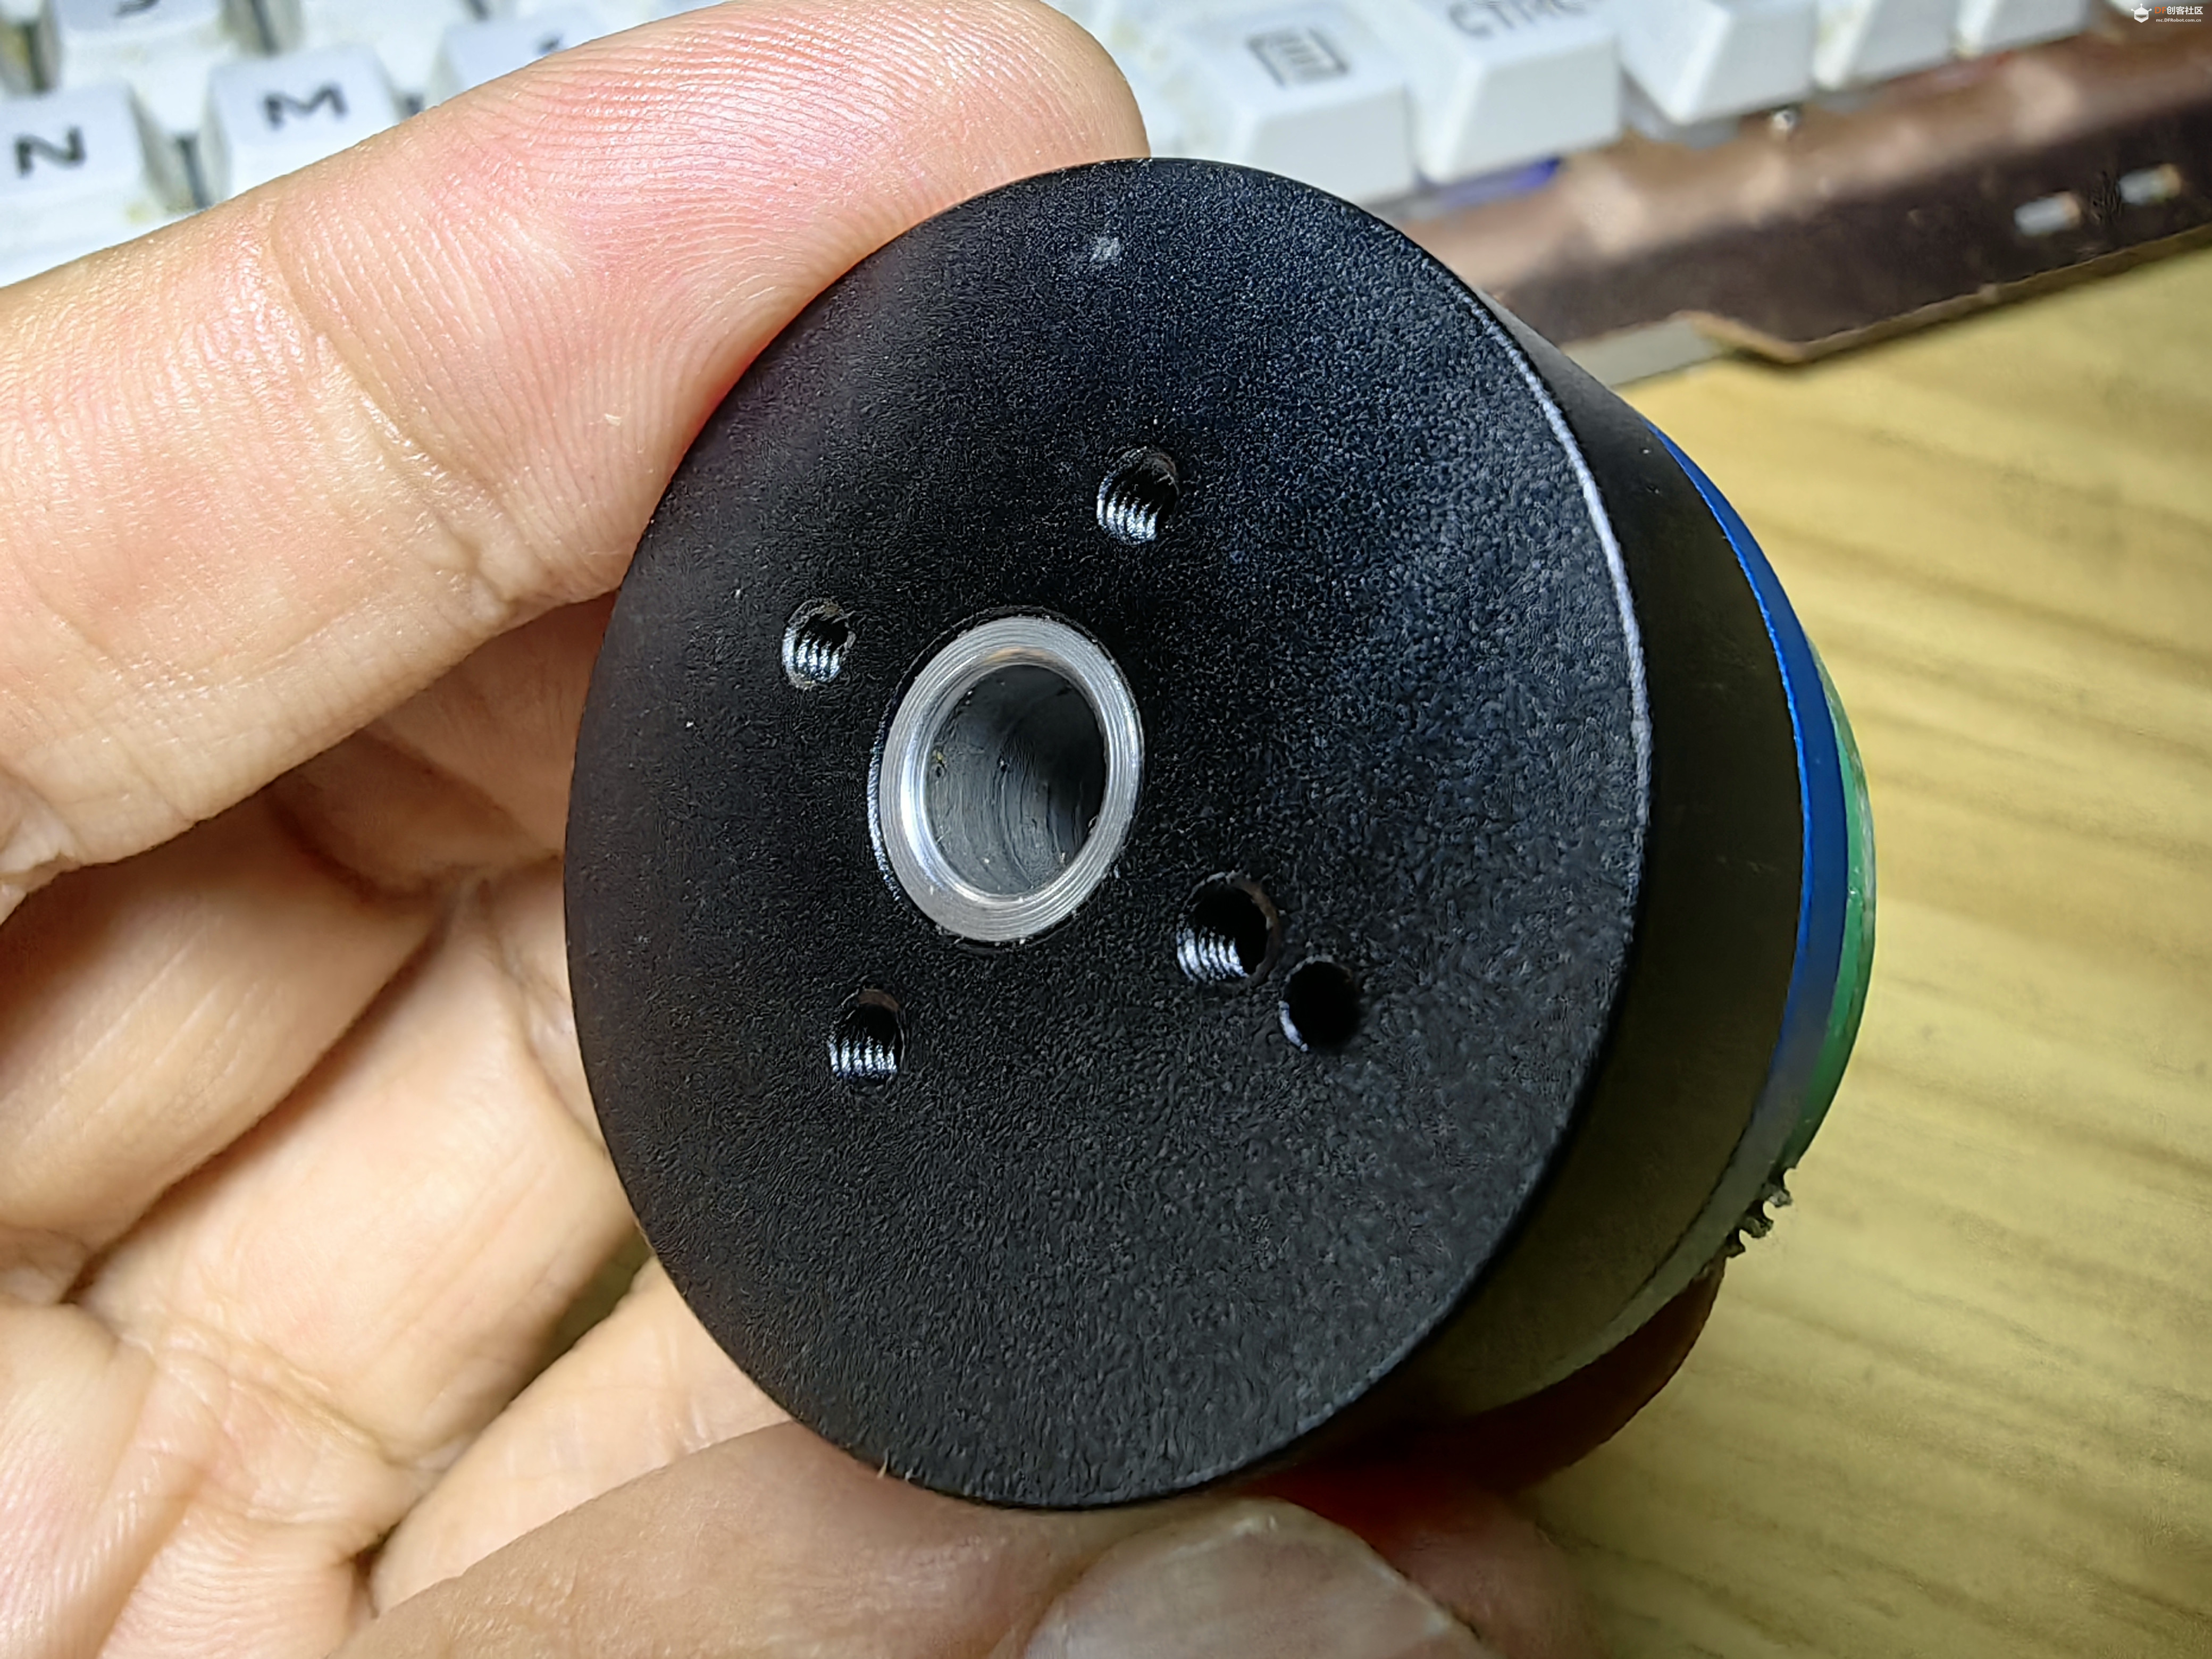
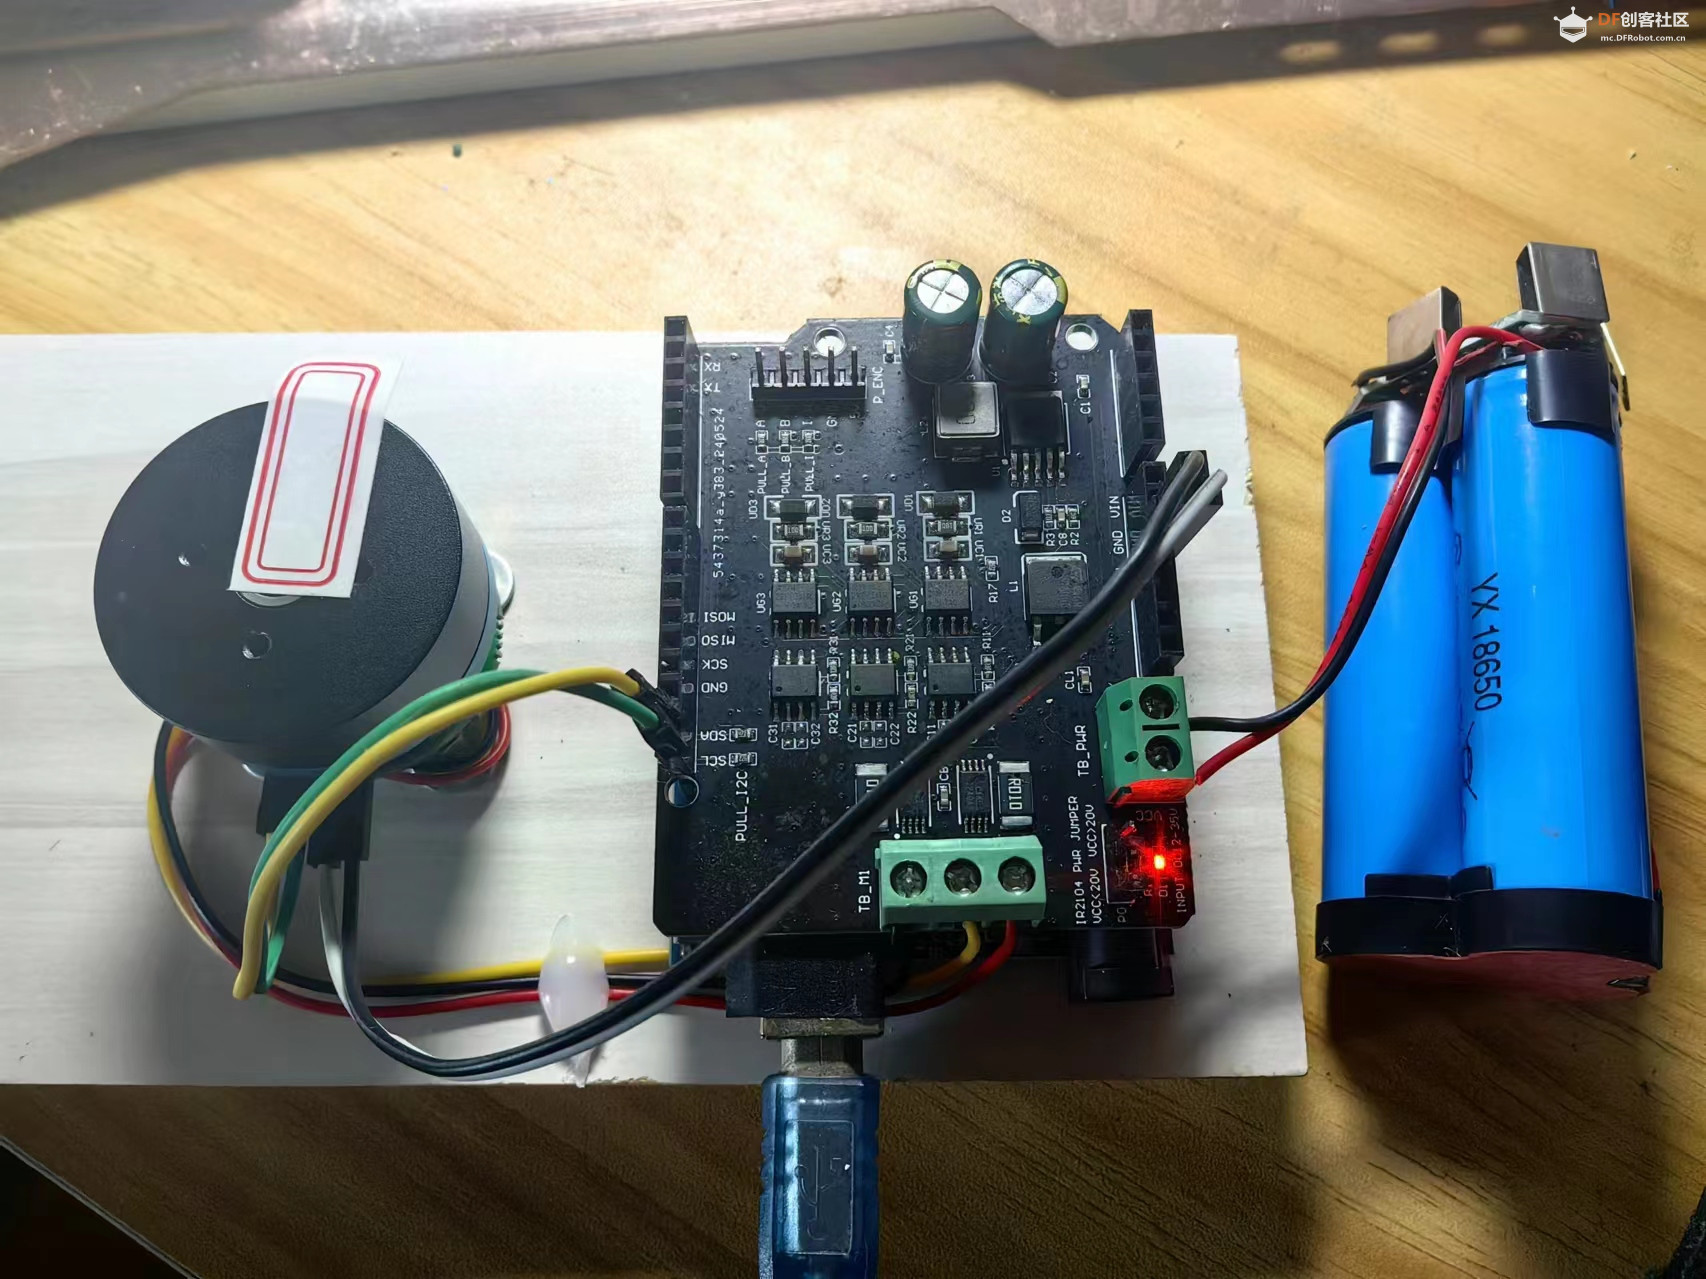
五、基本功能测试 1、硬件准备:Arduino UNO开发板、Arduino FOC驱动板、MKS YT2804无刷电机(DC12V@7极对@带AS5600磁编码器)、DC12V直流电源、USB方口线。 2、接线方法 ● 无刷电机:接到驱动板的A B C三个口上 ● AS5600编码器:5V和GND接驱动板的5V和GND,SCL和SDA分别接驱动板的SCL和SDA ● Arduino开发板USB口:通过方口USB线连接至电脑USB口 ● 驱动板VCC GND供电口:接DC12V电源  |
|
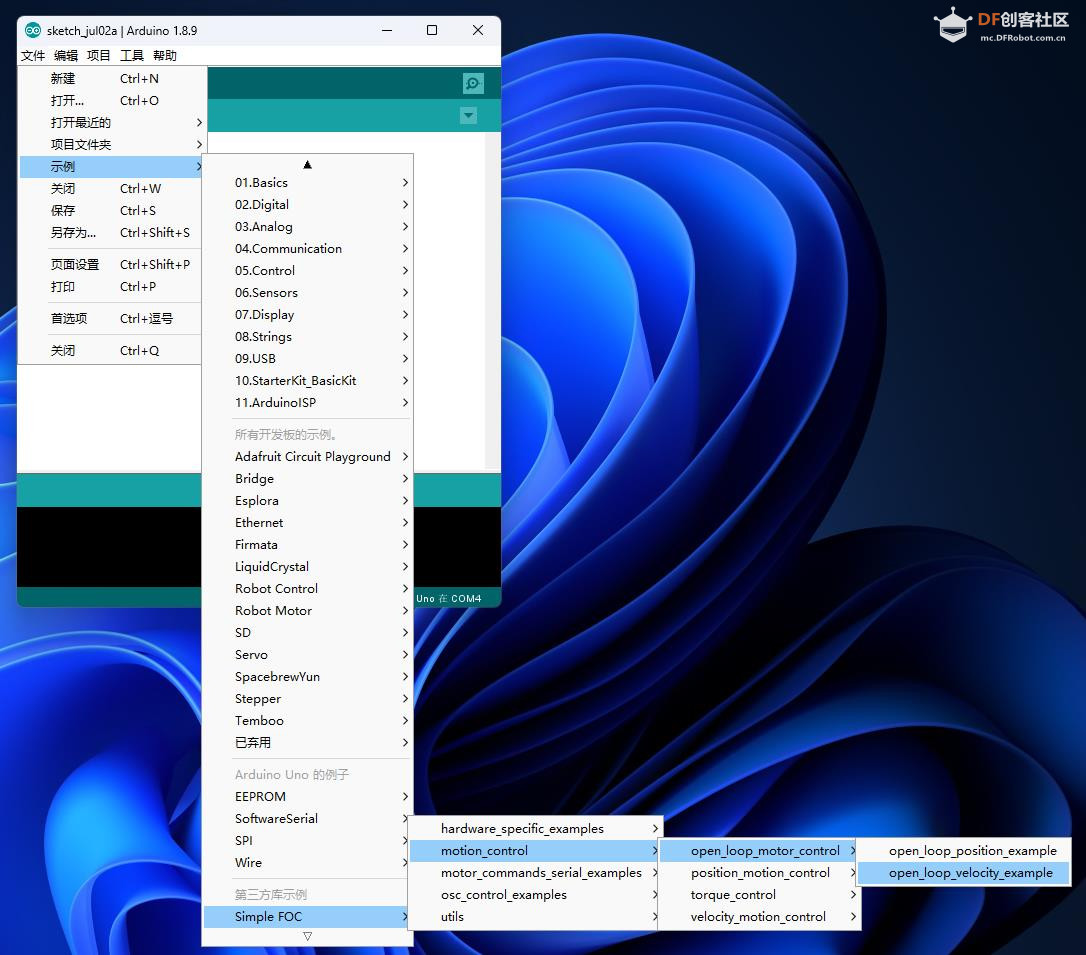
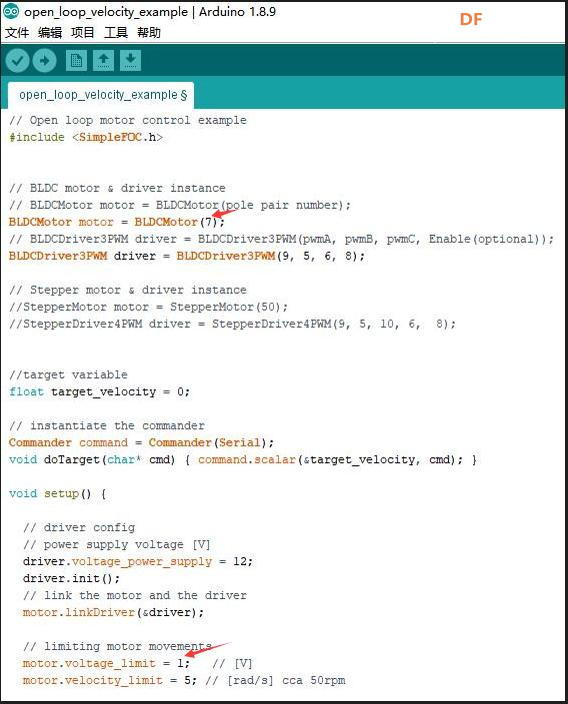
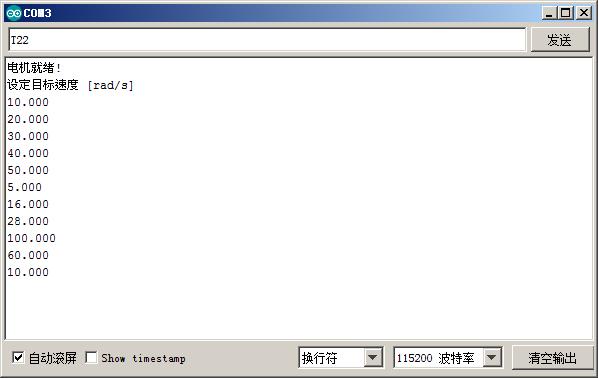
本帖最后由 驴友花雕 于 2024-7-3 05:35 编辑 【Arduino】168种传感器模块系列实验(资料代码+仿真编程+图形编程) 实验二百二十二:Arduino FOC无刷电机驱动板 兼容Simple FOC Shield V2.0.4(艾尔赛) 项目程序之一:开环速度测试 开源参考程序 |
|
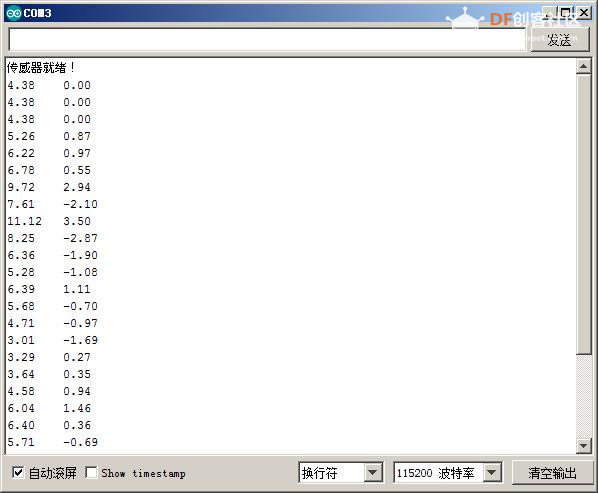
【Arduino】168种传感器模块系列实验(资料代码+仿真编程+图形编程) 实验二百二十二:Arduino FOC无刷电机驱动板 兼容Simple FOC Shield V2.0.4(艾尔赛) 项目程序之二:测试AS5600编码器 实验开源代码 |
|
本帖最后由 驴友花雕 于 2024-7-3 20:14 编辑 实验记录视频(30秒) {花雕动手做}Arduino FOC 无刷电机的开环速度测试 https://www.bilibili.com/video/BV1cH4y1A77x/?vd_source=98c6b1fc23b2787403d97f8d3cc0b7e5 {花雕动手做}Arduino FOC 无刷电机的开环速度测试_哔哩哔哩_bilibili |


 沪公网安备31011502402448
© 2013-2026 Comsenz Inc. Powered by Discuz! X3.4 Licensed


 置顶卡
置顶卡 变色卡
变色卡 千斤顶
千斤顶


 萌萌哒新人
萌萌哒新人
 活跃会员
活跃会员
 宣传大使
宣传大使
 牛X认证
牛X认证
 创作达人
创作达人
 ARD DAY
 摸鱼团员
摸鱼团员
 志“童”道合
 编辑选择奖
编辑选择奖


