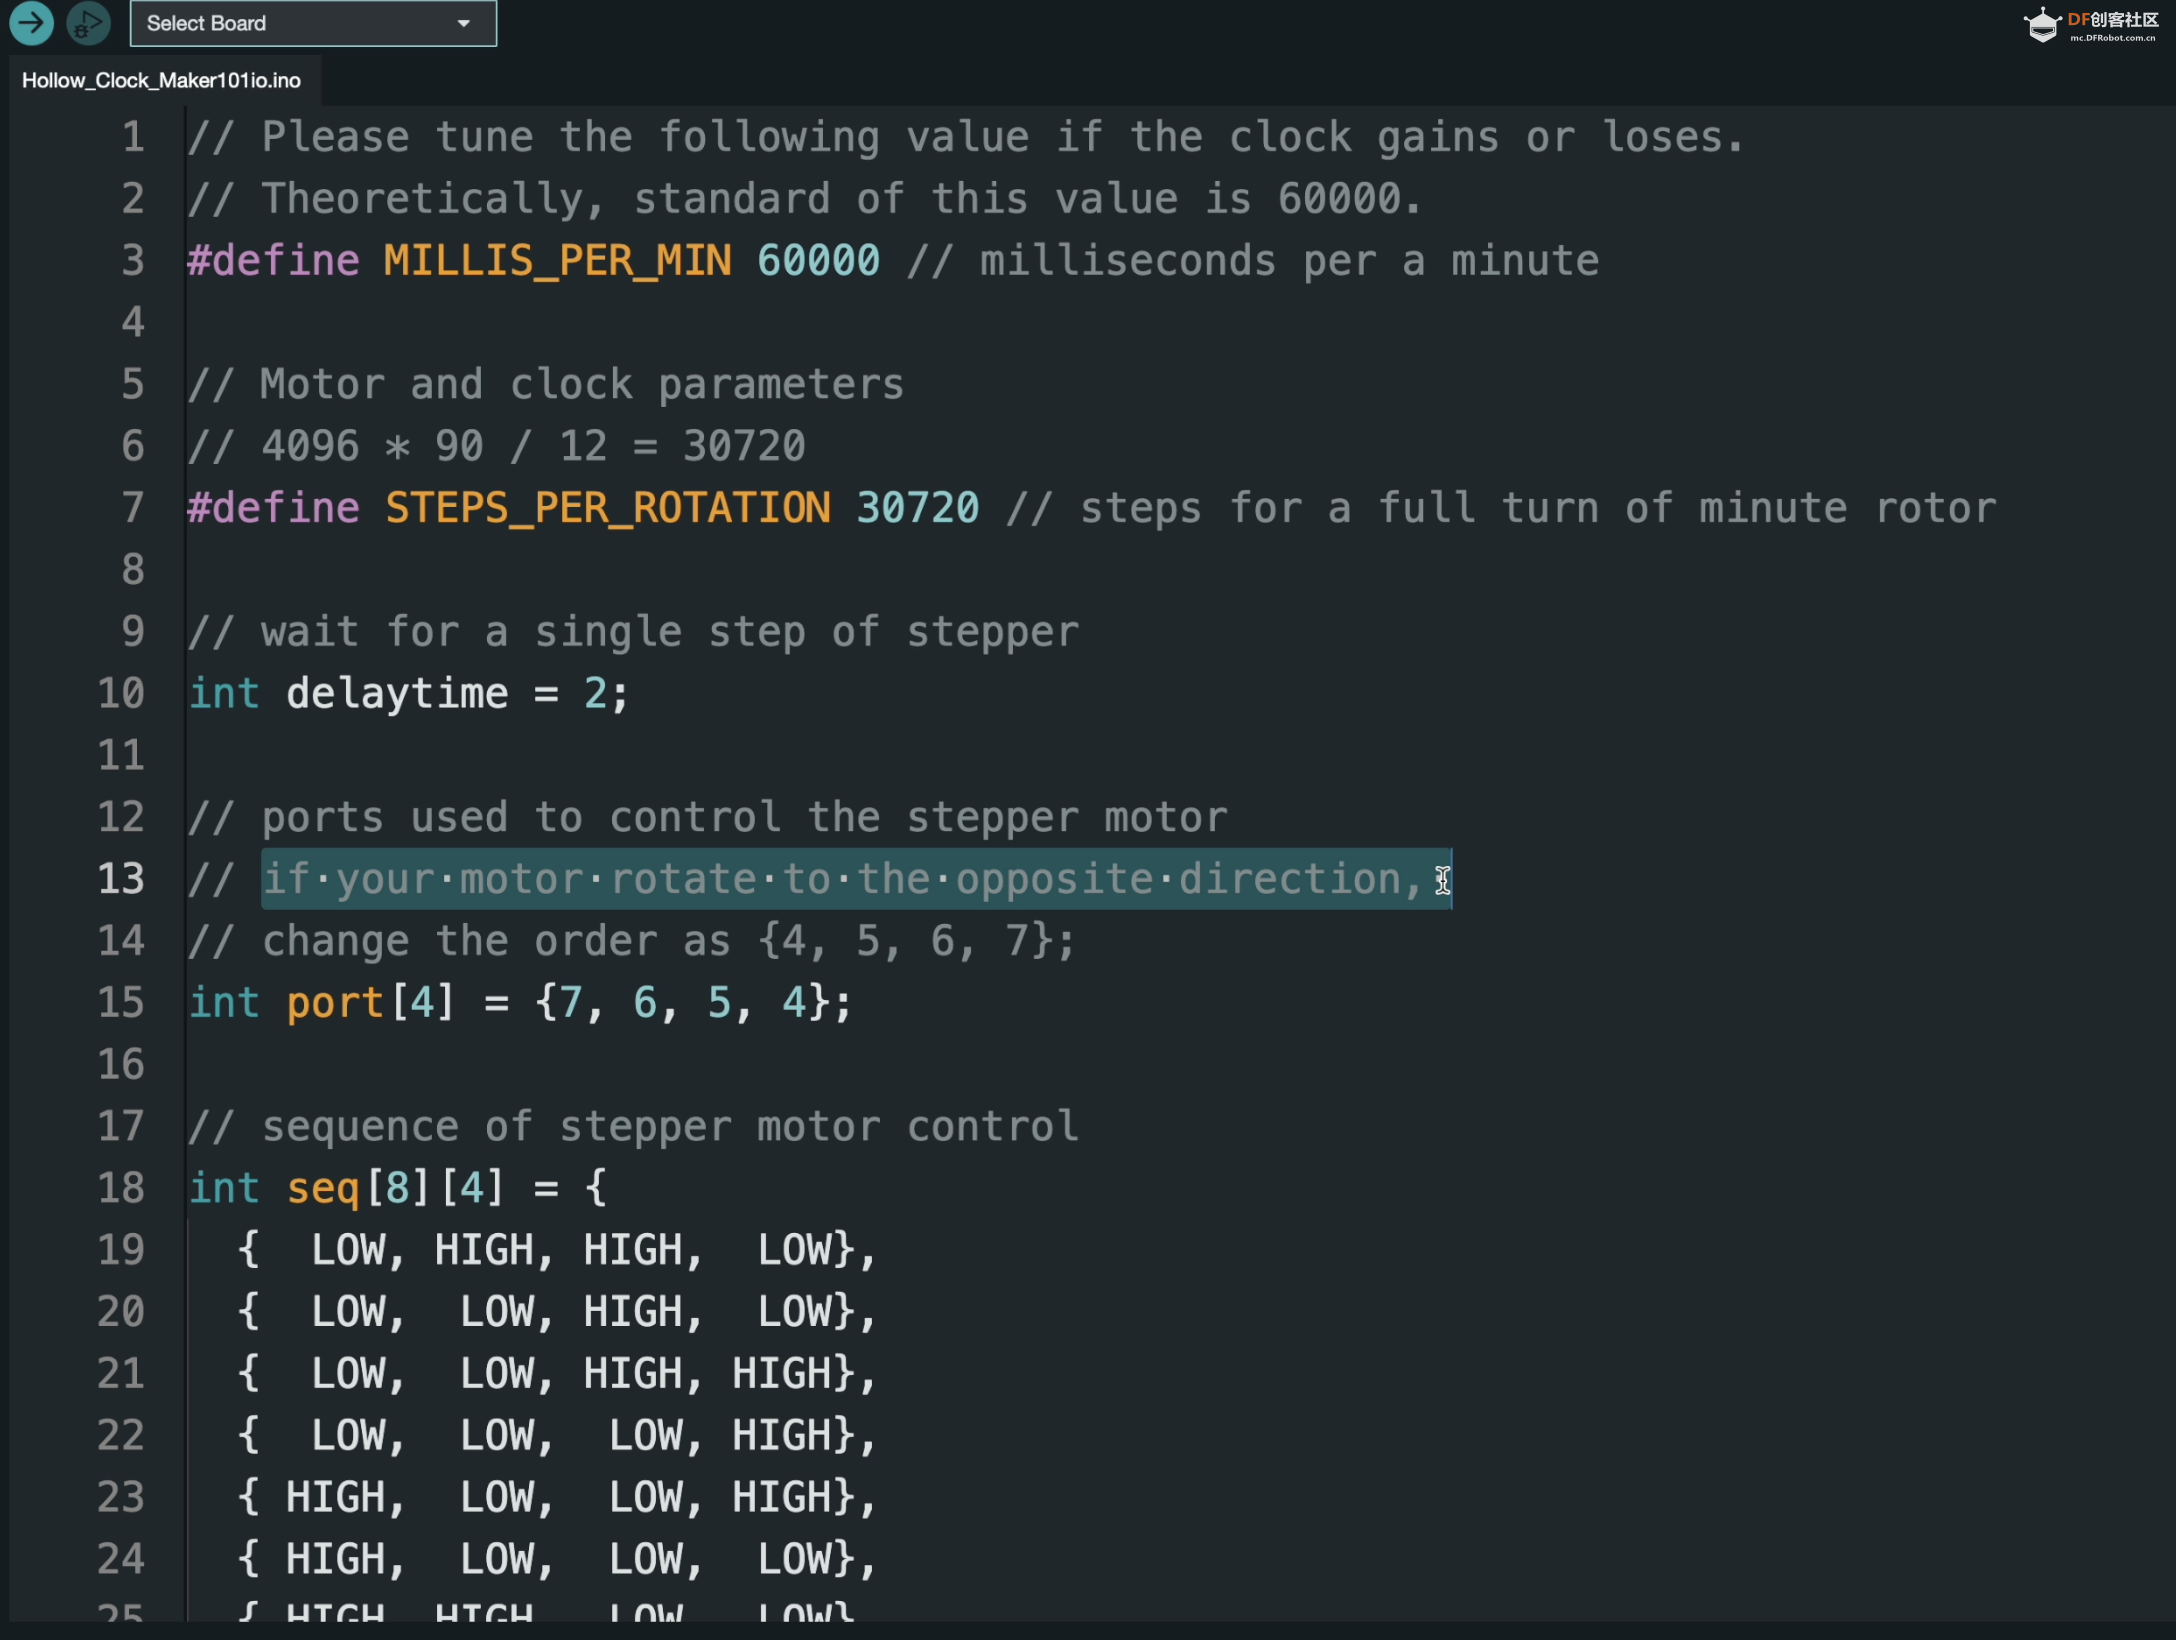
步骤3:源代码
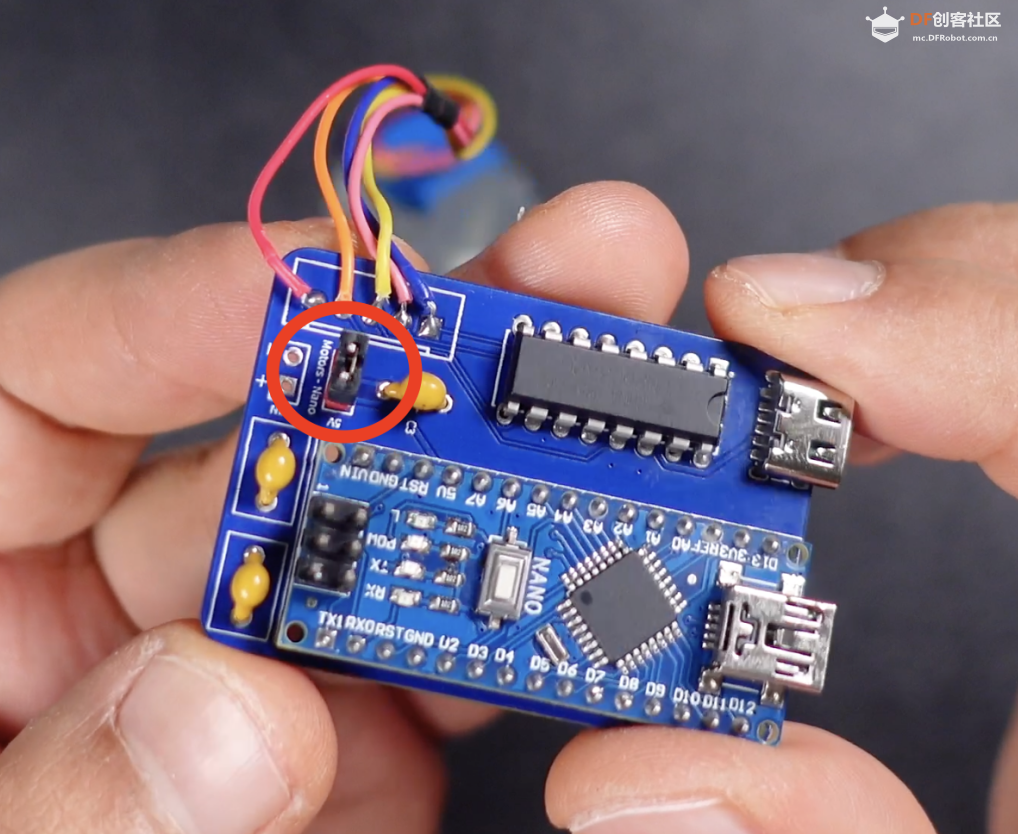
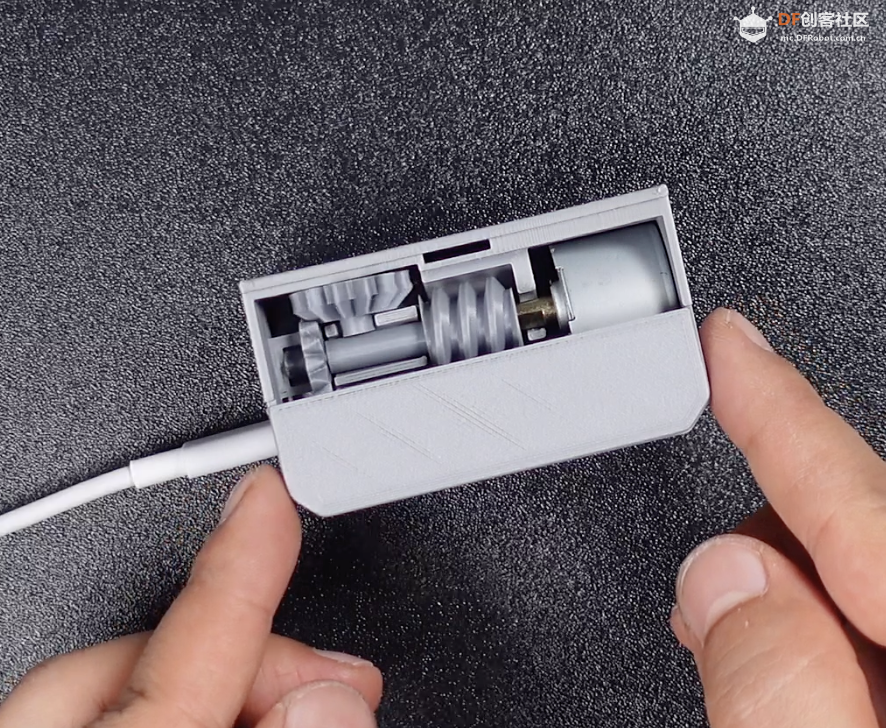
打开共享源代码,选择Arduino Nano开发板上传代码。如果电机转动方向相反,请修改代码中的电机连接顺序。
- // Please tune the following value if the clock gains or loses.
- // Theoretically, standard of this value is 60000.
- #define MILLIS_PER_MIN 60000 // milliseconds per a minute
-
- // Motor and clock parameters
- // 4096 * 90 / 12 = 30720
- #define STEPS_PER_ROTATION 30720 // steps for a full turn of minute rotor
-
- // wait for a single step of stepper
- int delaytime = 2;
-
- // ports used to control the stepper motor
- // if your motor rotate to the opposite direction,
- // change the order as {4, 5, 6, 7};
- int port[4] = {7, 6, 5, 4};
-
- // sequence of stepper motor control
- int seq[8][4] = {
- { LOW, HIGH, HIGH, LOW},
- { LOW, LOW, HIGH, LOW},
- { LOW, LOW, HIGH, HIGH},
- { LOW, LOW, LOW, HIGH},
- { HIGH, LOW, LOW, HIGH},
- { HIGH, LOW, LOW, LOW},
- { HIGH, HIGH, LOW, LOW},
- { LOW, HIGH, LOW, LOW}
- };
-
- void rotate(int step) {
- static int phase = 0;
- int i, j;
- int delta = (step > 0) ? 1 : 7;
- int dt = 20;
-
- step = (step > 0) ? step : -step;
- for(j = 0; j < step; j++) {
- phase = (phase + delta) % 8;
- for(i = 0; i < 4; i++) {
- digitalWrite(port[i], seq[phase][i]);
- }
- delay(dt);
- if(dt > delaytime) dt--;
- }
- // power cut
- for(i = 0; i < 4; i++) {
- digitalWrite(port[i], LOW);
- }
- }
-
- void setup() {
- pinMode(port[0], OUTPUT);
- pinMode(port[1], OUTPUT);
- pinMode(port[2], OUTPUT);
- pinMode(port[3], OUTPUT);
- rotate(-20); // for approach run
- rotate(20); // approach run without heavy load
- rotate(STEPS_PER_ROTATION / 60);
- }
-
- void loop() {
- static long prev_min = 0, prev_pos = 0;
- long min;
- static long pos;
-
- min = millis() / MILLIS_PER_MIN;
- if(prev_min == min) {
- return;
- }
- prev_min = min;
- pos = (STEPS_PER_ROTATION * min) / 60;
- rotate(-20); // for approach run
- rotate(20); // approach run without heavy load
- if(pos - prev_pos > 0) {
- rotate(pos - prev_pos);
- }
- prev_pos = pos;
- }
| 


 沪公网安备31011502402448
 置顶卡
置顶卡 变色卡
变色卡 千斤顶
千斤顶


 萌萌哒新人
萌萌哒新人
 活跃会员
活跃会员
 宣传大使
宣传大使
 牛X认证
牛X认证
 创作达人
创作达人
 ARD DAY
 摸鱼团员
摸鱼团员
 志“童”道合
 编辑选择奖
编辑选择奖


