前一篇文章已经把wifi连接上了 下面我们连接下远程服务器哈哈
和服务器通信方式一般是tcp udp 和http的post get方式 还有现在流行的实时websocket哈哈
tcp 和udp需要自己写server代码 比较烦 我的阿里云是python的环境 就直接用http的方式吧
加入ESP8266HTTPClient.h的库支持
下面是ESP8266代码:
- #include <ESP8266HTTPClient.h>
-
- #include <ESP8266WiFi.h>
-
- HTTPClient http;
- char ssid[] = "Question"; // 你家的路由器wifi名称
- char paswd[] = "*******"; // 你家的路由器wifi密码
- void setup() {
- // put your setup code here, to run once:
- Serial.begin(115200);
- Serial.println();
-
- Serial.print("Connecting to ");
- Serial.println(ssid);
- WiFi.begin(ssid, paswd); //开始连接wifi
-
- while (WiFi.status() != WL_CONNECTED) //等待wifi连接成功
- {
- delay(500);
- Serial.print(".");
- }
- Serial.println("");
-
- Serial.println("WiFi connected");
- Serial.println("IP address: ");
- Serial.println(WiFi.localIP()); //打印连接上wifi后获取的ip地址
- }
-
- void loop() {
- // put your main code here, to run repeatedly:
- char url[100]="http://**********:81/test?msg="hello""; //把*号改成你的服务器地址
- http.begin(url);
- int httpCode = http.GET();
- if(httpCode >0)
- {
- Serial.printf("[HTTP] GET...code:%d\n",httpCode);
- String serdata = http.getString(); //获取服务器返回的数据
- Serial.println(serdata);
-
- }
- else
- {
- Serial.printf("[HTTP] GET...failed,error:%s\n",http.errorToString(httpCode).c_str());
- }
- http.end();
- delay(10000);
- }
运行效果
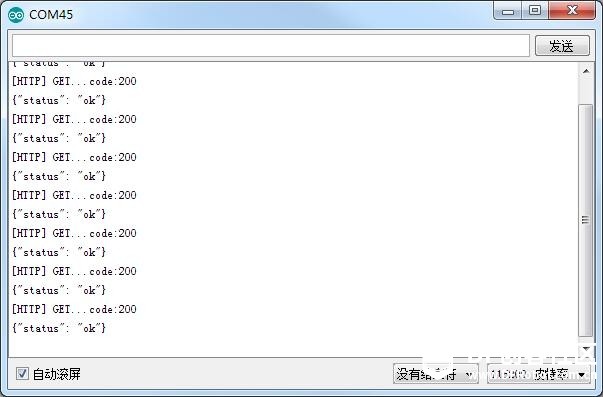
返回200 表示成功请求成功,后面是服务器返回的json数据 ESP8266通过返回的数据就能判断是否有命令过来了
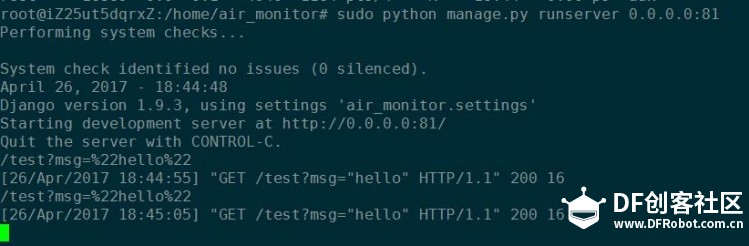
服务器的代码:
环境 ubuntu django python
文件 url.py
- <font face="" "=""> url(r'^test', collect_data.views.test),[/mw_shl_code]</font>
-
- <font face="" "="">文件 collect_data/views.py</font>
- [mw_shl_code=python,true]#coding=utf-8
- from django.shortcuts import render
-
- # Create your views here.
- from collect_data.models import Air_data
-
- from django.shortcuts import render,render_to_response
- from django.http import HttpResponseRedirect,HttpResponse
-
- import datetime
- import json,os,time,random,string,types
- def test(request):
- print request.get_full_path()
- return HttpResponse(json.dumps({'status':'ok'},sort_keys=True), content_type="application/json")
| 


 沪公网安备31011502402448
 置顶卡
置顶卡 变色卡
变色卡 千斤顶
千斤顶