【Arduino】168种传感器模块系列实验(资料代码+仿真编程+图形编程)
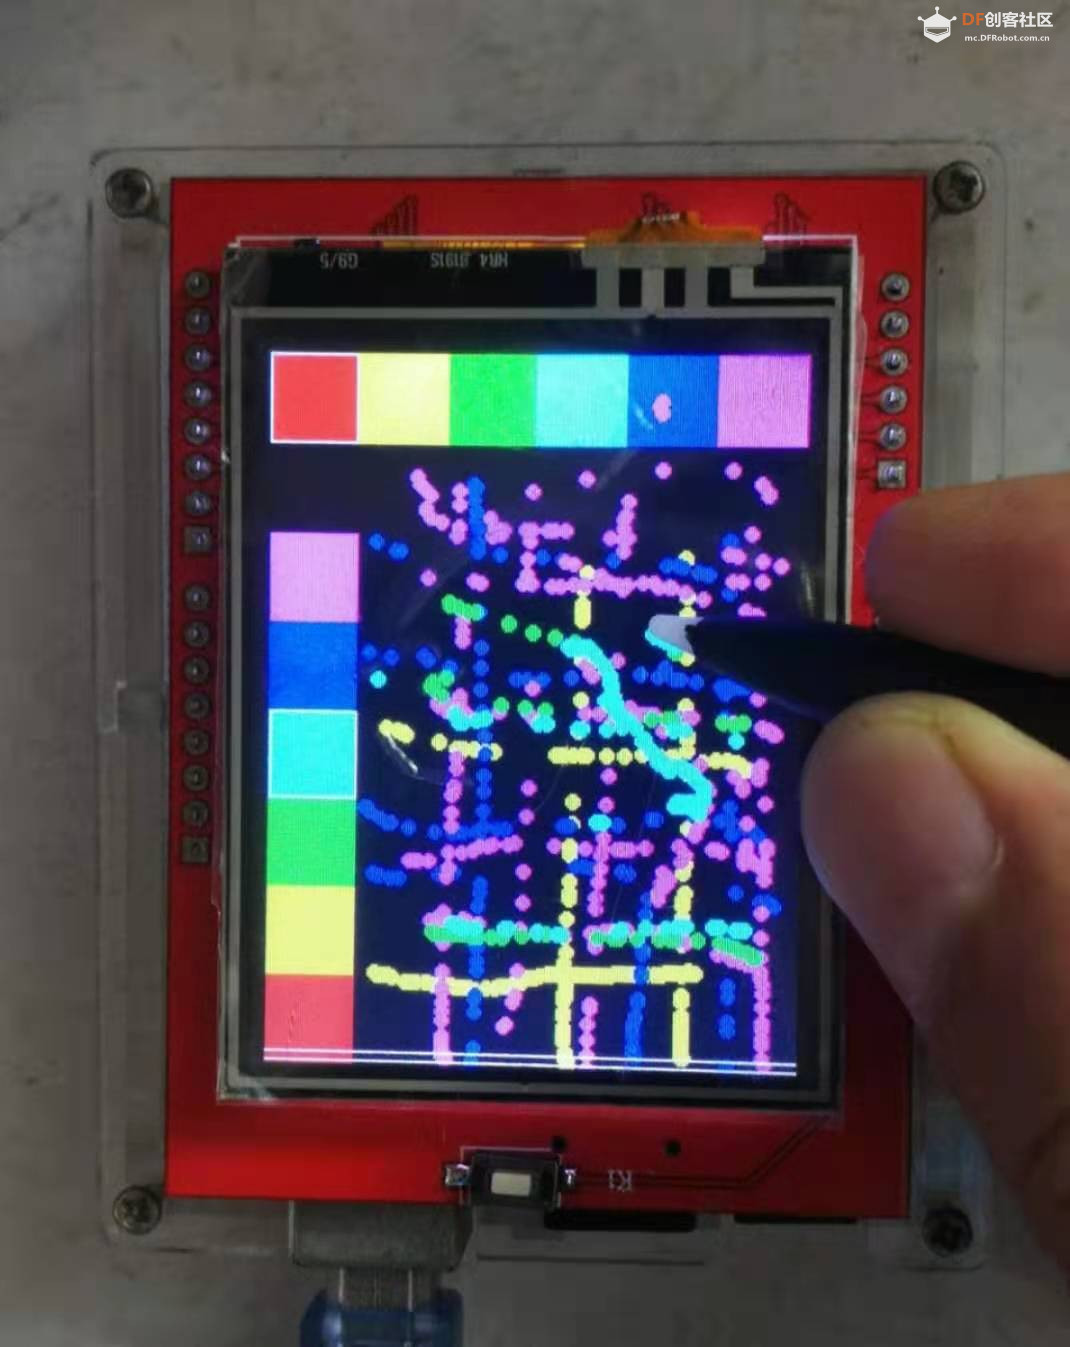
实验一百六十五:2.4寸TFT液晶触摸屏 彩屏模块 TFT-LCD 高清真彩显示屏
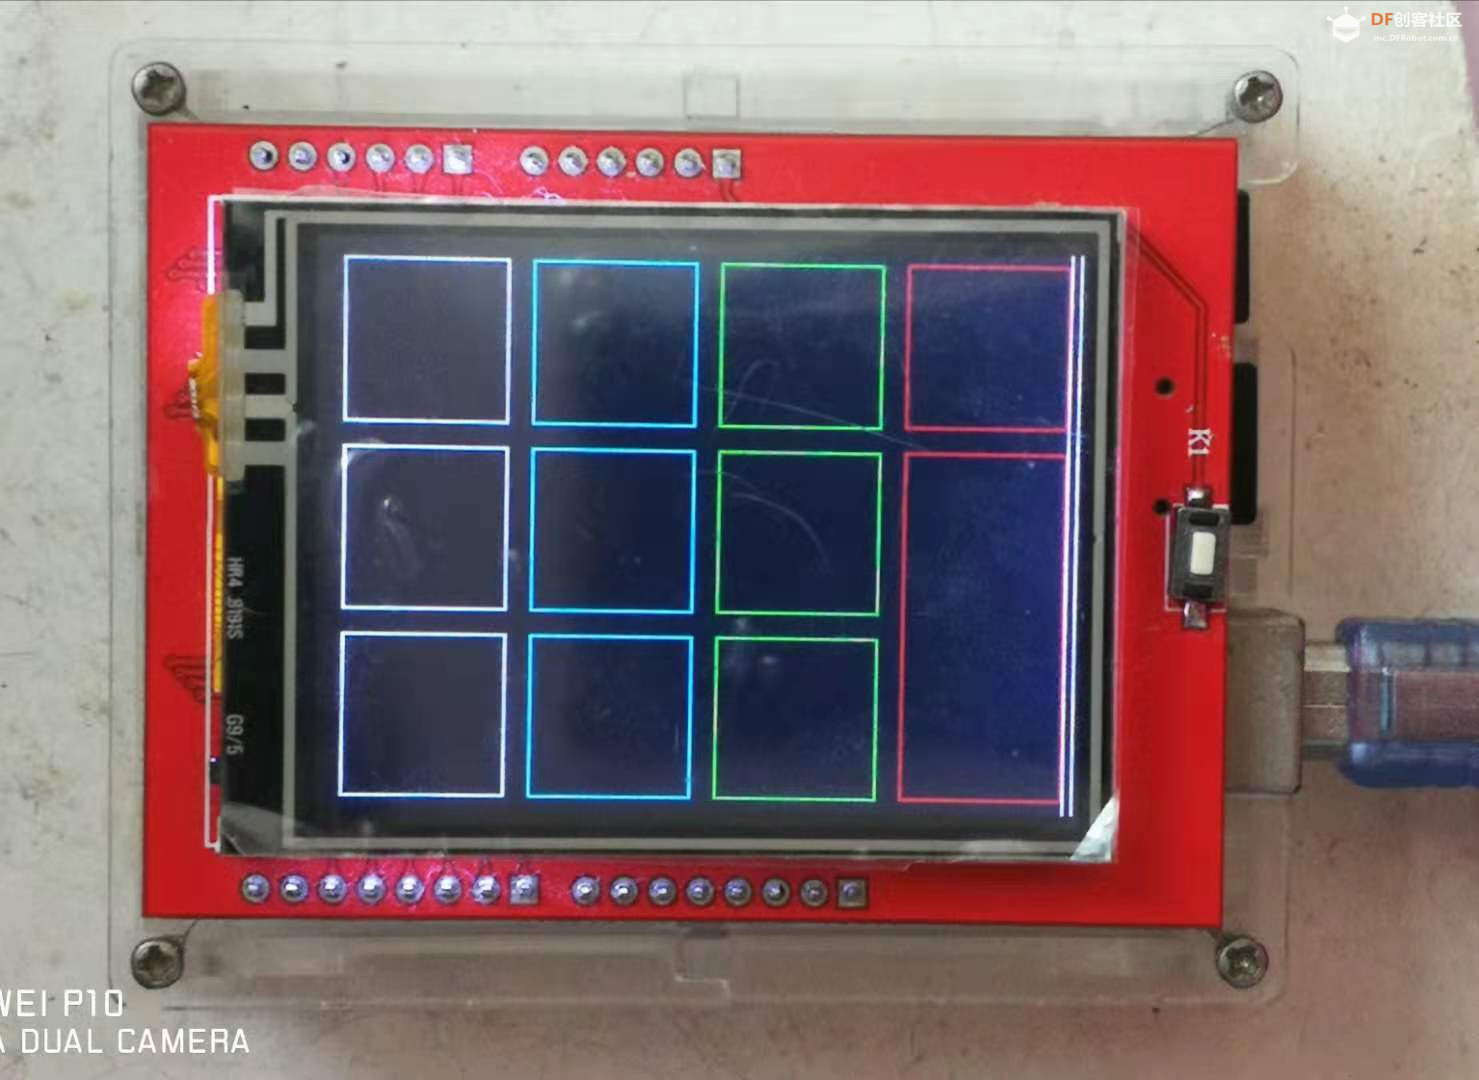
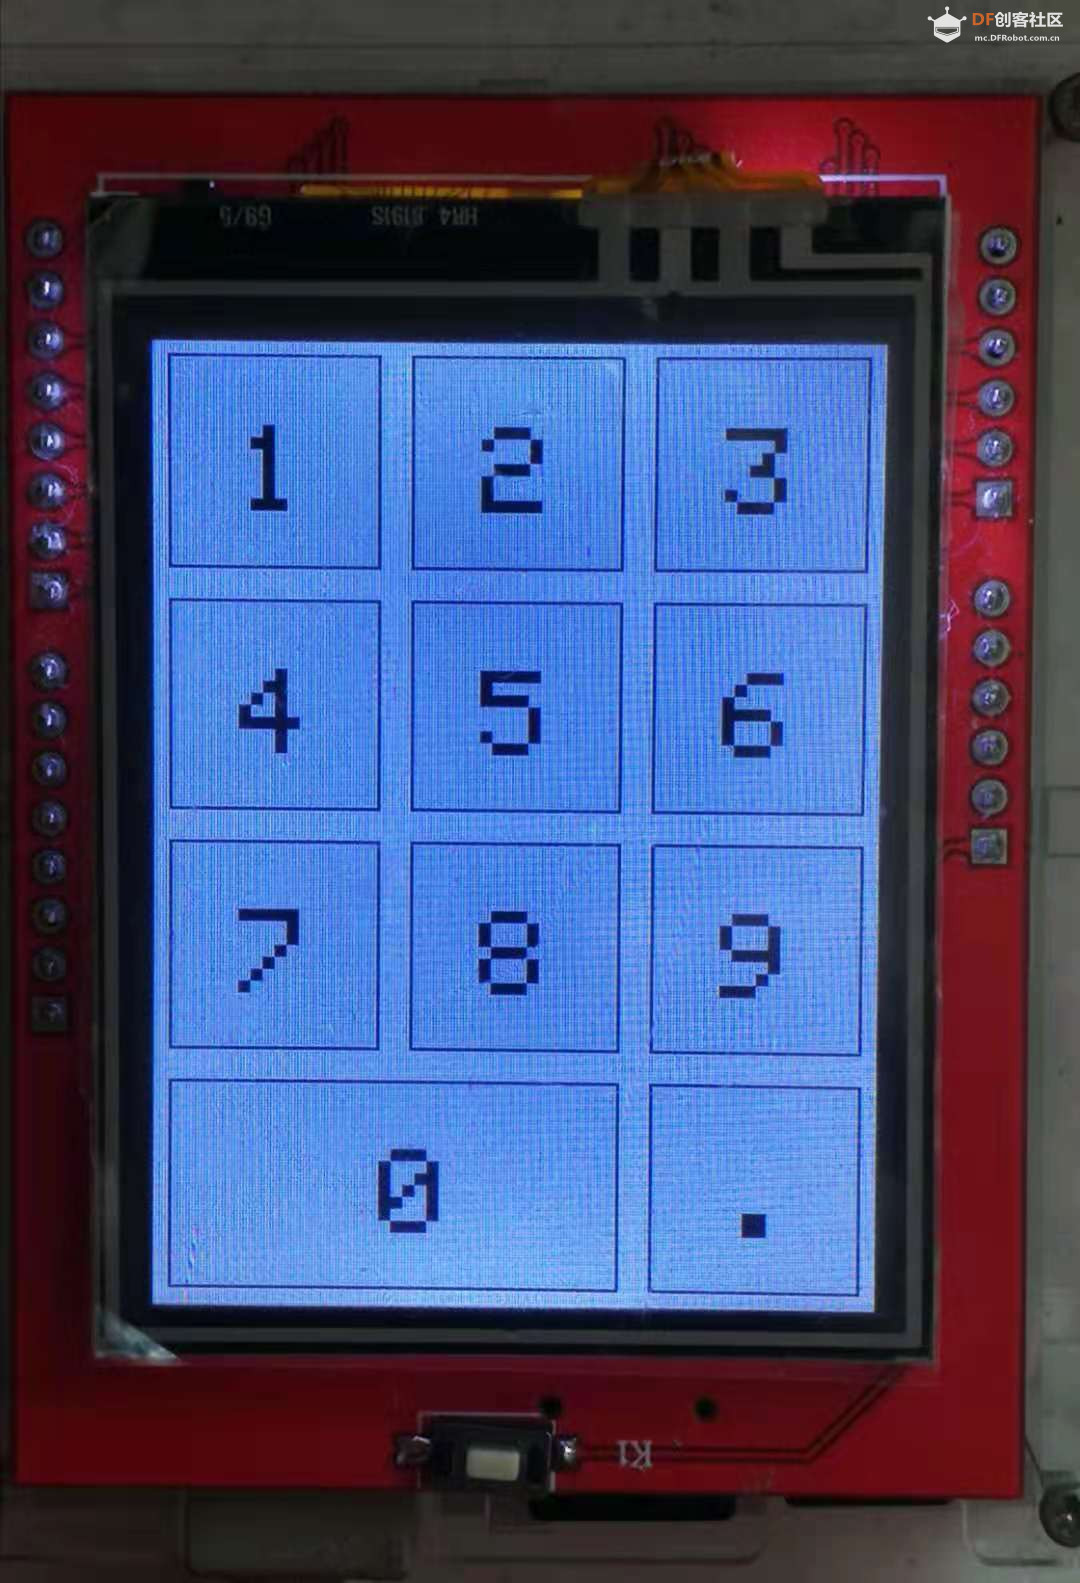
项目二十五:显示触摸屏电话面板
实验开源代码
- /*
- 【Arduino】168种传感器模块系列实验(资料代码+仿真编程+图形编程)
- 实验一百六十五:2.4寸TFT液晶触摸屏 彩屏模块 TFT-LCD 高清真彩显示屏
- 项目二十五:显示触摸屏电话面板
- 模块直插,引脚用法如下:
- LCD_CS LCD_CD LCD_WR LCD_RD LCD_RST SD_SS SD_DI SD_DO SD_SCK
- Arduino Uno A3 A2 A1 A0 A4 10 11 12 13
- LCD_D0 LCD_D1 LCD_D2 LCD_D3 LCD_D4 LCD_D5 LCD_D6 LCD_D7
- Arduino Uno 8 9 2 3 4 5 6 7
- */
-
- #include <TouchScreen.h> //导入触摸库
- #include <LCDWIKI_GUI.h> //Core graphics library
- #include <LCDWIKI_KBV.h> //Hardware-specific library
-
- //if the IC model is known or the modules is unreadable,you can use this constructed function
- LCDWIKI_KBV my_lcd(ILI9341, A3, A2, A1, A0, A4); //model,cs,cd,wr,rd,reset
- //if the IC model is not known and the modules is readable,you can use this constructed function
- //LCDWIKI_KBV my_lcd(240,320,A3,A2,A1,A0,A4);//width,height,cs,cd,wr,rd,reset
-
- /* r g b */
- #define BLACK 0x0000 /* 0, 0, 0 */
- #define BLUE 0x001F /* 0, 0, 255 */
- #define RED 0xF800 /* 255, 0, 0 */
- #define GREEN 0x07E0 /* 0, 255, 0 */
- #define CYAN 0x07FF /* 0, 255, 255 */
- #define MAGENTA 0xF81F /* 255, 0, 255 */
- #define YELLOW 0xFFE0 /* 255, 255, 0 */
- #define WHITE 0xFFFF /* 255, 255, 255 */
- #define NAVY 0x000F /* 0, 0, 128 */
- #define DARKGREEN 0x03E0 /* 0, 128, 0 */
- #define DARKCYAN 0x03EF /* 0, 128, 128 */
- #define MAROON 0x7800 /* 128, 0, 0 */
- #define PURPLE 0x780F /* 128, 0, 128 */
- #define OLIVE 0x7BE0 /* 128, 128, 0 */
- #define LIGHTGREY 0xC618 /* 192, 192, 192 */
- #define DARKGREY 0x7BEF /* 128, 128, 128 */
- #define ORANGE 0xFD20 /* 255, 165, 0 */
- #define GREENYELLOW 0xAFE5 /* 173, 255, 47 */
- #define PINK 0xF81F /* 255, 0, 255 */
-
- /******************* UI details */
- #define BUTTON_R 25 //the radius of button
- #define BUTTON_SPACING_X 25 //the horizontal distance between button
- #define BUTTON_SPACING_Y 5 //the vertical distance between button
- #define EDG_Y 5 //lower edge distance
- #define EDG_X 20 //left and right distance
-
- #define YP A2 // must be an analog pin, use "An" notation!
- #define XM A1 // must be an analog pin, use "An" notation!
- #define YM 6 // can be a digital pin
- #define XP 7 // can be a digital pin
-
- //X 的触摸灵敏度
- #define TS_MINX 124
- #define TS_MAXX 906
-
- //Y 的触摸灵敏度
- #define TS_MINY 83
- #define TS_MAXY 893
-
- // 有一个状态行,例如 FONA 是否在工作
- #define STATUS_X 10
- #define STATUS_Y 65
-
- //按下时的触摸灵敏度
- #define MINPRESSURE 10
- #define MAXPRESSURE 1000
-
- TouchScreen ts = TouchScreen(XP, YP, XM, YM, 300);
-
- typedef struct _button_info {
- uint8_t button_name[10];
- uint8_t button_name_size;
- uint16_t button_name_colour;
- uint16_t button_colour;
- uint16_t button_x;
- uint16_t button_y;
- } button_info;
-
- //按钮的定义
- button_info phone_button[15] = {
- "1", 3, BLACK, CYAN, EDG_X + BUTTON_R - 1, my_lcd.Get_Display_Height() - EDG_Y - 4 * BUTTON_SPACING_Y - 9 * BUTTON_R - 1,
- "2", 3, BLACK, CYAN, EDG_X + 3 * BUTTON_R + BUTTON_SPACING_X - 1, my_lcd.Get_Display_Height() - EDG_Y - 4 * BUTTON_SPACING_Y - 9 * BUTTON_R - 1,
- "3", 3, BLACK, CYAN, EDG_X + 5 * BUTTON_R + 2 * BUTTON_SPACING_X - 1, my_lcd.Get_Display_Height() - EDG_Y - 4 * BUTTON_SPACING_Y - 9 * BUTTON_R - 1,
- "4", 3, BLACK, CYAN, EDG_X + BUTTON_R - 1, my_lcd.Get_Display_Height() - EDG_Y - 3 * BUTTON_SPACING_Y - 7 * BUTTON_R - 1,
- "5", 3, BLACK, CYAN, EDG_X + 3 * BUTTON_R + BUTTON_SPACING_X - 1, my_lcd.Get_Display_Height() - EDG_Y - 3 * BUTTON_SPACING_Y - 7 * BUTTON_R - 1,
- "6", 3, BLACK, CYAN, EDG_X + 5 * BUTTON_R + 2 * BUTTON_SPACING_X - 1, my_lcd.Get_Display_Height() - EDG_Y - 3 * BUTTON_SPACING_Y - 7 * BUTTON_R - 1,
- "7", 3, BLACK, CYAN, EDG_X + BUTTON_R - 1, my_lcd.Get_Display_Height() - EDG_Y - 2 * BUTTON_SPACING_Y - 5 * BUTTON_R - 1,
- "8", 3, BLACK, CYAN, EDG_X + 3 * BUTTON_R + BUTTON_SPACING_X - 1, my_lcd.Get_Display_Height() - EDG_Y - 2 * BUTTON_SPACING_Y - 5 * BUTTON_R - 1,
- "9", 3, BLACK, CYAN, EDG_X + 5 * BUTTON_R + 2 * BUTTON_SPACING_X - 1, my_lcd.Get_Display_Height() - EDG_Y - 2 * BUTTON_SPACING_Y - 5 * BUTTON_R - 1,
- "*", 3, BLACK, PINK, EDG_X + BUTTON_R - 1, my_lcd.Get_Display_Height() - EDG_Y - BUTTON_SPACING_Y - 3 * BUTTON_R - 1,
- "0", 3, BLACK, CYAN, EDG_X + 3 * BUTTON_R + BUTTON_SPACING_X - 1, my_lcd.Get_Display_Height() - EDG_Y - BUTTON_SPACING_Y - 3 * BUTTON_R - 1,
- "#", 3, BLACK, PINK, EDG_X + 5 * BUTTON_R + 2 * BUTTON_SPACING_X - 1, my_lcd.Get_Display_Height() - EDG_Y - BUTTON_SPACING_Y - 3 * BUTTON_R - 1,
- "end", 2, BLACK, RED, EDG_X + BUTTON_R - 1, my_lcd.Get_Display_Height() - EDG_Y - BUTTON_R - 1,
- "call", 2, BLACK, GREEN, EDG_X + 3 * BUTTON_R + BUTTON_SPACING_X - 1, my_lcd.Get_Display_Height() - EDG_Y - BUTTON_R - 1,
- "dele", 2, BLACK, LIGHTGREY, EDG_X + 5 * BUTTON_R + 2 * BUTTON_SPACING_X - 1, my_lcd.Get_Display_Height() - EDG_Y - BUTTON_R - 1,
- };
-
- //显示字符串
- void show_string(uint8_t *str, int16_t x, int16_t y, uint8_t csize, uint16_t fc, uint16_t bc, boolean mode) {
- my_lcd.Set_Text_Mode(mode);
- my_lcd.Set_Text_Size(csize);
- my_lcd.Set_Text_colour(fc);
- my_lcd.Set_Text_Back_colour(bc);
- my_lcd.Print_String(str, x, y);
- }
-
- //检查是否按下
- boolean is_pressed(int16_t x1, int16_t y1, int16_t x2, int16_t y2, int16_t px, int16_t py) {
- if ((px > x1 && px < x2) && (py > y1 && py < y2))
- {
- return true;
- }
- else
- {
- return false;
- }
- }
-
- //显示主菜单
- void show_menu(void)
- {
- uint16_t i;
- for (i = 0; i < sizeof(phone_button) / sizeof(button_info); i++)
- {
- my_lcd.Set_Draw_color(phone_button[i].button_colour);
- my_lcd.Fill_Circle(phone_button[i].button_x, phone_button[i].button_y, BUTTON_R);
- show_string(phone_button[i].button_name, phone_button[i].button_x - strlen(phone_button[i].button_name)*phone_button[i].button_name_size * 6 / 2 + 1, phone_button[i].button_y - phone_button[i].button_name_size * 8 / 2 + 1, phone_button[i].button_name_size, phone_button[i].button_name_colour, BLACK, 1);
- }
- my_lcd.Set_Draw_color(BLACK);
- my_lcd.Fill_Rectangle(1, 1, my_lcd.Get_Display_Width() - 2, 3);
- my_lcd.Fill_Rectangle(1, 29, my_lcd.Get_Display_Width() - 2, 31);
- my_lcd.Fill_Rectangle(1, 1, 3, 31);
- my_lcd.Fill_Rectangle(my_lcd.Get_Display_Width() - 4, 1, my_lcd.Get_Display_Width() - 2, 31);
- }
-
- void setup(void) {
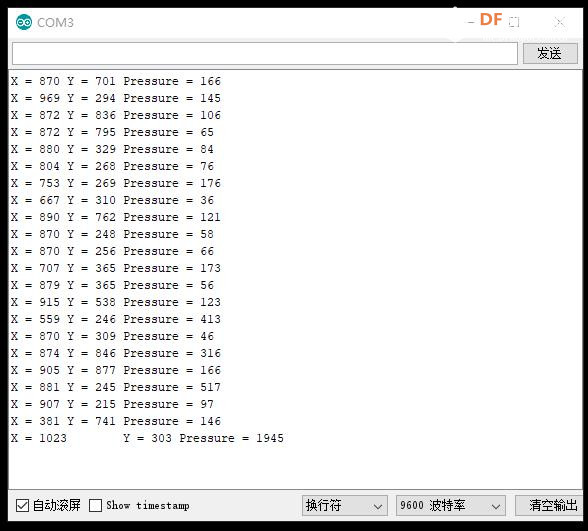
- Serial.begin(9600);
- my_lcd.Init_LCD();
- Serial.println(my_lcd.Read_ID(), HEX);
- my_lcd.Fill_Screen(BLUE);
- show_menu();
- }
-
- uint16_t text_x = 10, text_y = 6, text_x_add = 6 * phone_button[0].button_name_size, text_y_add = 8 * phone_button[0].button_name_size;
- uint16_t n = 0;
-
- void loop(void) {
- uint16_t i;
- digitalWrite(13, HIGH);
- TSPoint p = ts.getPoint();
- digitalWrite(13, LOW);
-
- pinMode(XM, OUTPUT);
- pinMode(YP, OUTPUT);
- if (p.z > MINPRESSURE && p.z < MAXPRESSURE)
- {
- //p.x = my_lcd.Get_Display_Width()-map(p.x, TS_MINX, TS_MAXX, my_lcd.Get_Display_Width(), 0);
- //p.y = my_lcd.Get_Display_Height()-map(p.y, TS_MINY, TS_MAXY, my_lcd.Get_Display_Height(), 0);
- p.x = map(p.x, TS_MINX, TS_MAXX, 0, my_lcd.Get_Display_Width());
- p.y = map(p.y, TS_MINY, TS_MAXY, 0, my_lcd.Get_Display_Height());
- // }
- for (i = 0; i < sizeof(phone_button) / sizeof(button_info); i++) {
- //按下按钮
- if (is_pressed(phone_button[i].button_x - BUTTON_R, phone_button[i].button_y - BUTTON_R, phone_button[i].button_x + BUTTON_R, phone_button[i].button_y + BUTTON_R, p.x, p.y))
- {
- my_lcd.Set_Draw_color(DARKGREY);
- my_lcd.Fill_Circle(phone_button[i].button_x, phone_button[i].button_y, BUTTON_R);
- show_string(phone_button[i].button_name, phone_button[i].button_x - strlen(phone_button[i].button_name)*phone_button[i].button_name_size * 6 / 2 + 1, phone_button[i].button_y - phone_button[i].button_name_size * 8 / 2 + 1, phone_button[i].button_name_size, WHITE, BLACK, 1);
- delay(100);
- my_lcd.Set_Draw_color(phone_button[i].button_colour);
- my_lcd.Fill_Circle(phone_button[i].button_x, phone_button[i].button_y, BUTTON_R);
- show_string(phone_button[i].button_name, phone_button[i].button_x - strlen(phone_button[i].button_name)*phone_button[i].button_name_size * 6 / 2 + 1, phone_button[i].button_y - phone_button[i].button_name_size * 8 / 2 + 1, phone_button[i].button_name_size, phone_button[i].button_name_colour, BLACK, 1);
- if (i < 12)
- {
- if (n < 13)
- {
- show_string(phone_button[i].button_name, text_x, text_y, phone_button[i].button_name_size, GREENYELLOW, BLACK, 1);
- text_x += text_x_add - 1;
- n++;
- }
- }
- else if (12 == i) //节目通话结束
- {
- my_lcd.Set_Draw_color(BLUE);
- my_lcd.Fill_Rectangle(0, 33, my_lcd.Get_Display_Width() - 1, 42);
- show_string("Calling ended", CENTER, 33, 1, OLIVE, BLACK, 1);
- }
- else if (13 == i) //显示呼叫
- {
- my_lcd.Set_Draw_color(BLUE);
- my_lcd.Fill_Rectangle(0, 33, my_lcd.Get_Display_Width() - 1, 42);
- show_string("Calling...", CENTER, 33, 1, OLIVE, BLACK, 1);
- }
- else if (14 == i) //删除按钮
- {
- if (n > 0)
- {
- my_lcd.Set_Draw_color(BLUE);
- text_x -= (text_x_add - 1);
- my_lcd.Fill_Rectangle(text_x, text_y, text_x + text_x_add - 1, text_y + text_y_add - 2);
- n--;
- }
- }
- }
- }
- }
- }
|


 沪公网安备31011502402448


 萌萌哒新人
萌萌哒新人
 活跃会员
活跃会员
 宣传大使
宣传大使
 牛X认证
牛X认证
 创作达人
创作达人
 ARD DAY
 摸鱼团员
摸鱼团员
 志“童”道合
 编辑选择奖
编辑选择奖


