本帖最后由 云天 于 2023-4-11 09:29 编辑
【项目背景】
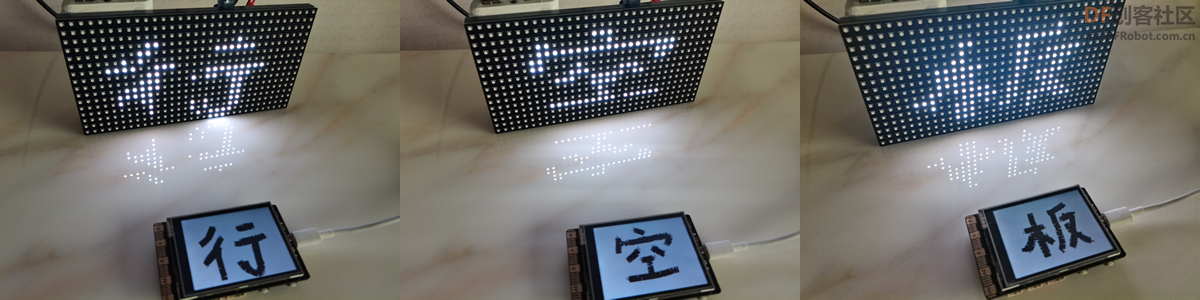
本项目要实现行空板无线手写投点阵屏。
【项目设计】
本项目结合行空板屏幕上手写加python os库截屏,再分析图像上的手写痕迹,获取坐标,通过TCP发送给Ardunio,点亮点阵屏。
【点阵屏】
通过DF官网学习一下如何使用。https://wiki.dfrobot.com.cn/_SKU_DFR0471_32x16_RGB_LED_Matrix_-_6mm_pitch
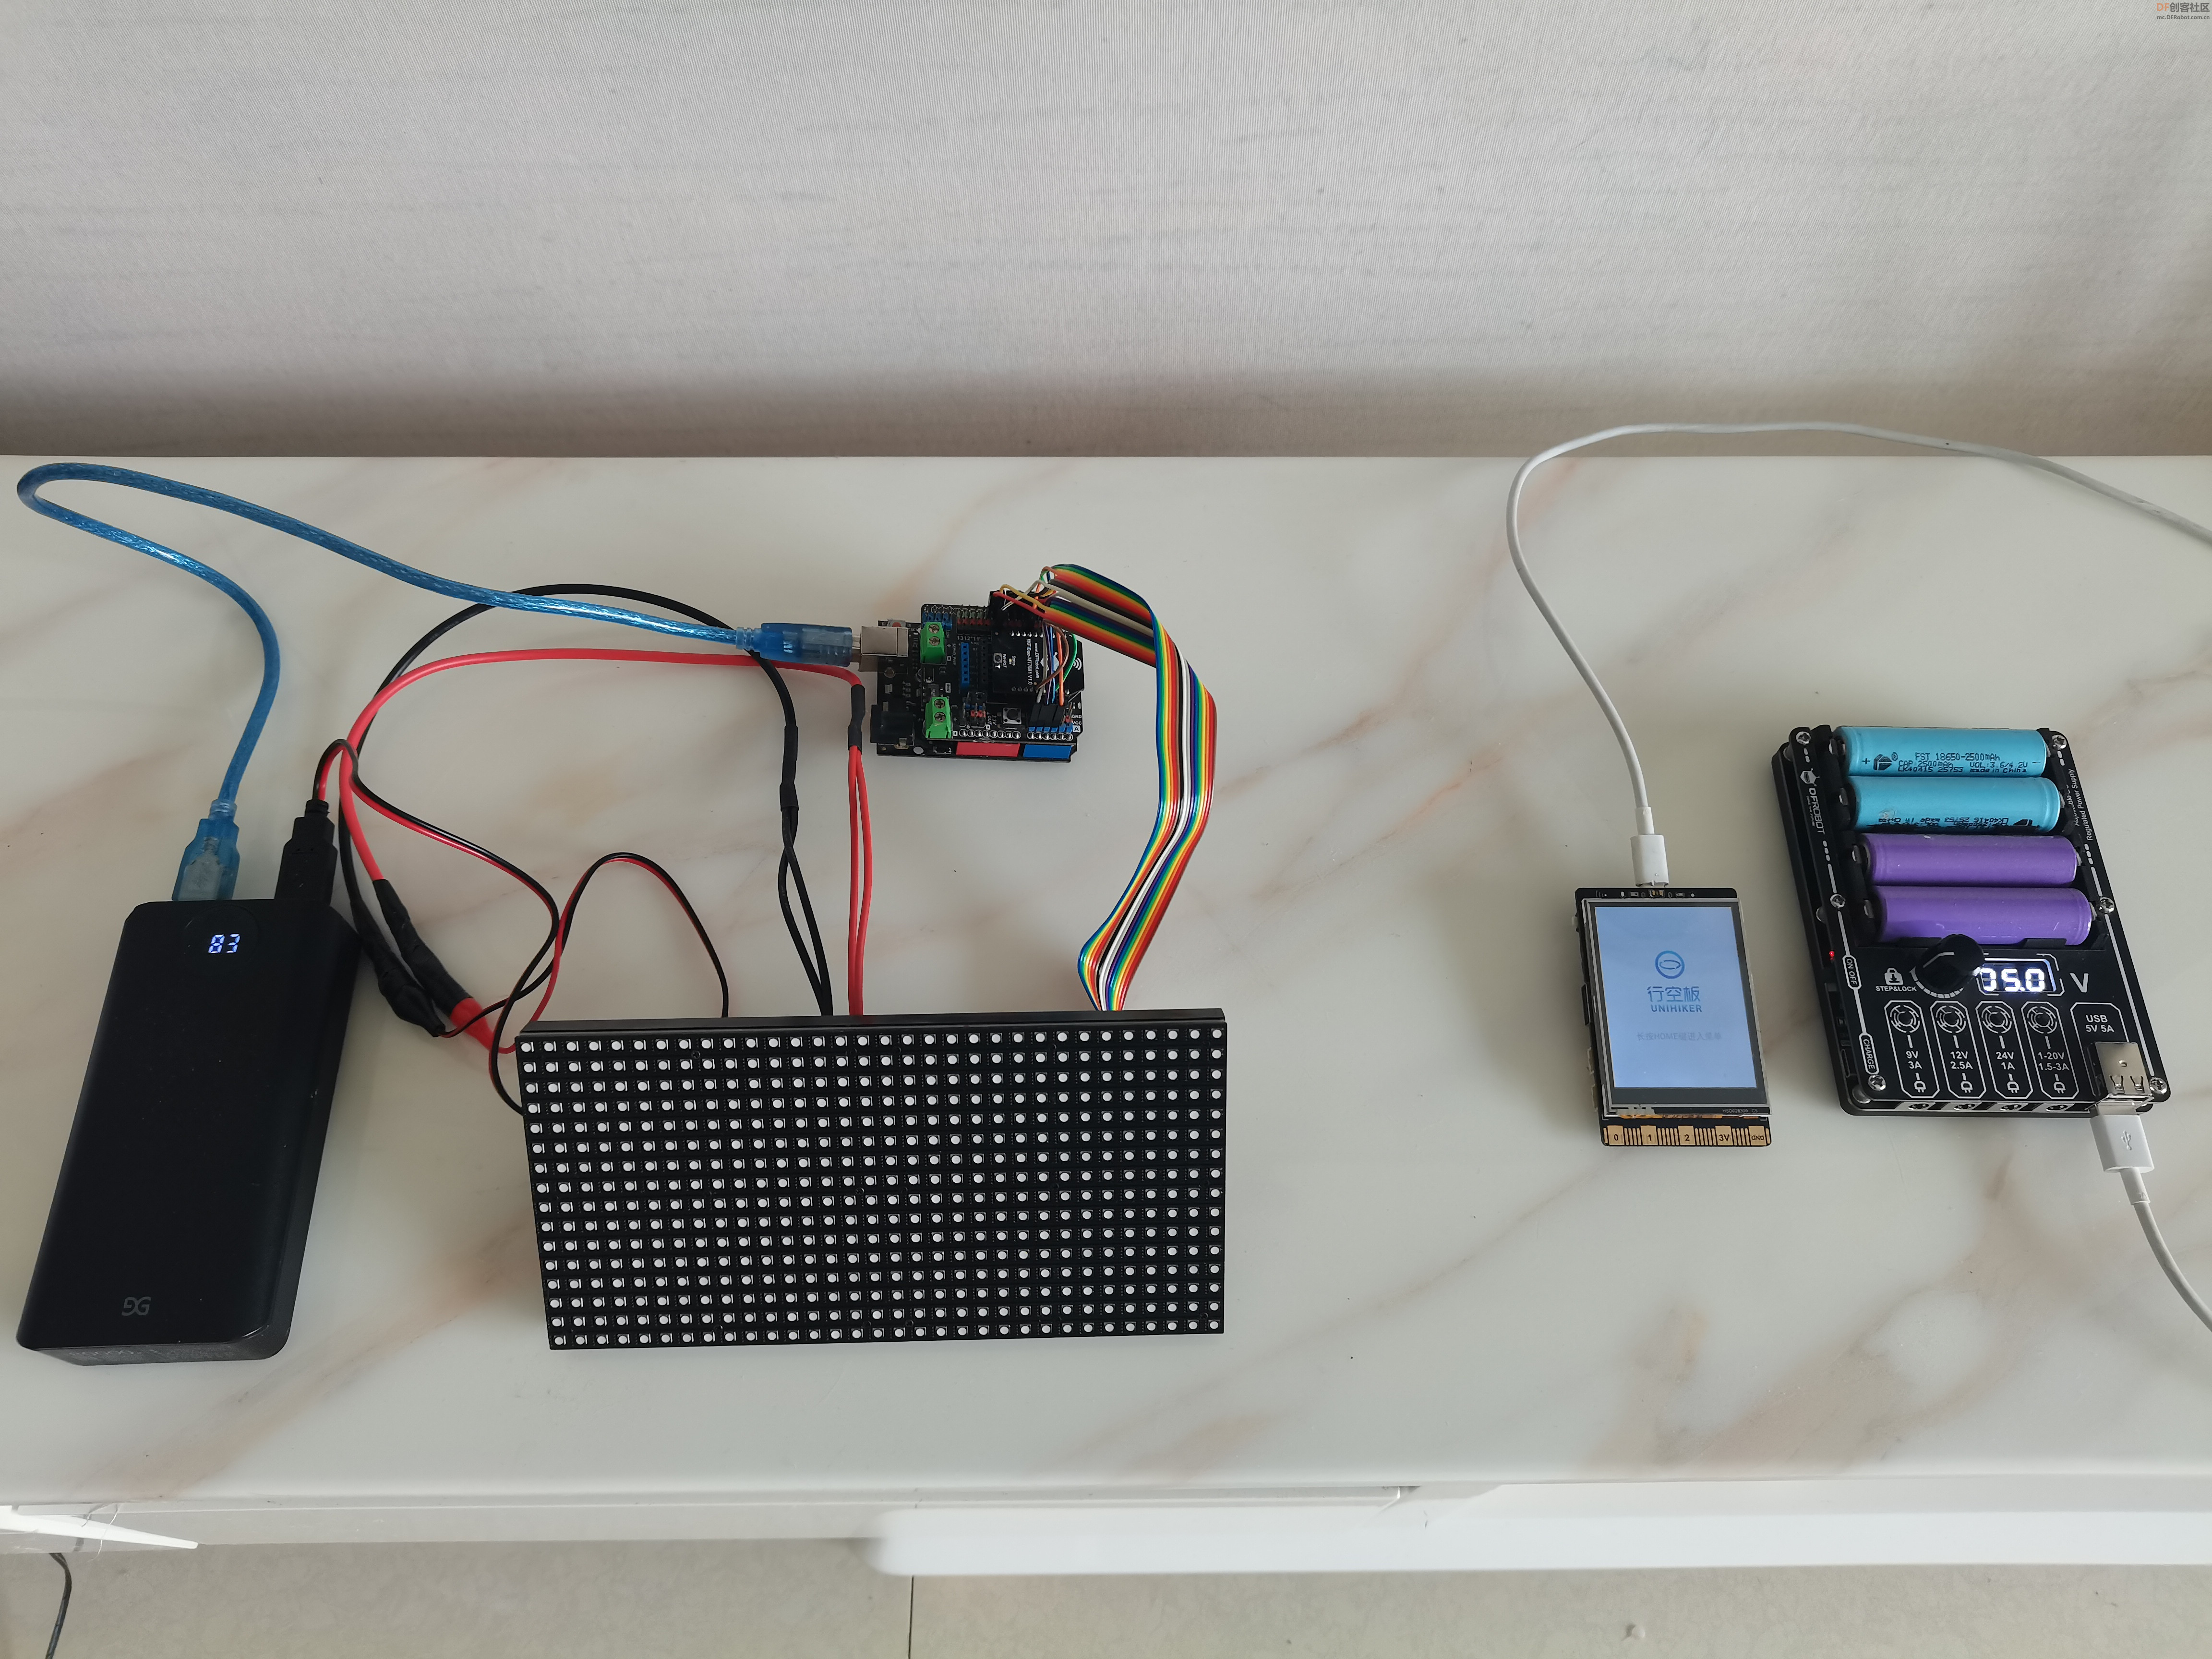
结合以上两图,连接Arduino与点阵屏。
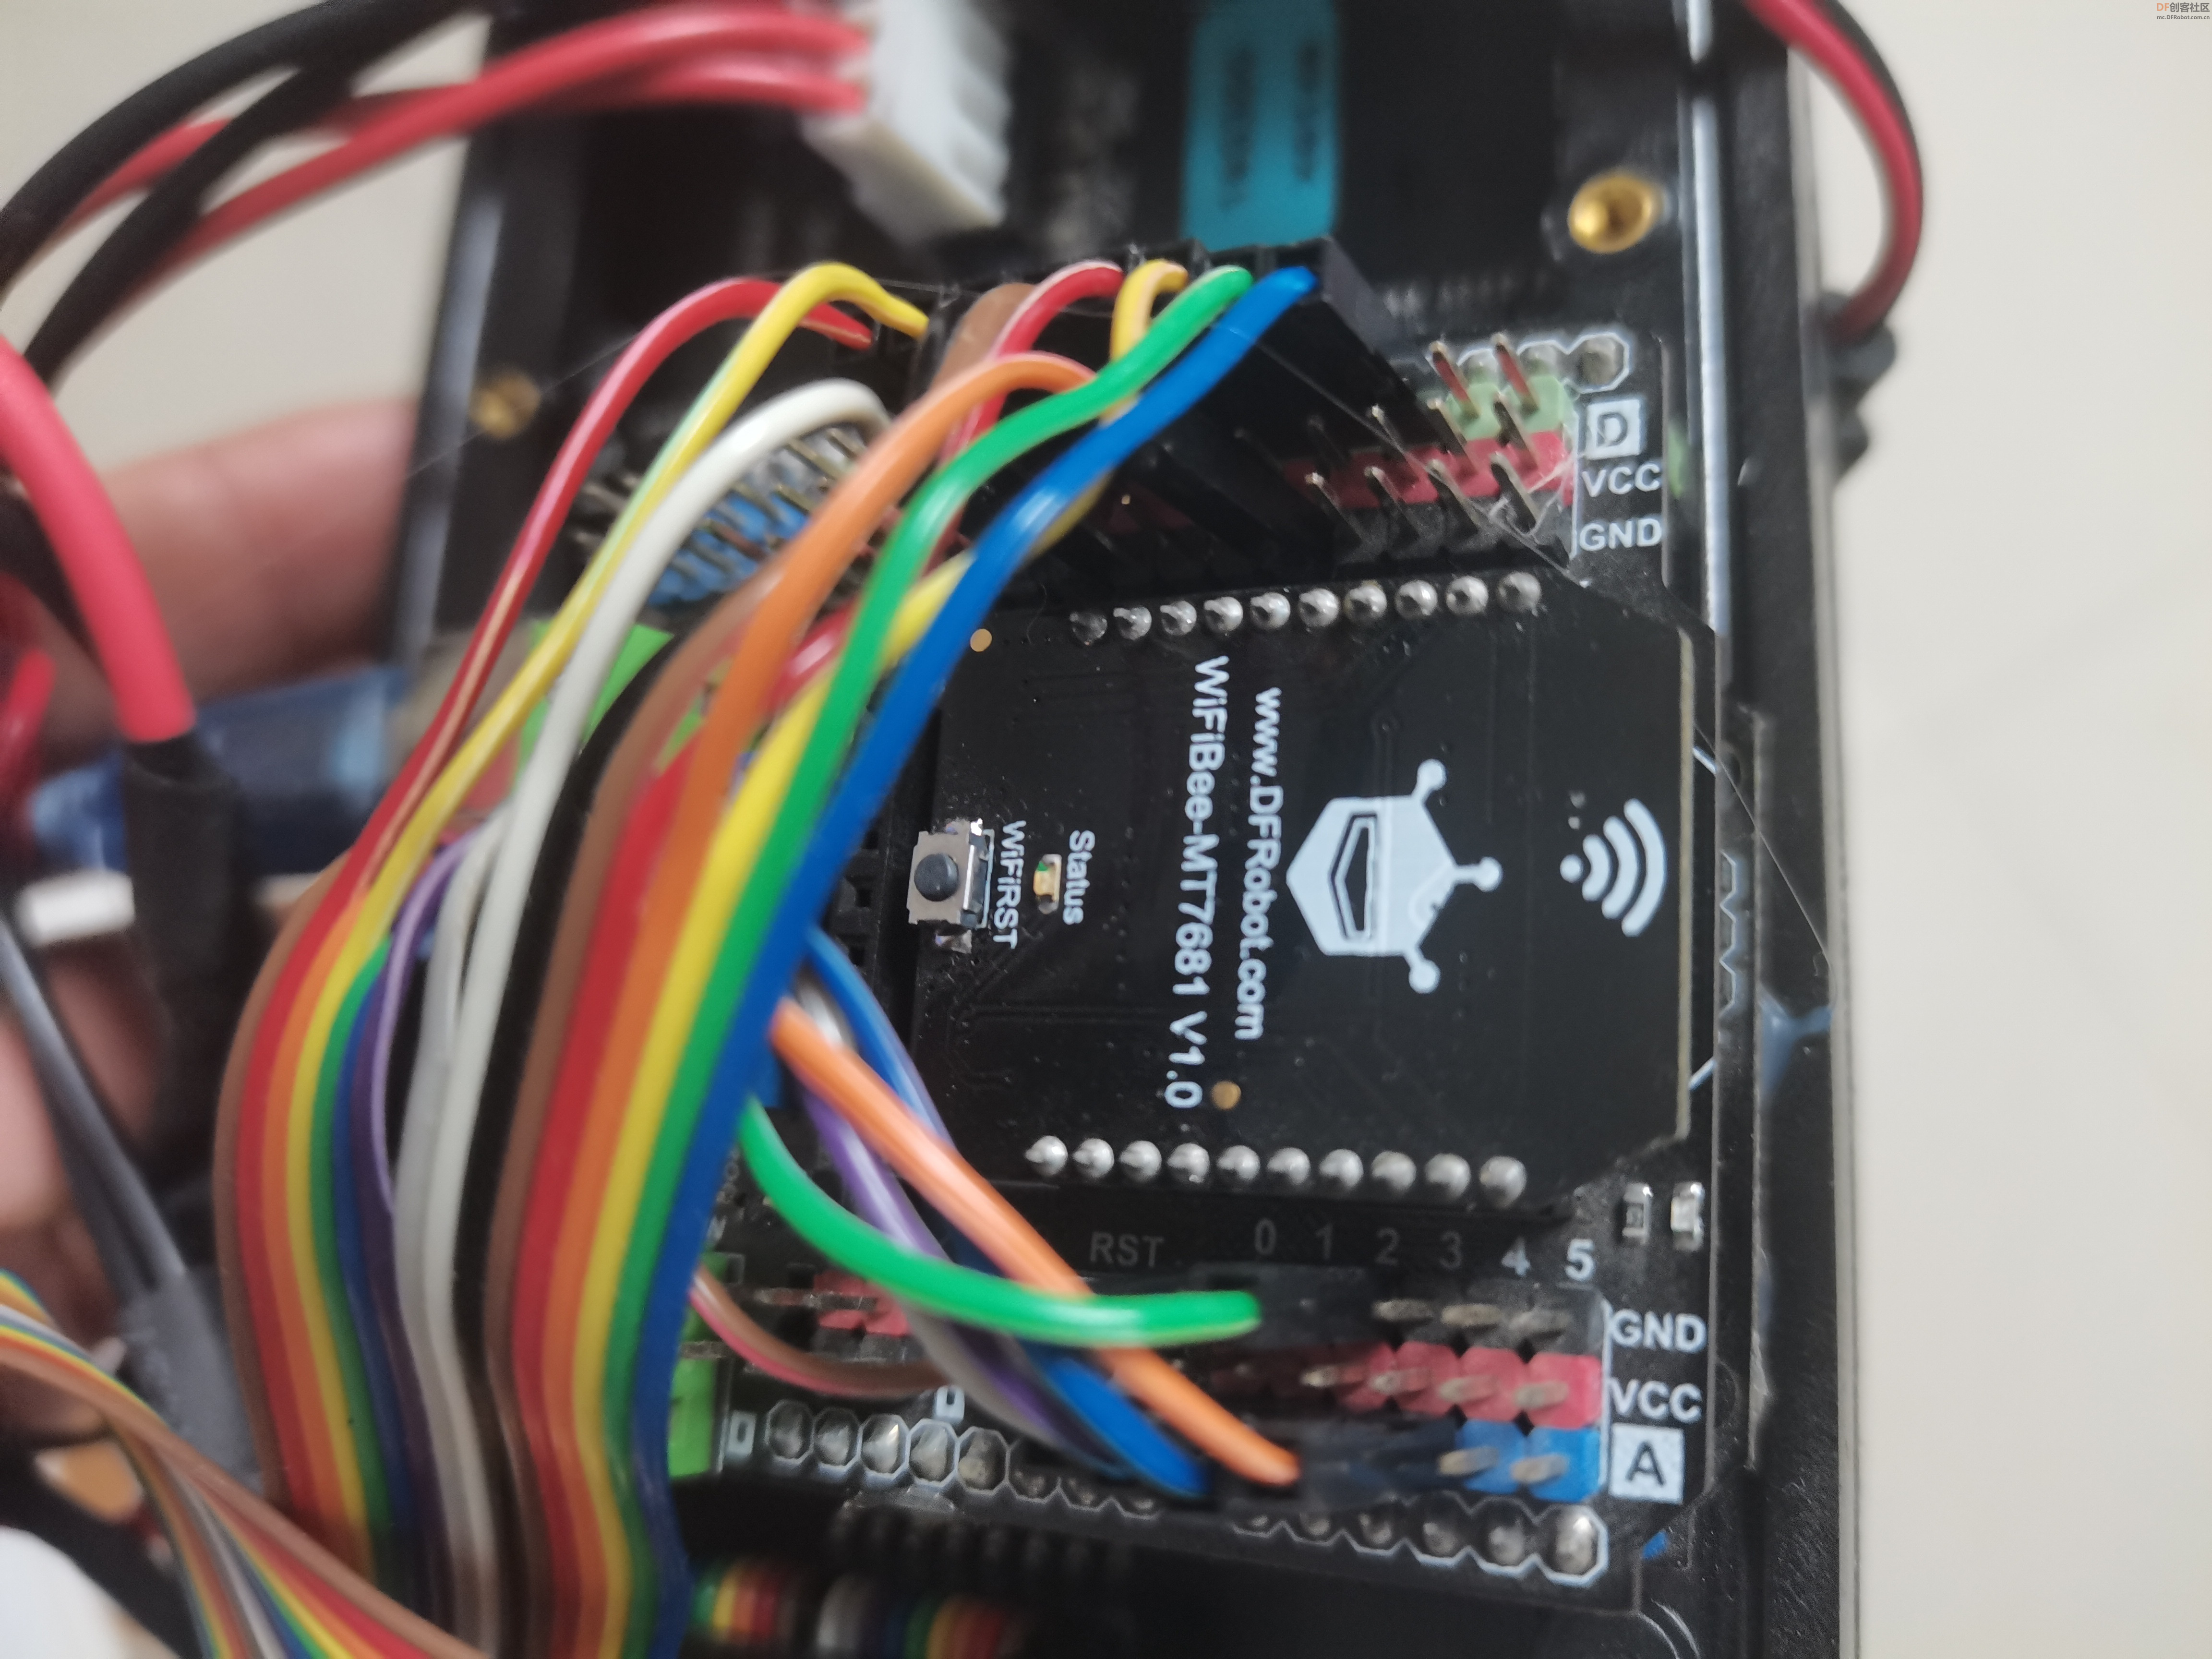
【Arduino连接WIFI】
使用WiFiBee-MT7681,插在Arduino扩展板上。
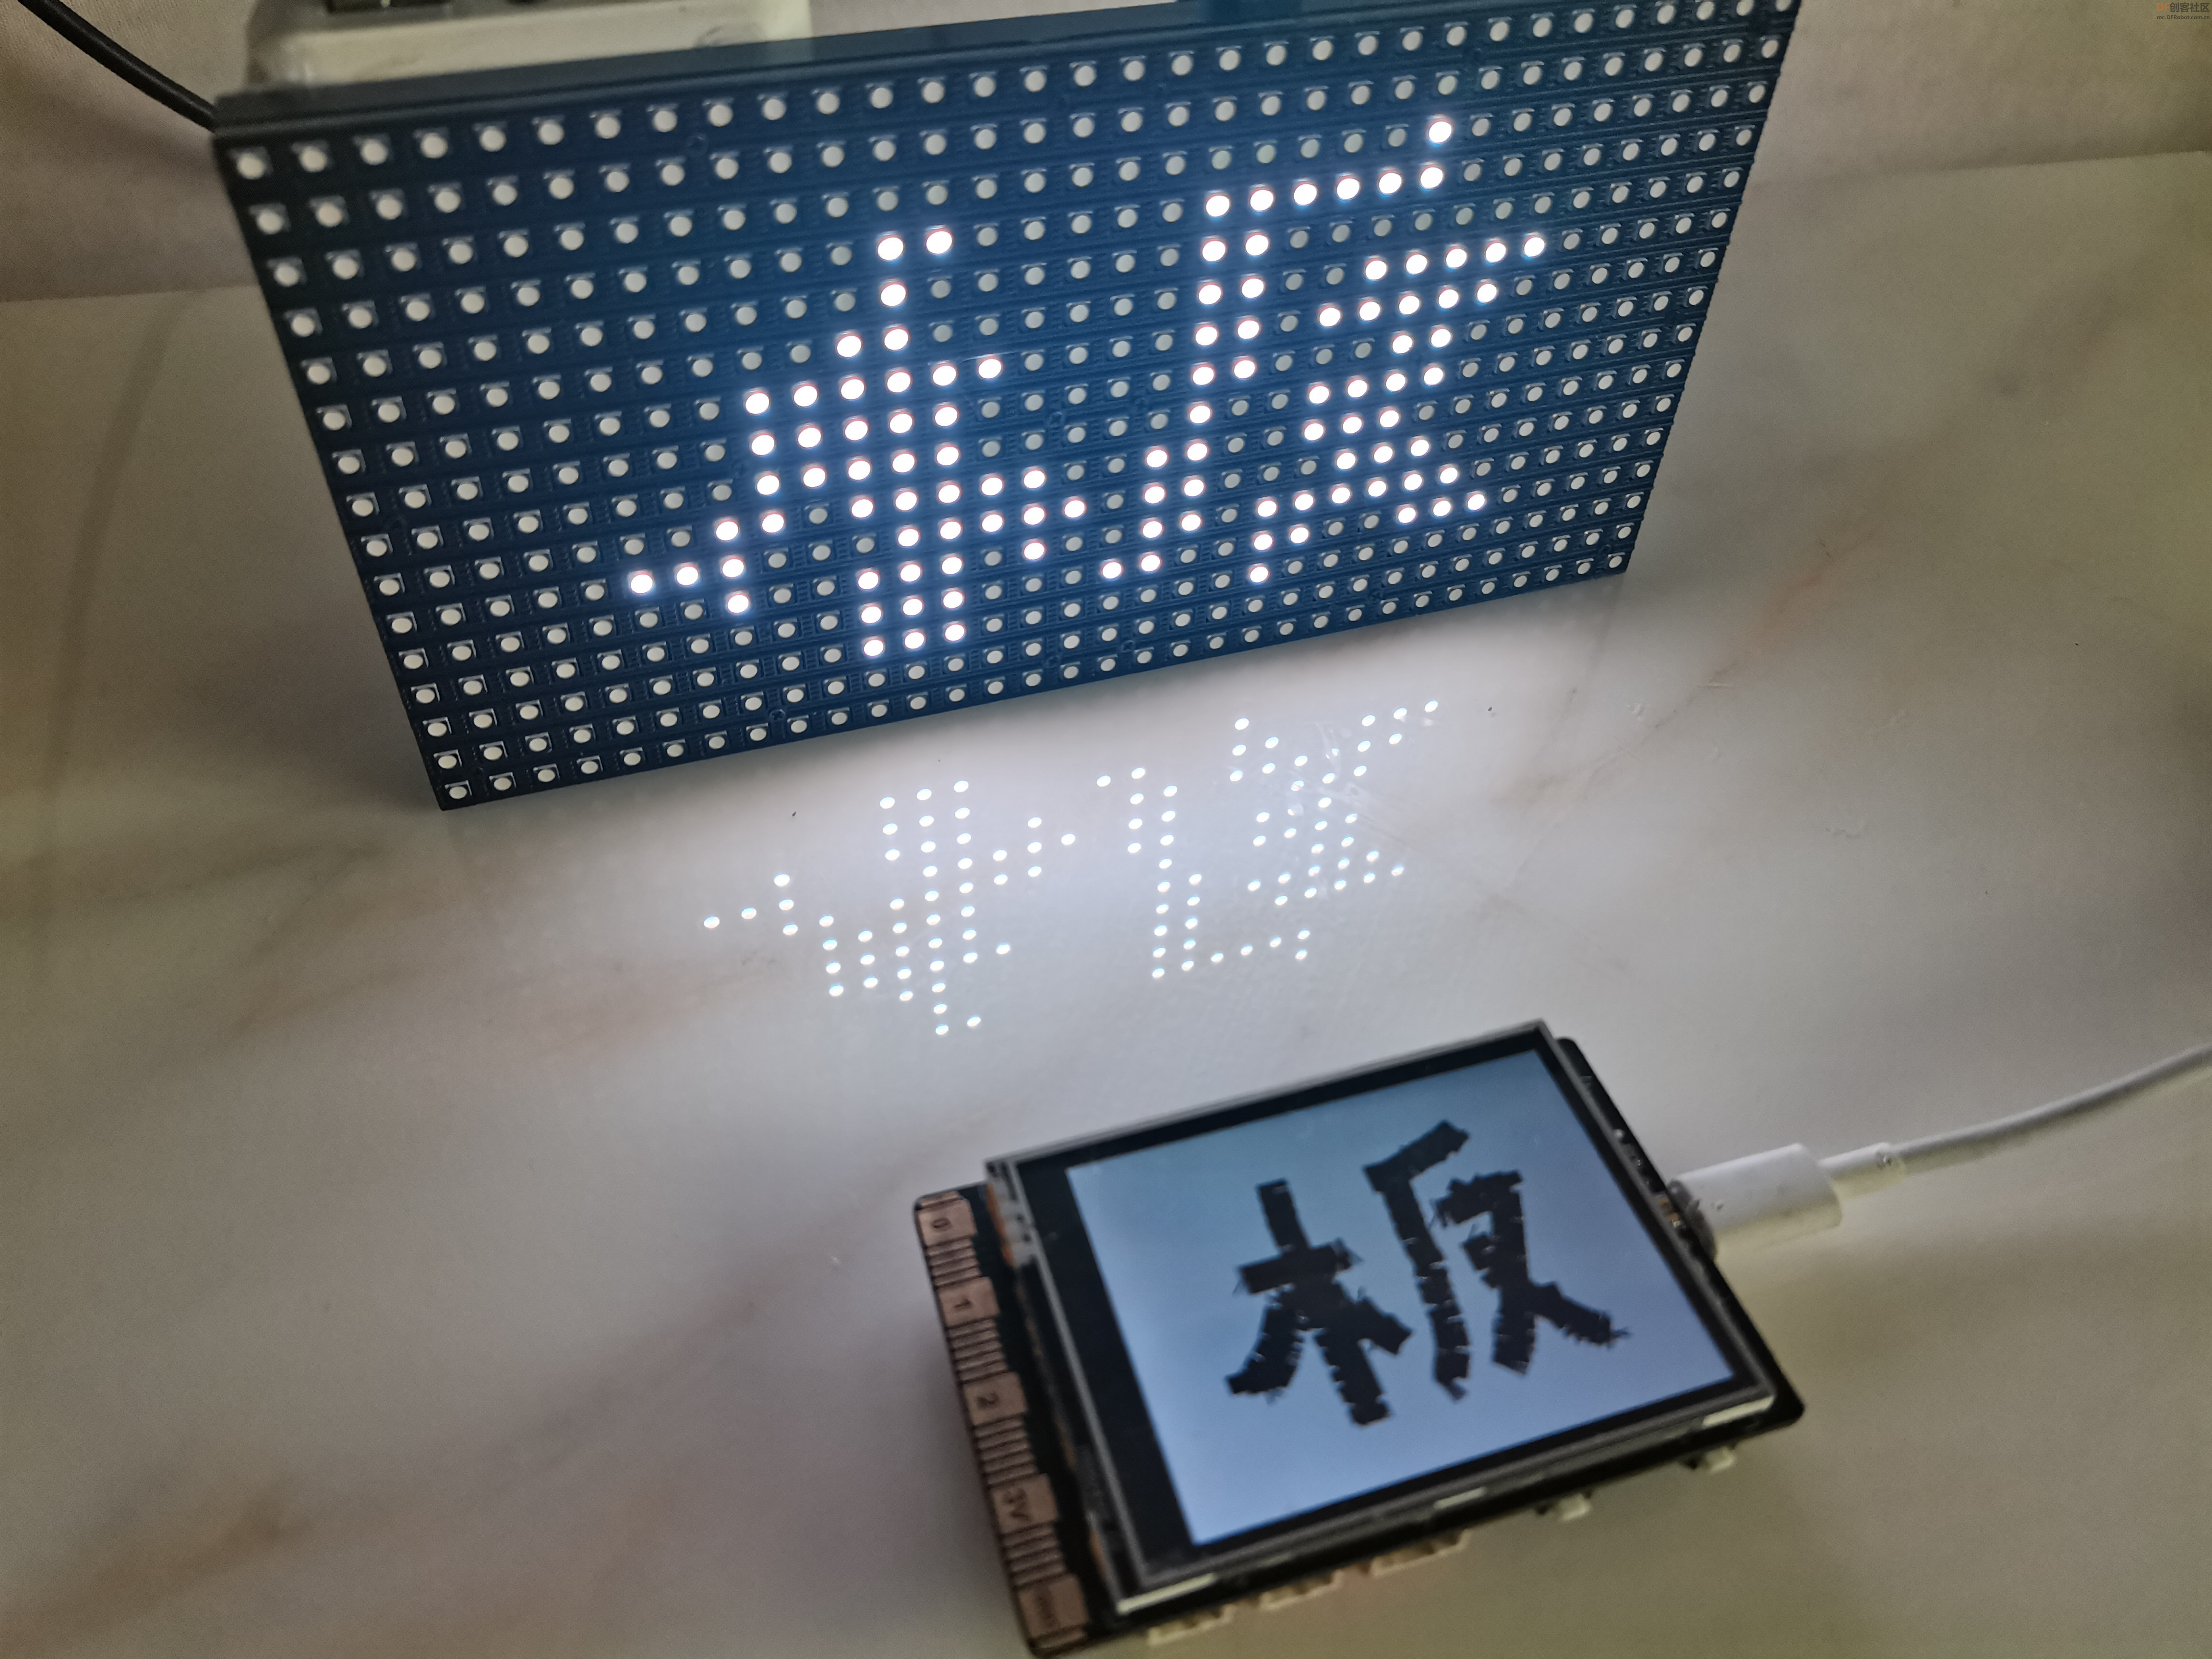
【硬件展示】
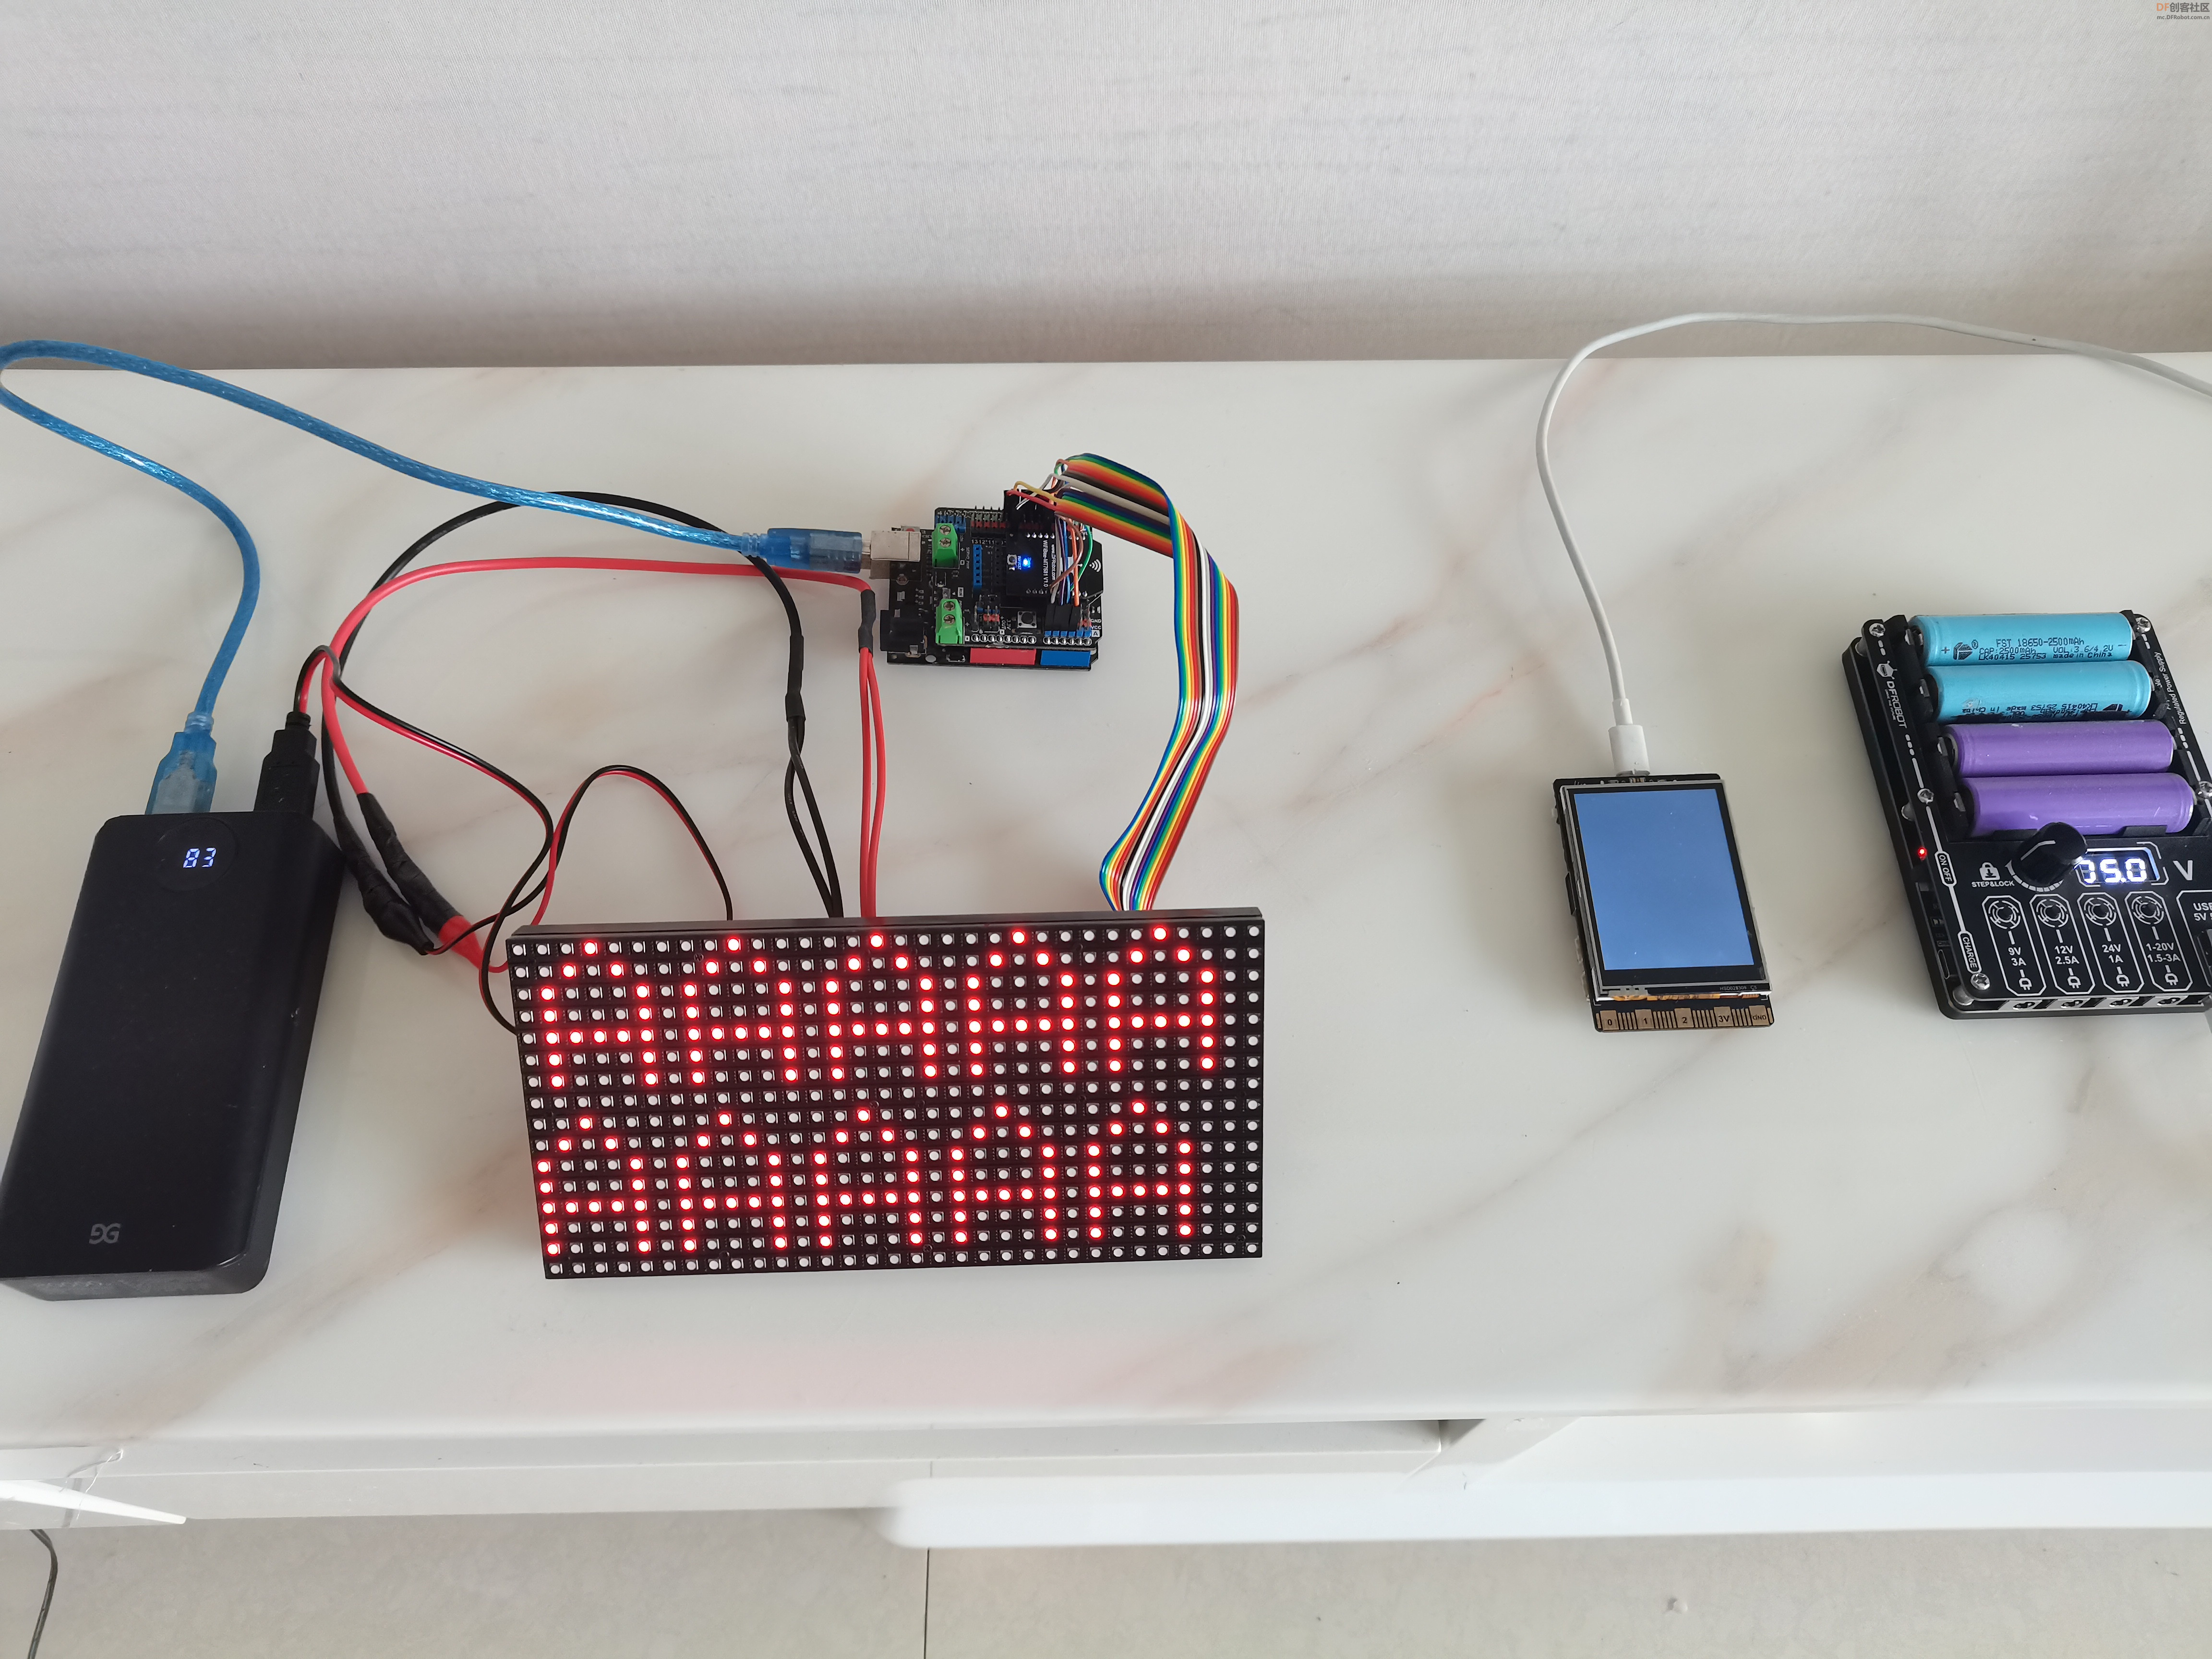
【测试显示】
行空板联网,加载socket库,按下A键发送“A”,按下B键发送“B”。
- s.connect(('192.168.31.38',1000))
“192.168.31.38”,是WiFiBee-MT7681联网IP地址。
-
- import socket
- from unihiker import GUI
- i=0
- # 事件回调函数
- def on_buttonb_click_callback():
- s.send(b'B')
- def on_buttona_click_callback():
- s.send(b'A')
-
- u_gui=GUI()
- u_gui.on_a_click(on_buttona_click_callback)
- u_gui.on_b_click(on_buttonb_click_callback)
- s=socket.socket(socket.AF_INET,socket.SOCK_STREAM)
- s.connect(('192.168.31.38',1000))
-
- while True:
- pass
Arduino利用串口接收WiFiBee-MT7681信息,接收“A”点阵屏显示字母“A",接收“B”清屏。
-
-
- #include <Adafruit_GFX.h>
- #include <RGBmatrixPanel.h>
-
- #define CLK 8
- #define LAT A3
- #define OE 9
- #define A A0
- #define B A1
- #define C A2
- RGBmatrixPanel matrix(A, B, C, CLK, LAT, OE, false);
-
- void setup() {
- Serial.begin(115200);
- matrix.begin();
- matrix.fillScreen(matrix.Color333(0, 0, 0));
-
- matrix.setCursor(1, 0);
- matrix.setTextSize(1);
- matrix.setTextColor(matrix.Color333(7,0,0));
- }
-
- void loop() {
-
-
- if ((Serial.available())) {
- String mystr=Serial.readString();
- if(mystr=="B"){
- matrix.fillScreen(matrix.Color333(0, 0, 0));
- }
- else{
- matrix.print(mystr);
- }
-
- }
-
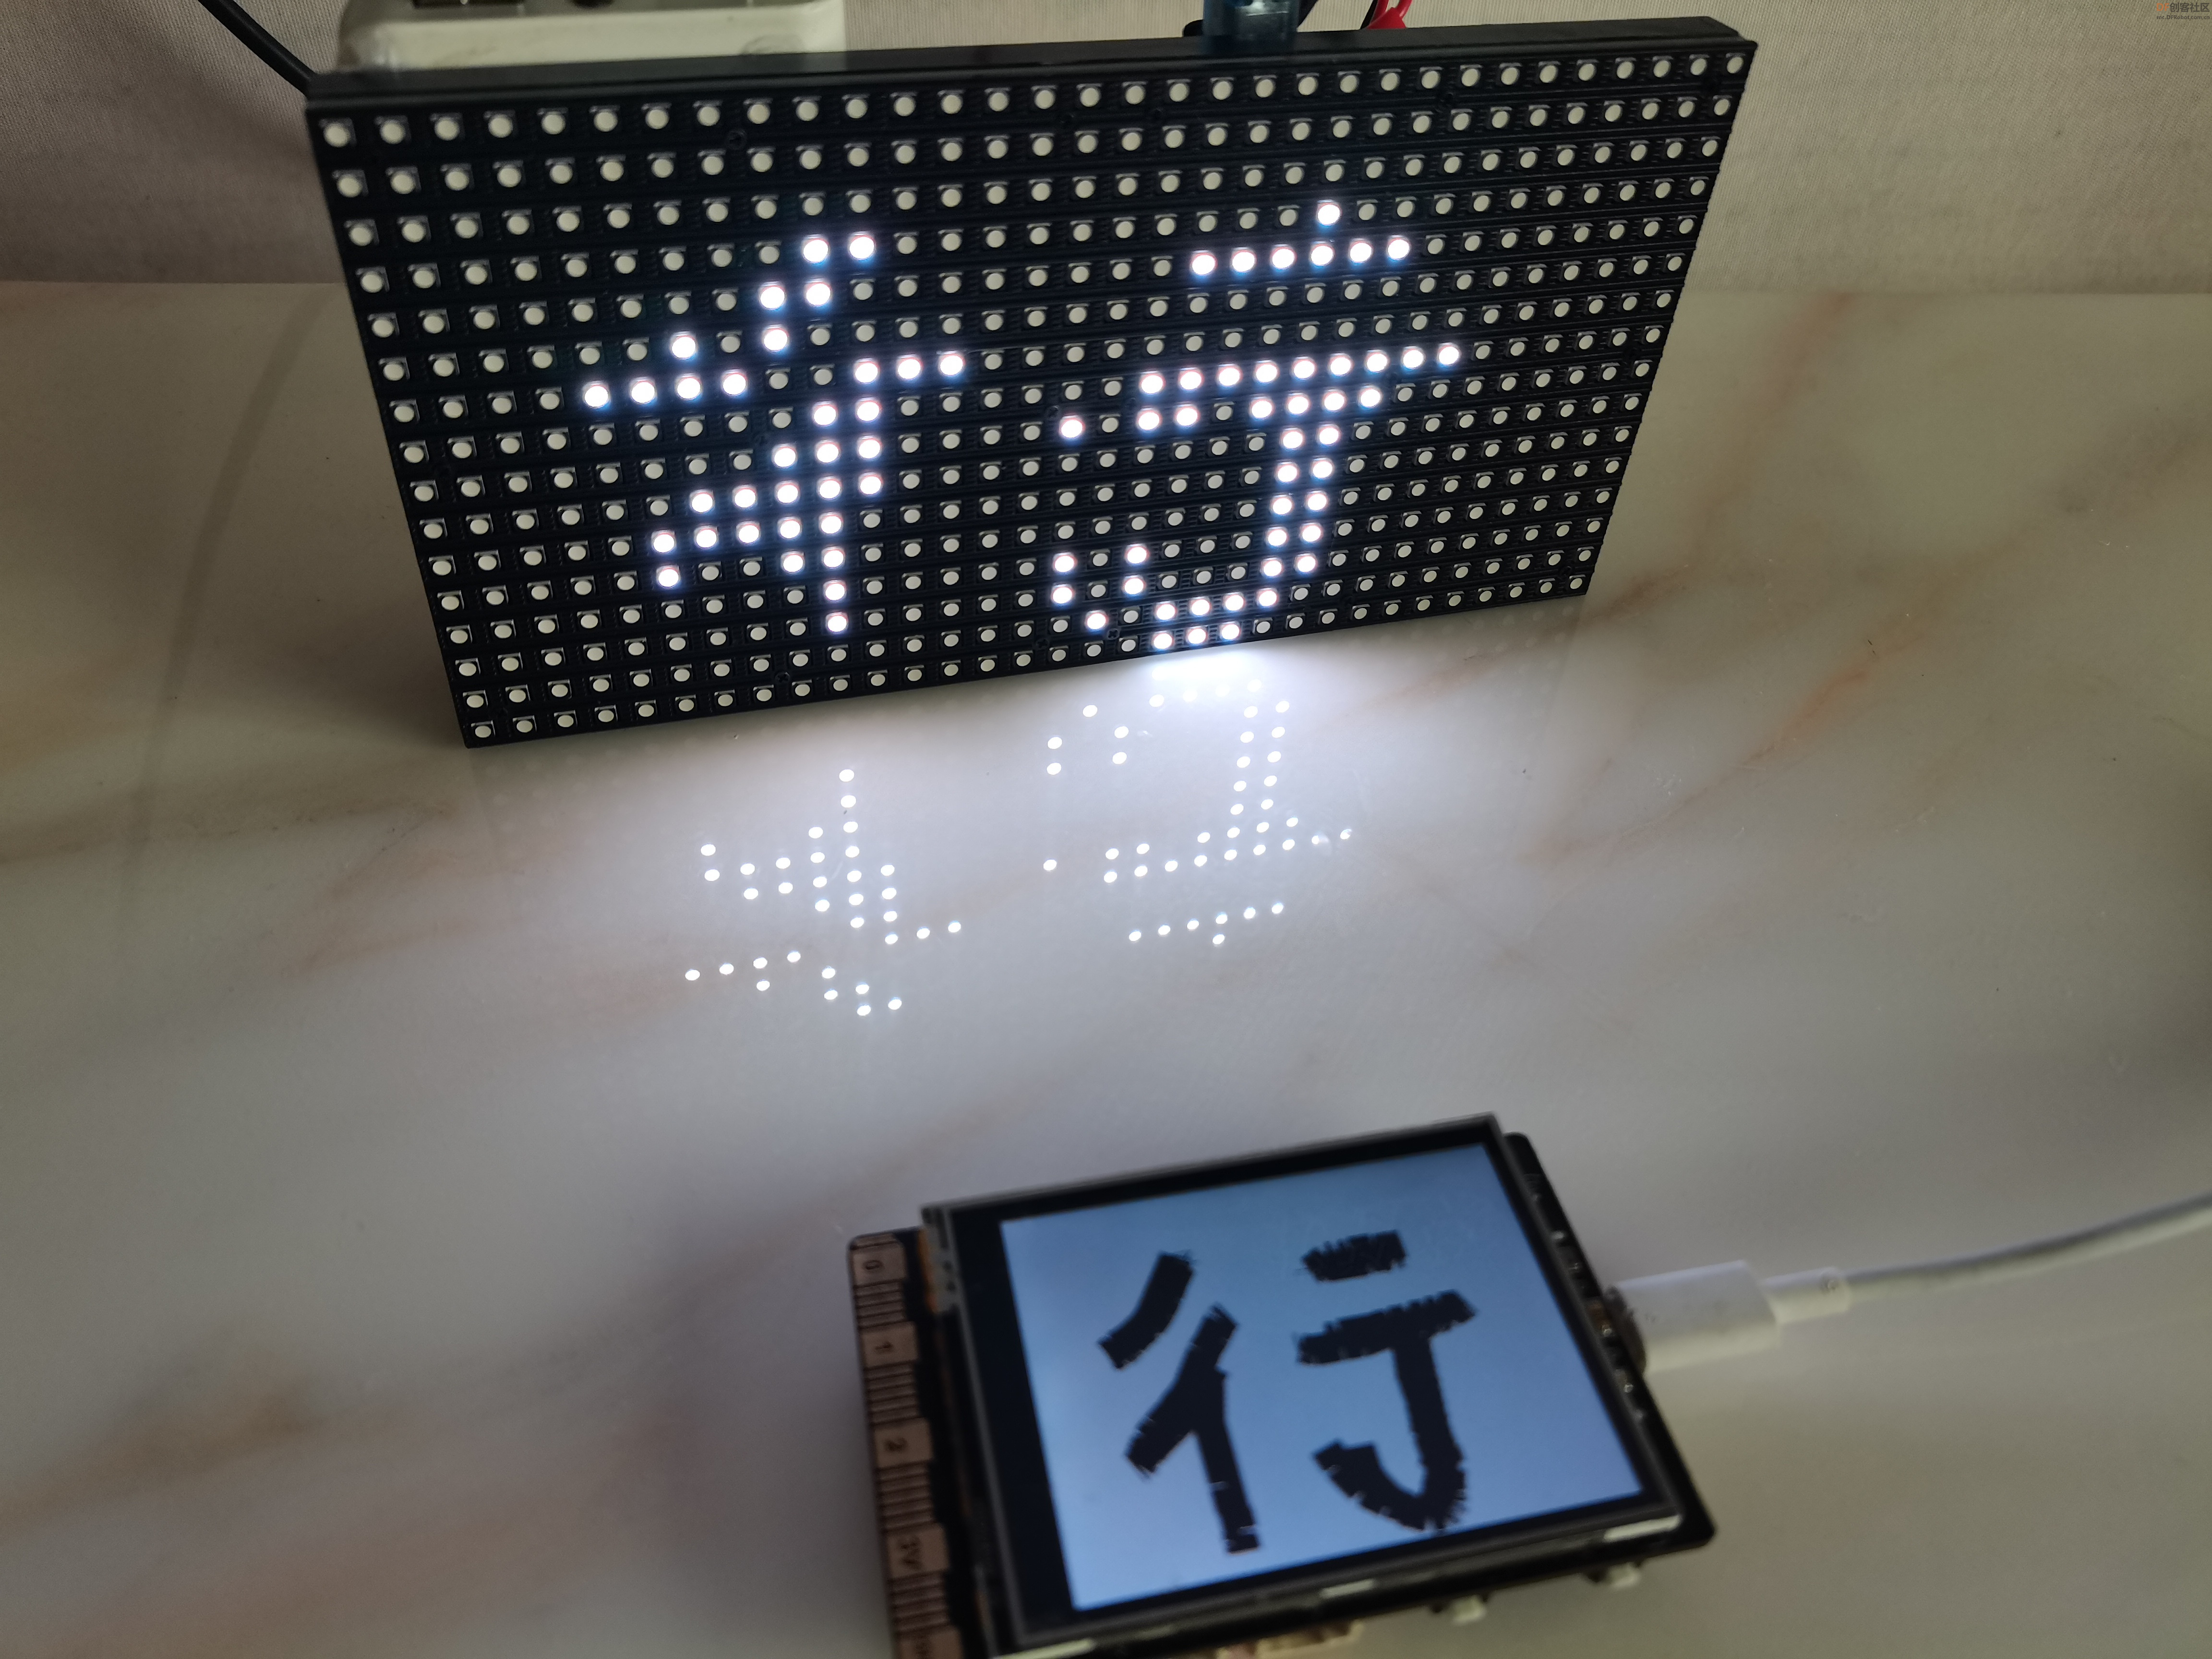
【发送坐标信息】
行空板Python程序获取手写痕迹,发痕迹坐标。
-
- import socket
- from unihiker import GUI
- import time
- import os
- import cv2
- import numpy as np
- pos_xy = []
- # 图像旋转(以原点(0,0)为中心旋转)
- def image_rotate(src, rotate=0):
- h,w,c = src.shape
- cos_val = np.cos(np.deg2rad(rotate))
- sin_val = np.sin(np.deg2rad(rotate))
- M = np.float32([[cos_val, -sin_val, 0], [sin_val, cos_val, 0]])
- img = cv2.warpAffine(src, M, (w,h))
- return img
- # 事件回调函数
- def on_buttonb_click_callback():
- u_gui.clear()
- s.send(b'B')
-
- def on_buttona_click_callback():
- os.system("scrot -a 0,0,240,320 sc.png")
- img = cv2.imread("sc.png")
- img=cv2.resize(img,(16,32))
-
- hsv = cv2.cvtColor(img, cv2.COLOR_BGR2HSV) # 色彩空间转换为hsv,分离.
-
- #色相(H)是色彩的基本属性,就是平常所说的颜色名称,如红色、黄色等。
- #饱和度(S)是指色彩的纯度,越高色彩越纯,低则逐渐变灰,取0-100%的数值。
- #明度(V),取0-100%。
- #OpenCV中H,S,V范围是0-180,0-255,0-255
- low = np.array([0, 0, 0])
- high = np.array([180, 255, 46])
-
- dst = cv2.inRange(src=hsv, lowerb=low, upperb=high) # HSV高低阈值,提取图像部分区域
-
- #寻找白色的像素点坐标。
- #白色像素值是255,所以np.where(dst==255)
- xy = np.column_stack(np.where(dst==255))
- mystr=b''
- k=0
- for c in xy:
-
- for d in c:
- mystr=mystr+b","+str(d).encode()
- k+=1
- if k==10:
- mystr=str(k).encode()+mystr
- print(mystr)
- s.send(mystr)
- k=0
- mystr=b''
- time.sleep(2)
- if k>0:
- mystr=str(k).encode()+mystr
- print(mystr)
- s.send(mystr)
-
- u_gui=GUI()
- u_gui.on_a_click(on_buttona_click_callback)
- u_gui.on_b_click(on_buttonb_click_callback)
- s=socket.socket(socket.AF_INET,socket.SOCK_STREAM)
- s.connect(('192.168.31.38',1000))
- def mouse_move(x, y):# 画线
- global temp_time
- temp_time = time.time()
- '''
- 首先判断pos_xy列表中是不是至少有两个点了
- 然后将pos_xy中第一个点赋值给point_start
- 利用中间变量pos_tmp遍历整个pos_xy列表
- point_end = pos_tmp
- 画point_start到point_end之间的线
- point_start = point_end
- 这样,不断地将相邻两个点之间画线,就能留下鼠标移动轨迹了
- '''
- pos_xy.append([x,y])
- if len(pos_xy) > 1:
- point_start = pos_xy[0]
- for pos_tmp in pos_xy:
- point_end = pos_tmp
- line_text = u_gui.draw_line(x0=point_start[0],y0=point_start[1],x1=point_end[0],y1=point_end[1],width=20, color=(0,0,0))
- point_start = point_end
-
- def on_release(event):
- pos_xy.clear()
-
- u_gui.master.bind("<ButtonRelease>", on_release)# 抬笔检测
-
- u_gui.on_mouse_move(mouse_move) #鼠标检测
-
- while True:
- #增加等待,防止程序退出和卡住
- time.sleep(0.5)
-
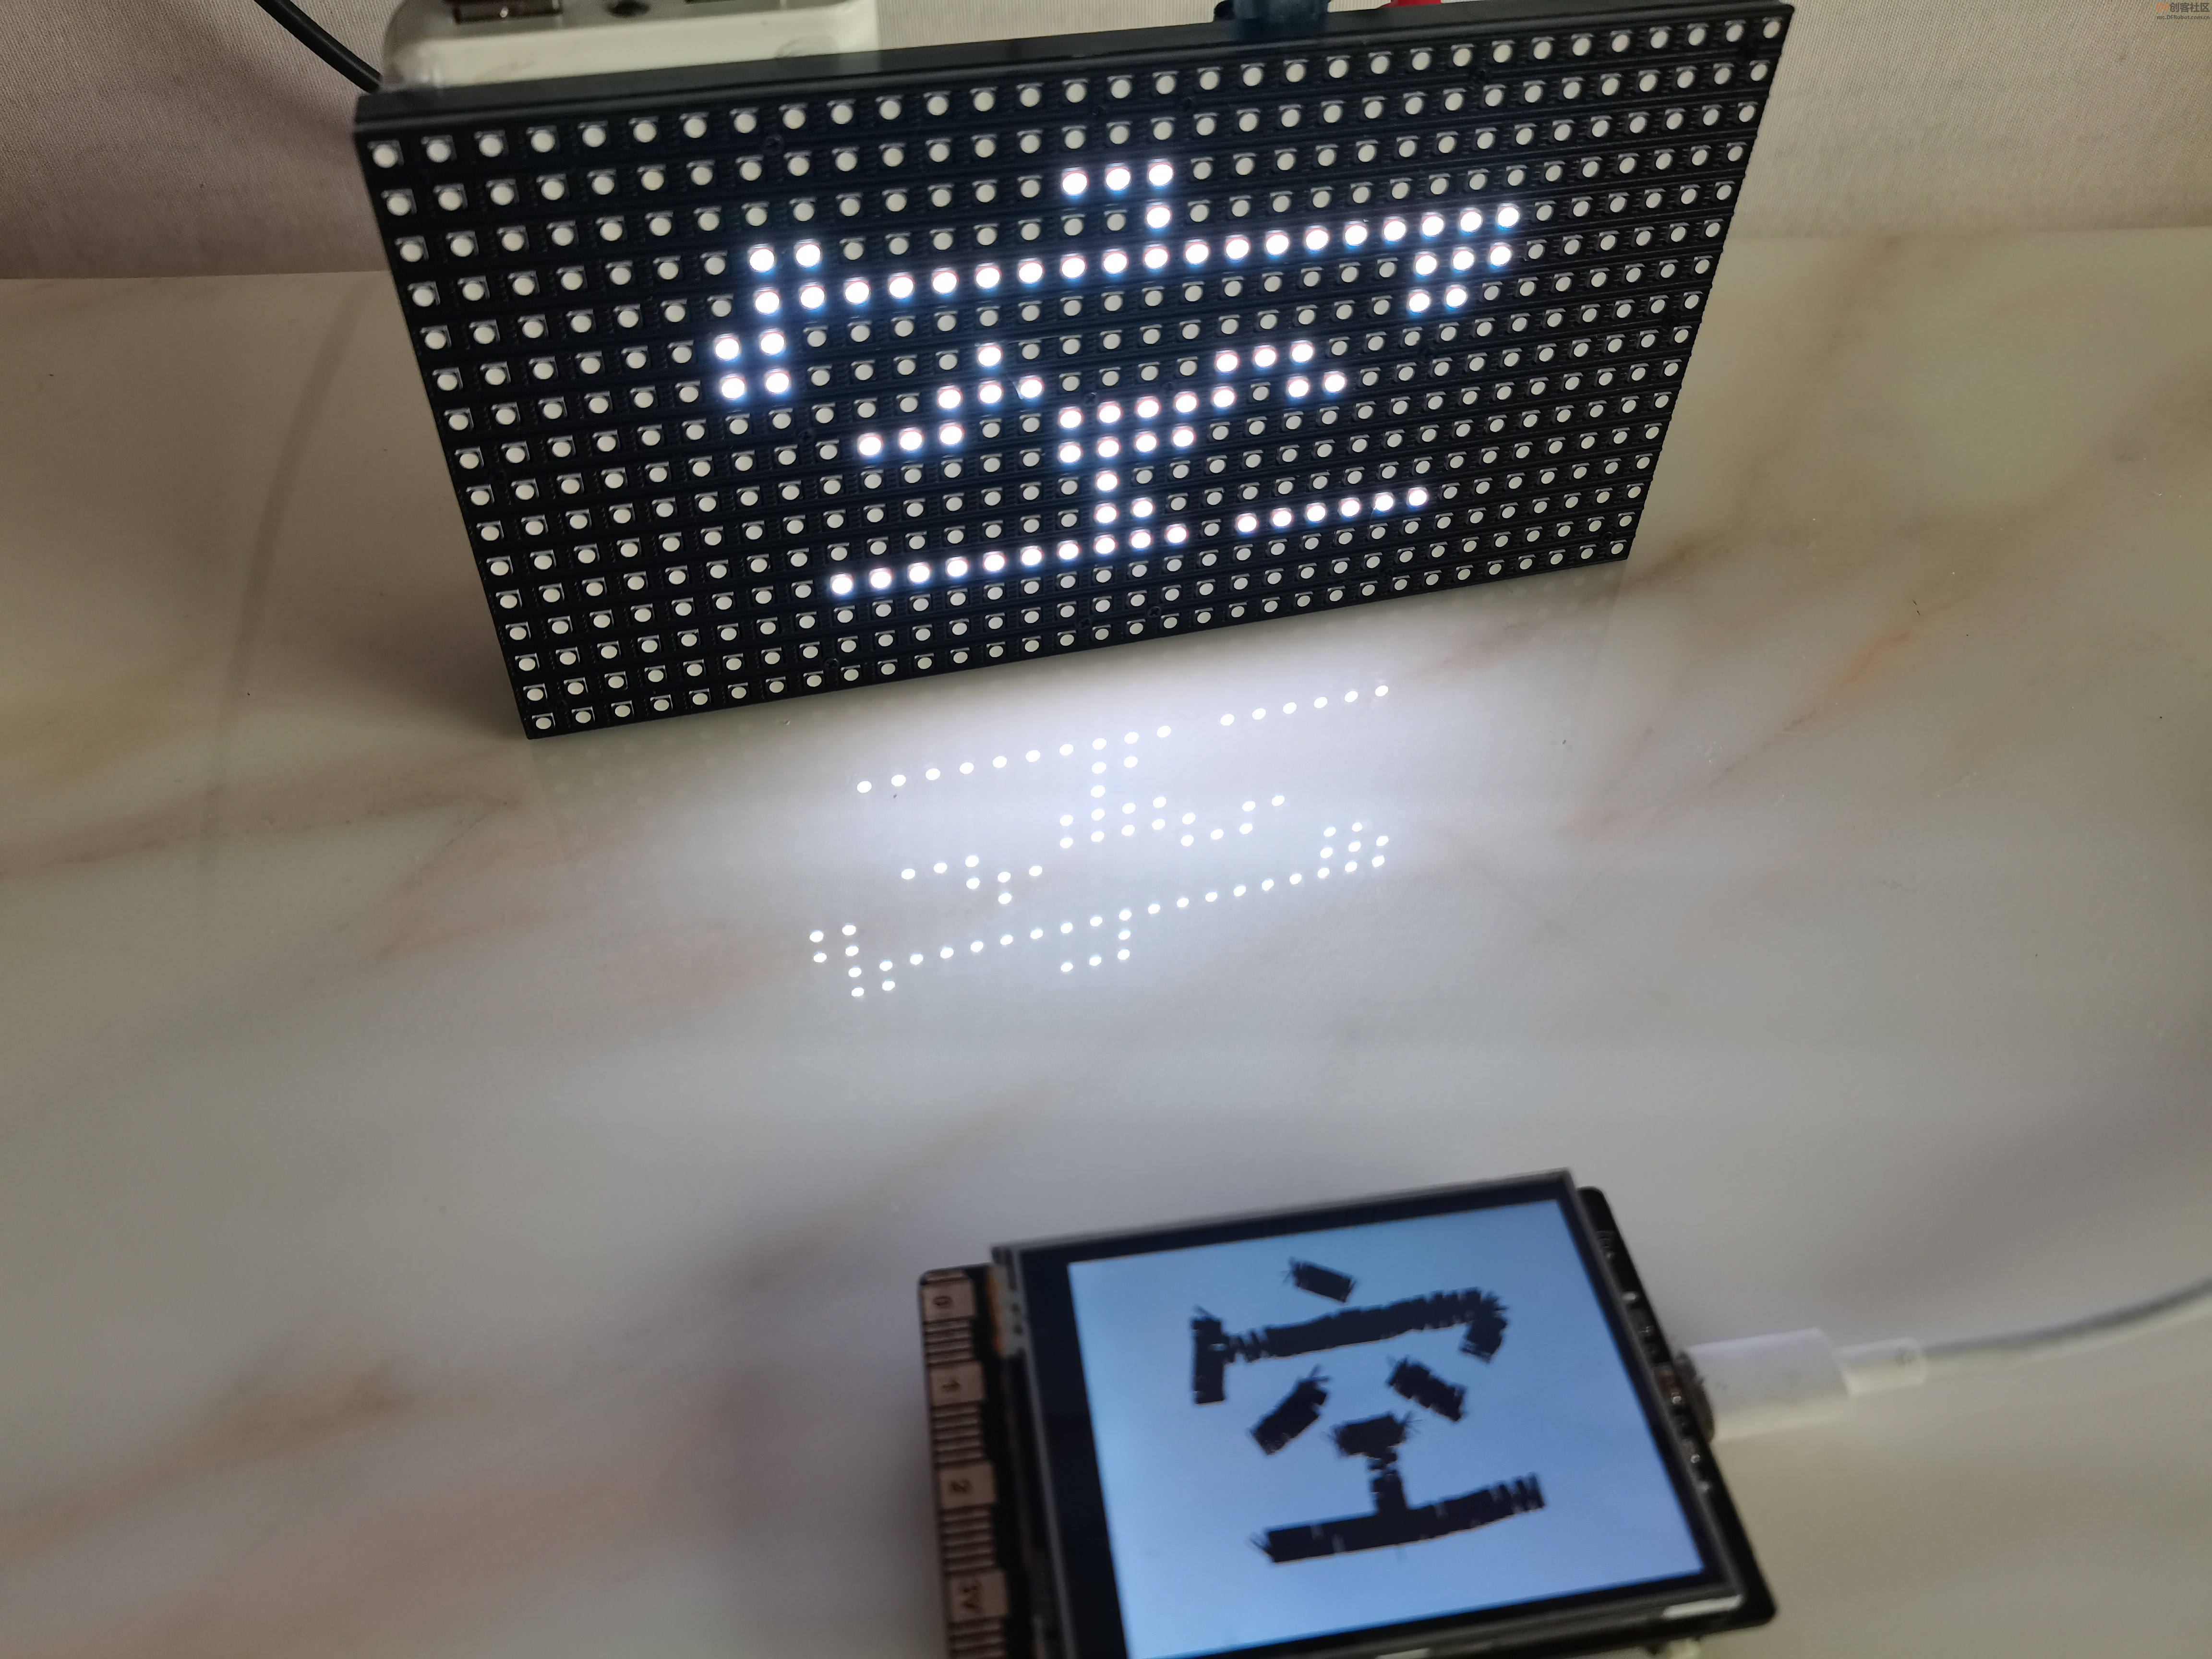
【Arduino接收显示】
使用自定义函数fenge,分割接收的字符串坐标,利用matrix.drawPixel点亮坐标。
- #include <Adafruit_GFX.h>
- #include <RGBmatrixPanel.h>
-
- #define CLK 8
- #define LAT A3
- #define OE 9
- #define A A0
- #define B A1
- #define C A2
- RGBmatrixPanel matrix(A, B, C, CLK, LAT, OE, false);
-
- void setup() {
- Serial.begin(115200);
- matrix.begin();
- matrix.fillScreen(matrix.Color333(0, 0, 0));
- // draw text!
- matrix.setCursor(1, 0);
- matrix.setTextSize(1);
- matrix.setTextColor(matrix.Color333(7,0,0));
- }
- int fenge(String str,String fen,int index)
- {
- int weizhi;
- String temps[str.length()];
- int i=0;
- do
- {
- weizhi = str.indexOf(fen);
- if(weizhi != -1)
- {
- temps[i] = str.substring(0,weizhi);
- str = str.substring(weizhi+fen.length(),str.length());
- i++;
- }
- else {
- if(str.length()>0)
- temps[i] = str;
- }
- }
- while(weizhi>=0);
-
- if(index>i)return "-1";
- return temps[index].toInt();
- }
-
- String Mystr = "";//声明字符串变量
-
- void loop() {
-
-
-
-
- if (Serial.available() > 0)
- { Mystr=Serial.readString();
- if(Mystr=="B"){
- matrix.fillScreen(matrix.Color333(0, 0, 0));
- }
- else{
- int num=fenge(Mystr,",",0);
- for(int i=1;i<=num-1;i=i+2){
- int pose0=31-fenge(Mystr,",",i);
- int pose1=fenge(Mystr,",",i+1);
- matrix.drawPixel(pose0,pose1, matrix.Color333(7, 7, 7));
- }
- }
- Mystr=="";
- }
- }
【演示视频】
|


 沪公网安备31011502402448
 置顶卡
置顶卡 变色卡
变色卡 千斤顶
千斤顶


 活跃会员
活跃会员
 宣传大使
宣传大使
 牛X认证
牛X认证
 创客造
创客造
 编辑选择奖
编辑选择奖
 志“童”道合
 编辑选择奖
编辑选择奖
 编辑选择奖
编辑选择奖
 编辑选择奖
编辑选择奖
 编辑选择奖
编辑选择奖


