【Arduino】189种传感器模块系列实验(资料代码+仿真编程+图形编程)
实验一百八十八:TSL2561数字I2C环境光传感器 GY-2561光照强度检测模块
项目之五:TSL2561 传感器使用Adafruit类库的通用测试
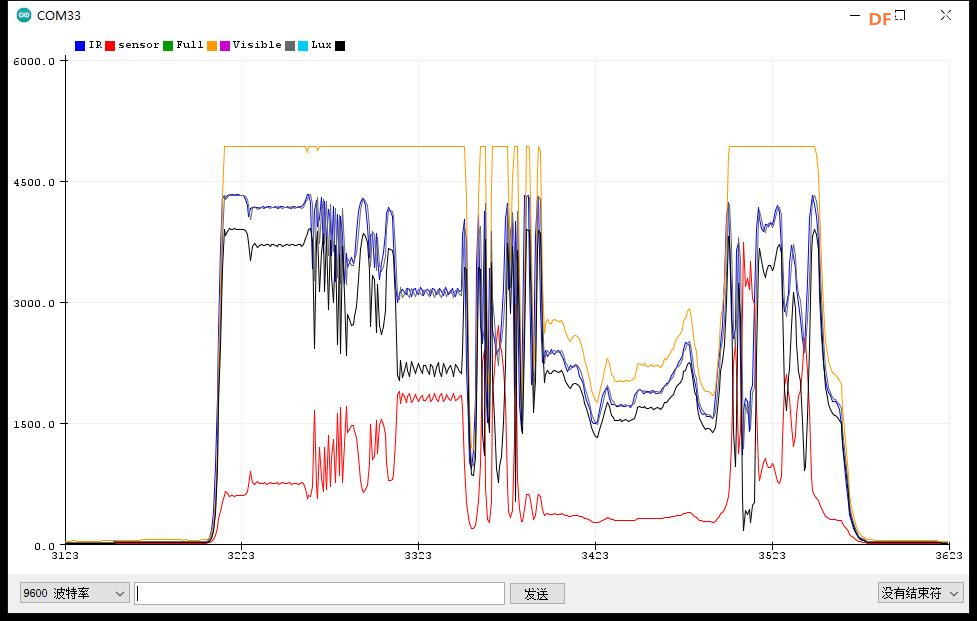
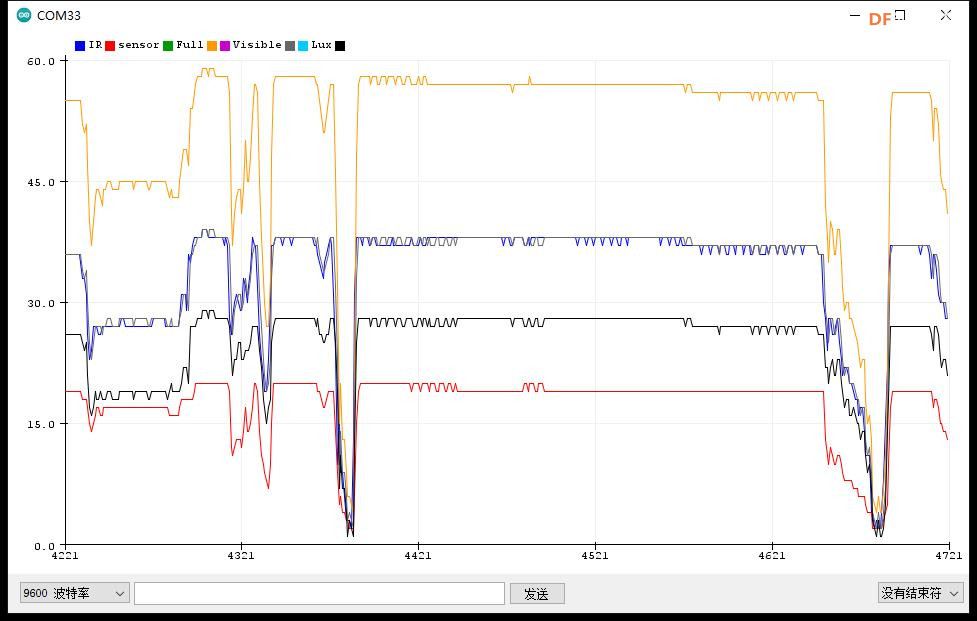
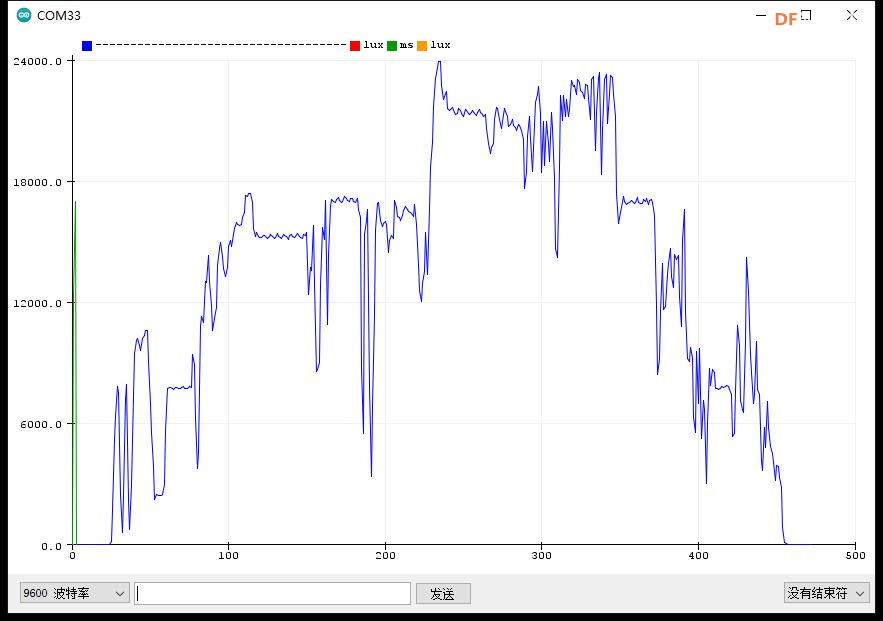
实验开源代码
- /*
- 【Arduino】189种传感器模块系列实验(资料代码+仿真编程+图形编程)
- 实验一百八十八:TSL2561数字I2C环境光传感器 GY-2561光照强度检测模块
- 项目之五:TSL2561 传感器使用Adafruit类库的通用测试
- */
-
- #include <Wire.h>
- #include <Adafruit_Sensor.h>
- #include <Adafruit_TSL2561_U.h>
-
- /* This driver uses the Adafruit unified sensor library (Adafruit_Sensor),
- which provides a common 'type' for sensor data and some helper functions.
-
- To use this driver you will also need to download the Adafruit_Sensor
- library and include it in your libraries folder.
-
- You should also assign a unique ID to this sensor for use with
- the Adafruit Sensor API so that you can identify this particular
- sensor in any data logs, etc. To assign a unique ID, simply
- provide an appropriate value in the constructor below (12345
- is used by default in this example).
-
- Connections
- ===========
- Connect SCL to I2C SCL Clock
- Connect SDA to I2C SDA Data
- Connect VCC/VDD to 3.3V or 5V (depends on sensor's logic level, check the datasheet)
- Connect GROUND to common ground
-
- I2C Address
- ===========
- The address will be different depending on whether you leave
- the ADDR pin floating (addr 0x39), or tie it to ground or vcc.
- The default addess is 0x39, which assumes the ADDR pin is floating
- (not connected to anything). If you set the ADDR pin high
- or low, use TSL2561_ADDR_HIGH (0x49) or TSL2561_ADDR_LOW
- (0x29) respectively.
-
- History
- =======
- 2013/JAN/31 - First version (KTOWN)
- */
-
- Adafruit_TSL2561_Unified tsl = Adafruit_TSL2561_Unified(TSL2561_ADDR_FLOAT, 12345);
-
- /**************************************************************************/
- /*
- Displays some basic information on this sensor from the unified
- sensor API sensor_t type (see Adafruit_Sensor for more information)
- */
- /**************************************************************************/
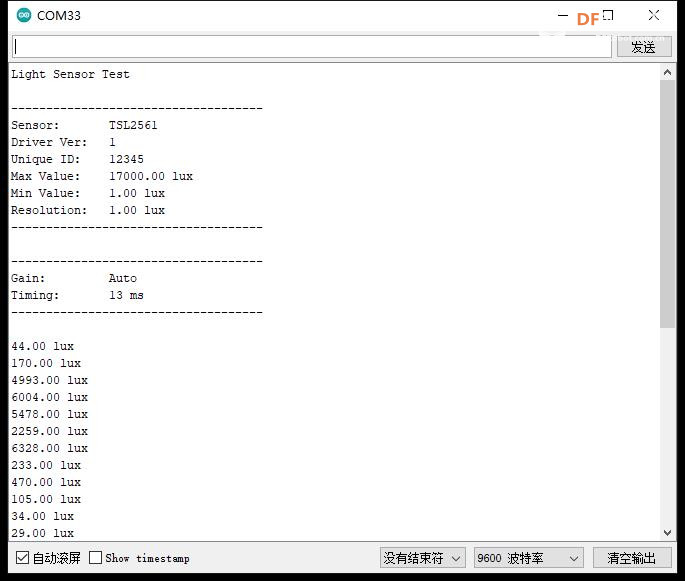
- void displaySensorDetails(void)
- {
- sensor_t sensor;
- tsl.getSensor(&sensor);
- Serial.println("------------------------------------");
- Serial.print ("Sensor: "); Serial.println(sensor.name);
- Serial.print ("Driver Ver: "); Serial.println(sensor.version);
- Serial.print ("Unique ID: "); Serial.println(sensor.sensor_id);
- Serial.print ("Max Value: "); Serial.print(sensor.max_value); Serial.println(" lux");
- Serial.print ("Min Value: "); Serial.print(sensor.min_value); Serial.println(" lux");
- Serial.print ("Resolution: "); Serial.print(sensor.resolution); Serial.println(" lux");
- Serial.println("------------------------------------");
- Serial.println("");
- delay(500);
- }
-
- /**************************************************************************/
- /*
- Configures the gain and integration time for the TSL2561
- */
- /**************************************************************************/
- void configureSensor(void)
- {
- /* You can also manually set the gain or enable auto-gain support */
- // tsl.setGain(TSL2561_GAIN_1X); /* No gain ... use in bright light to avoid sensor saturation */
- // tsl.setGain(TSL2561_GAIN_16X); /* 16x gain ... use in low light to boost sensitivity */
- tsl.enableAutoRange(true); /* Auto-gain ... switches automatically between 1x and 16x */
-
- /* Changing the integration time gives you better sensor resolution (402ms = 16-bit data) */
- tsl.setIntegrationTime(TSL2561_INTEGRATIONTIME_13MS); /* fast but low resolution */
- // tsl.setIntegrationTime(TSL2561_INTEGRATIONTIME_101MS); /* medium resolution and speed */
- // tsl.setIntegrationTime(TSL2561_INTEGRATIONTIME_402MS); /* 16-bit data but slowest conversions */
-
- /* Update these values depending on what you've set above! */
- Serial.println("------------------------------------");
- Serial.print ("Gain: "); Serial.println("Auto");
- Serial.print ("Timing: "); Serial.println("13 ms");
- Serial.println("------------------------------------");
- }
-
- /**************************************************************************/
- /*
- Arduino setup function (automatically called at startup)
- */
- /**************************************************************************/
- void setup(void)
- {
- Serial.begin(9600);
- Serial.println("Light Sensor Test"); Serial.println("");
-
- /* Initialise the sensor */
- //use tsl.begin() to default to Wire,
- //tsl.begin(&Wire2) directs api to use Wire2, etc.
- if(!tsl.begin())
- {
- /* There was a problem detecting the TSL2561 ... check your connections */
- Serial.print("Ooops, no TSL2561 detected ... Check your wiring or I2C ADDR!");
- while(1);
- }
-
- /* Display some basic information on this sensor */
- displaySensorDetails();
-
- /* Setup the sensor gain and integration time */
- configureSensor();
-
- /* We're ready to go! */
- Serial.println("");
- }
-
- /**************************************************************************/
- /*
- Arduino loop function, called once 'setup' is complete (your own code
- should go here)
- */
- /**************************************************************************/
- void loop(void)
- {
- /* Get a new sensor event */
- sensors_event_t event;
- tsl.getEvent(&event);
-
- /* Display the results (light is measured in lux) */
- if (event.light)
- {
- Serial.print(event.light); Serial.println(" lux");
- }
- else
- {
- /* If event.light = 0 lux the sensor is probably saturated
- and no reliable data could be generated! */
- Serial.println("Sensor overload");
- }
- delay(250);
- }
| 


 沪公网安备31011502402448


 萌萌哒新人
萌萌哒新人
 活跃会员
活跃会员
 宣传大使
宣传大使
 牛X认证
牛X认证
 创作达人
创作达人
 ARD DAY
 摸鱼团员
摸鱼团员
 志“童”道合
 编辑选择奖
编辑选择奖


