【Arduino】168种传感器模块系列实验(资料代码+仿真编程+图形编程)
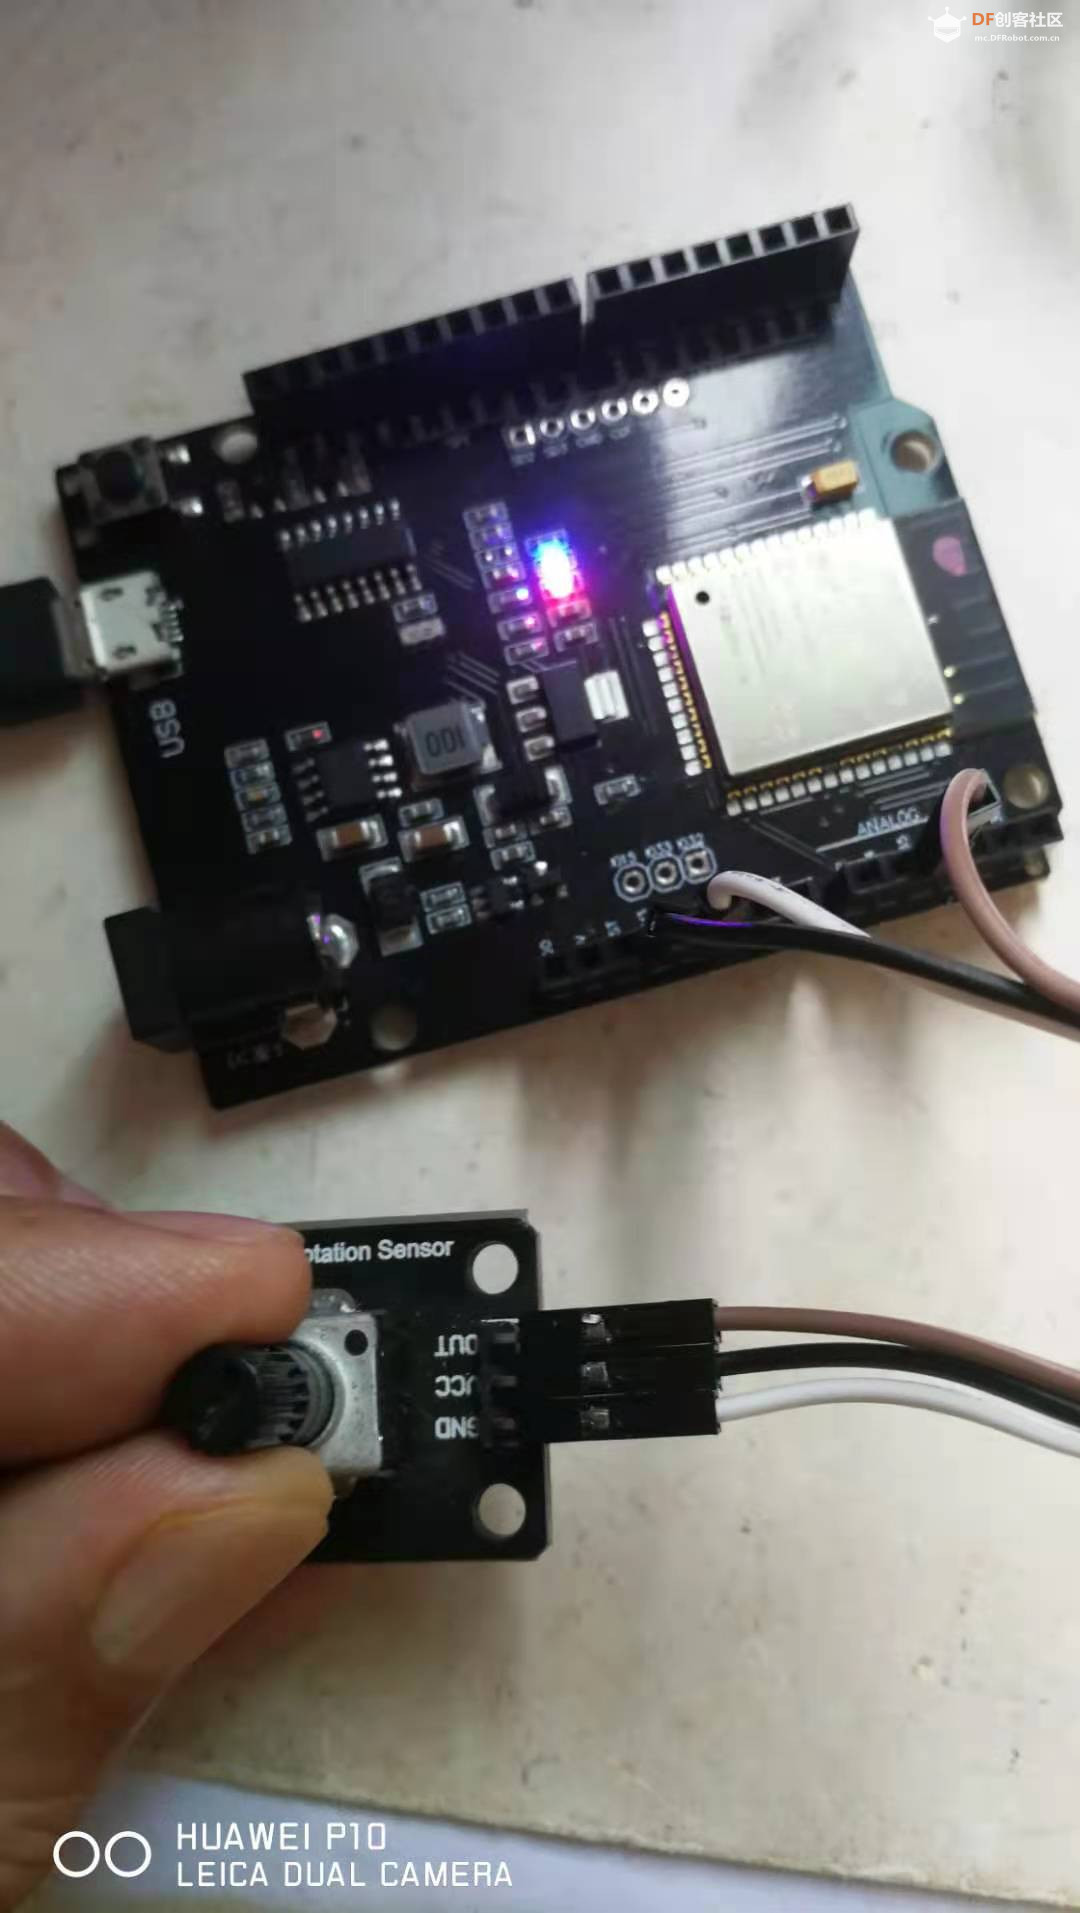
实验一百七十七:Wemos D1 R32 ESP32开发板
项目十五: 运行RGB LED的完整255色谱(PWM驱动LED的ledcWrite功能)
实验接脚:R-23,G-19,B-18
实验开源代码
- /*
- 【Arduino】168种传感器模块系列实验(资料代码+仿真编程+图形编程)
- 实验一百七十七:Wemos D1 R32 ESP32开发板
- 项目十五: 运行RGB LED的完整255色谱(PWM驱动LED的ledcWrite功能)
- 实验接线: R-23,G-19,B-18
- */
-
-
- // 设置 rgb LED 名称
- uint8_t ledR = 23;
- uint8_t ledG = 19;
- uint8_t ledB = 18;
-
- uint8_t ledArray[3] = {1, 2, 3}; // 三个 LED 通道
-
- const boolean invert = false; // 如果共阳极设置为假,如果共阴极设置为真
-
- uint8_t color = 0; // 0 到 255 之间的值表示色调
- uint32_t R, G, B; // 红绿蓝颜色分量
- uint8_t brightness = 255; // 255 是最大亮度,但可以更改。 共阳极可能需要 256 才能完全关闭。
-
- void setup() {
- Serial.begin(115200);
- delay(10);
-
- ledcAttachPin(ledR, 1); // 将 RGB LED 引脚分配给通道
- ledcAttachPin(ledG, 2);
- ledcAttachPin(ledB, 3);
-
- // 初始化通道
- // 通道 0-15,分辨率 1-16 位,频率限制取决于分辨率
- // ledcSetup (uint8_t channel, uint32_t freq, uint8_t resolution_bits);
- ledcSetup(1, 12000, 8); // 12 kHz PWM,8 位分辨率
- ledcSetup(2, 12000, 8);
- ledcSetup(3, 12000, 8);
- }
-
- void loop() {
- Serial.println("Send all LEDs a 255 and wait 2 seconds.");
- // 如果您的 RGB LED 在这里关闭而不是打开,您应该检查 LED 是共阳极还是共阴极。
- //如果它没有完全关闭并且是共阳极尝试使用256。
- ledcWrite(1, 255);
- ledcWrite(2, 255);
- ledcWrite(3, 255);
- delay(2000);
- Serial.println("Send all LEDs a 0 and wait 2 seconds.");
- ledcWrite(1, 0);
- ledcWrite(2, 0);
- ledcWrite(3, 0);
- delay(2000);
-
- Serial.println("Starting color fade loop.");
-
- for (color = 0; color < 255; color++) { // 在色谱中回转
-
- hueToRGB(color, brightness); // 调用函数将色调转换为 RGB
-
- // 将 RGB 值写入引脚
- ledcWrite(1, R); // 将红色分量写入通道 1 等。
- ledcWrite(2, G);
- ledcWrite(3, B);
-
- delay(100); // RGB 超过 256 种颜色的完整循环需要 26 秒
- }
- }
-
- // 将颜色转换为其红色、绿色和蓝色分量的函数。
- void hueToRGB(uint8_t hue, uint8_t brightness) {
- uint16_t scaledHue = (hue * 6);
- uint8_t segment = scaledHue / 256; // 第 0 至 5 段
- // color wheel
- uint16_t segmentOffset =
- scaledHue - (segment * 256); // 段内的位置
-
- uint8_t complement = 0;
- uint16_t prev = (brightness * ( 255 - segmentOffset)) / 256;
- uint16_t next = (brightness * segmentOffset) / 256;
-
- if (invert){
- brightness = 255 - brightness;
- complement = 255;
- prev = 255 - prev;
- next = 255 - next;
- }
-
- switch (segment ) {
- case 0: // 红色的
- R = brightness;
- G = next;
- B = complement;
- break;
- case 1: // 黄色的
- R = prev;
- G = brightness;
- B = complement;
- break;
- case 2: // 绿色
- R = complement;
- G = brightness;
- B = next;
- break;
- case 3: // 青色
- R = complement;
- G = prev;
- B = brightness;
- break;
- case 4: // 蓝色的
- R = next;
- G = complement;
- B = brightness;
- break;
- case 5: // 品红
- default:
- R = brightness;
- G = complement;
- B = prev;
- break;
- }
- }
| 


 沪公网安备31011502402448


 萌萌哒新人
萌萌哒新人
 活跃会员
活跃会员
 宣传大使
宣传大使
 牛X认证
牛X认证
 创作达人
创作达人
 ARD DAY
 摸鱼团员
摸鱼团员
 志“童”道合
 编辑选择奖
编辑选择奖


