【Arduino】168种传感器模块系列实验(资料代码+仿真编程+图形编程)
实验一百七十七:Wemos D1 R32 ESP32开发板
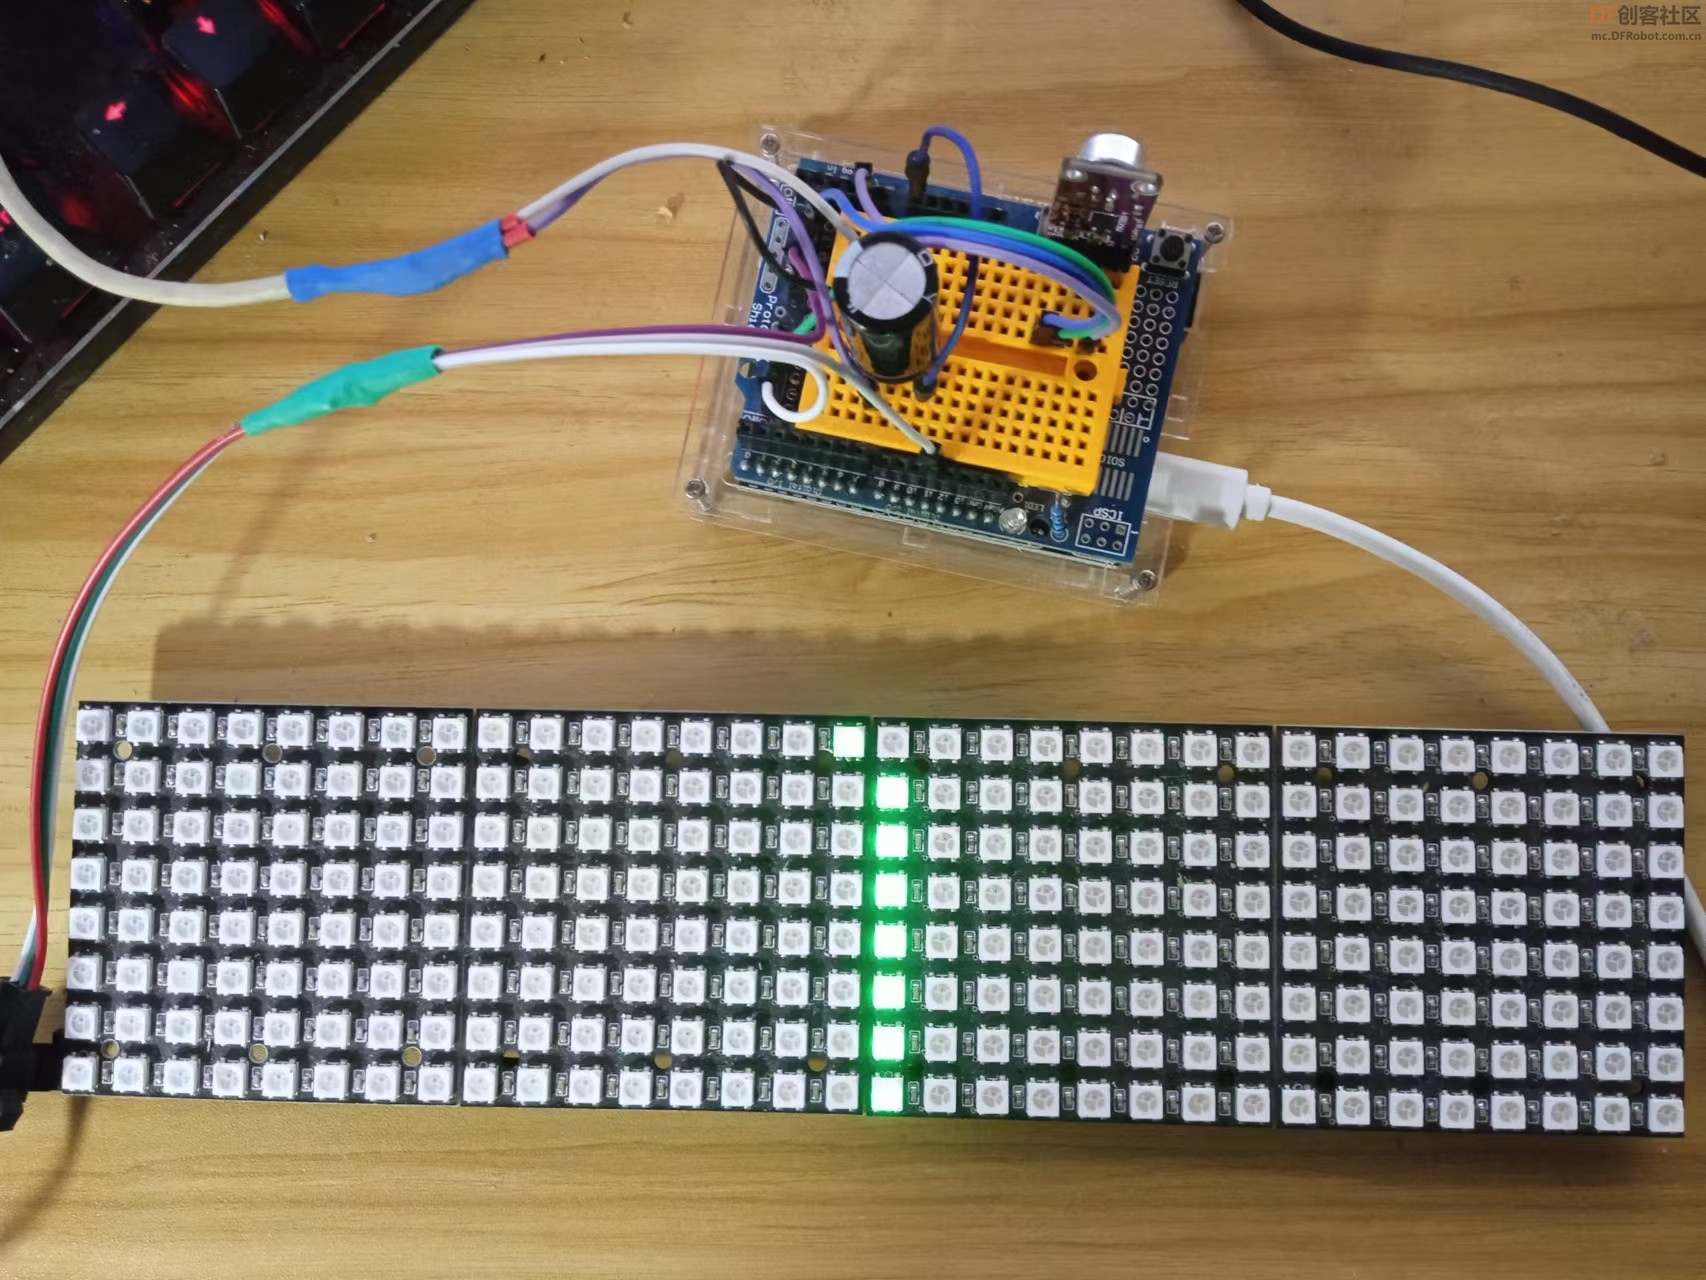
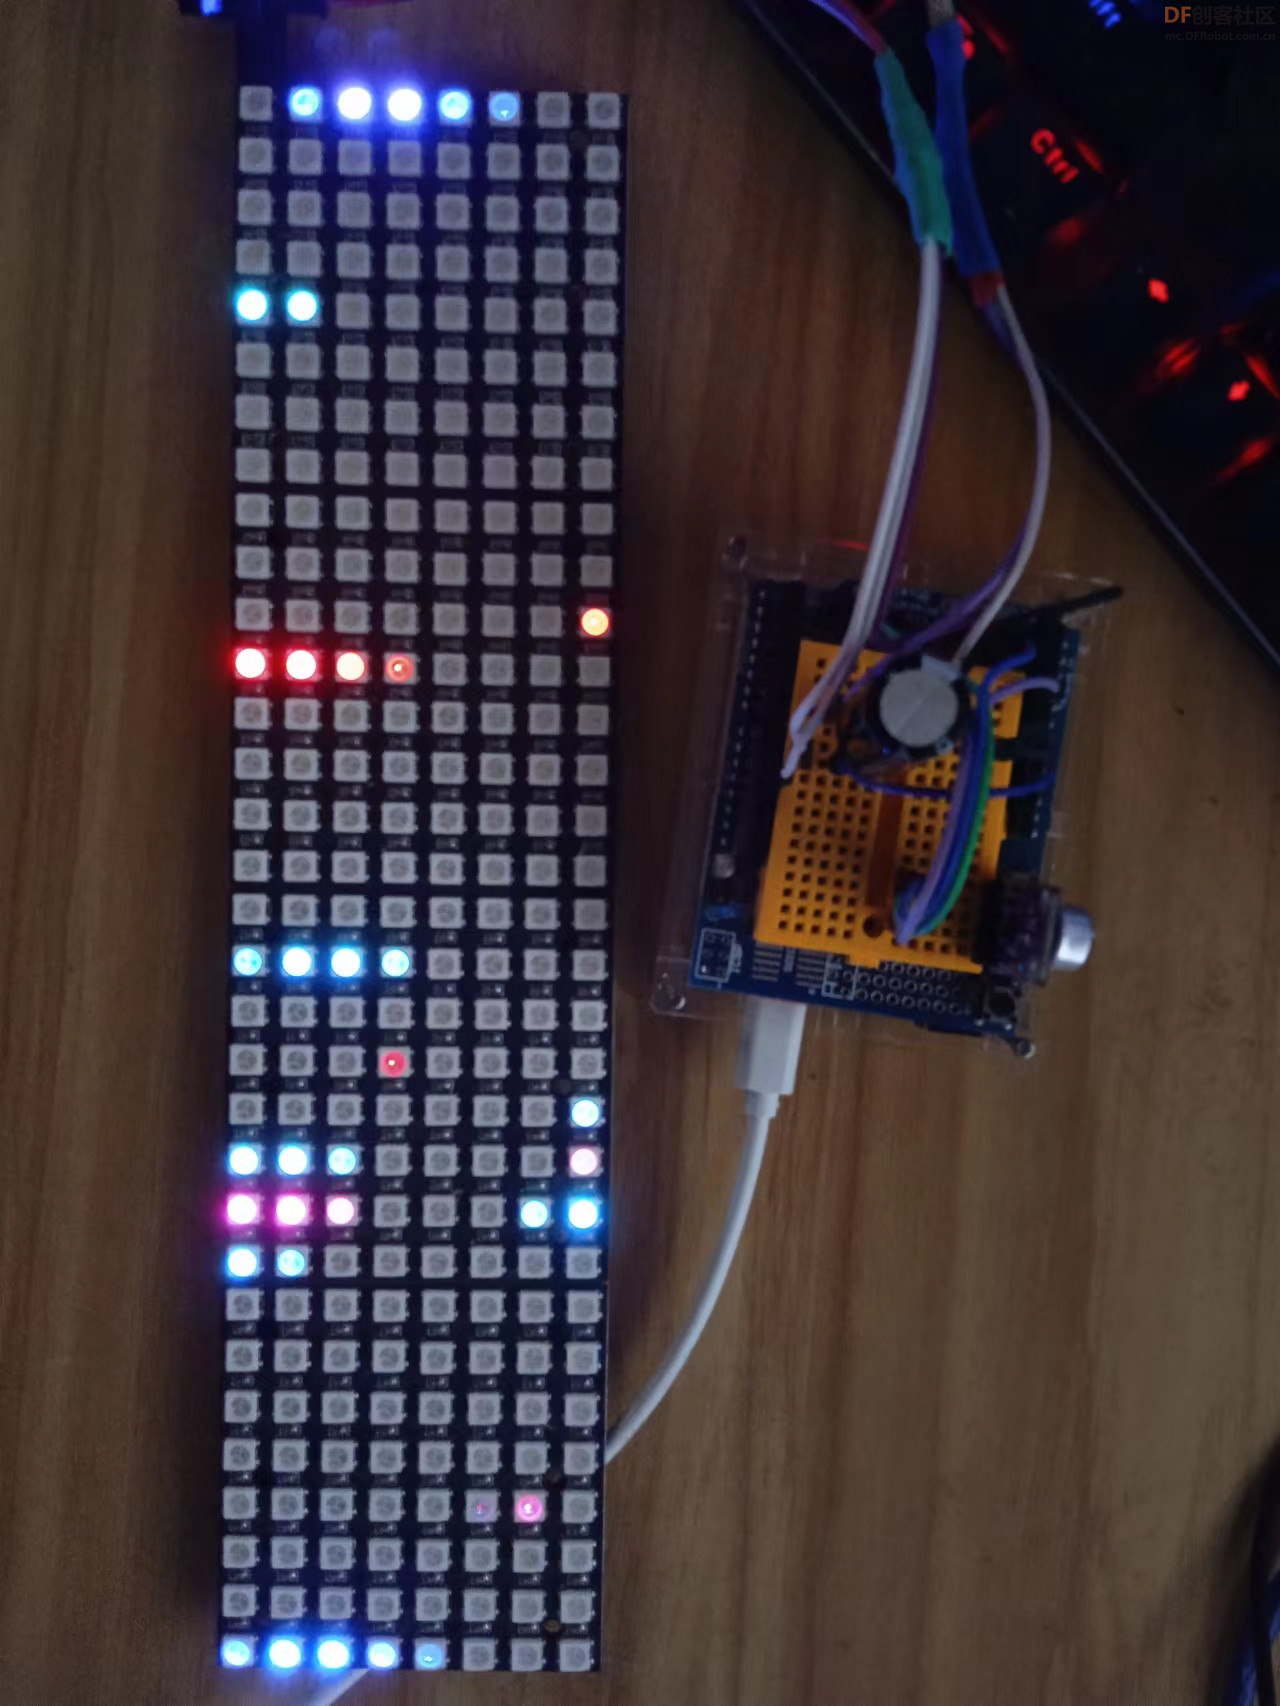
项目之四十四:esp32 NeoPixel 灯板测试程序
- /*
- 【Arduino】168种传感器模块系列实验(资料代码+仿真编程+图形编程)
- 实验一百七十七:Wemos D1 R32 ESP32开发板
- 项目之四十四:esp32 NeoPixel 灯板测试程序
- */
-
- #include <Adafruit_NeoPixel.h>
-
- // Which pin on the Arduino is connected to the NeoPixels?
- // On a Trinket or Gemma we suggest changing this to 1:
- #define LED_PIN 23
-
- // How many NeoPixels are attached to the Arduino?
- #define LED_COUNT 256
-
- // Declare our NeoPixel strip object:
- Adafruit_NeoPixel strip(LED_COUNT, LED_PIN, NEO_GRB + NEO_KHZ800);
- // Argument 1 = Number of pixels in NeoPixel strip
- // Argument 2 = Arduino pin number (most are valid)
- // Argument 3 = Pixel type flags, add together as needed:
- // NEO_KHZ800 800 KHz bitstream (most NeoPixel products w/WS2812 LEDs)
- // NEO_KHZ400 400 KHz (classic 'v1' (not v2) FLORA pixels, WS2811 drivers)
- // NEO_GRB Pixels are wired for GRB bitstream (most NeoPixel products)
- // NEO_RGB Pixels are wired for RGB bitstream (v1 FLORA pixels, not v2)
- // NEO_RGBW Pixels are wired for RGBW bitstream (NeoPixel RGBW products)
-
-
- // setup() function -- runs once at startup --------------------------------
-
- void setup() {
- // These lines are specifically to support the Adafruit Trinket 5V 16 MHz.
- // Any other board, you can remove this part (but no harm leaving it):
- //#if defined(__AVR_ATtiny85__) && (F_CPU == 16000000)
- //clock_prescale_set(clock_div_1);
- //#endif
- // END of Trinket-specific code.
-
- strip.begin(); // INITIALIZE NeoPixel strip object (REQUIRED)
- strip.show(); // Turn OFF all pixels ASAP
- strip.setBrightness(50); // Set BRIGHTNESS to about 1/5 (max = 255)
- }
-
-
- // loop() function -- runs repeatedly as long as board is on ---------------
-
- void loop() {
- // Fill along the length of the strip in various colors...
- colorWipe(strip.Color(255, 0, 0), 50); // Red
- colorWipe(strip.Color( 0, 255, 0), 50); // Green
- colorWipe(strip.Color( 0, 0, 255), 50); // Blue
-
- // Do a theater marquee effect in various colors...
- theaterChase(strip.Color(127, 127, 127), 50); // White, half brightness
- theaterChase(strip.Color(127, 0, 0), 50); // Red, half brightness
- theaterChase(strip.Color( 0, 0, 127), 50); // Blue, half brightness
-
- rainbow(10); // Flowing rainbow cycle along the whole strip
- theaterChaseRainbow(50); // Rainbow-enhanced theaterChase variant
- }
-
-
- // Some functions of our own for creating animated effects -----------------
-
- // Fill strip pixels one after another with a color. Strip is NOT cleared
- // first; anything there will be covered pixel by pixel. Pass in color
- // (as a single 'packed' 32-bit value, which you can get by calling
- // strip.Color(red, green, blue) as shown in the loop() function above),
- // and a delay time (in milliseconds) between pixels.
- void colorWipe(uint32_t color, int wait) {
- for (int i = 0; i < strip.numPixels(); i++) { // For each pixel in strip...
- strip.setPixelColor(i, color); // Set pixel's color (in RAM)
- strip.show(); // Update strip to match
- delay(10); // Pause for a moment
- }
- }
-
- // Theater-marquee-style chasing lights. Pass in a color (32-bit value,
- // a la strip.Color(r,g,b) as mentioned above), and a delay time (in ms)
- // between frames.
- void theaterChase(uint32_t color, int wait) {
- for (int a = 0; a < 10; a++) { // Repeat 10 times...
- for (int b = 0; b < 3; b++) { // 'b' counts from 0 to 2...
- strip.clear(); // Set all pixels in RAM to 0 (off)
- // 'c' counts up from 'b' to end of strip in steps of 3...
- for (int c = b; c < strip.numPixels(); c += 3) {
- strip.setPixelColor(c, color); // Set pixel 'c' to value 'color'
- }
- strip.show(); // Update strip with new contents
- delay(10); // Pause for a moment
- }
- }
- }
-
- // Rainbow cycle along whole strip. Pass delay time (in ms) between frames.
- void rainbow(int wait) {
- // Hue of first pixel runs 5 complete loops through the color wheel.
- // Color wheel has a range of 65536 but it's OK if we roll over, so
- // just count from 0 to 5*65536. Adding 256 to firstPixelHue each time
- // means we'll make 5*65536/256 = 1280 passes through this outer loop:
- for (long firstPixelHue = 0; firstPixelHue < 5 * 65536; firstPixelHue += 256) {
- for (int i = 0; i < strip.numPixels(); i++) { // For each pixel in strip...
- // Offset pixel hue by an amount to make one full revolution of the
- // color wheel (range of 65536) along the length of the strip
- // (strip.numPixels() steps):
- int pixelHue = firstPixelHue + (i * 65536L / strip.numPixels());
- // strip.ColorHSV() can take 1 or 3 arguments: a hue (0 to 65535) or
- // optionally add saturation and value (brightness) (each 0 to 255).
- // Here we're using just the single-argument hue variant. The result
- // is passed through strip.gamma32() to provide 'truer' colors
- // before assigning to each pixel:
- strip.setPixelColor(i, strip.gamma32(strip.ColorHSV(pixelHue)));
- }
- strip.show(); // Update strip with new contents
- delay(10); // Pause for a moment
- }
- }
-
- // Rainbow-enhanced theater marquee. Pass delay time (in ms) between frames.
- void theaterChaseRainbow(int wait) {
- int firstPixelHue = 0; // First pixel starts at red (hue 0)
- for (int a = 0; a < 30; a++) { // Repeat 30 times...
- for (int b = 0; b < 3; b++) { // 'b' counts from 0 to 2...
- strip.clear(); // Set all pixels in RAM to 0 (off)
- // 'c' counts up from 'b' to end of strip in increments of 3...
- for (int c = b; c < strip.numPixels(); c += 3) {
- // hue of pixel 'c' is offset by an amount to make one full
- // revolution of the color wheel (range 65536) along the length
- // of the strip (strip.numPixels() steps):
- int hue = firstPixelHue + c * 65536L / strip.numPixels();
- uint32_t color = strip.gamma32(strip.ColorHSV(hue)); // hue -> RGB
- strip.setPixelColor(c, color); // Set pixel 'c' to value 'color'
- }
- strip.show(); // Update strip with new contents
- delay(10); // Pause for a moment
- firstPixelHue += 65536 / 90; // One cycle of color wheel over 90 frames
- }
- }
- }
| 


 沪公网安备31011502402448

 萌萌哒新人
萌萌哒新人
 活跃会员
活跃会员
 宣传大使
宣传大使
 牛X认证
牛X认证
 创作达人
创作达人
 ARD DAY
 摸鱼团员
摸鱼团员
 志“童”道合
 编辑选择奖
编辑选择奖


