本帖最后由 云天 于 2022-5-11 09:26 编辑
由于许多原因,视频的背景需要修改,如背景中有很多其他中断或背景颜色不适合该人。因此,我们使用实时背景替换技术来替换背景并添加替换为所需内容。
流行的背景去除技术
图像剪切路径 - 如果图像的主题具有锐利的边缘,则使用此技术。所有落在路径之外的元素都将被消除。
图像剪切 – 在这里,我们剪切帧中所需的区域或主题并删除背景。
图像遮罩 – 如果图像有褶边或细边缘,我们可以使用图像遮罩技术。
擦除背景 – 使用任何不同的工具擦除图像的背景
许多著名的应用程序使用背景去除技术并用自定义技术替换它。在这里,我们将实现类似的东西,使用 OpenCV 和 MediaPipe 。
MediaPipe 库可以让我们轻松运行像人脸检测、手部跟踪、姿势估计等,以及图像处理和其他 AI 功能。
【安装MediaPipe 库】
安装Mediapipe库与OpenCV库,参考AI人工智能应用:https://wiki.unihiker.com/ai_project
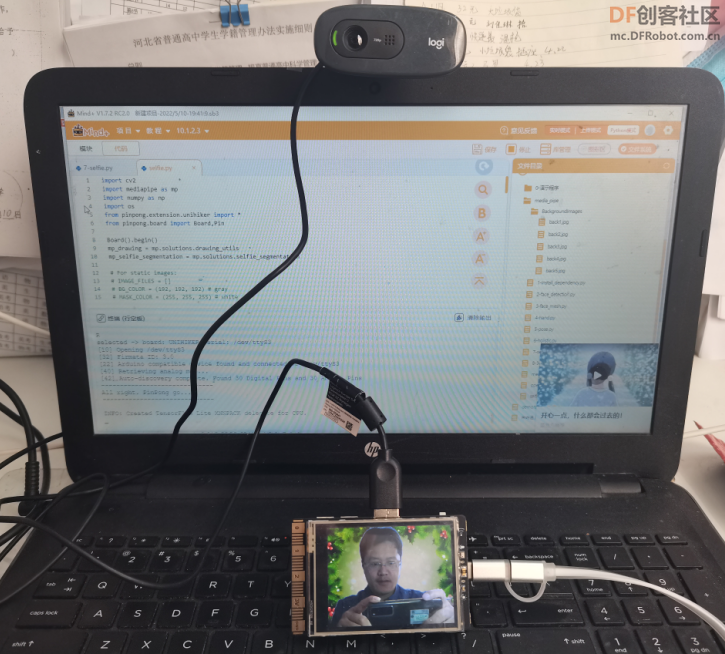
【单背景测试】
-
- import cv2
- import mediapipe as mp
- import numpy as np
- mp_drawing = mp.solutions.drawing_utils
- mp_selfie_segmentation = mp.solutions.selfie_segmentation
-
- # For webcam input:
- BG_COLOR = (192, 192, 192) # gray
- cap = cv2.VideoCapture(0)
-
- cap.set(cv2.CAP_PROP_FRAME_WIDTH, 320)
- cap.set(cv2.CAP_PROP_FRAME_HEIGHT, 240)
- cap.set(cv2.CAP_PROP_BUFFERSIZE, 1)
-
- cv2.namedWindow('MediaPipe Selfie Segmentation',cv2.WND_PROP_FULLSCREEN) #Set the windows to be full screen.
- cv2.setWindowProperty('MediaPipe Selfie Segmentation', cv2.WND_PROP_FULLSCREEN, cv2.WINDOW_FULLSCREEN) #Set the windows to be full screen.
-
- with mp_selfie_segmentation.SelfieSegmentation(
- model_selection=1) as selfie_segmentation:
- bg_image = cv2.imread("back.png")
- while cap.isOpened():
- success, image = cap.read()
- if not success:
- print("Ignoring empty camera frame.")
- # If loading a video, use 'break' instead of 'continue'.
- continue
-
- # Flip the image horizontally for a later selfie-view display, and convert
- # the BGR image to RGB.
- image = cv2.cvtColor(cv2.flip(image, 1), cv2.COLOR_BGR2RGB)
- # To improve performance, optionally mark the image as not writeable to
- # pass by reference.
- image.flags.writeable = False
- results = selfie_segmentation.process(image)
-
- image.flags.writeable = True
- image = cv2.cvtColor(image, cv2.COLOR_RGB2BGR)
-
- # Draw selfie segmentation on the background image.
- # To improve segmentation around boundaries, consider applying a joint
- # bilateral filter to "results.segmentation_mask" with "image".
- condition = np.stack(
- (results.segmentation_mask,) * 3, axis=-1) > 0.1
- # The background can be customized.
- # a) Load an image (with the same width and height of the input image) to
- # be the background, e.g., bg_image = cv2.imread('/path/to/image/file')
- # b) Blur the input image by applying image filtering, e.g.,
- # bg_image = cv2.GaussianBlur(image,(55,55),0)
- if bg_image is None:
- bg_image = np.zeros(image.shape, dtype=np.uint8)
- bg_image[:] = BG_COLOR
-
- output_image = np.where(condition, image, bg_image)
- output_image = cv2.rotate(output_image, cv2.ROTATE_90_COUNTERCLOCKWISE)
- cv2.imshow('MediaPipe Selfie Segmentation', output_image)
- if cv2.waitKey(5) & 0xFF == 27:
- break
- cap.release()
【按键A、B测试】
-
- from pinpong.extension.unihiker import *
- from pinpong.board import Board,Pin
-
-
- Board().begin()
-
- while True:
- if (button_a.is_pressed()==True):
- buzzer.play(buzzer.DADADADUM,buzzer.Once)
- if (button_b.is_pressed()==True):
- buzzer.play(buzzer.ENTERTAINER,buzzer.Once)
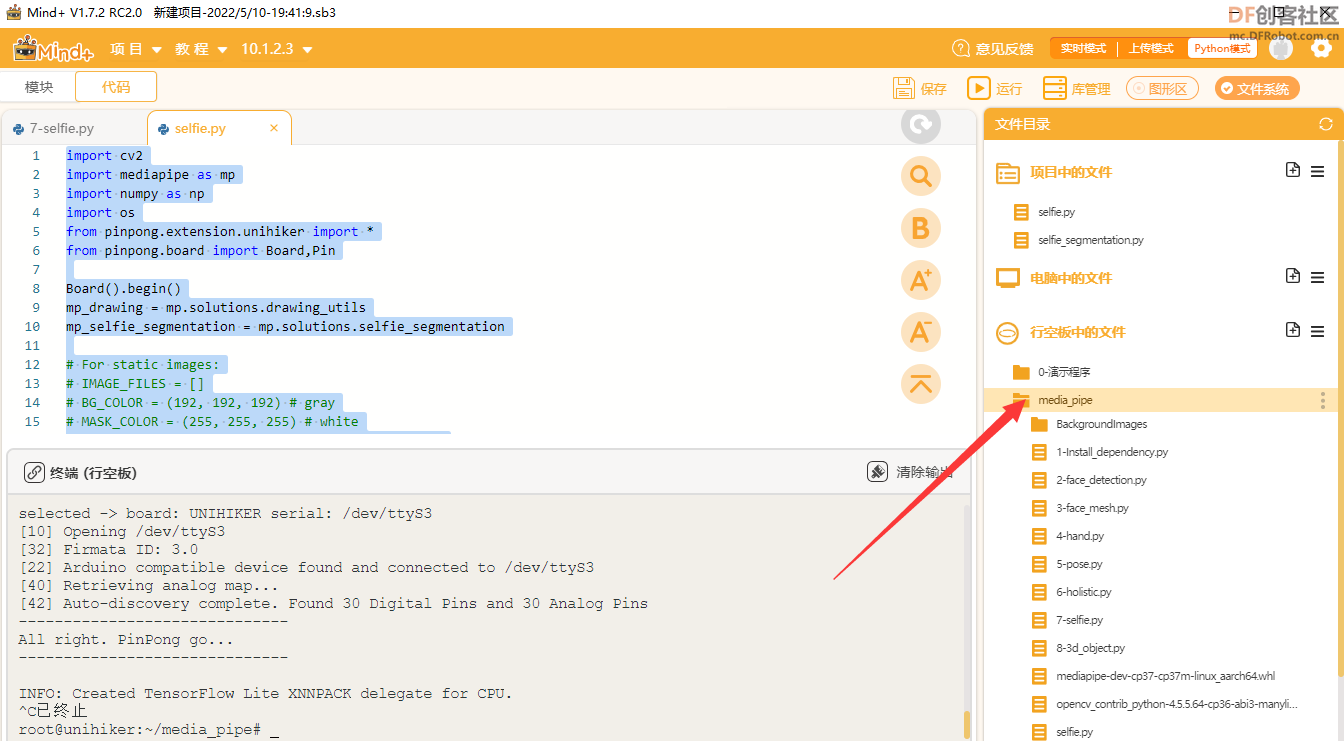
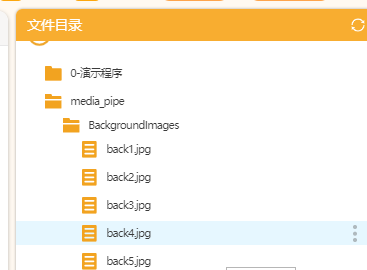
【准备多背景】现在在这里创建项目目录中的文件夹,我正在创建一个名为*'BackgroundImages'*的文件夹。你可以下载任何图像或任意数量的图像并将它们放在此目录中。
【完整程序】
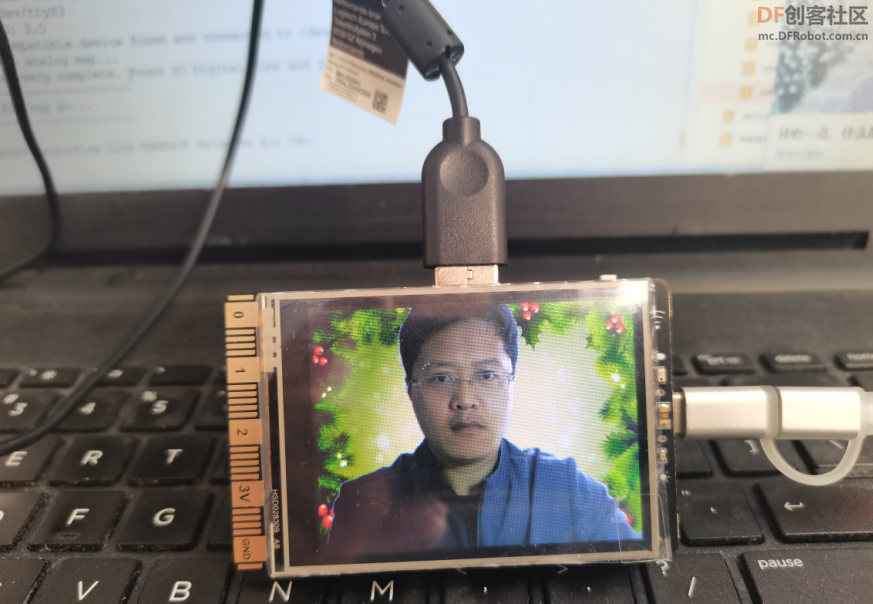
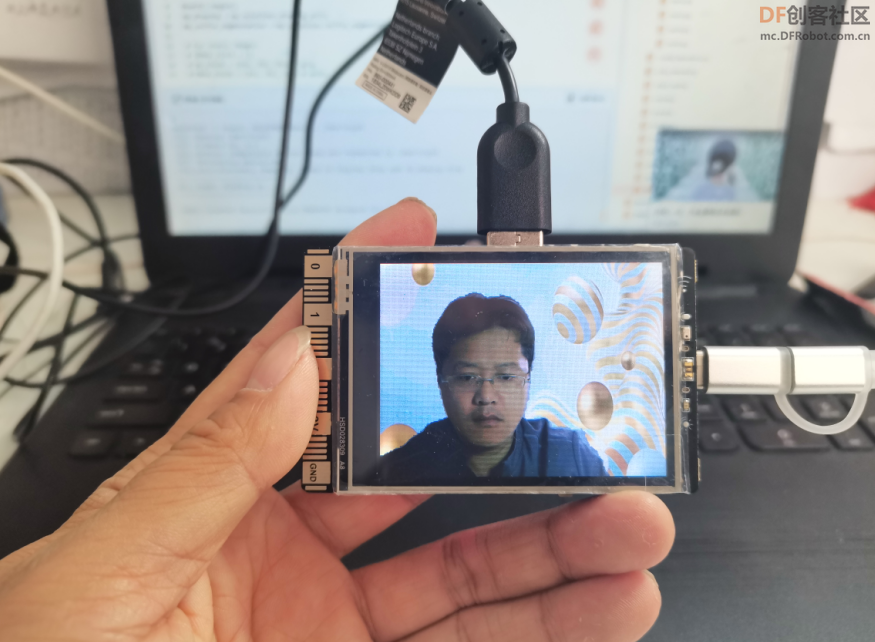
这里我们将获得背景替换图像或帧的输出。然后使用一个简单的 if 语句,分配键来更改背景。 例如,如果我们有 5 张背景图像,根据上面的代码,我们可以使用键“A”或键“B”来更改帧的背景。
-
- import cv2
- import mediapipe as mp
- import numpy as np
- import os
- from pinpong.extension.unihiker import *
- from pinpong.board import Board,Pin
-
- Board().begin()
- mp_drawing = mp.solutions.drawing_utils
- mp_selfie_segmentation = mp.solutions.selfie_segmentation
-
- # For webcam input:
- BG_COLOR = (192, 192, 192) # gray
- cap = cv2.VideoCapture(0)
-
- cap.set(cv2.CAP_PROP_FRAME_WIDTH, 320)
- cap.set(cv2.CAP_PROP_FRAME_HEIGHT, 240)
- cap.set(cv2.CAP_PROP_BUFFERSIZE, 1)
-
- cv2.namedWindow('MediaPipe Selfie Segmentation',cv2.WND_PROP_FULLSCREEN) #Set the windows to be full screen.
- cv2.setWindowProperty('MediaPipe Selfie Segmentation', cv2.WND_PROP_FULLSCREEN, cv2.WINDOW_FULLSCREEN) #Set the windows to be full screen.
- listImg = os.listdir("./BackgroundImages")
- imgList = []
- for imgPath in listImg:
- img = cv2.imread(f'BackgroundImages/{imgPath}')
- imgList.append(img)
-
- indexImg = 0
-
- with mp_selfie_segmentation.SelfieSegmentation(
- model_selection=1) as selfie_segmentation:
-
- while cap.isOpened():
- success, image = cap.read()
- if not success:
- print("Ignoring empty camera frame.")
- # If loading a video, use 'break' instead of 'continue'.
- continue
-
- # Flip the image horizontally for a later selfie-view display, and convert
- # the BGR image to RGB.
- image = cv2.cvtColor(cv2.flip(image, 1), cv2.COLOR_BGR2RGB)
- # To improve performance, optionally mark the image as not writeable to
- # pass by reference.
- image.flags.writeable = False
- results = selfie_segmentation.process(image)
-
- image.flags.writeable = True
- image = cv2.cvtColor(image, cv2.COLOR_RGB2BGR)
-
- # Draw selfie segmentation on the background image.
- # To improve segmentation around boundaries, consider applying a joint
- # bilateral filter to "results.segmentation_mask" with "image".
- condition = np.stack(
- (results.segmentation_mask,) * 3, axis=-1) > 0.1
- # The background can be customized.
- # a) Load an image (with the same width and height of the input image) to
- # be the background, e.g., bg_image = cv2.imread('/path/to/image/file')
- # b) Blur the input image by applying image filtering, e.g.,
- # bg_image = cv2.GaussianBlur(image,(55,55),0)
- if (button_a.is_pressed()==True):
- if indexImg>0:
- indexImg -=1
-
- if (button_b.is_pressed()==True):
- if indexImg<len(imgList)-1:
- indexImg +=1
-
-
- output_image = np.where(condition, image, imgList[indexImg])
- output_image = cv2.rotate(output_image, cv2.ROTATE_90_COUNTERCLOCKWISE)
- cv2.imshow('MediaPipe Selfie Segmentation', output_image)
- if cv2.waitKey(5) & 0xFF == 27:
- break
- cap.release()
【演示视频】
| 


 沪公网安备31011502402448
 置顶卡
置顶卡 变色卡
变色卡 千斤顶
千斤顶

 活跃会员
活跃会员
 宣传大使
宣传大使
 牛X认证
牛X认证
 创客造
创客造
 编辑选择奖
编辑选择奖
 志“童”道合
 编辑选择奖
编辑选择奖
 编辑选择奖
编辑选择奖
 编辑选择奖
编辑选择奖
 编辑选择奖
编辑选择奖


